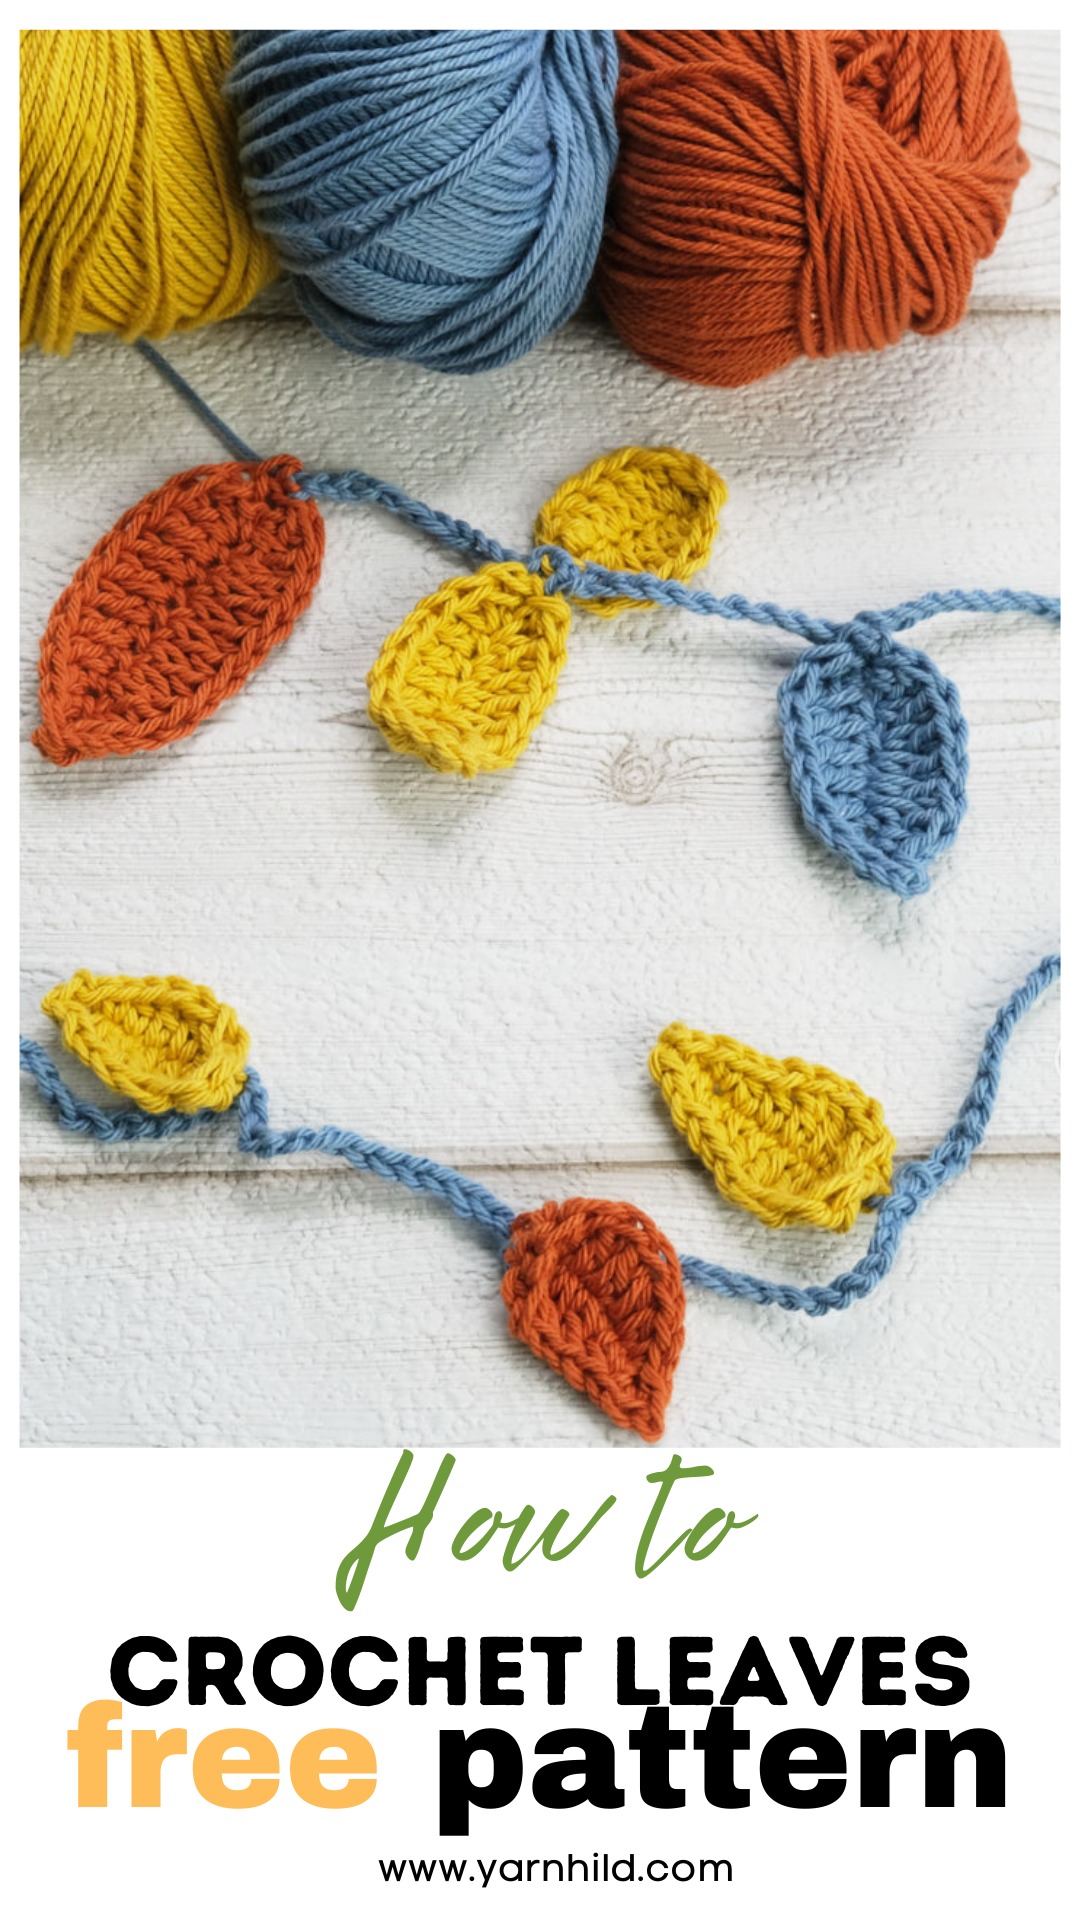
In this tutorial, you will learn how to crochet a beautiful leaf garland. If you don’t want to make a garland, you could also use this pattern to make crochet leaves.
The crochet leaf is very easy and quick to make, and with a few simple stitches, you can make one in no time. You only need some leftovers; I prefer cotton yarn for these kinds of projects. Also, you will need a crochet hook and a tapestry needle.
Diese Anleitung gibt es auch auf Deutsch. Nach unten scrollen und da gibt es eine schriftliche Anleitung und die Videoanleitung
Save this for later on Pinterest.
I sometimes include affiliate links in my blog posts. That means that I earn a small commission if you purchase a product that I recommend, at no extra costs on your behalf. I appreciate your support!
I used cotton yarn for this crochet project. I bought this at a local store here in Norway, but you can find similar yarn here.
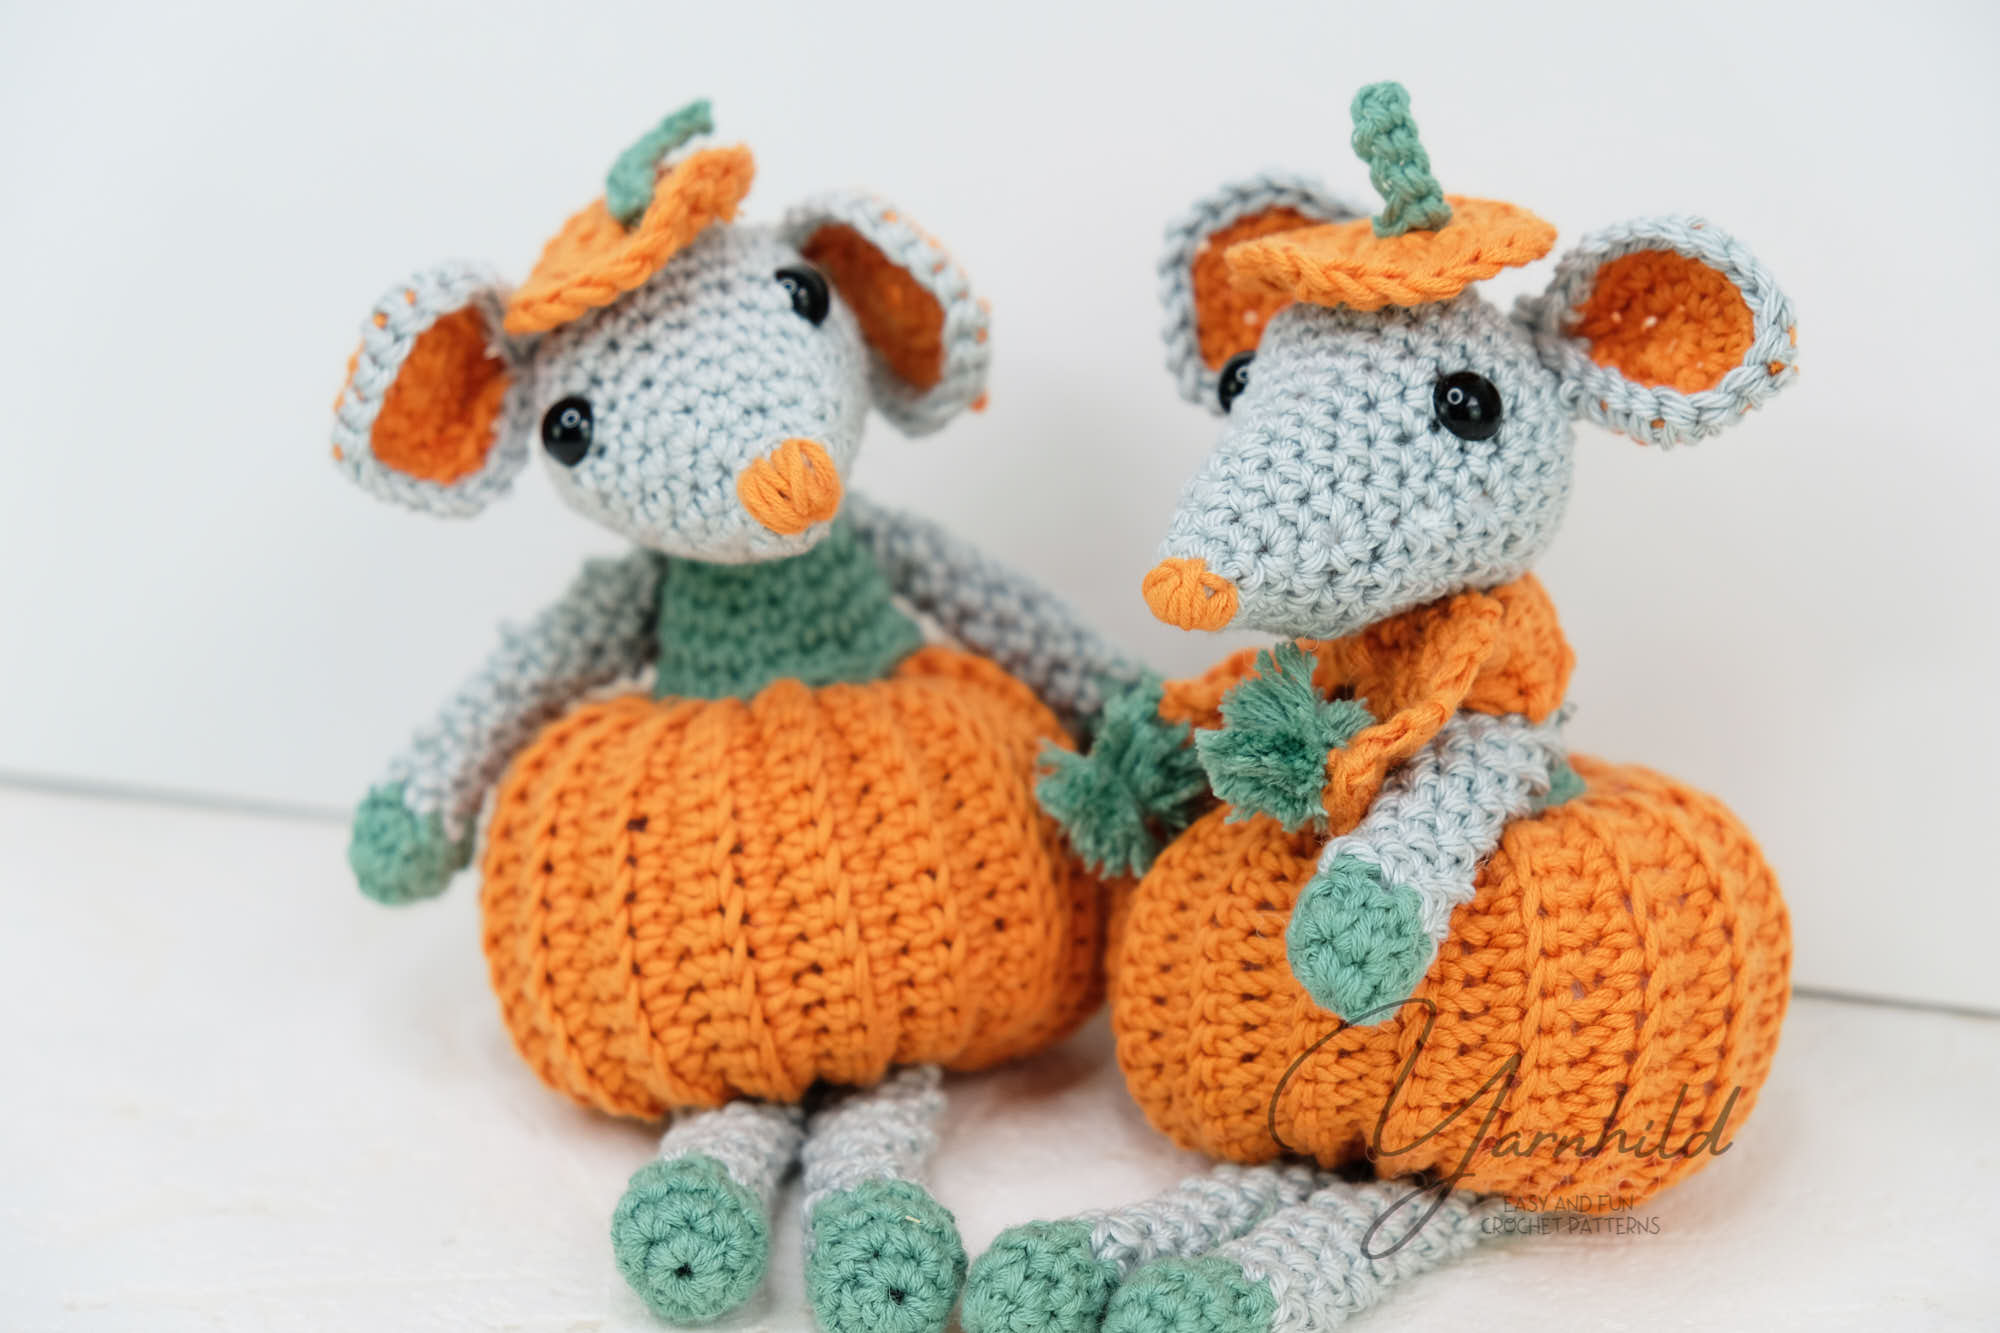
Fall vibes and inspiration
With beautiful colors anywhere there is no wonder many beautiful and new designs are created in the fall. A trip to the yarn store also provides lots of new ideas, I find. So be sure to check out our newsletter as new patterns are coming!
More patterns for fall
How to crochet leaves
Check out the video for different sizes and variations of the leaves. The video variates little from the written pattern, but not much.
Video tutorial English
Written pattern in English
Abbreviations – US terms
Ch – chain(s)
DC – couble crochet
SC – single crochet
HDC – -half double crochet
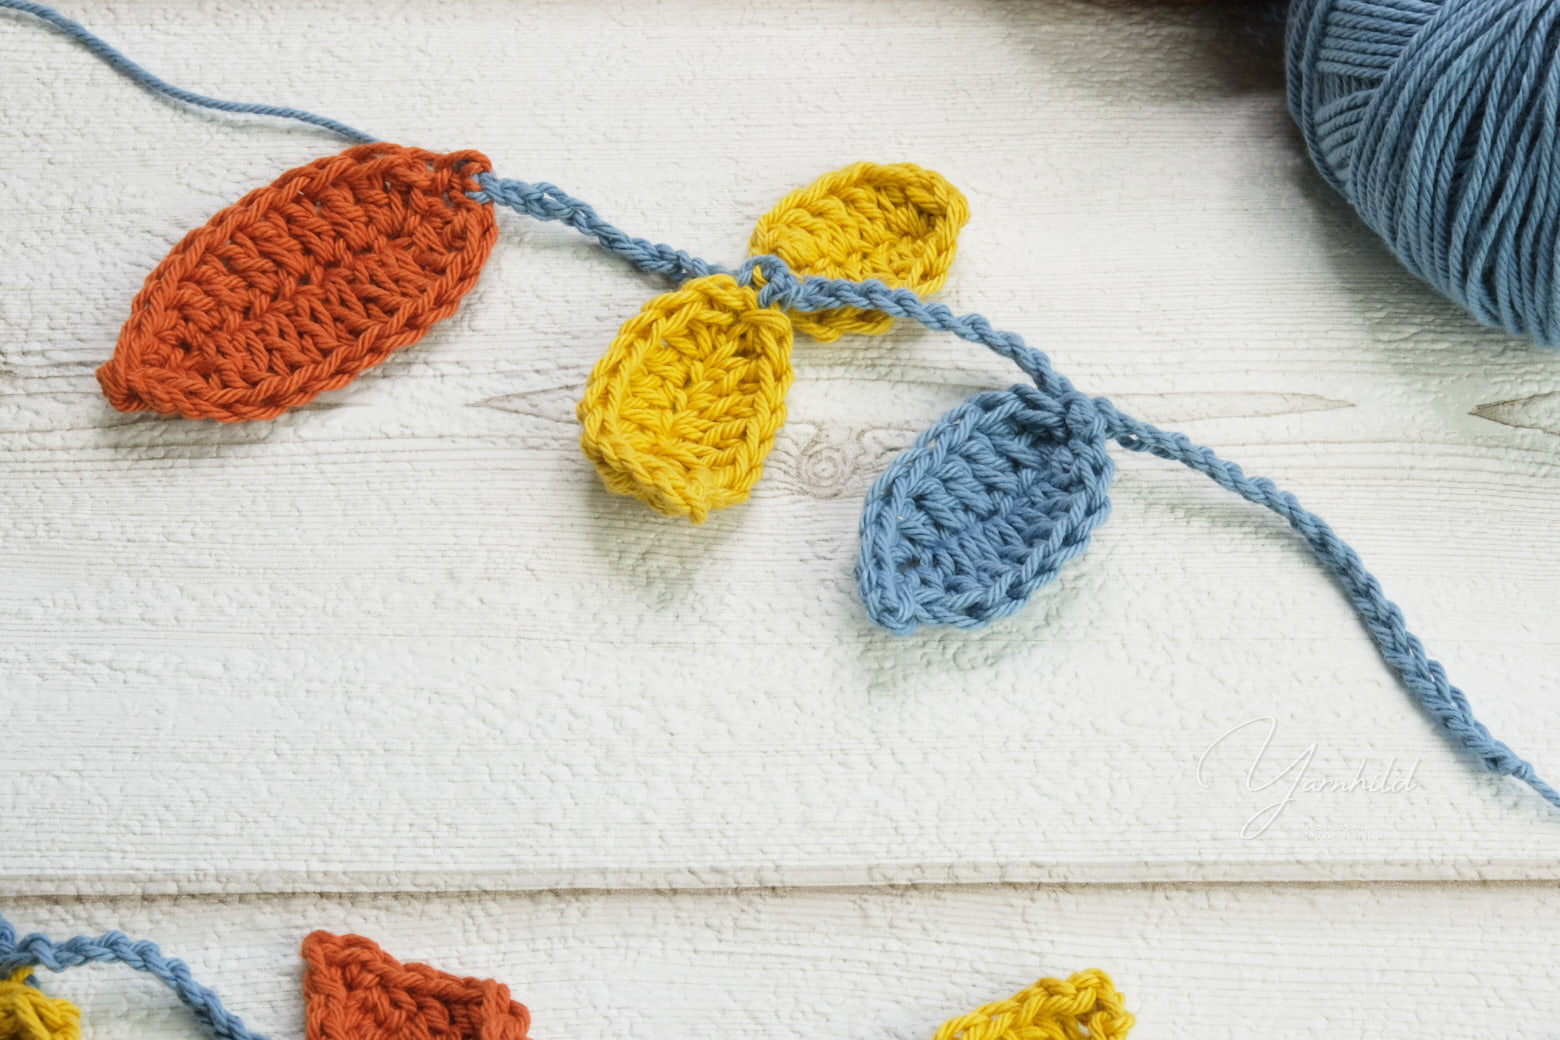
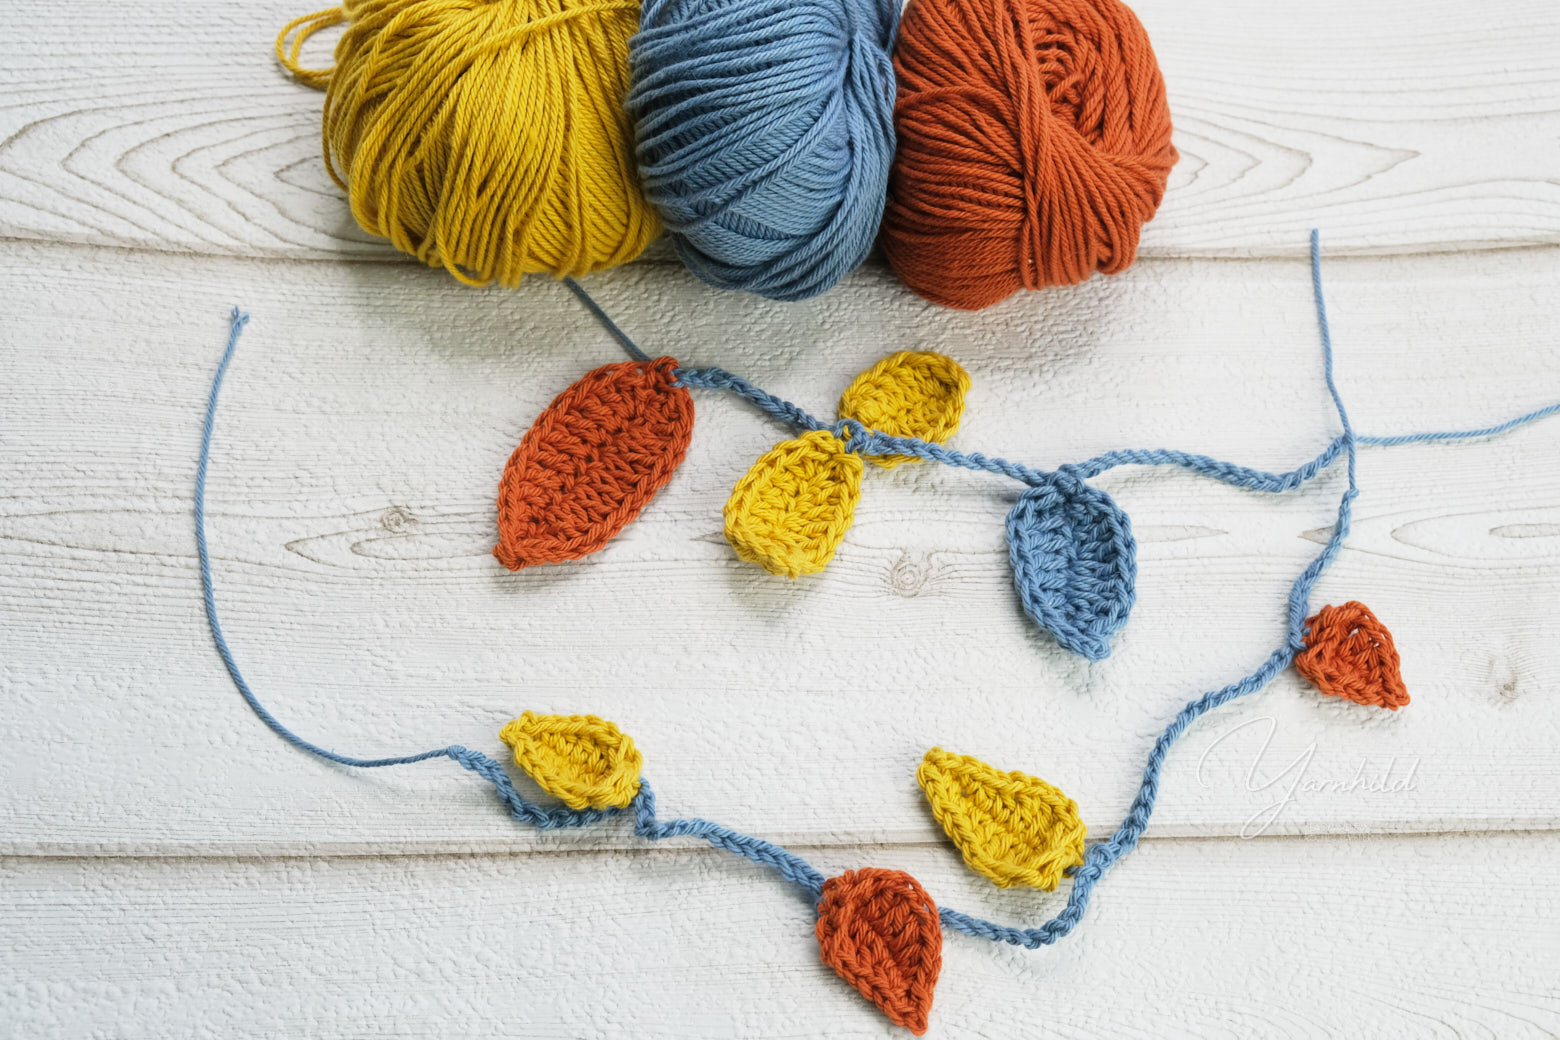
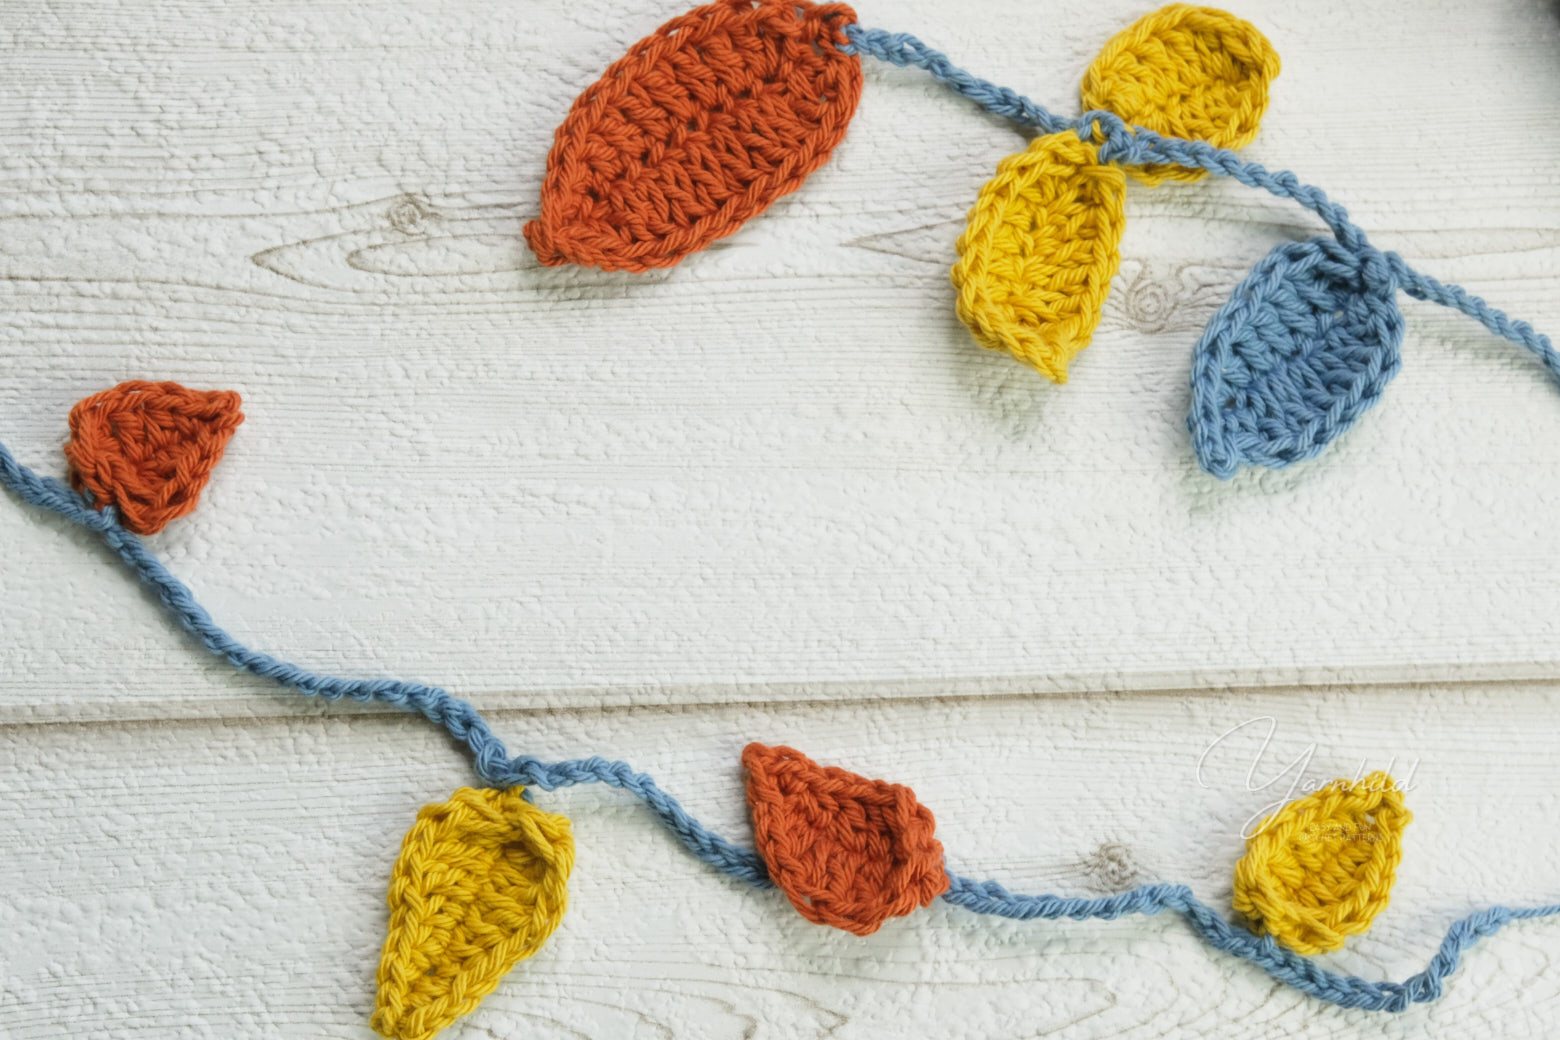
Chain 10, turn, 2 DC in the first 3. ch from the hook, 1 DC in next 4 ch, 1 HDC in next 2 ch, 1 sc in last ch. Ch 2, sl st in first ch. Now work on the opposite side (skip the SC st and SC into the HDC st: 1 HDC in the next 2 sts, 1 DC in the next 6 sts. Sl st in the base of the first st and fasten off.
Make chains (as many as you like) and fasten your leaves to the chains to make a garland.
Videoanleitung Deutsch
Hier kommt die Videoanleitung auf Deutsch. Unten findet ihr die schriftliche Anleitung
Schriftliche Anleitung auf Deutsch
Abkürtzungen
Stb – Stäbchen
LfM – Luftmaschen
hStb – Halbes Stäbchen
KM – Kettmasche
Die schriftliche Anleitung weicht ein bisschen von der Videoanleitung aus.
10 LfM anschlagen. 2 Stb in die 3 LfM von der Nadel. 1 Stb in die nächsten 4 LfM, 1 hStb in nie nächsten 2, 1 fM in die letzte LfM. 2 LfM, KM in die 1. LfM
Jetzt wird an der gegenüberliegende Seite gehäkelt. Die 1 fM überspringen. 1 hStb in die nächsten 2 M, 1 Stb in die nächsten 6. KM in die Mitte vom Blatt und den Faden abschneiden.
Eine lange LfM- kette machen und die Blätter daran befestigen.