How to crochet an easy crochet whale
Here you can find a free crochet pattern for a crochet whale. But first, a backstory on how I came to make this easy crochet pattern.
Today, I wanted to tidy up in my craft room. It's both my office and my craft room. Anyway, this is the room where I store my yarn, and it is currently in a somewhat chaotic state. So I decided to tidy up a bit to bring some order in the chaos.
Full of new motivation and determination, I began to tidy up and categorize my scar yarn balls by color, weight, type, and other factors. It all went smoothly.
For a little while.
Then I got a new idea. Wouldn't it be fun to make a quick scrap yarn project? Then we can all make something out of those little balls of yarn instead of just letting them lie there, serving as dust collectors.
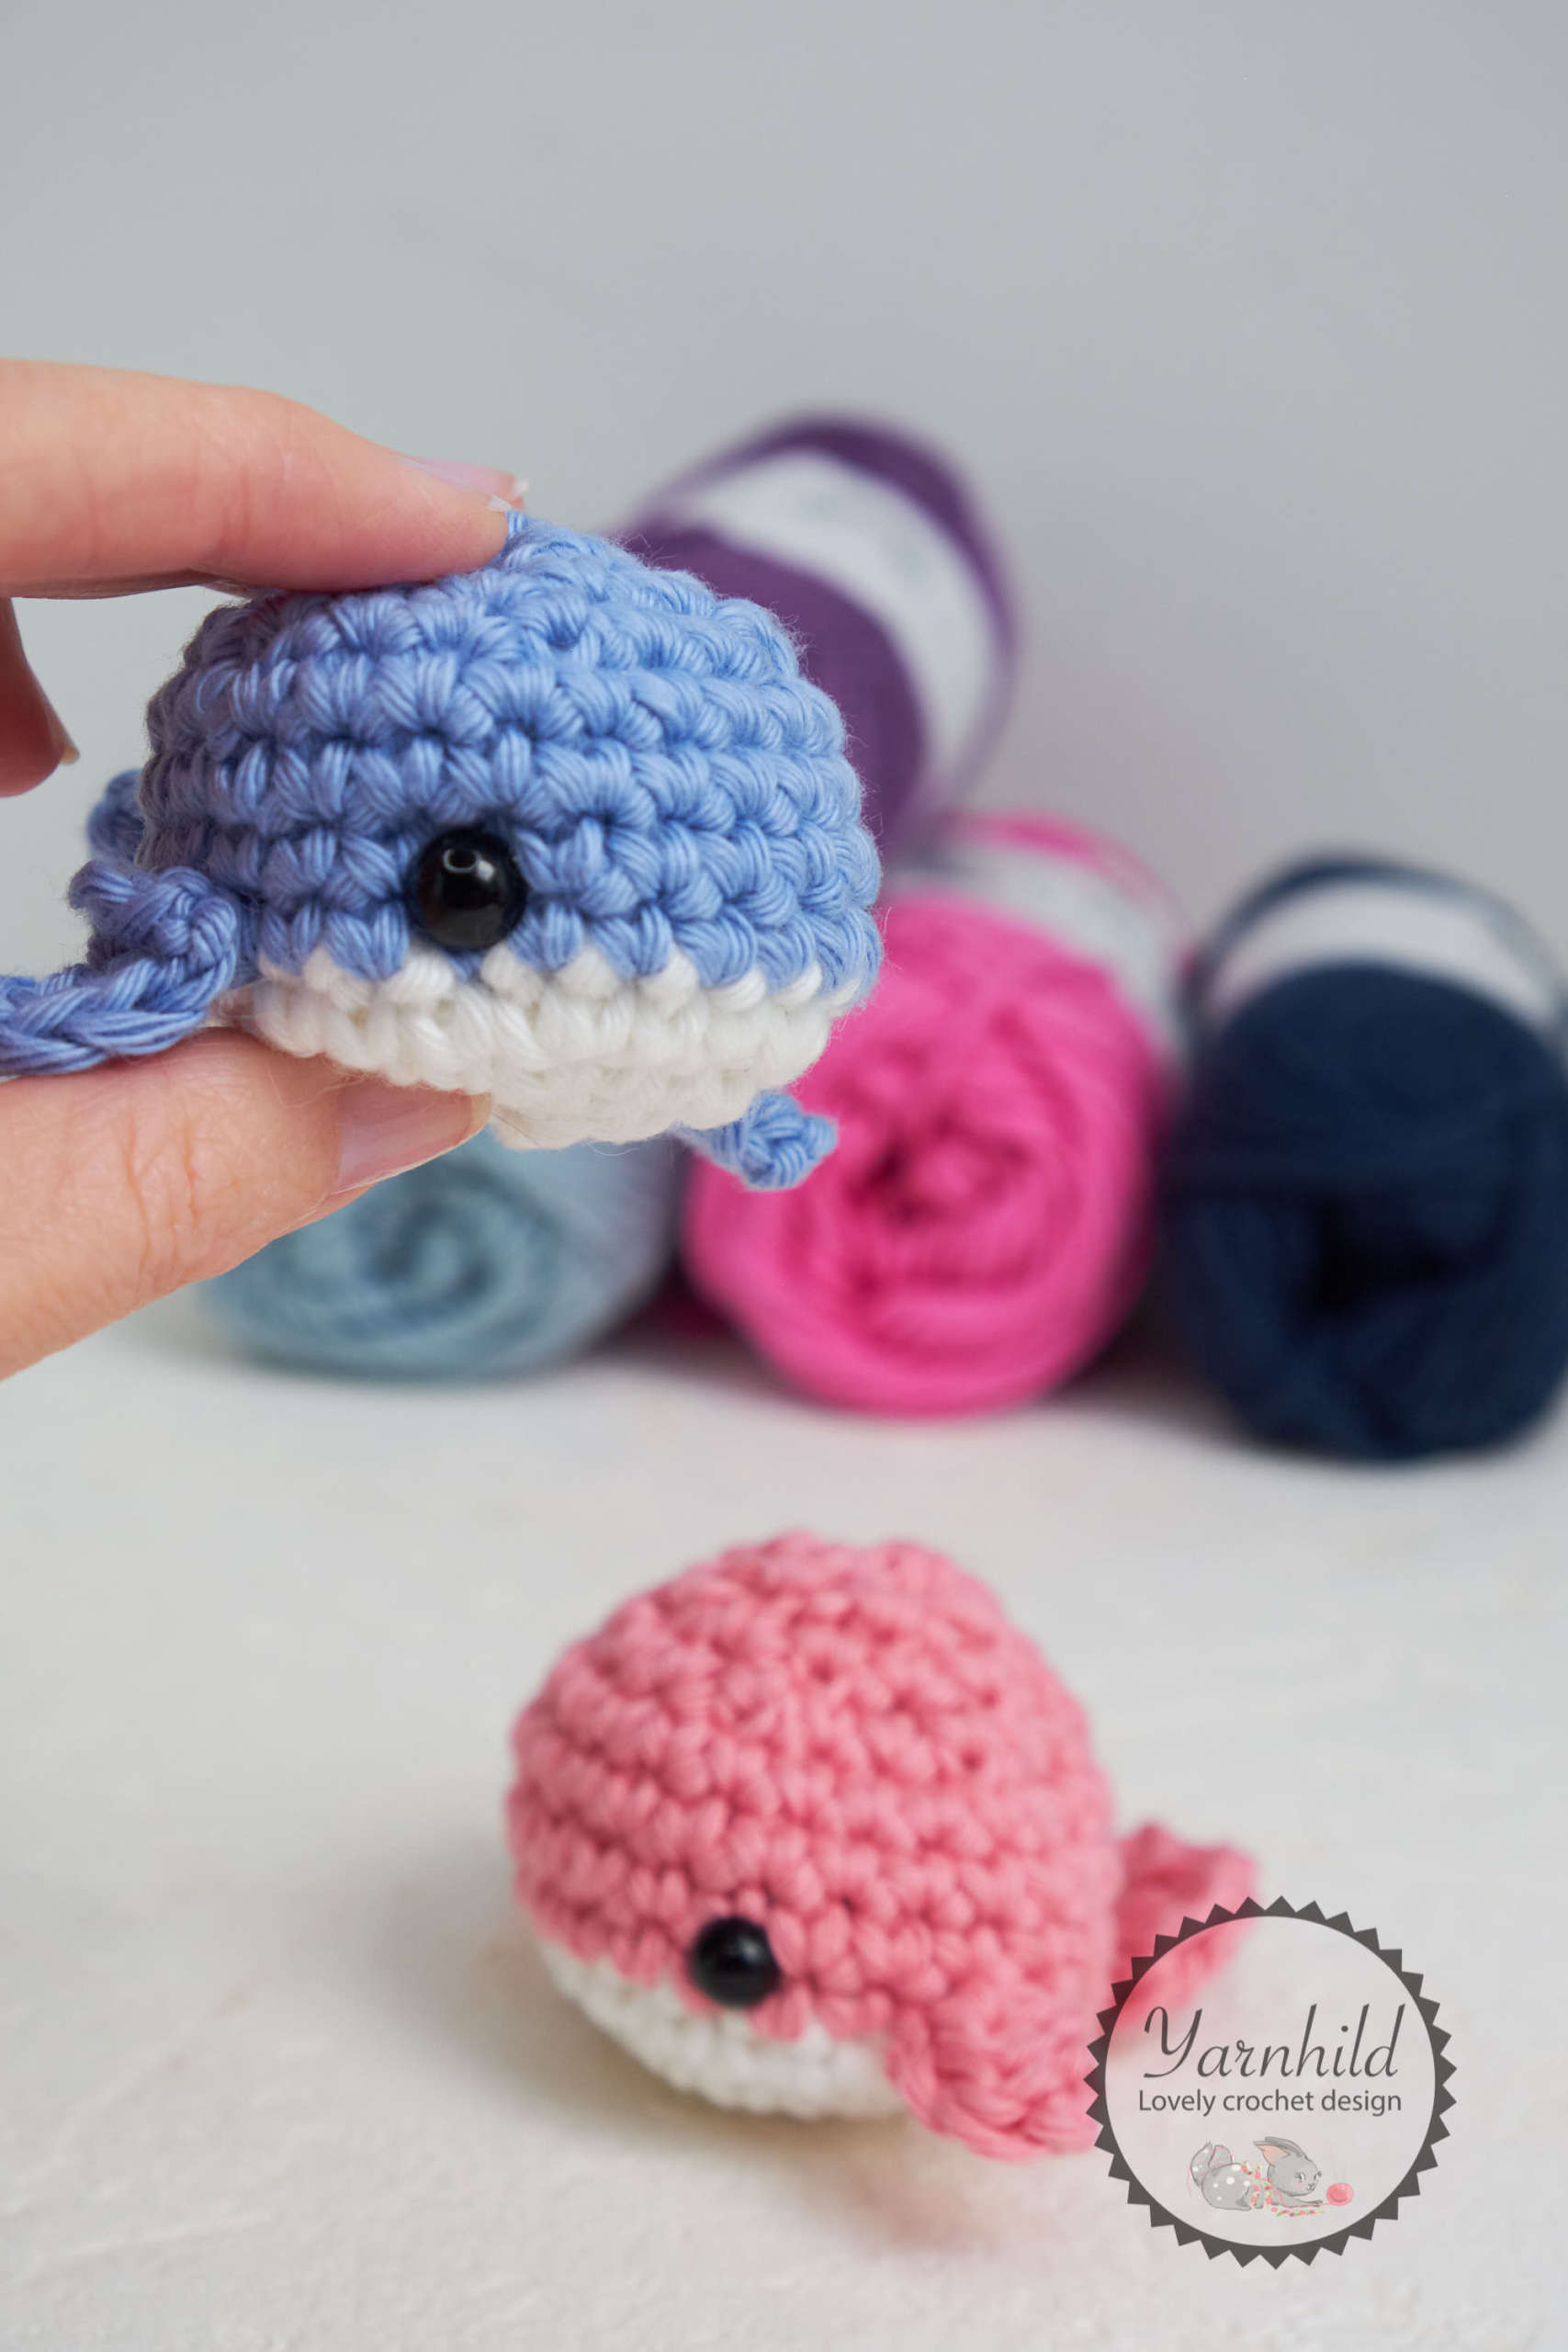
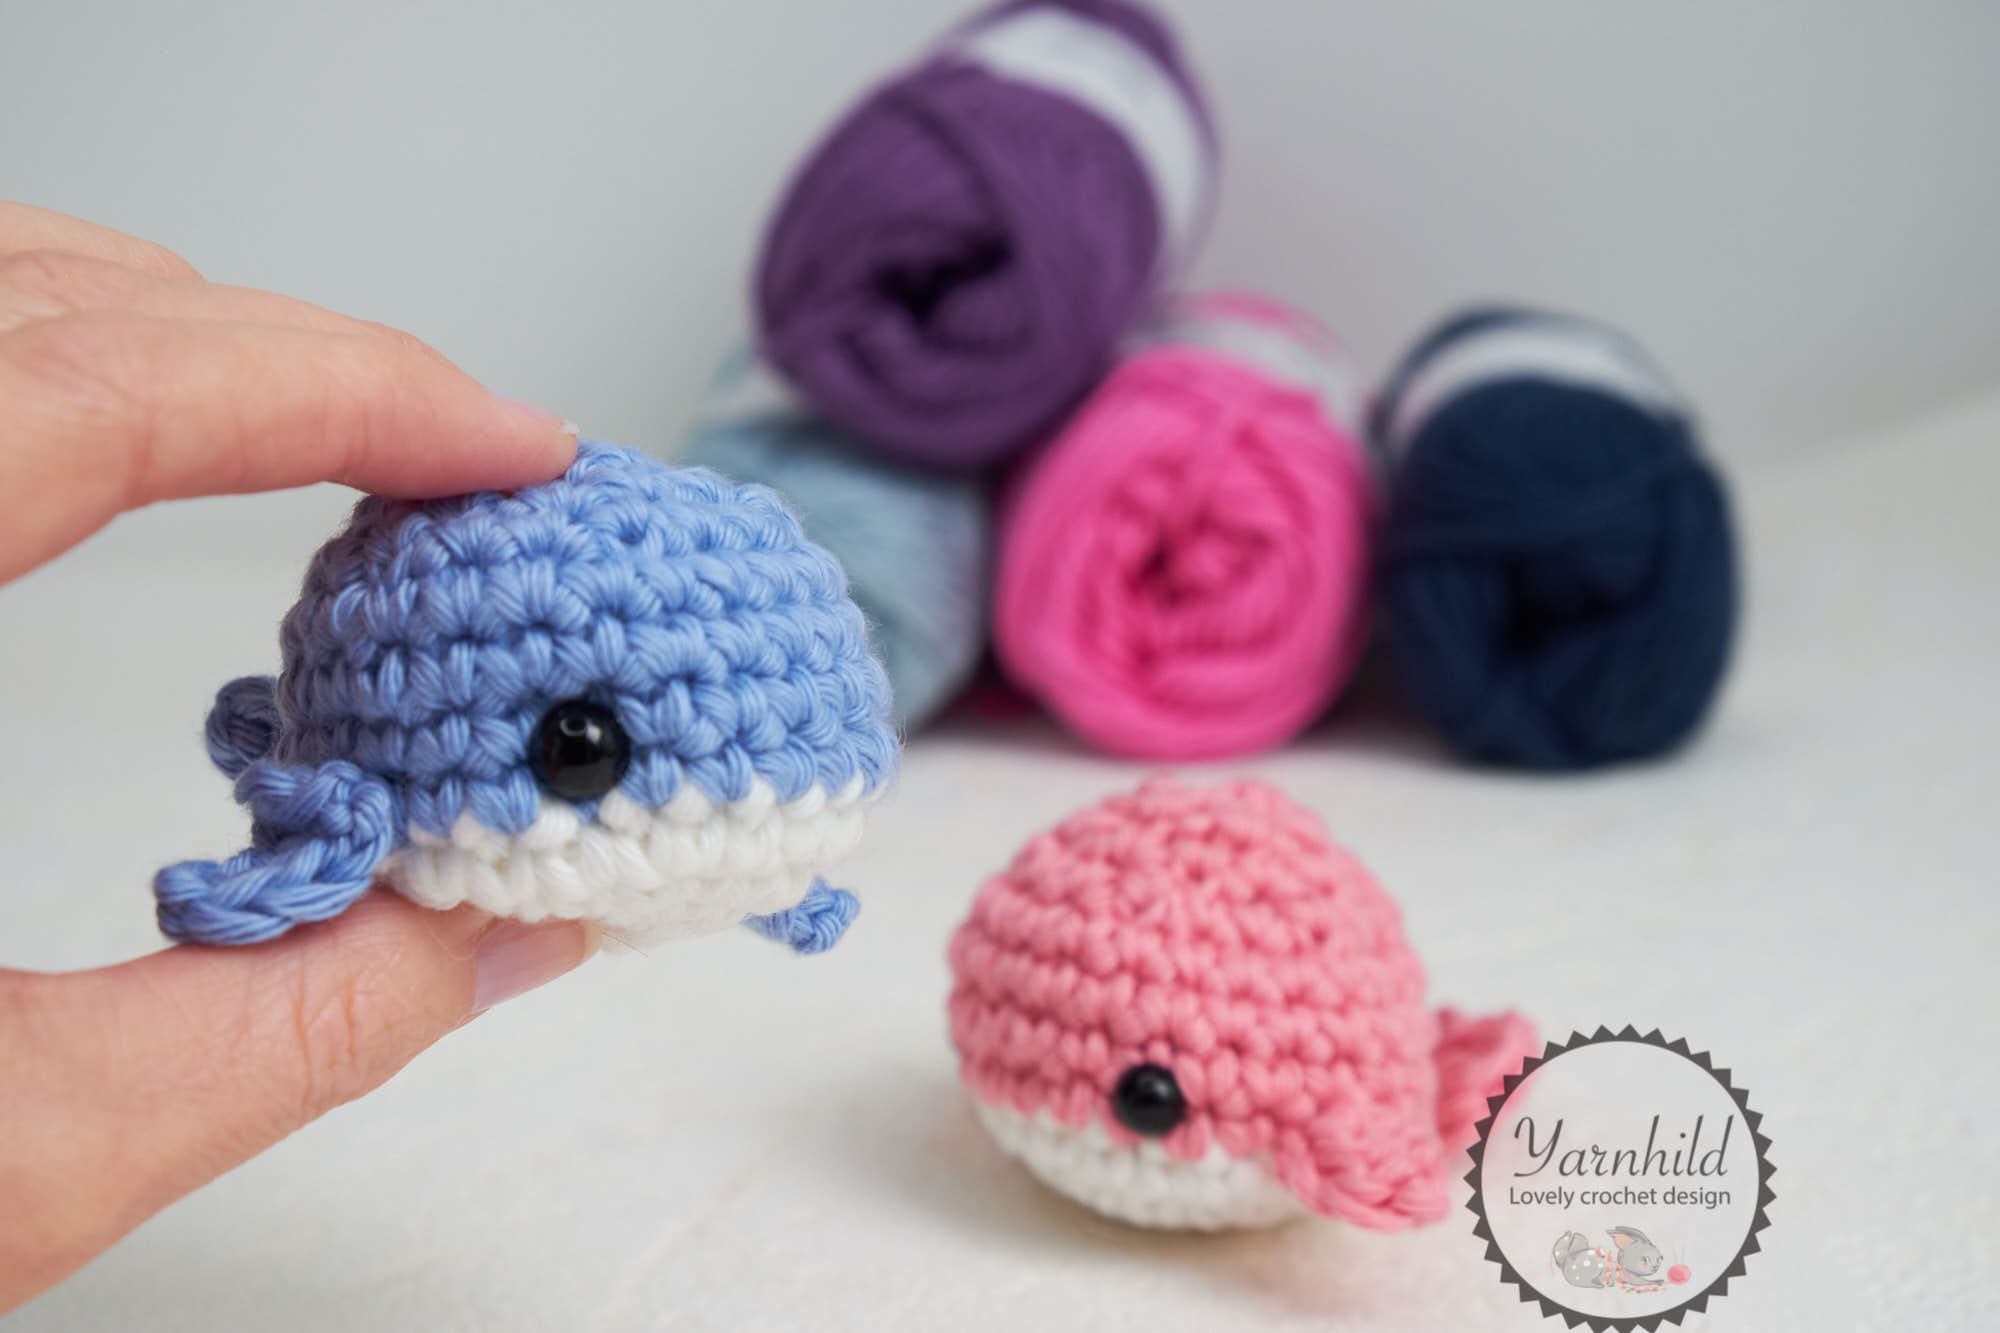
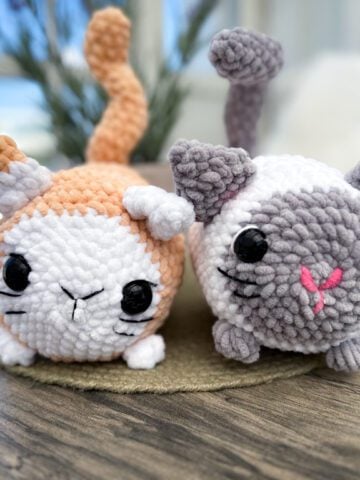
Next, I picked up my hook, and instead of organizing my craft room, I made these little whales. Those adorable crochet whales can be made in various colors, and they are a great way to utilize scrap yarn.
I am also creating videos now, so I am no longer just typing up the pattern. No, I make video tutorials. So I had to make a video, too, and then translate it into German. It took me the whole day!
As you might have figured out by now, my craft room is still chaotic. I have a new pattern to share with you all!
Amigurumi whale
Now I want to make more whales in all the colors! This is a project that you can memorize and bring everywhere. The amigurumi whale is made with simple crochet stitches and is a great beginner project. But more experienced crocheters will also have fun with it. I did!
Materials for the crochet whale
You will need some leftover yarn. I used worsted weight, and you only need about 10 g of white and 15 g of a different color. Also, I used safety eyes and filling materials. Here is a cotton yarn from Lion Brand that you can try.
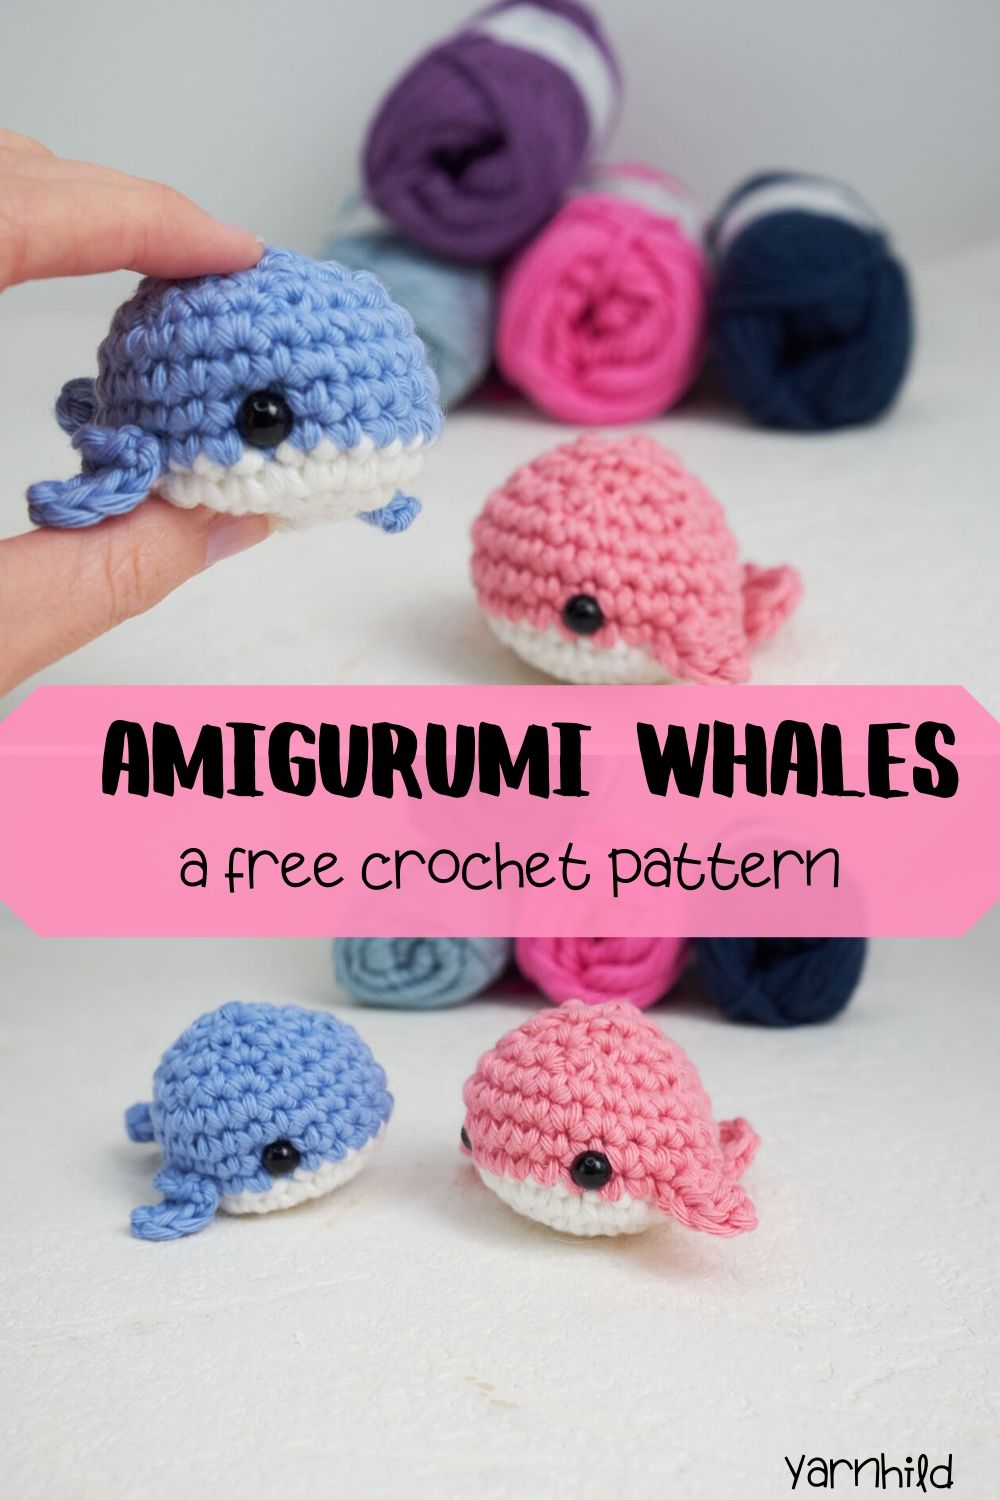
Pin this for later on Pinterest!
[lasso id="11074" link_id="1975" ref="amzn-clover-3672-amour-crochet-hook-set-10-sizes"]
Never miss a pattern!
I try to publish new patterns every week, so if you want to be on our list, you can sign up here.
More easy patterns?
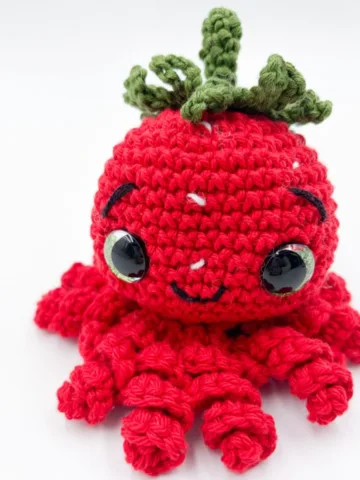
Check out some of these patterns if you are looking for more stash-busting ideas!
Cute basket
I sometimes include affiliate links in my blog posts. That means that I earn a small commission if you purchase a product that I recommend, at no extra cost to you. Thank you for your support!
Crochet whale - Video tutorials in English and German
Note! The tail fin is a little different that in the written pattern. The video has been updated and there is only a small change in the video tutorial
German version
Free crochet animal patterns
On my blog you can find many other free crochet animal patterns
Printable version
Here, you can purchase the printable version for a small amount and remove the ads. That way, you can support my little business. Thank you!
Crochet pattern written by Ragnhild Hynne Uebler – Yarnhild ©
This pattern is Yarnhild's intellectual property. The pattern must not be altered, translated, copied, or republished without approval. You are welcome to sell the items you have made from my patterns, but please give me credit for the pattern you sell online. This is for private use only, not commercial use. 2020 – Yarnhild ©
Crochet whale - A free crochet pattern
Abbreviations – US terms
Ch - chain
Rnd – round
St – stitch
sl st – slip stitch
sc – single crochet
R – round
sc2tog– single crochet decrease
sc inc – single crochet increase, 2 single crochet in one stitch
dc – double crochet
mr – Magic ring
hdc – half double crochet
Yo – yarn over
Materials
Worsted weight yarn in two colors. A = white B = blue/pink
Filling materials
Crochet hook 3,5 mm
Scissors and stitch marker
Safety eyes 8 mm
About the pattern
The whale is made in continuous rounds. Use a stitch marker and move it up as you finish the rounds. The whale consists of 4 parts; the body, the side fins and the tail fin. The finished whale is about 7 cm/ 2.8 inches long.
Difficulty level: Advanced beginners
Body
Work in continuous rounds. Use a stitch marker. Colors A and B
Start with A:
Rnd 1: 6 sc in a mr = 6 sc
Rnd 2: sc inc x 6 = 12 sc
Rnd 3: (1 sc, sc inc) x 6 = 18 sc
Rnd 4: (2 sc, sc inc) x 6 = 24 sc
Change to color B
Rnd 5- 8: 1 sc in each st (4 rounds) = 24 sc
Fasten safety eyes between rows 5 and 6, 5 sc stitches space between. If you use smaller eyes, but them closer together.
Rnd 9: (2 sc, sc2tog) x 6 = 18 sc
Add stuffing here
Rnd 10: (1 sc, sc2tog) x 6 = 12 sc
Rnd 11: sc2tog x 6 = 6 sc
Sl st in the first st, fasten off and weave in ends.
Side fins
Work in rows
Make 2
In color B
Row 1: ch 4, 1 sc in the 2ndch, 1 hdc in next, 1 dc in the last. Fasten off. Leave a strand for fastening.
Tail fin
In color B
Make a magic ring, in the ring: Ch 1, 1 hdc, 2 dc, sl st in the ring, 2 dc, 1 hdc, sl st in the ring. Pull ring closed. Fasten off. Leave a strand for fastening.
Assembly
Sew on the back fin on rows 5-6 in the middle on the back part of the whale.
Sew on the side fins on rows 5-6. Weave in ends.
Norsk oppskrift
Her er oppskriften på norsk.
Heklet hval – Gratis hekleoppskrift
Forkortelser – US-termer
lm – luftmaske
omg – omgang
m – maske
kjm – kjedemaske
fm – fastmaske
R – omgang
2 fm sm – fell 2 fastmasker sammen (fastmaskefelling)
fm øk – økning i fastmaske, 2 fm i samme maske
st – stav
mr – magisk ring
hst – halvstav
Materialer
Bomullsgarn i to farger. Jeg brukte 8/8 fra Hobbii.
A = hvit
B = blå/rosa
Fyllvatt
Heklenål 3,5 mm
Saks og maskemarkør
Sikkerhetsøyne 8 mm
Stoppenål
Om oppskriften
Hvalen hekles i spiralomganger. Bruk maskemarkør og flytt den opp etter hvert som du fullfører omgangene.
Hvalen består av 4 deler: kroppen, sidefinnene og halefinnen.
Ferdig størrelse er ca. 7 cm lang.
Vanskelighetsgrad: Enkel
Kropp
Hekles i spiralomganger med maskemarkør.
Farger A og B.
Start med farge A:
Omg 1: 6 fm i mr = 6 fm
Omg 2: fm øk x 6 = 12 fm
Omg 3: (1 fm, fm øk) x 6 = 18 fm
Omg 4: (2 fm, fm øk) x 6 = 24 fm
Bytt til farge B
Omg 5–8: 1 fm i hver m (4 omganger) = 24 fm
Fest sikkerhetsøyne mellom omgang 5 og 6, med 5 fm mellomrom.
Hvis du bruker mindre øyne, plasser dem litt nærmere hverandre.
Omg 9: (2 fm, 2 fm sm) x 6 = 18 fm
Fyll med fyllvatt
Omg 10: (1 fm, 2 fm sm) x 6 = 12 fm
Omg 11: 2 fm sm x 6 = 6 fm
Kjm i første m, klipp tråden og fest trådendene.
Sidefinner
Hekles frem og tilbake i rader.
Lag 2 stk i farge B.
Rad 1: 4 lm, 1 fm i 2. lm fra nålen, 1 hst i neste lm, 1 st i siste lm.
Fest tråden, la en lang ende være igjen til montering.
Halefinne
I farge B:
Lag en magisk ring, og hekle i ringen:
1 lm, 1 hst, 2 st, kjm i ringen, 2 st, 1 hst, kjm i ringen.
Stram ringen, fest tråden og la en lang ende være igjen til montering.
Montering
Sy halefinnen bak på kroppen mellom omgang 5–6, midt bak på hvalen.
Sy sidefinnene på mellom omgang 5–6.
Fest alle tråder.


One Comment
Comments are closed.