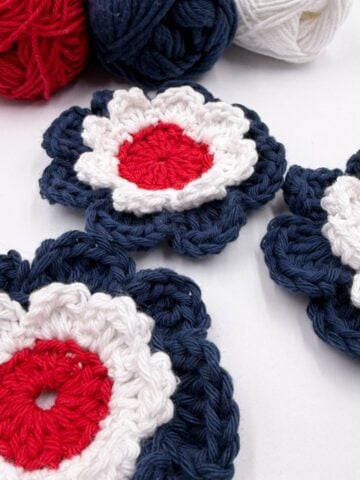
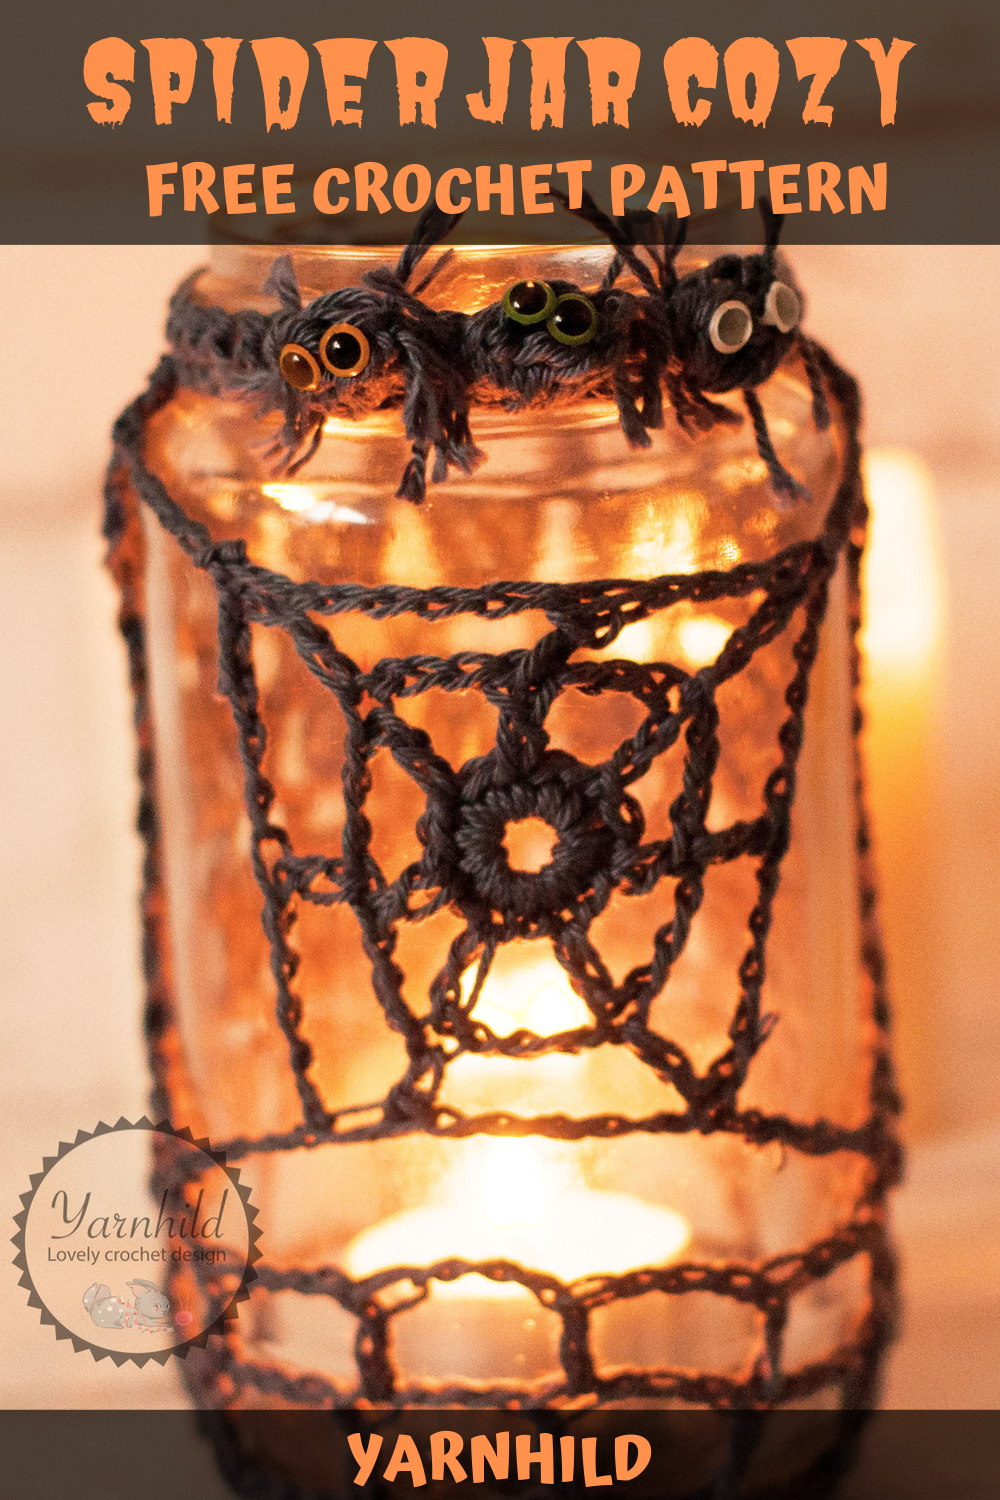
Crochet Halloween Spider Jar Cozy
Today I am ressharing one of my patterns that I've made a couple of years ago. Have you ever made a jar cozy with a spider web and little, cute spiders before? I bet you haven't! So, therefore, I present to you the spider Halloween crochet jar cozy pattern!
I live in Germany and Halloween is getting more popular here too! Especially my neighbor is crazy about Halloween. We are at that stage where they take a few days off from work to decorate for Halloween! Because we live across the street from them, we are lucky to get invited to their amazing Halloween party each year!
She fell in love with my Halloween crochet jar cozy pattern, so this year I'll make her some as a thank you!
I hope you will love this pattern too! I've made many step-by-step pictures and I am looking forward to seeing many amazing variations of the crochet jar cozy!
I use affiliate links in this post, this means that I get a small commission when you buy something from Amazon. It does not add any extra cost on your part.
The yarn
This time I used this yarn from Schachenmayr, Catania. The yarn has a nice shine so it is perfect for this type of project! This is a sports weight with 100% cotton. I do recommend a thinner cotton yarn for the jar cozy. Don't use acrylics, because it's flammable!
So let's get started with the pattern! Please share this blog post with other Halloween enthusiasts!
Crochet Jar Spider Cozy
Skill level: Advanced beginner
Abbreviations used:
ch – chain
yo – yarn over
st – stitch
sl st – slip stitch
sc – single crochet
inc – Increase ( single crochet increase, two single crochet in one stitch)
dec – Decrease ( to single crochet together)
Rnd – round
Blo - back loop only
Materials
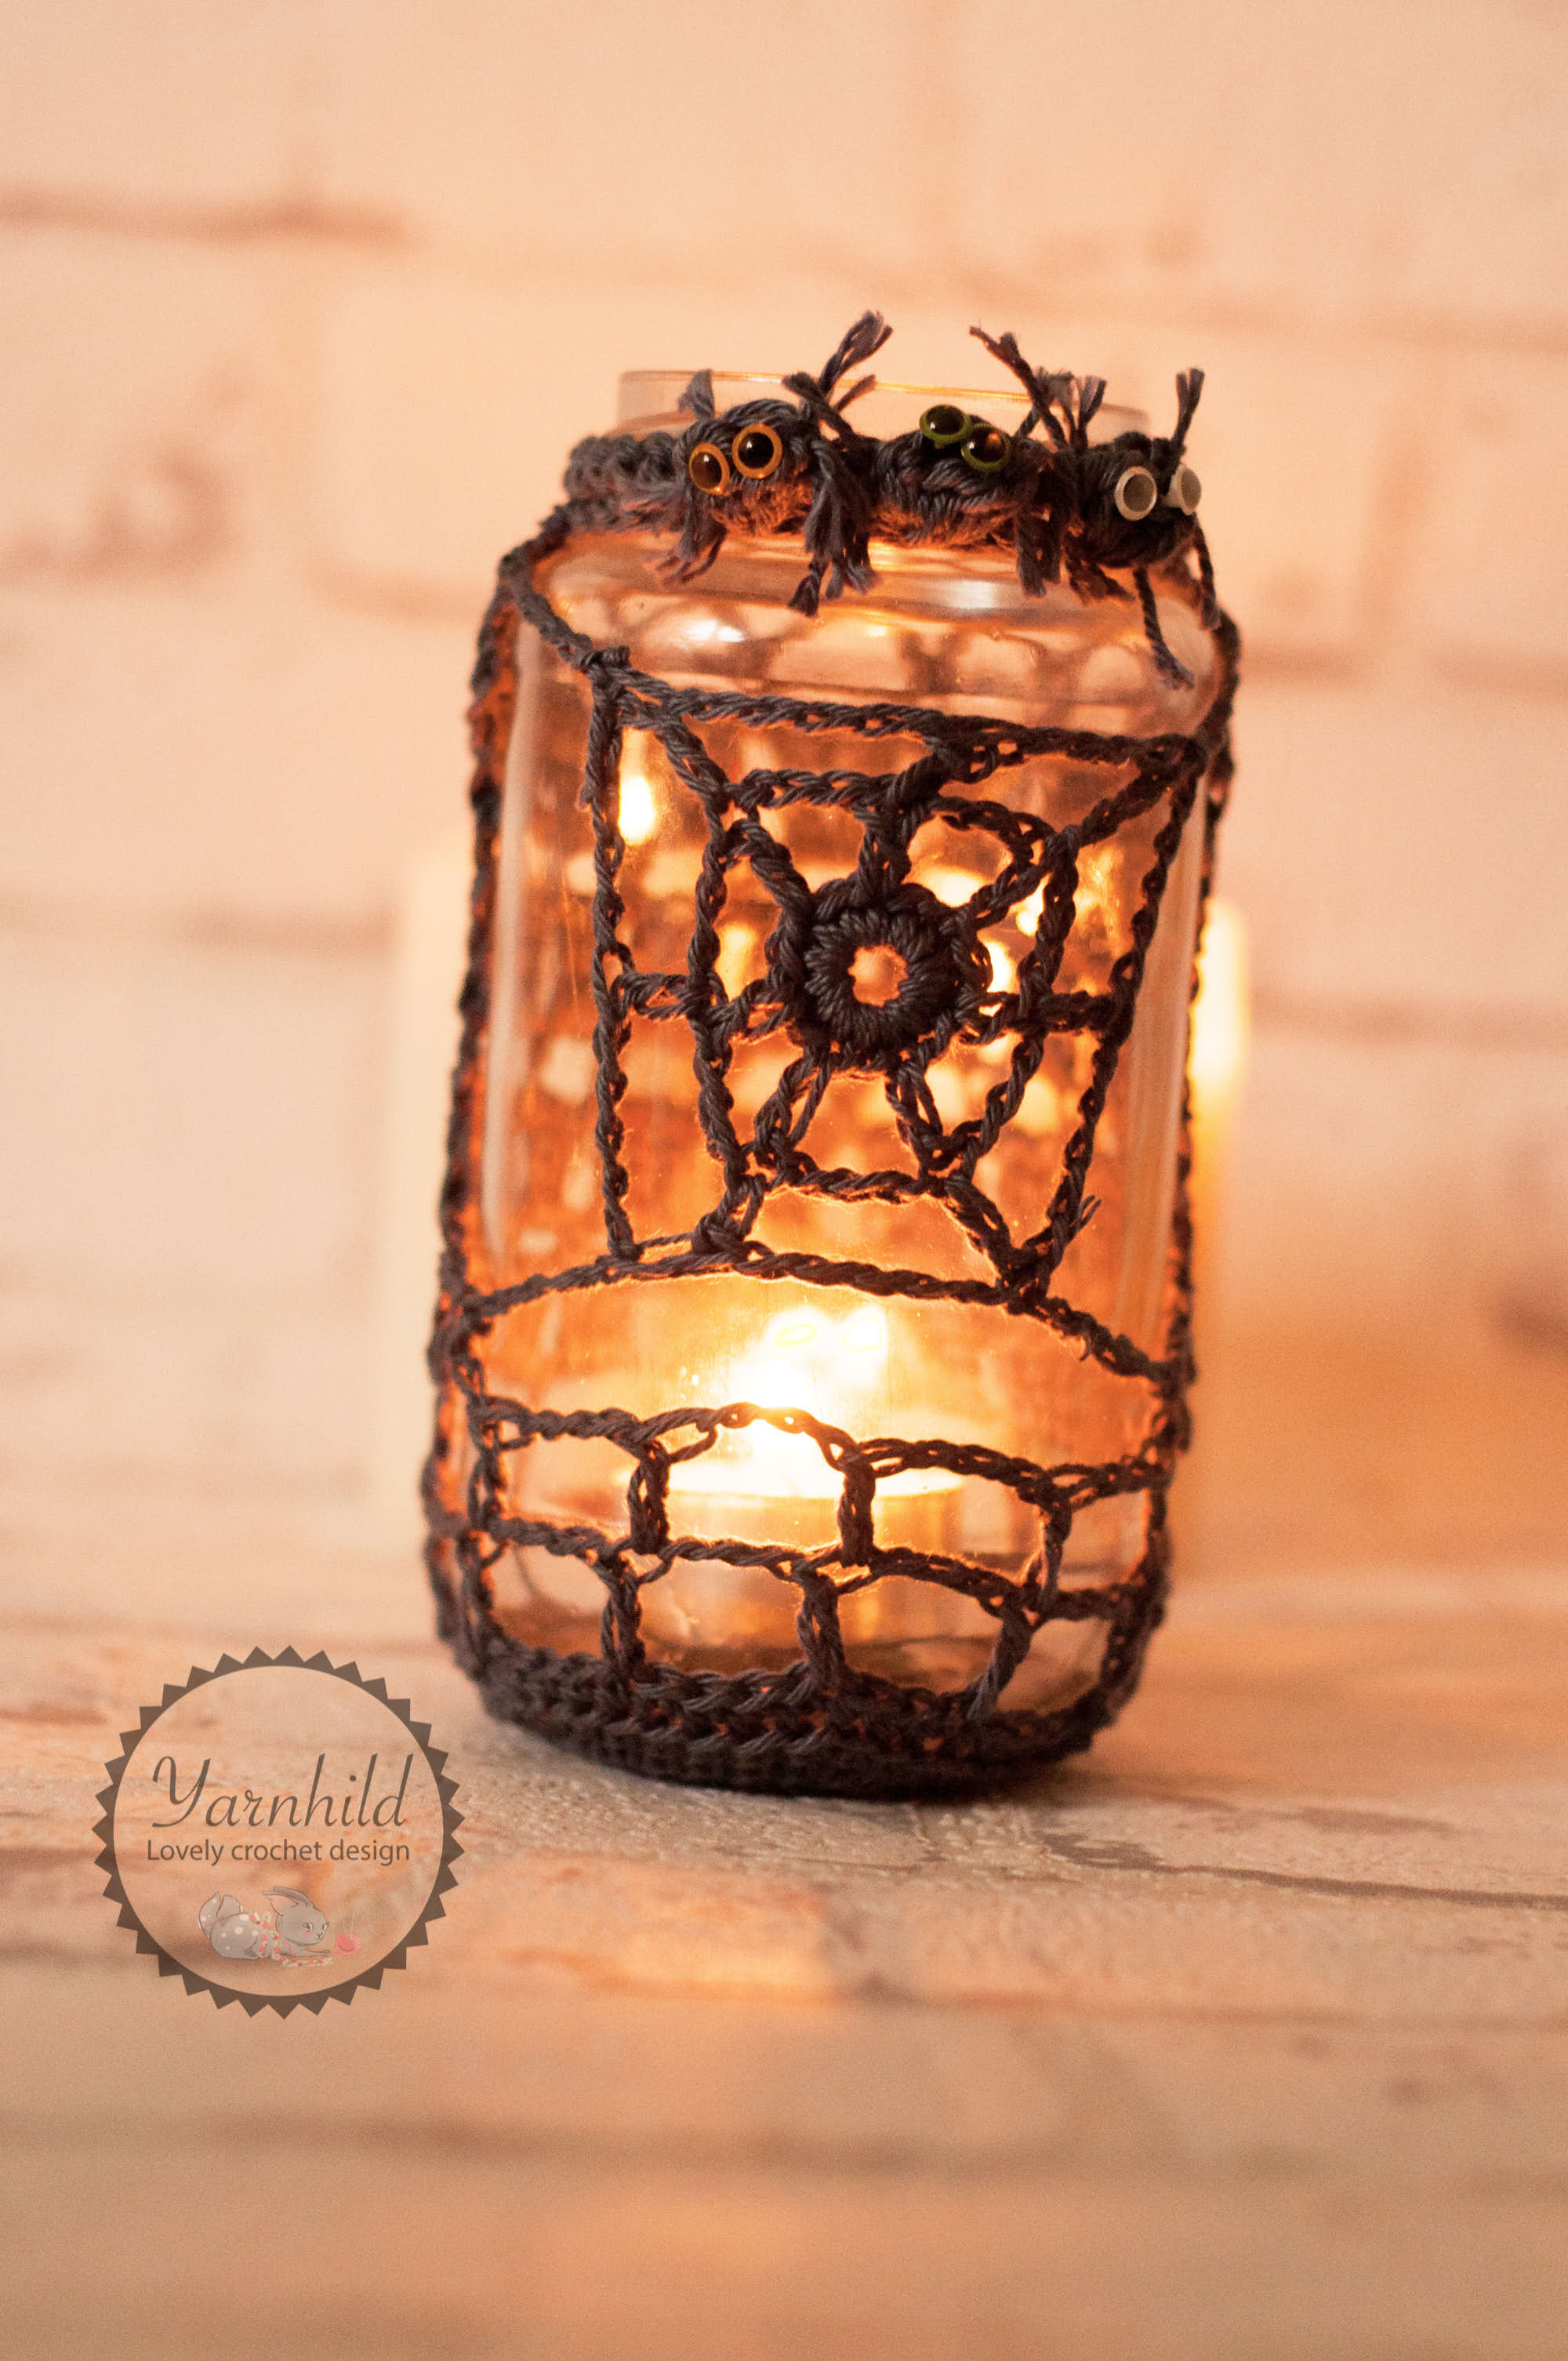
A jar. (mine is about 6 inches/15 cm high and 3 inches/7,5 cm wide)
If you have a smaller/bigger glass I have added notes in the pattern on how you can make adjustments to make it fit.
Schachenmayr Catania Grey 242 Circa 50g/ 1,8 oz 100% Cotton
- Yarn Weight: Sport - 5ply | Fine (2) Tension/Gauge: 26 stitches, 36 rows to 10cm (4in)
- Gauge: 4″ x 4″ / 10 x 10 cm = 17 sts x 22 rows
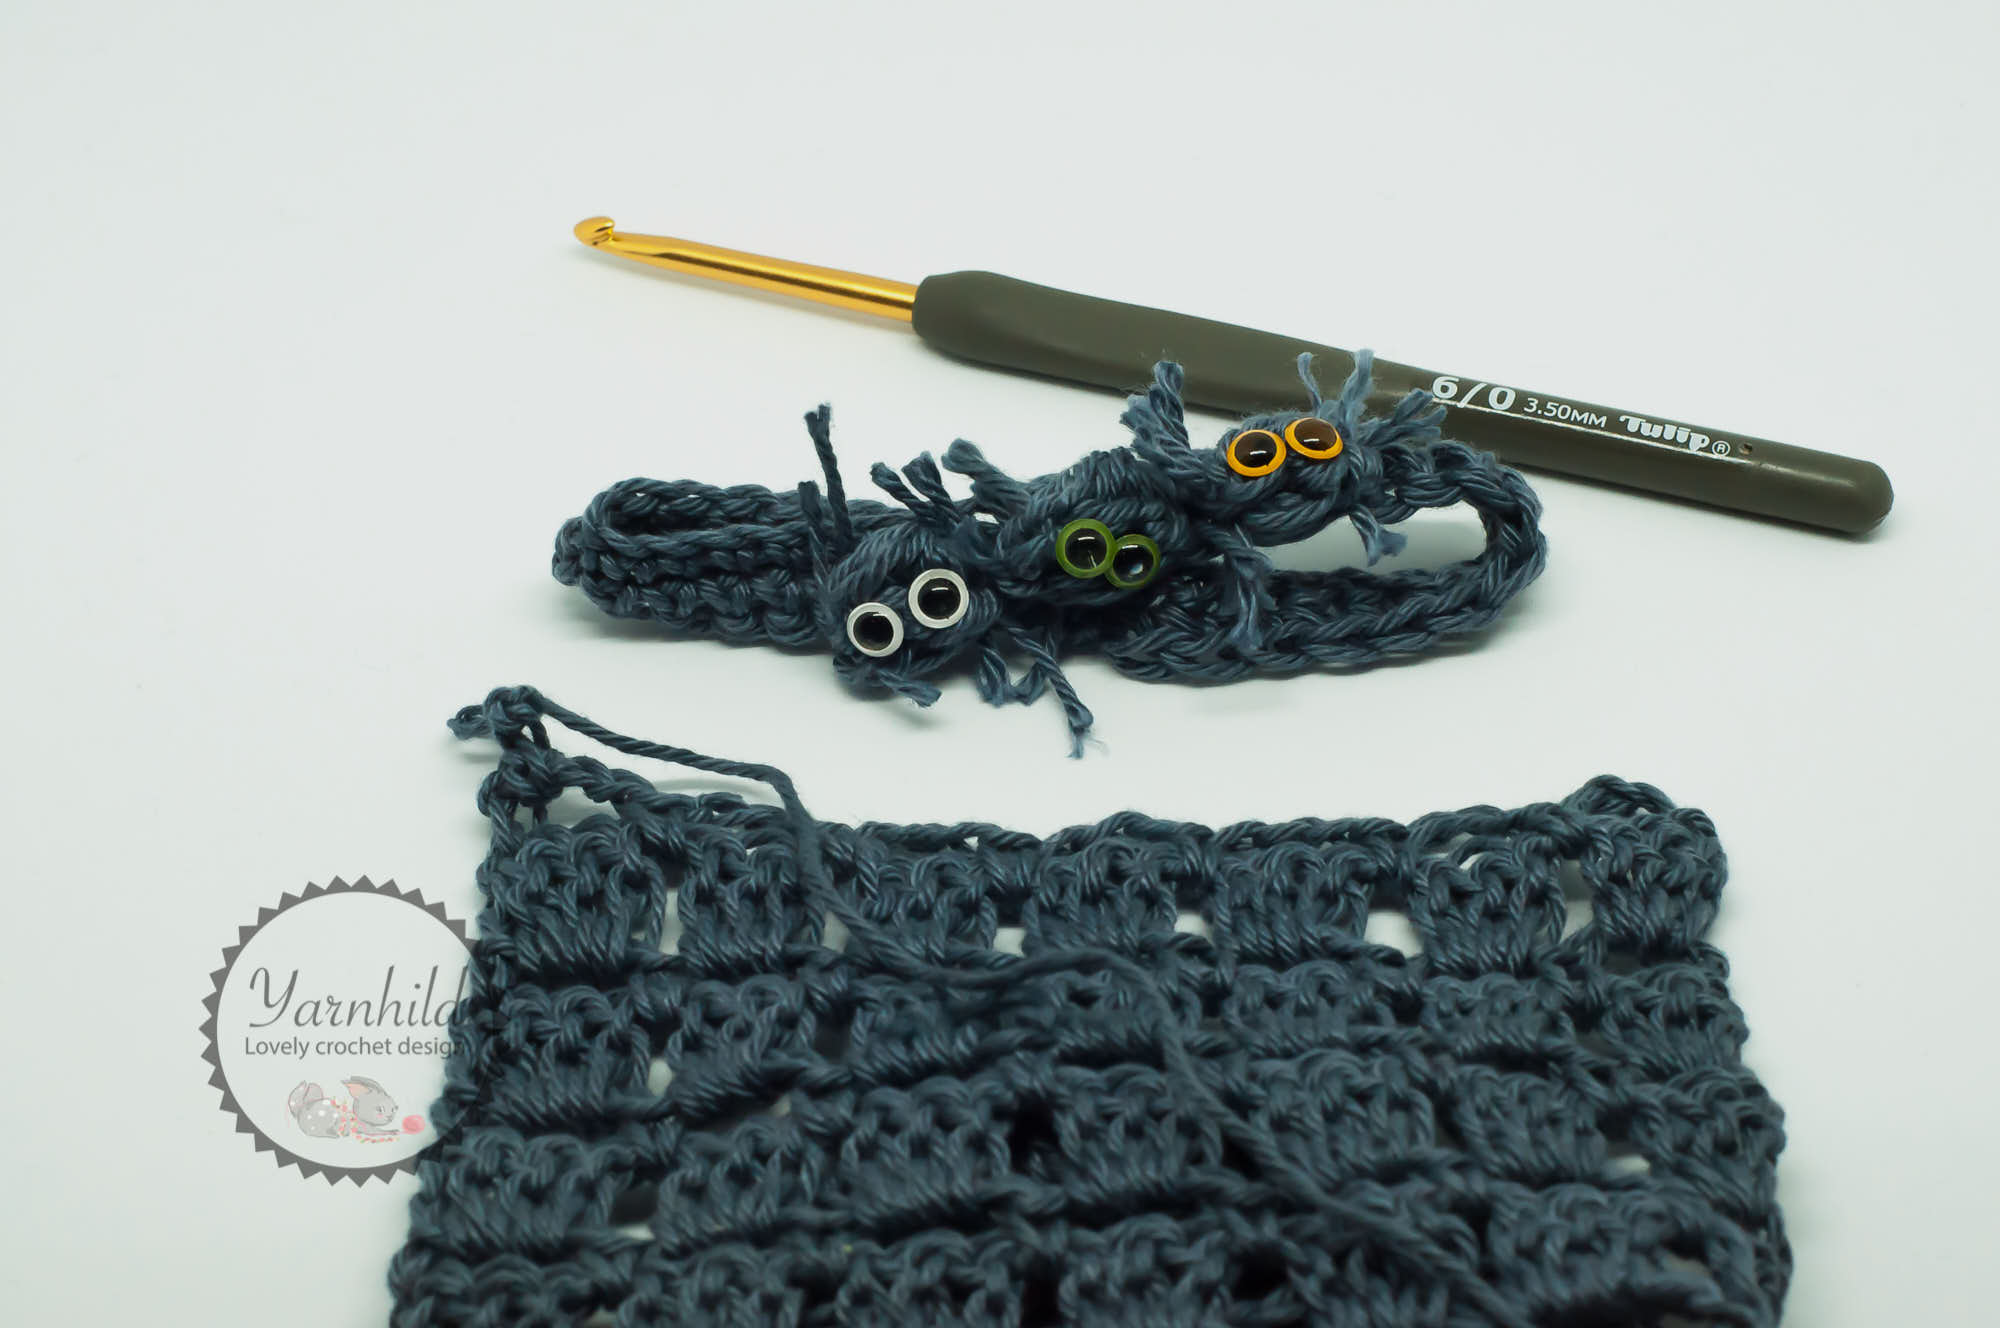
- Crochet hook 3,5 mm/US 4
- Safety eyes 5 mm (3 pair)
- Scissors
- Tapestry needle
Notes.
The pattern is written in US terms
First, we will start with the bottom of the jar cozy and work our way up. The upper part is crocheted separately. We will also be making the spider web separate and then the parts are connected thought the spider web.
Bottom of jar cozy
This part is worked in continuous rounds. I advise you to place a stitch marker to keep track of where you are. Place a stitch marker in the first single crochet and move it up as you finish the rounds. Do not join until instructed.
I have written the pattern based on the size of my jar. If you have a bigger/smaller jar you can just add more rounds or stop when your circle is big enough. Just keep it in a multiple of six. Check every once in a while to check of your circle is big enough, you don't want it too big because then the result won't look good, you need a little tension to it, otherwise, it will hang loosely,
Rnd 1) 6 sc in a magic ring. (6 sc)
Rnd 2) Inc in every stitch. (12 sc)
Rnd 3) *1 sc, 1 inc* (18 sc)
Rnd 4) *2 sc, 1 inc* (24 sc)
Rnd 5) *3 sc, 1 inc* (30 sc)
Rnd 6) *4 sc, 1 inc* (36 sc)
Rnd 7) *5 sc, 1 inc* (42 sc)
Rnd 8) 1 sc in blo (back loop only) (42 sc)
Rnd 9) Chain 3 (count as 1 dc) + 3 ch, skip 3 sc and do 1 dc in the next stitch. *Chain 3, skip 3 sc, 1 dc in next* Join with
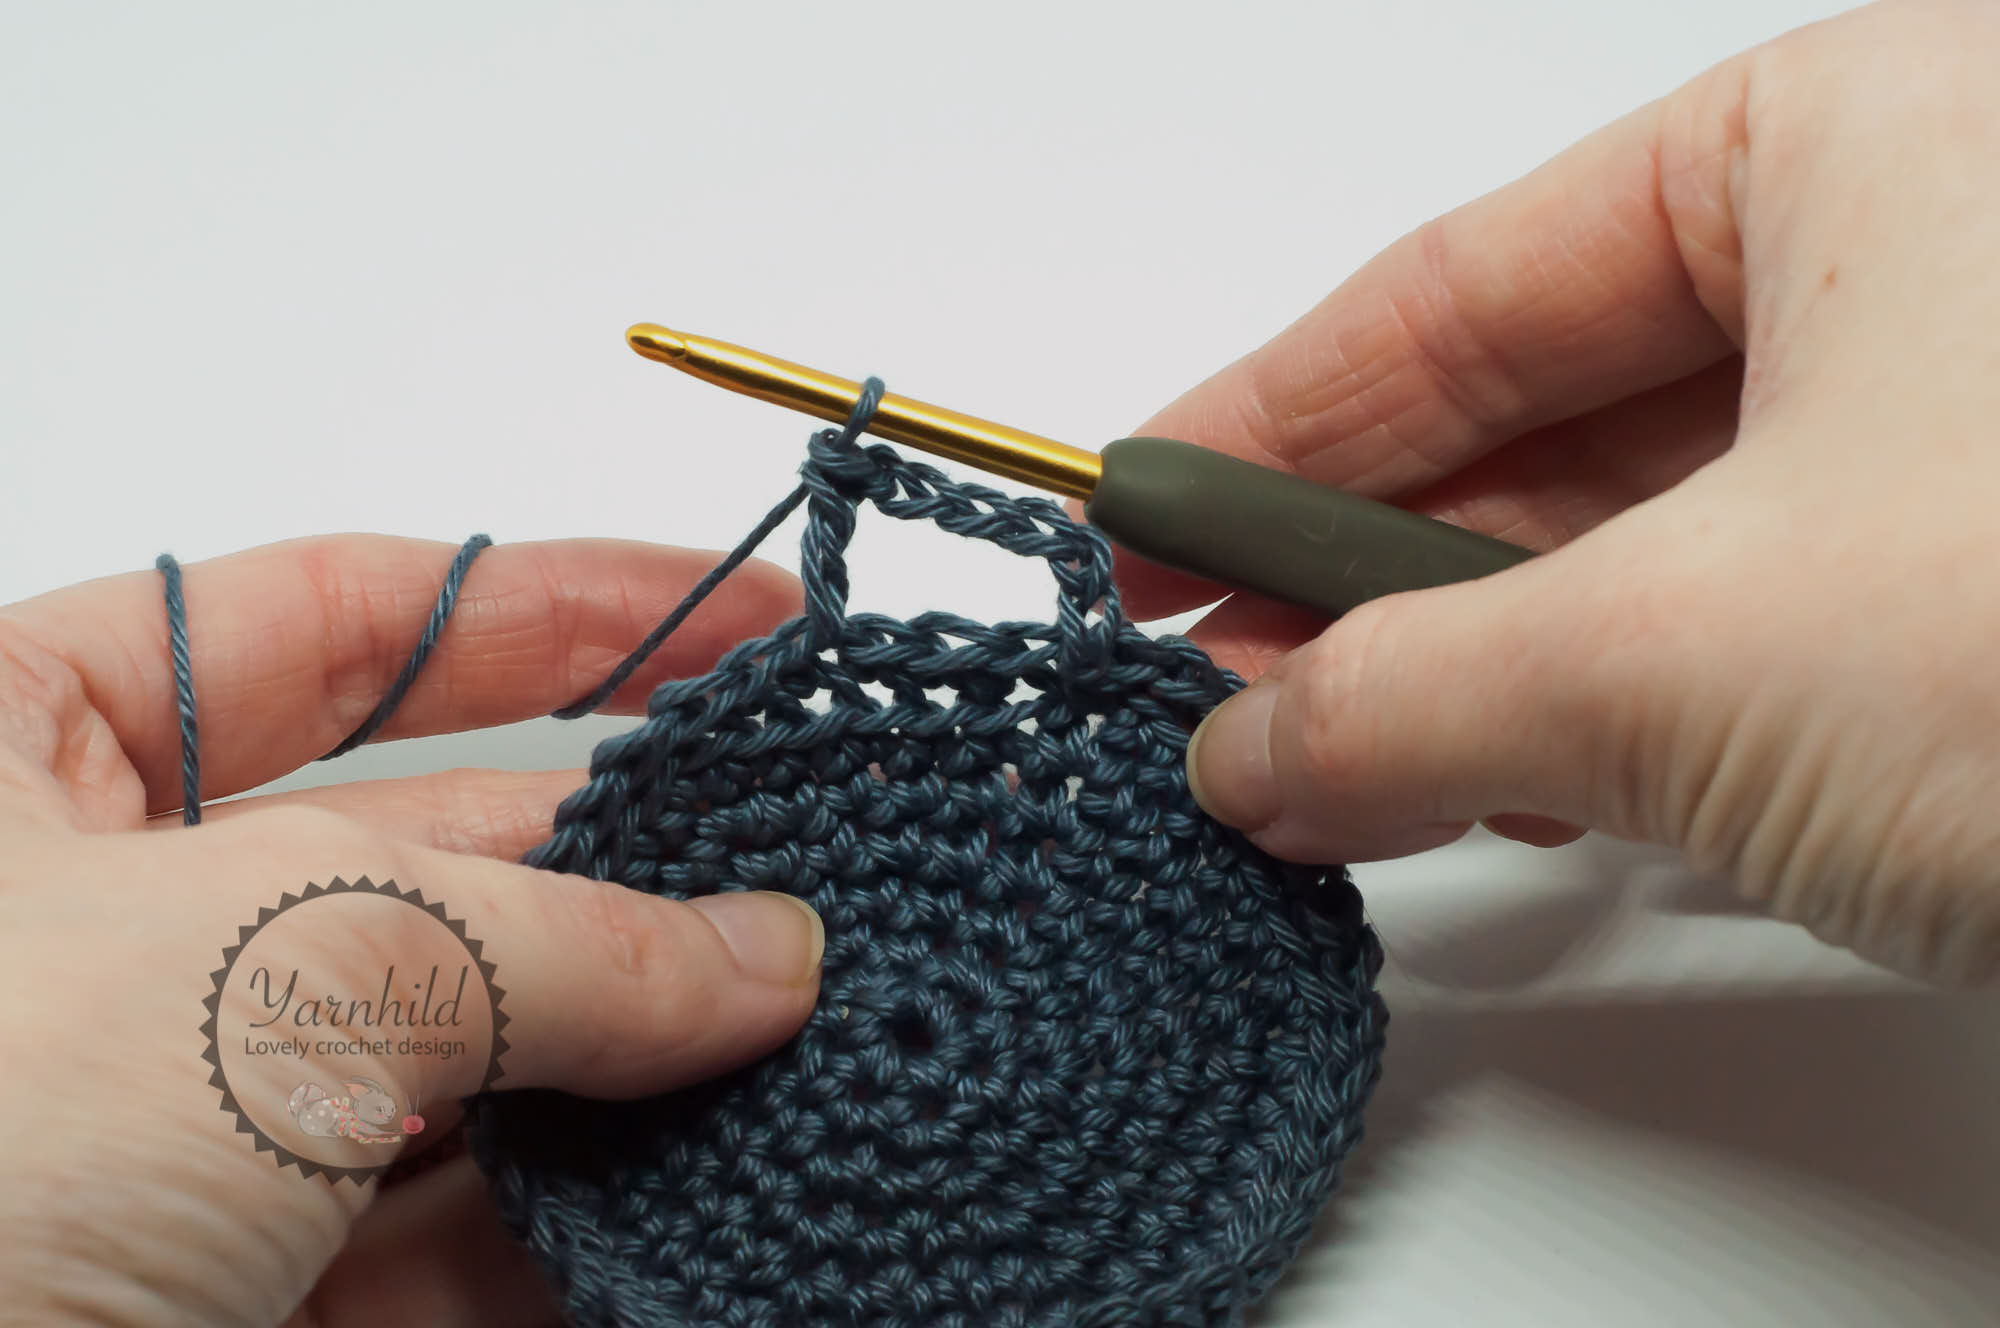
Check to see if the tension is right.
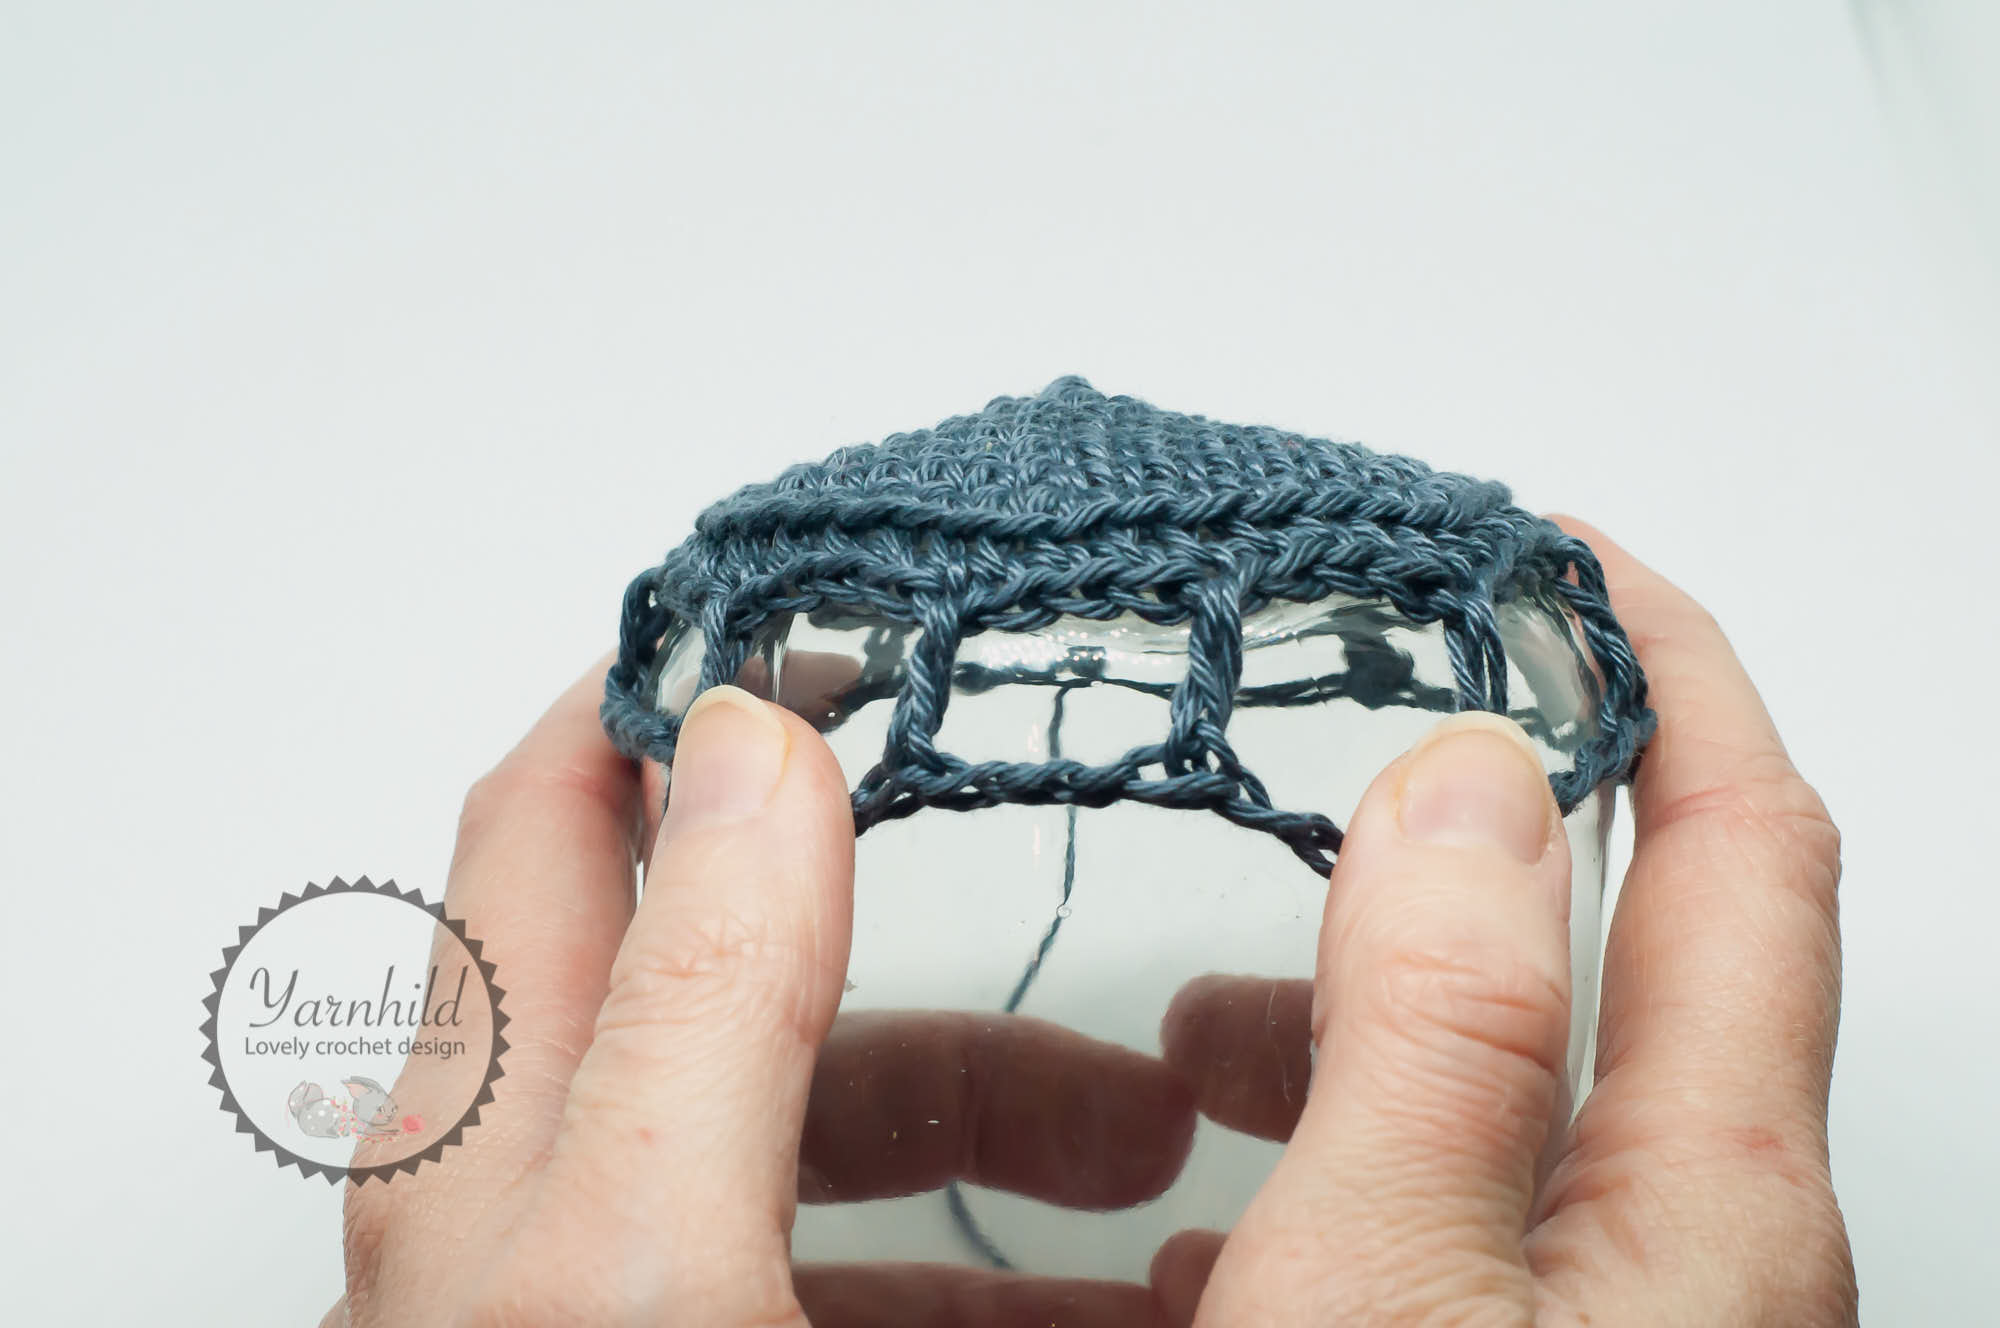
Rnd 10) Repeat round 9
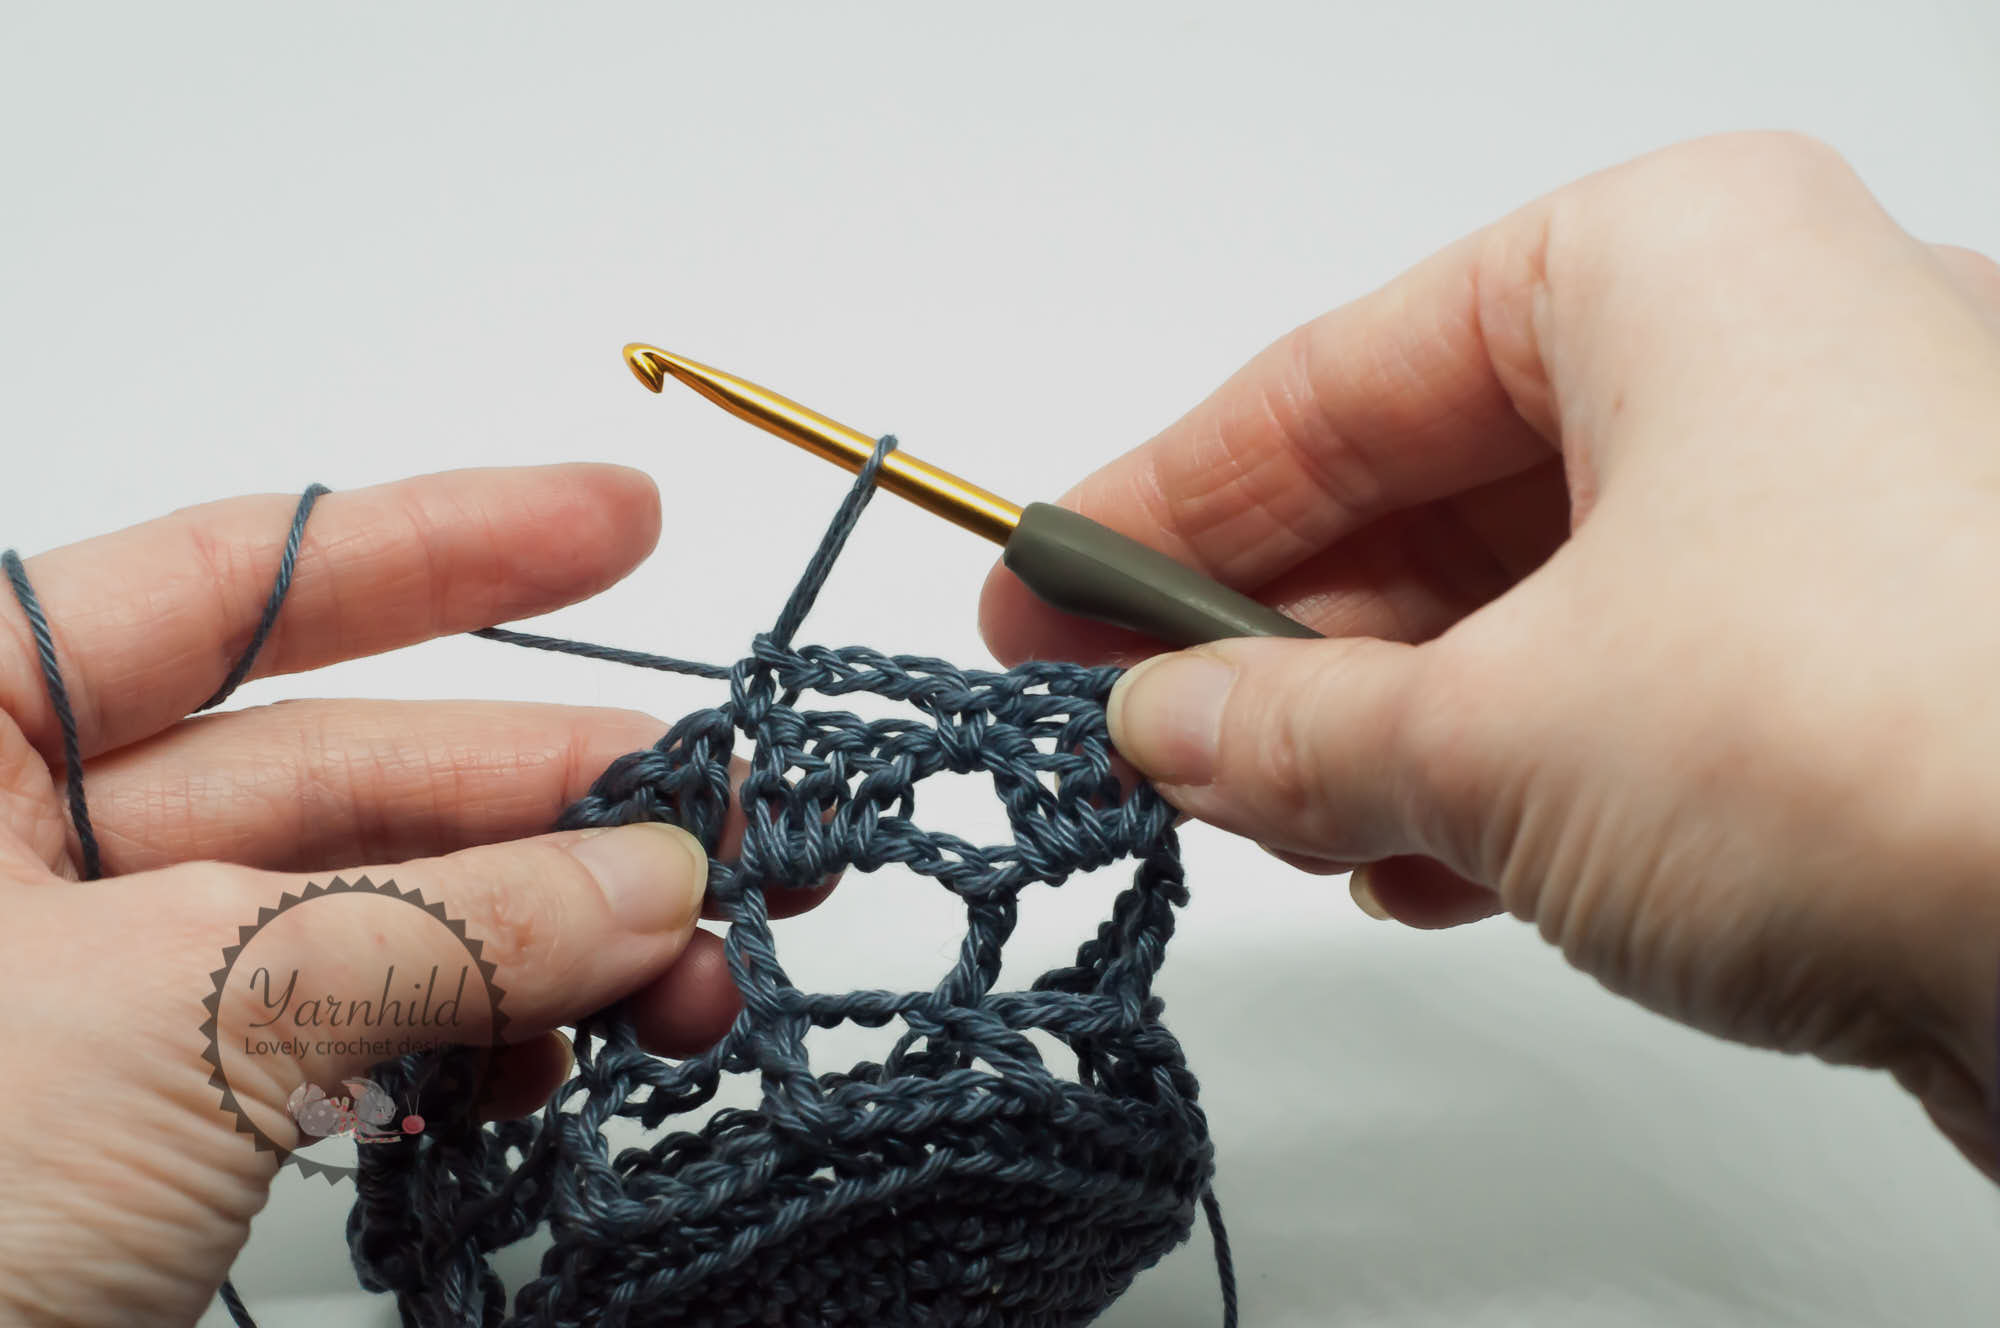
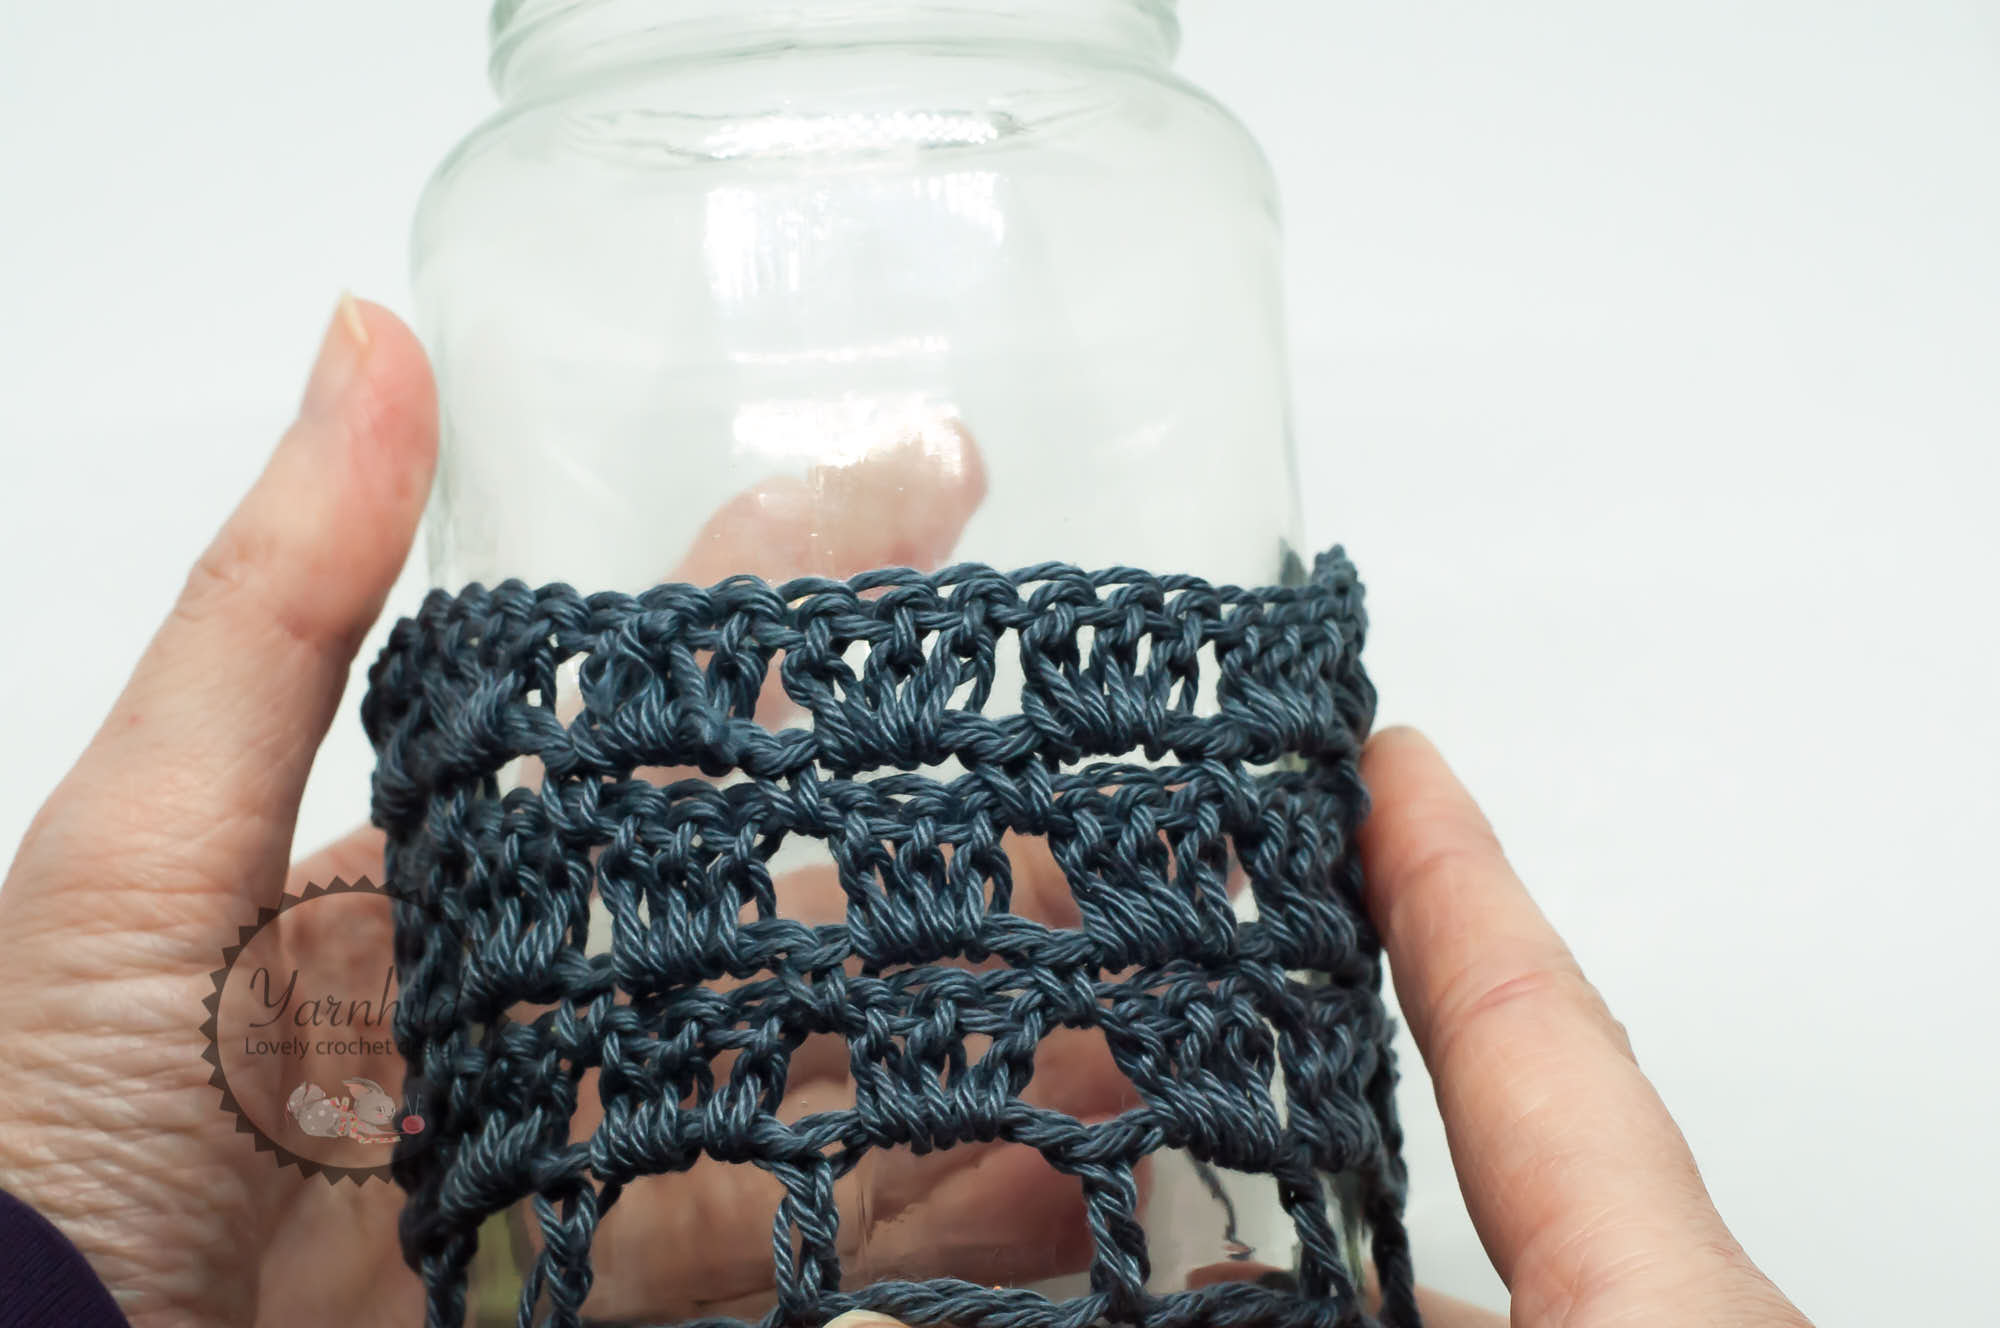
Now we are going to create like a "back wall" on our jar cozy. We are going to crochet up towards the top at only one side. The front side is left open for the spider web. I included many photos so it should be easy to follow the steps.
Rnd 11) Now we will only crochet on the back part of our jar cozy. Decide how wide you want the back part to be. I Left five "gaps" on the front. But, depending on how big your jar is, you have to adjust this your self. Just keep the front part "window" smaller as the back part.
Ch 3, do 3 dc in the gap and repeat this until you feel that your back part is wide enough. I left 4 gaps for the front on mine and added the 3 dc cluster in 7 gaps. (total of 11 gaps)When you get to the end of your row, do 1 dc in the dc from the previous row. Chain 3 and turn.
Row 12) Chain 4, 1 sc between the next 3 dc clusters, ch 3, 1 sc between the next 3 dc clusters. Repeat this until the end, I did this 7 times.
Row 13) Ch 3, 3 dc in each ch 3. Repeat this until the end of the row.
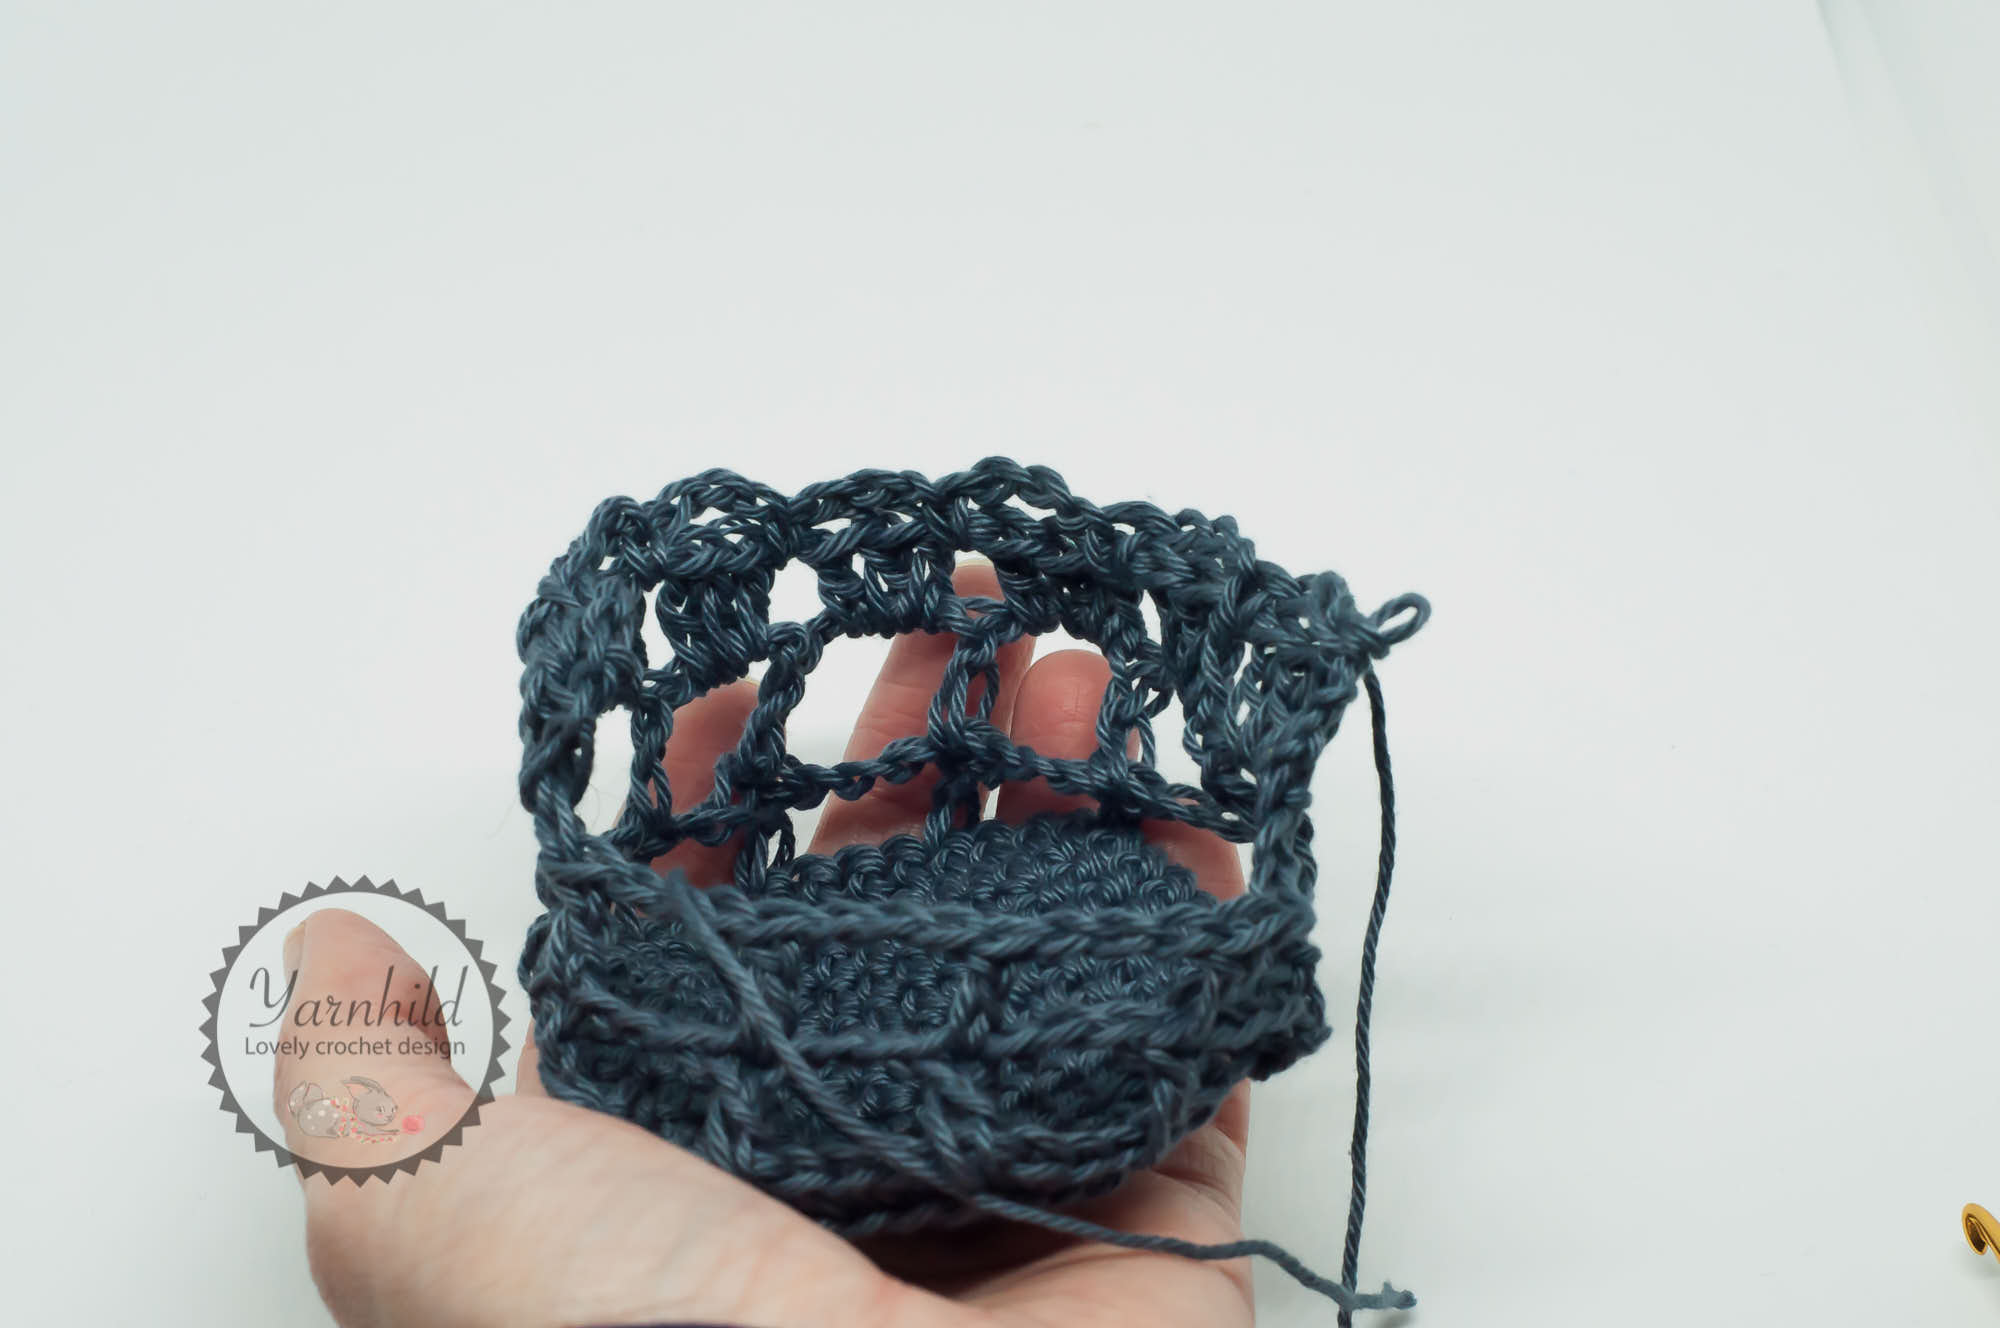
Repeat row 12 and 13 until you get to the top. Leave a little space when you get there (1 cm/0,39 inch)
Fasten off.
I got 4 dc rows at the end, yours might be shorter/longer depending on how big your jar is.
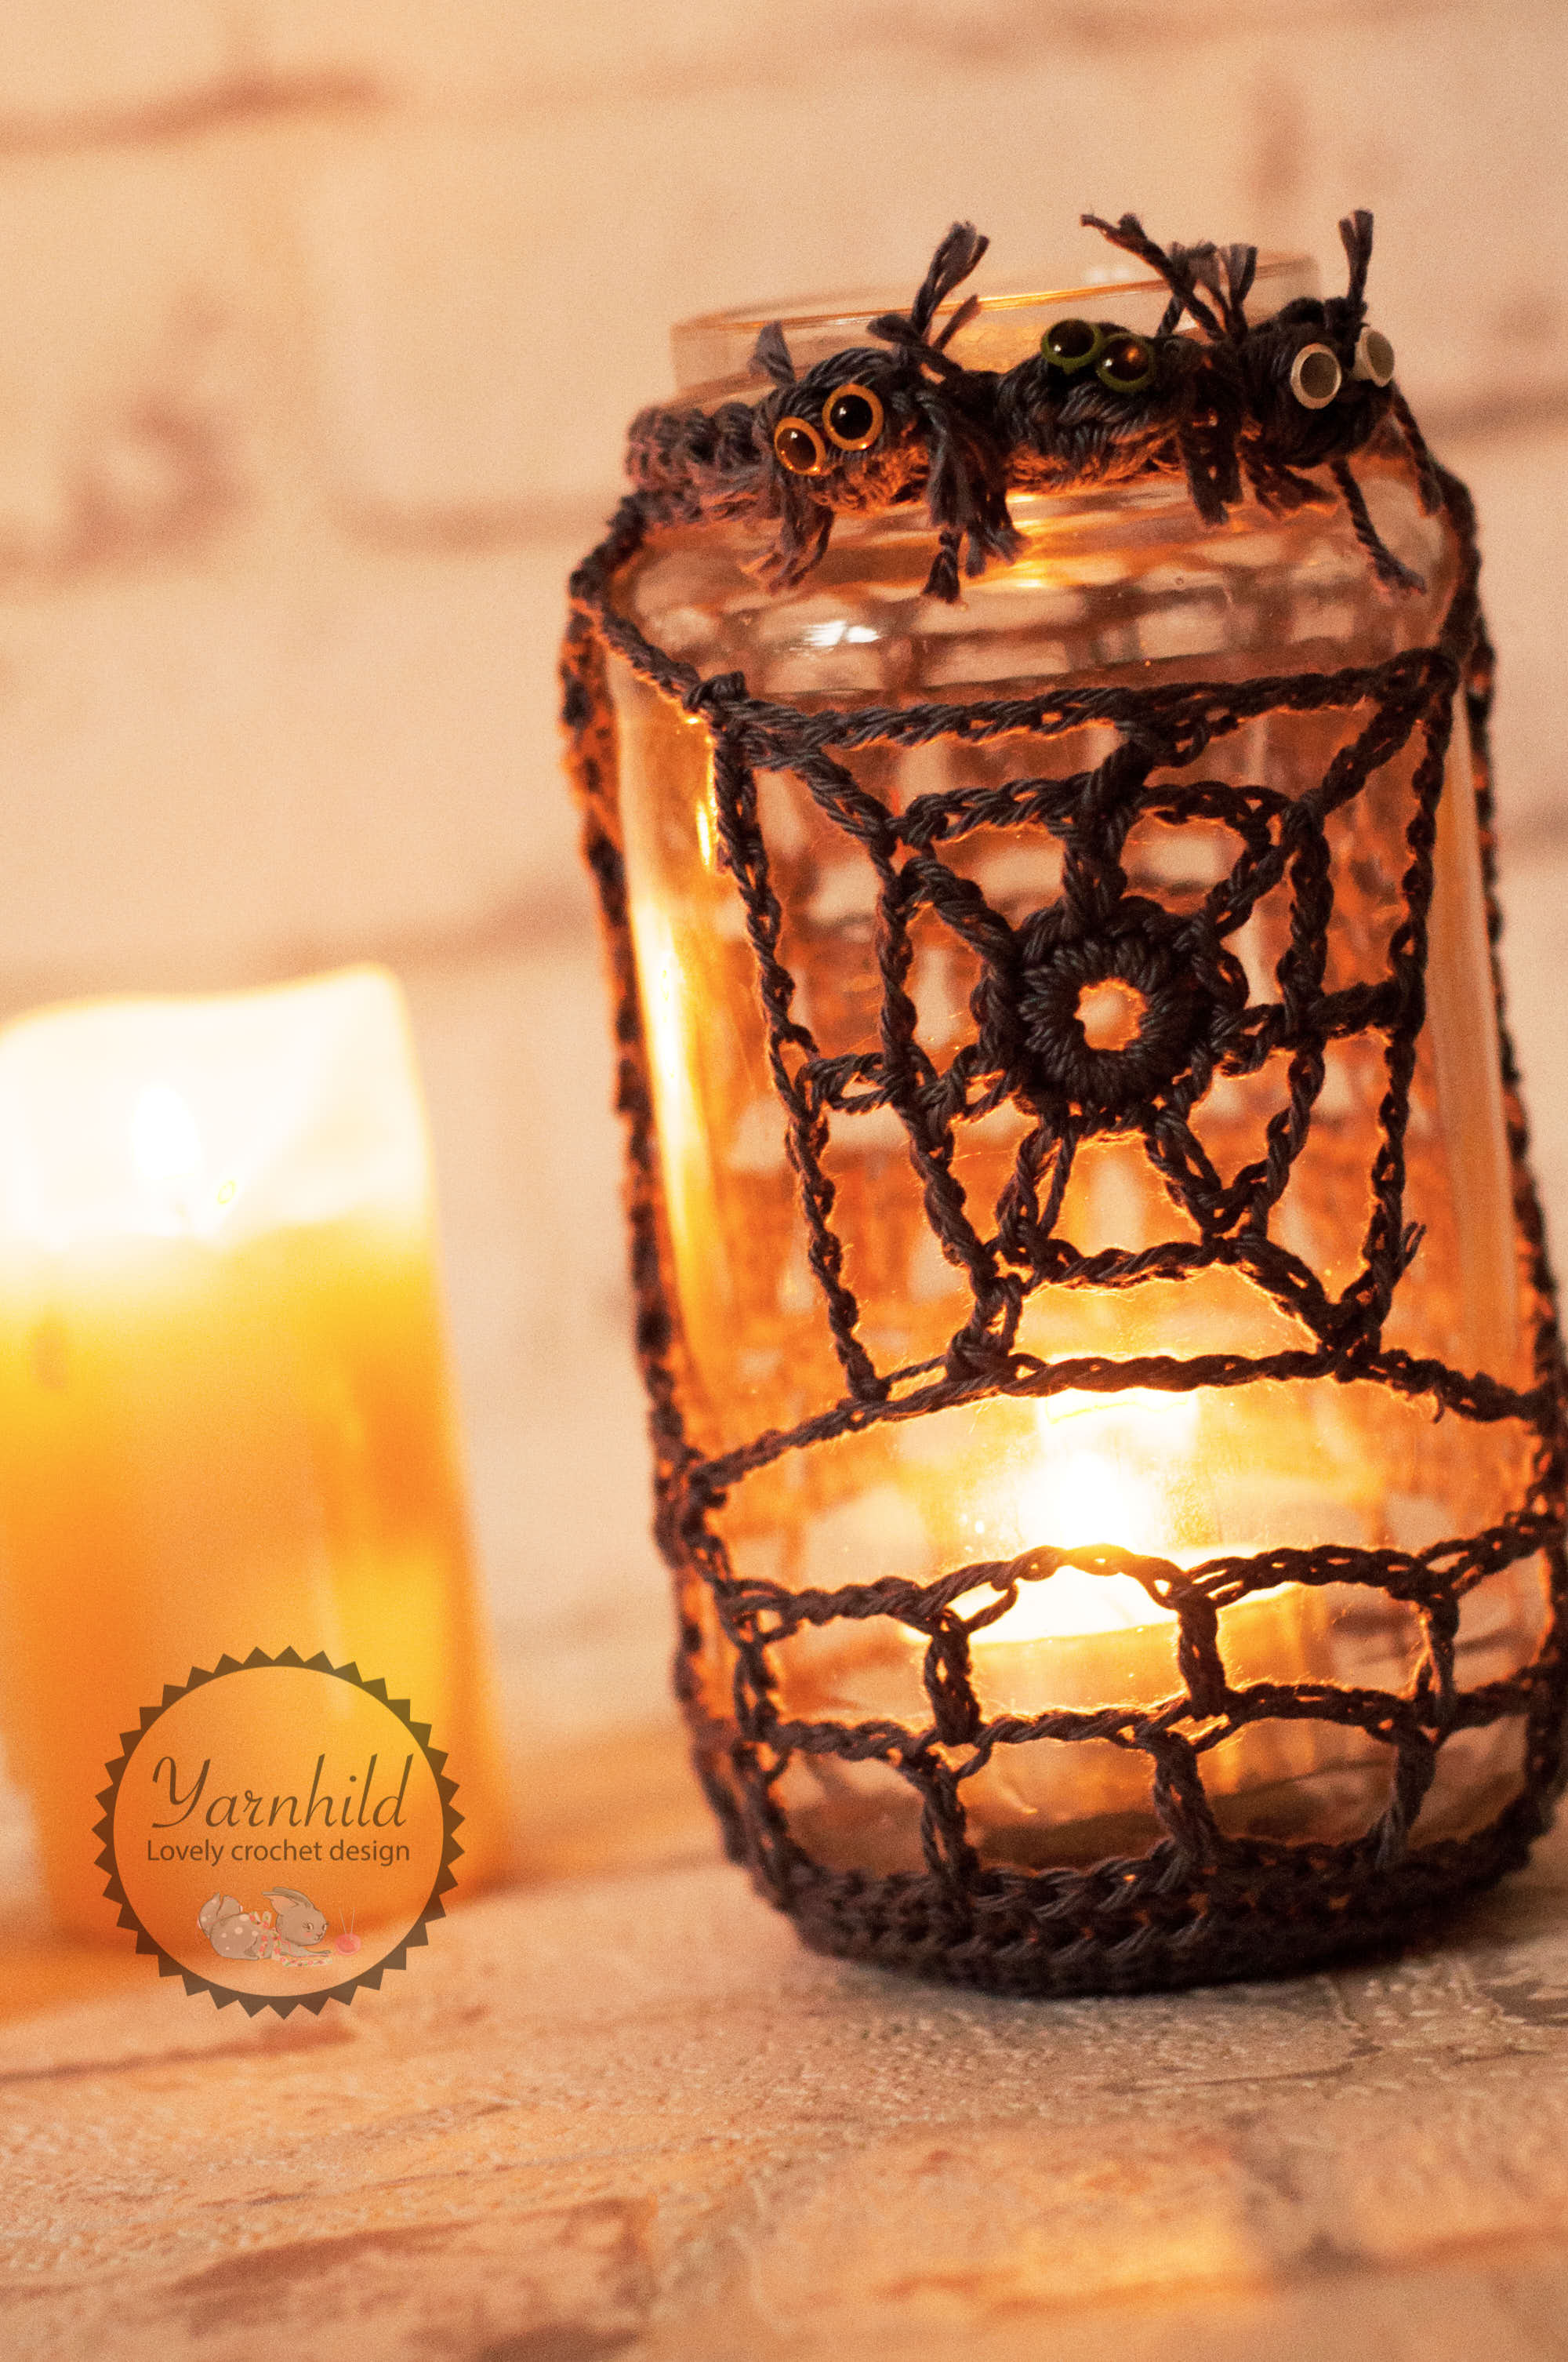
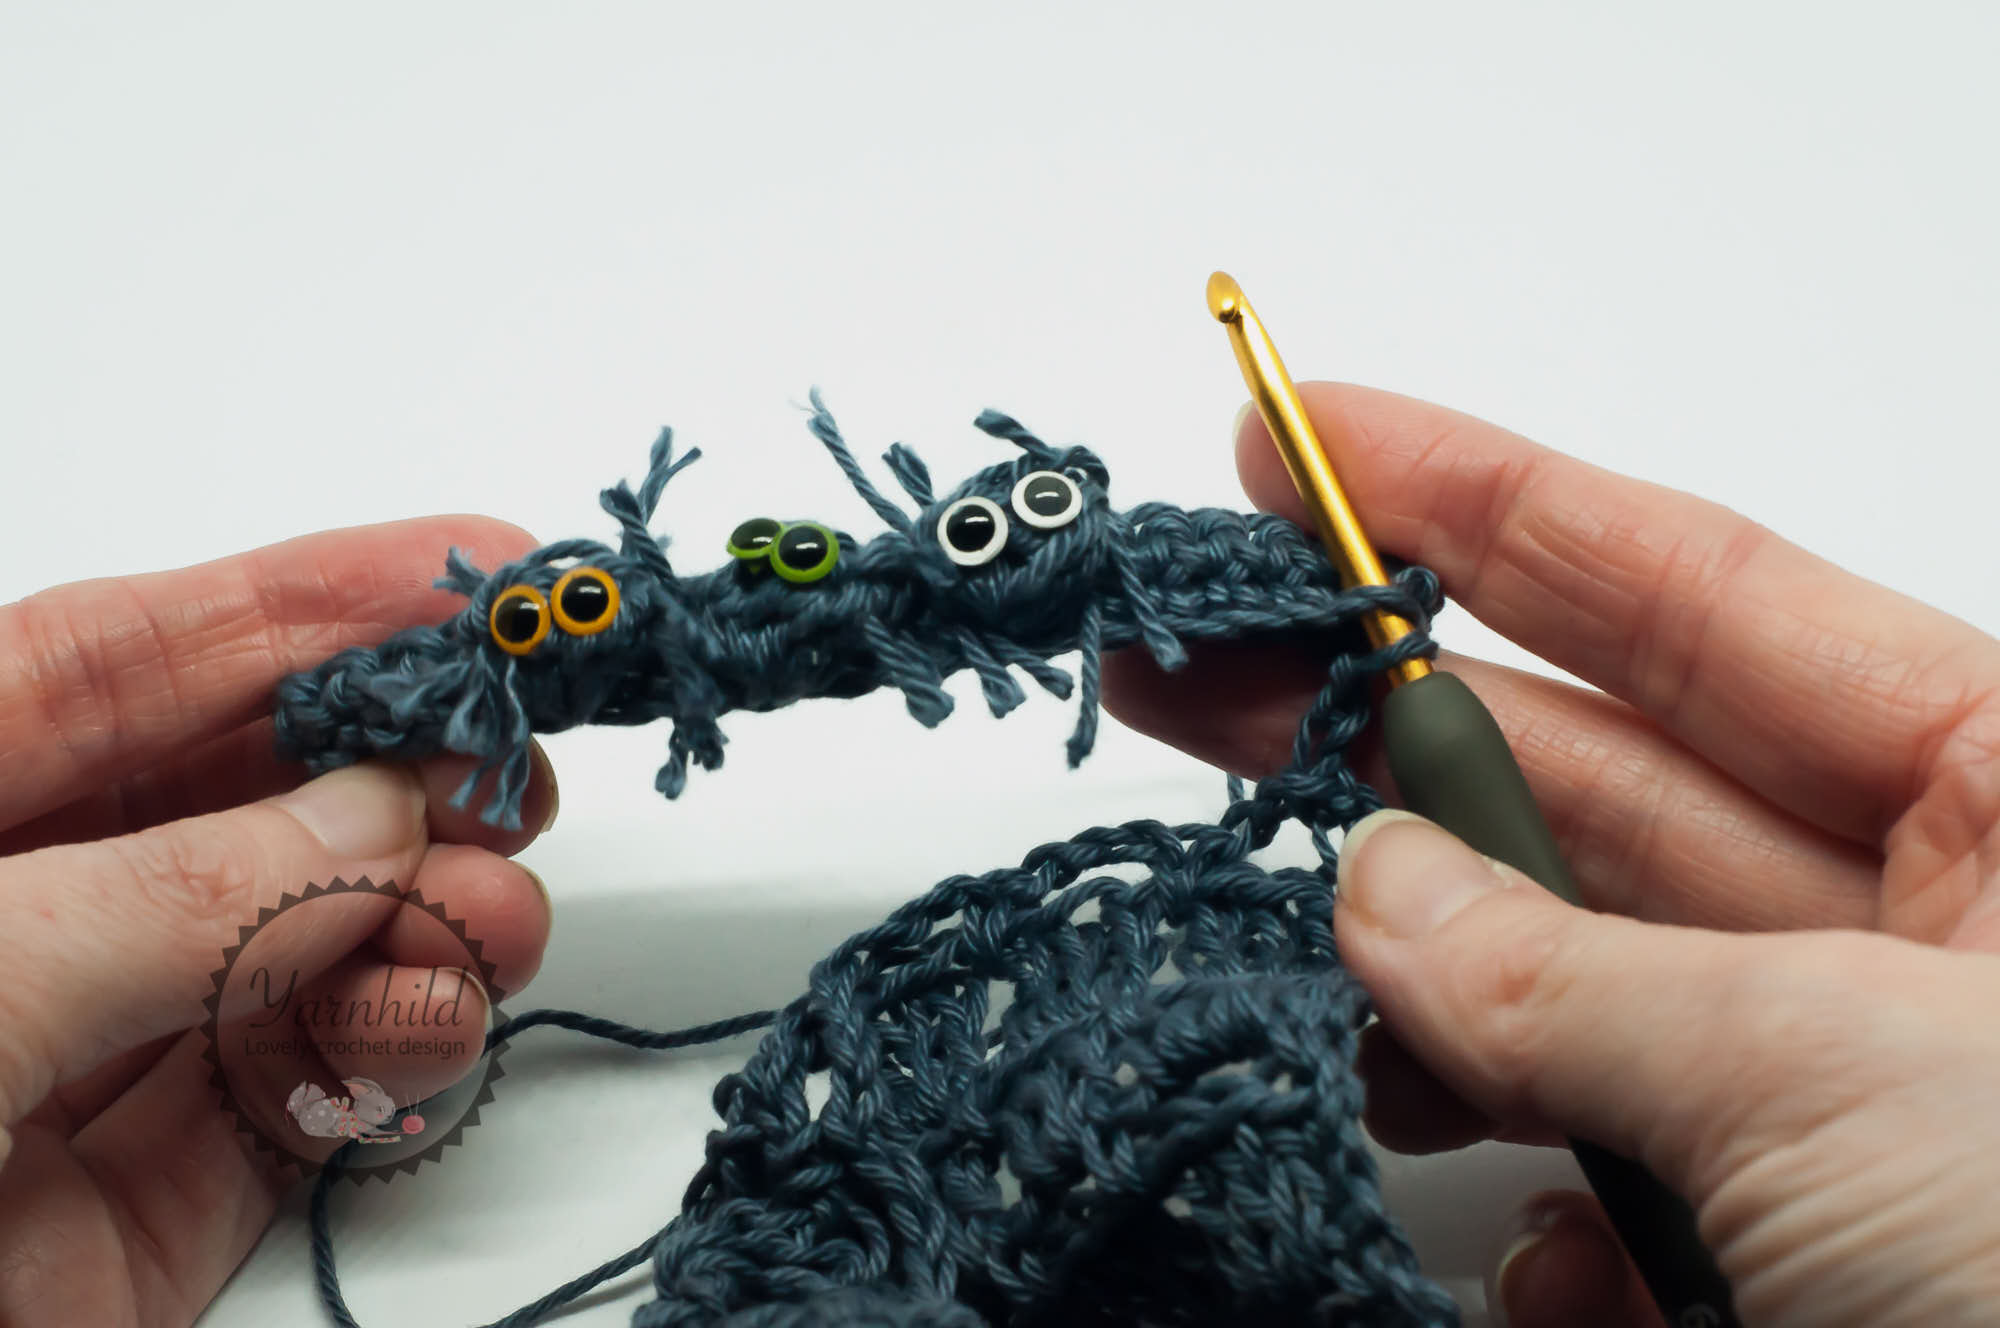
Now we will be making the baby spiders that's going to sit on top of the jar.
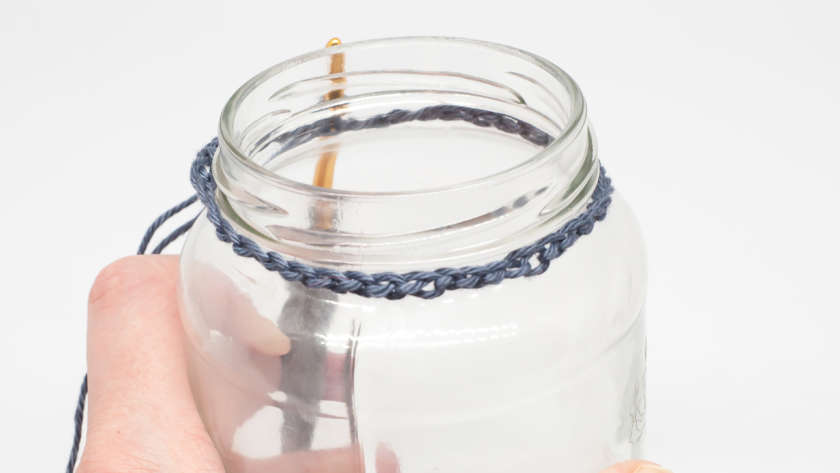
Make enough chains to go around the top of the jar. I needed 30 ch.
Row 1) Any amount of chains that you need to make it fit on top of the jar. Join with a slip stitch to form a circle.
Chain 1, 1 sc in each stitch. slip stitch in the first sc.
Rnd 2) 1 sc in each stitch until the end of the round. Join with a slip stitch in the first stitch.
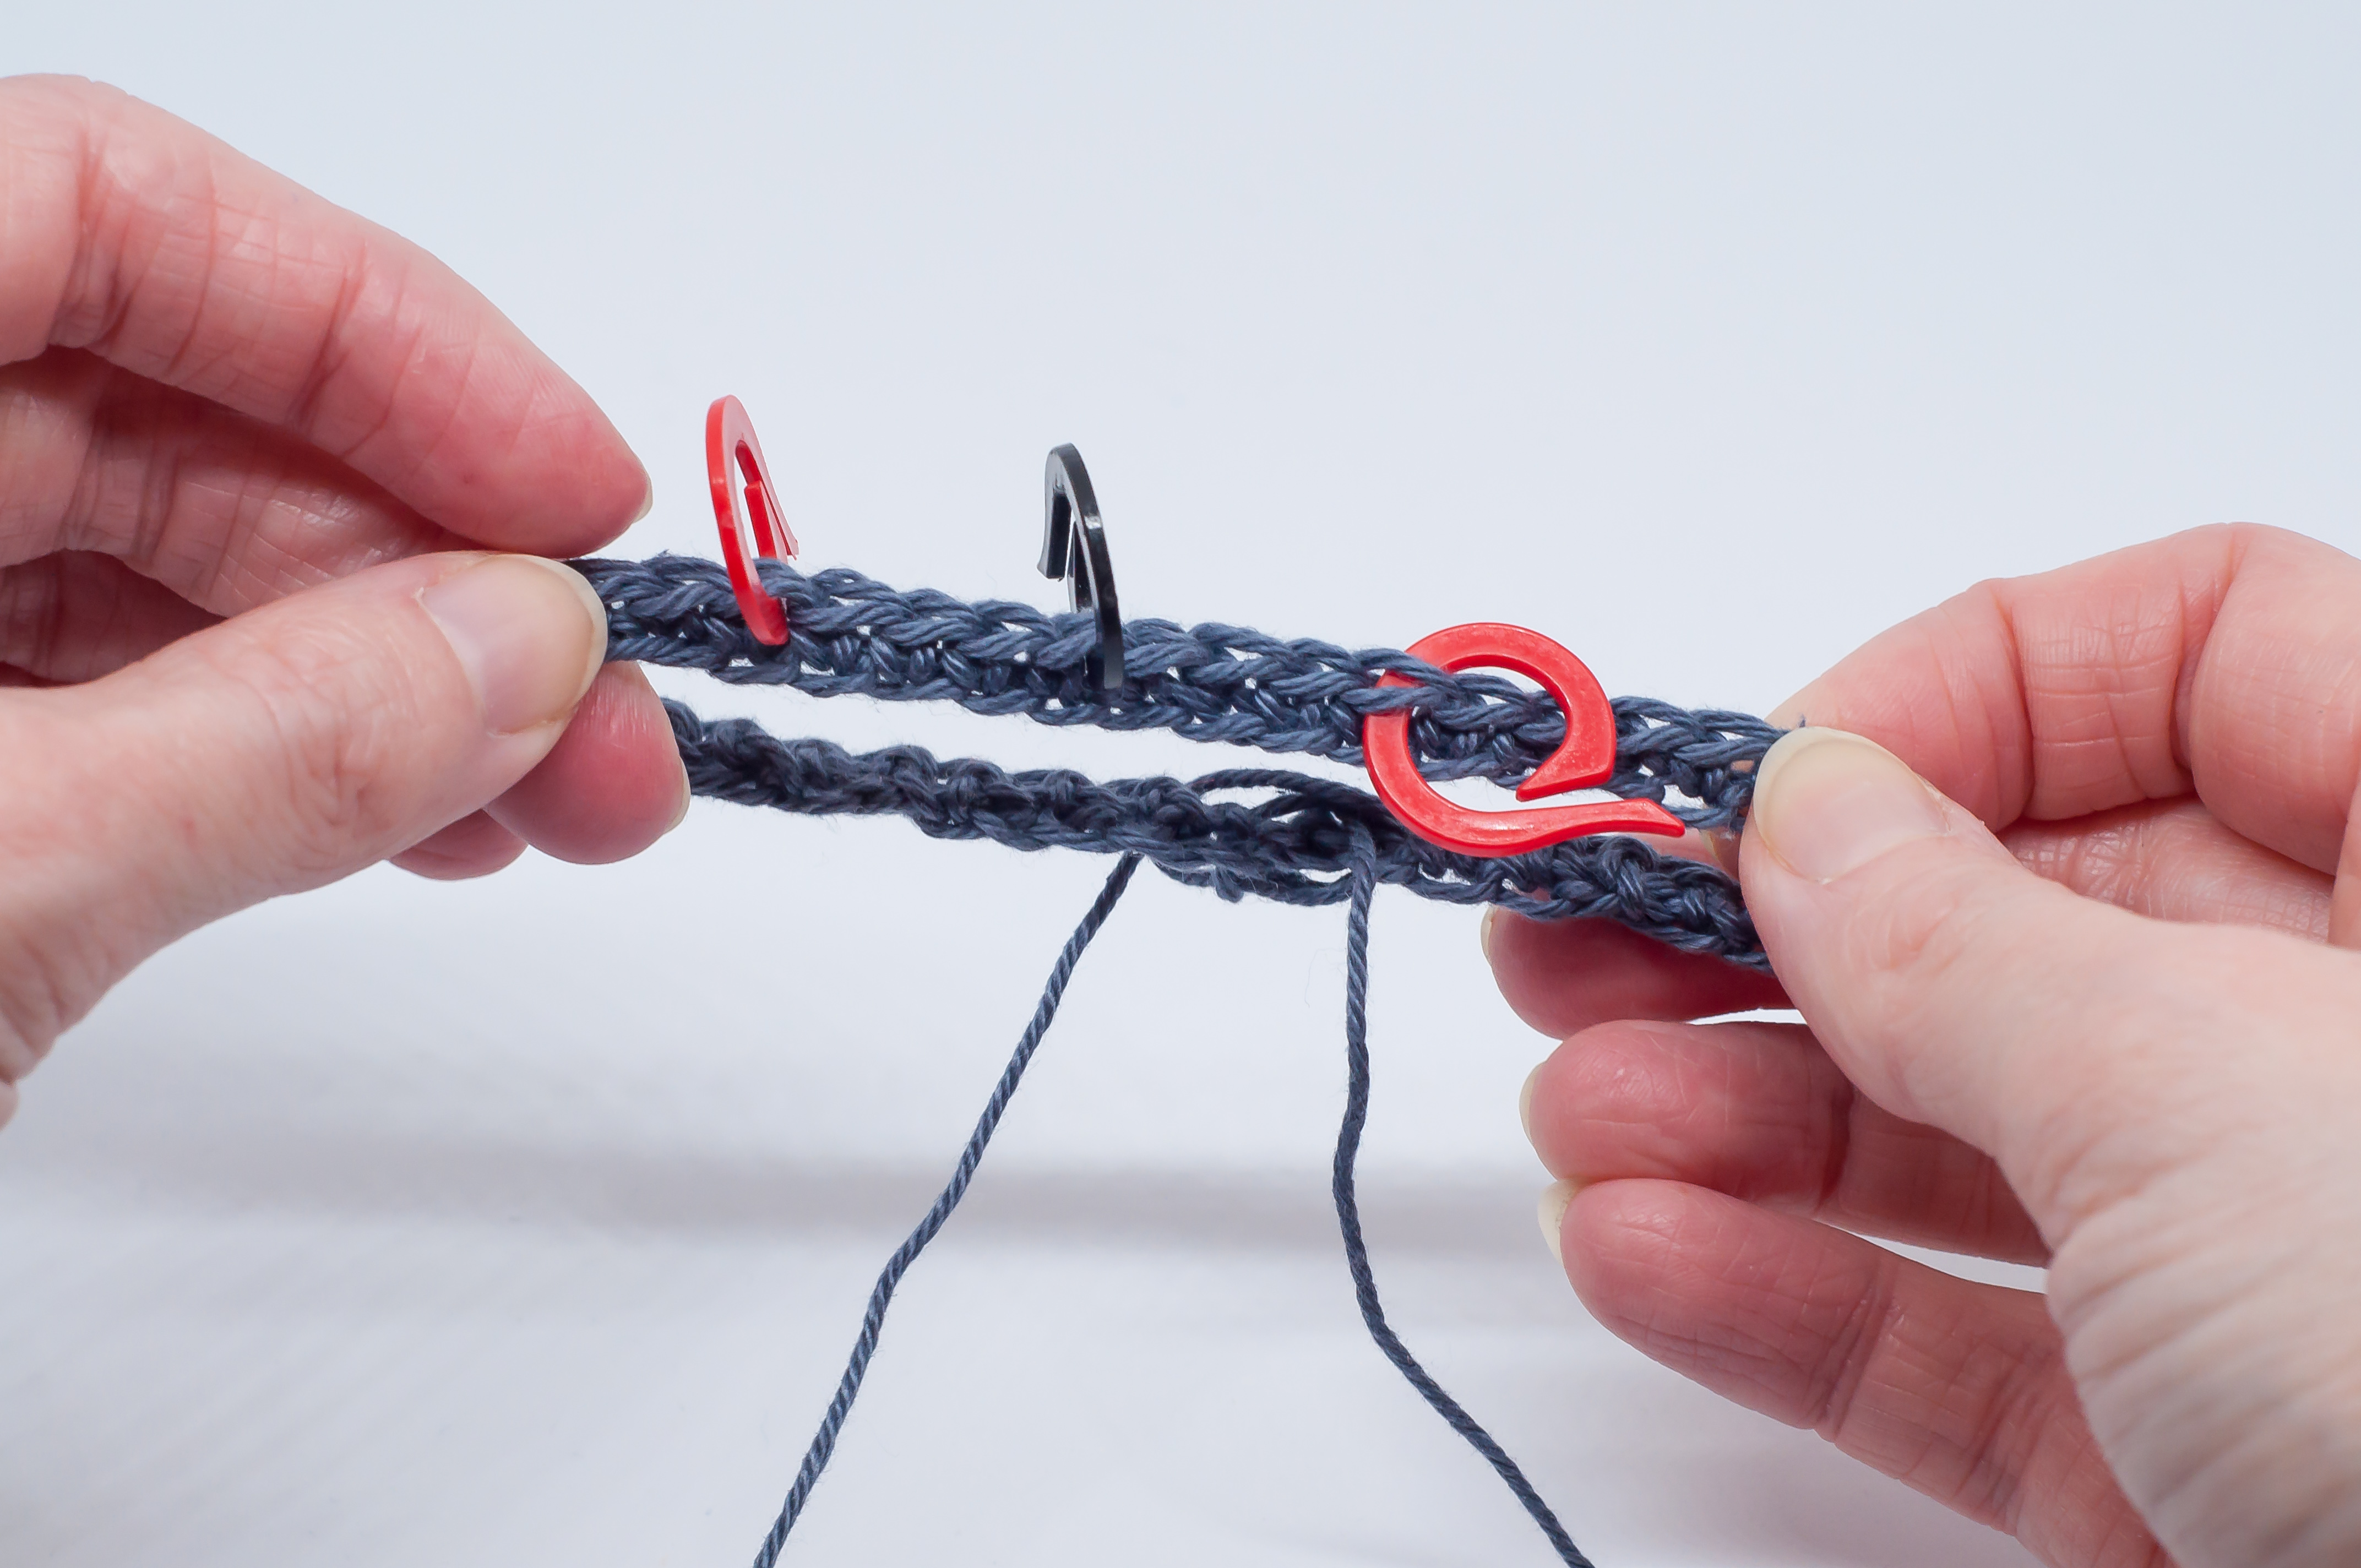
Rnd 3) Fold the part you just crocheted in half to find out where your middle point is.
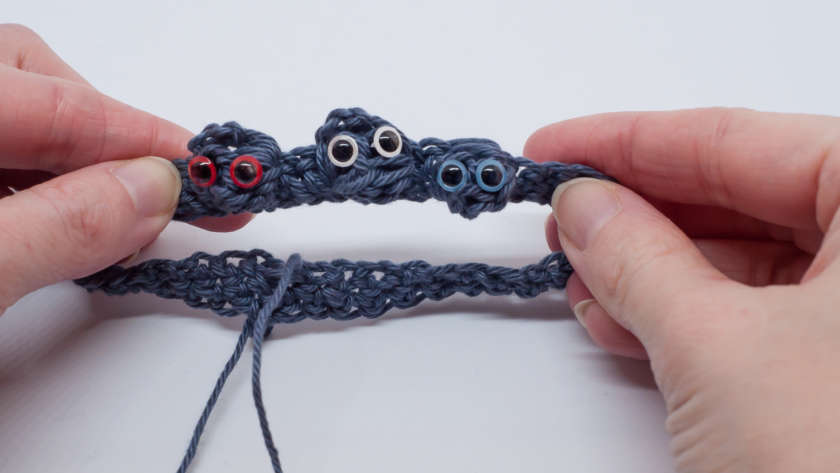
I added a black stitch marker on my middle point. I skipped two stitches and but red stitch markers there.
The bobble stitches will be added where the stitch markers are. 1 sc in each stitch, 1 bobble in the stitches where the stitch markers are. 1 sc in the stitches between the stitch markers.
Slip stitch in the sc where the first bobble is going and make your first bobble stitch here, then 1 sc in each sc, and 1 bobble where your markers are.
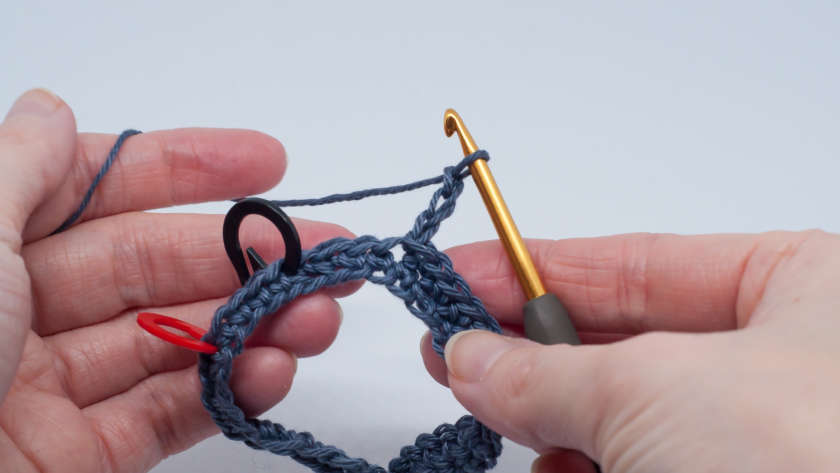
At the end of the row, 1 slip stitch in the first sc. Cut the yarn and weave in ends.
Now attach the eyes.
To make the spider feet, simply sew them on with some yarn. I attached the yarn from behind with a tapestry needle, formed a loop and went behind again and attached the yarn. Cut the loops to form the legs.
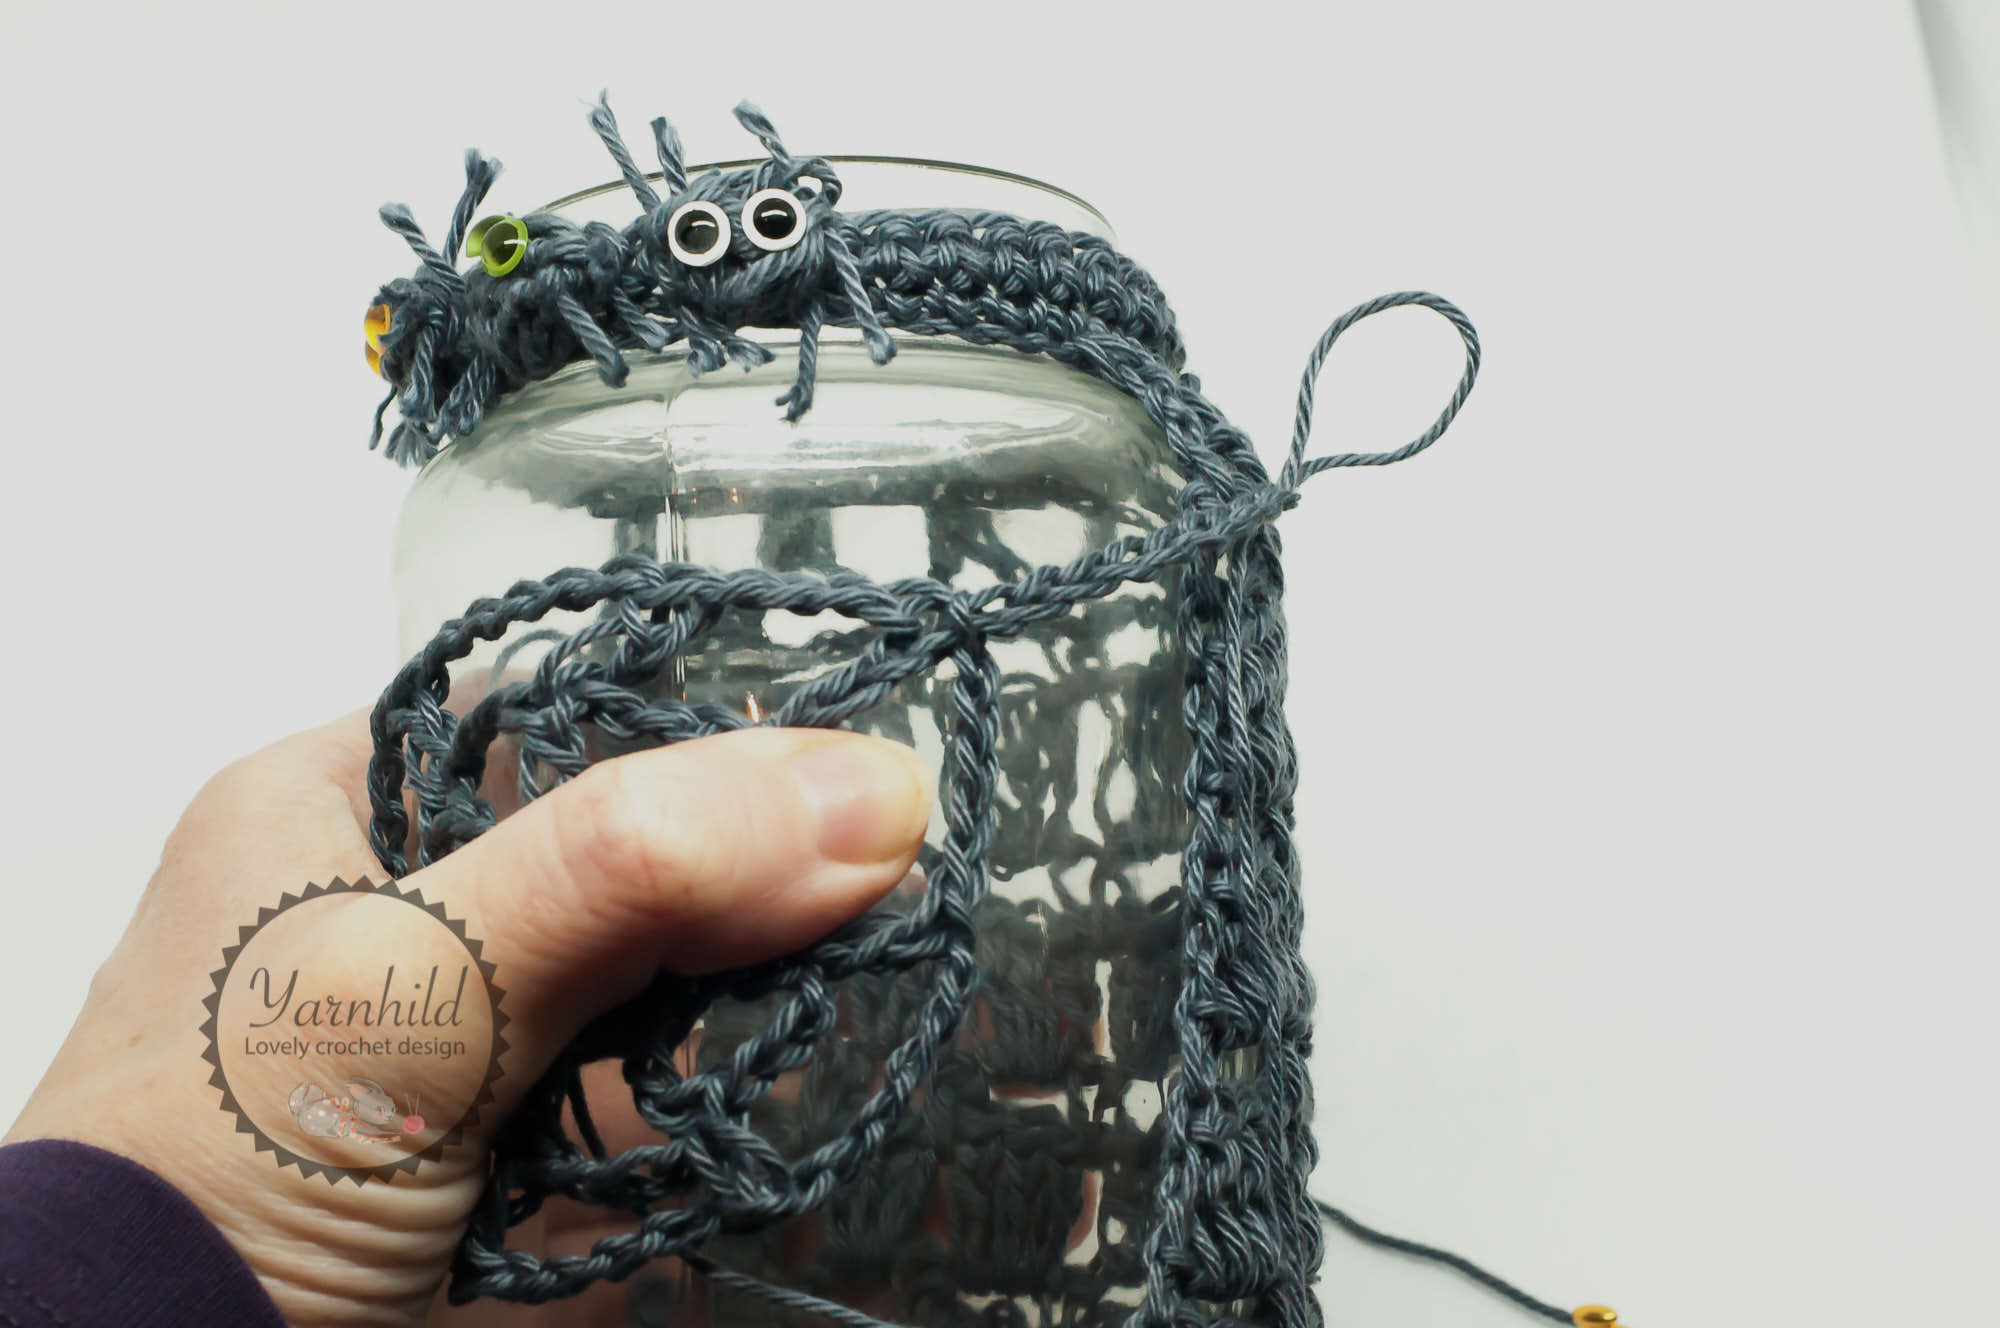
Join the two parts with each other. Attach the yarn on the one part where the 3 dc groups are. Do a slip stitch in a few stitches away from the spider, chain 3 and do a slip stitch in the sc. Chain 3, skip two stitches on the part where the baby spiders are. Continue like this until the parts are joined.
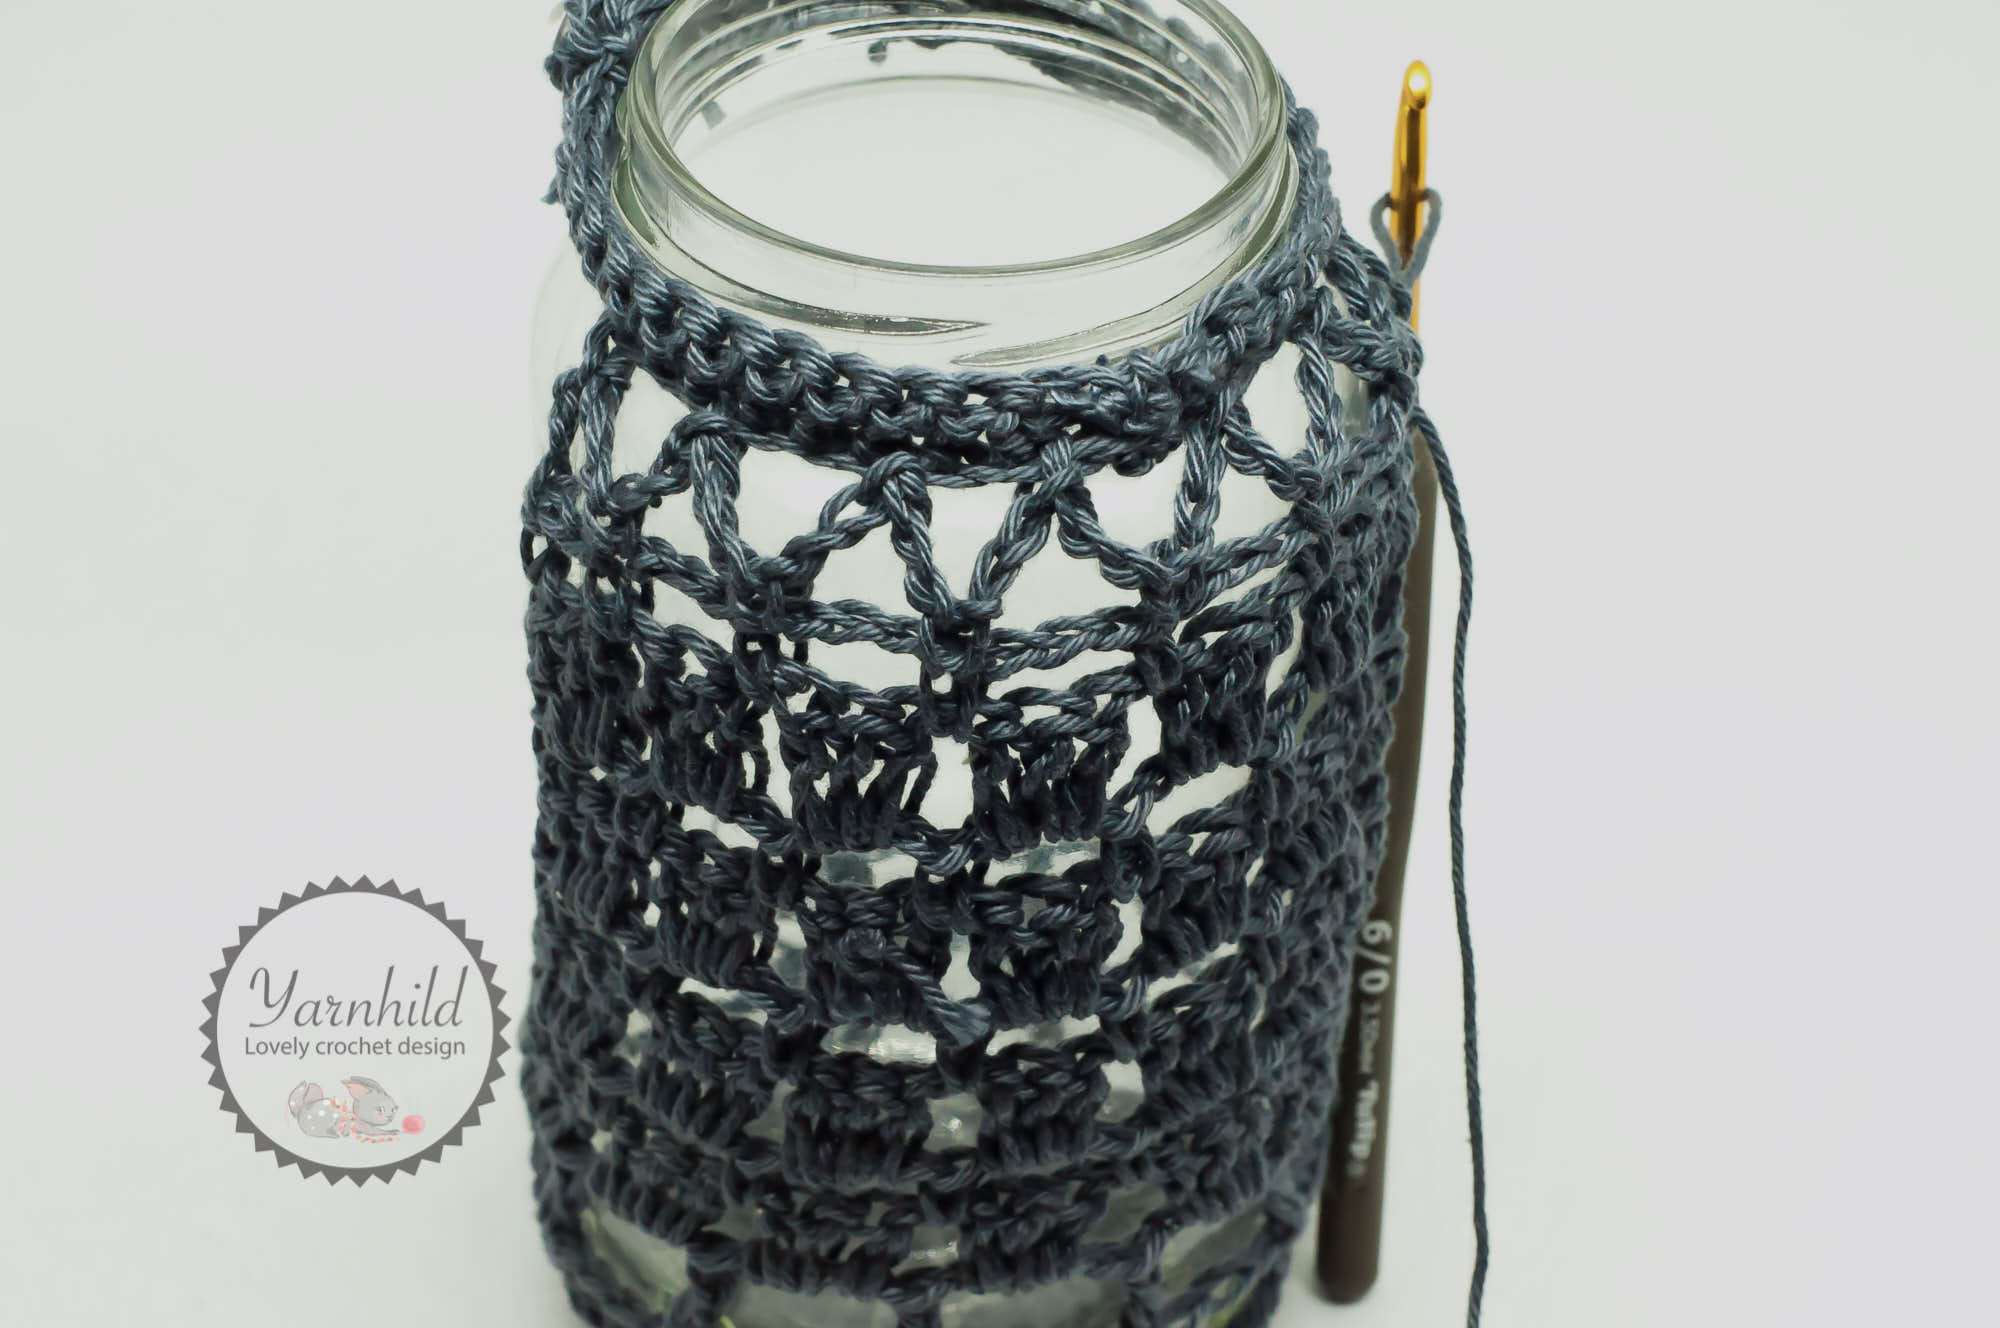
The spider web will be attracted to the front part.
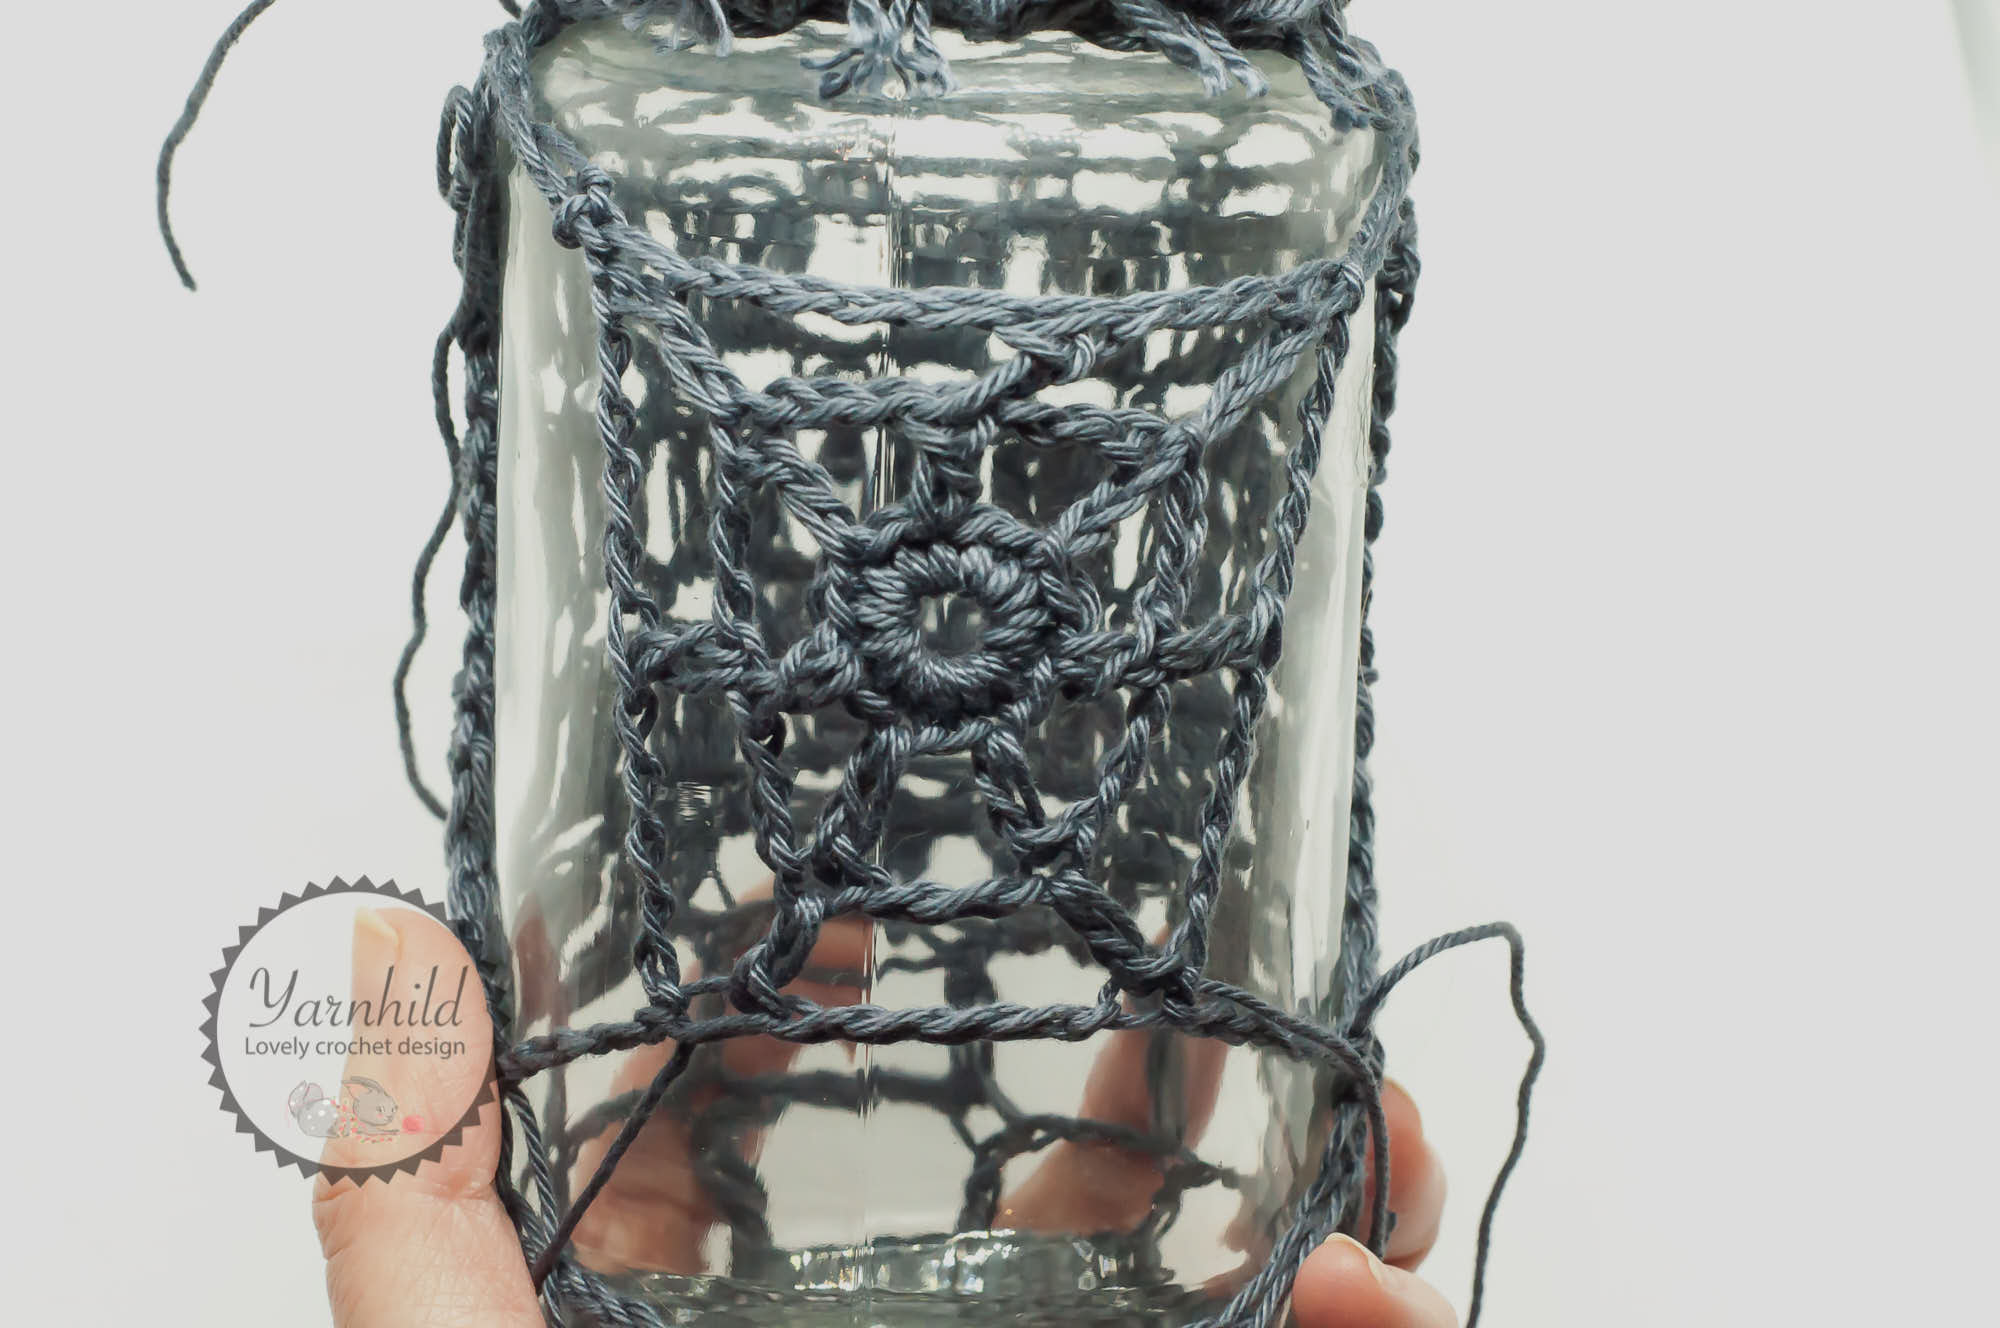
Spider web
Rnd 1) 14 sc in a magic ring. (14 sc)
Rnd 2) Ch 6, 1 dc in every second sc.
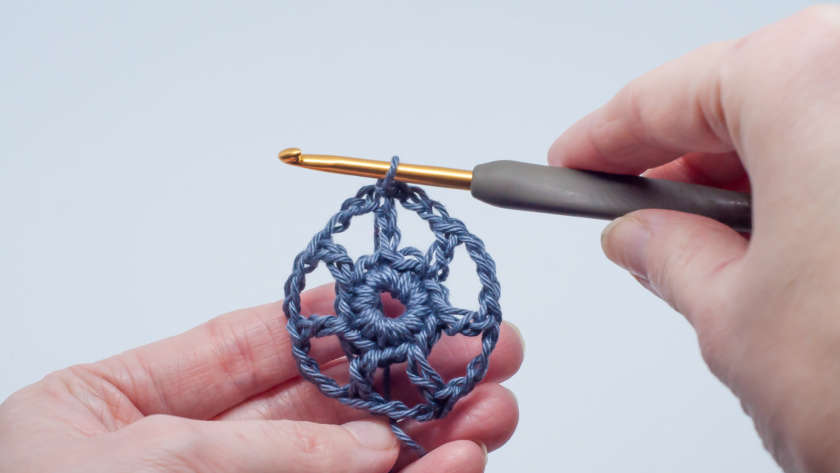
Rnd 3) Ch 8 (first 3 count as 1 dc). *1 dc in next dc, ch 5.* Join with a slip stitch on top of the third chain.
Place the spider web in the middle. Now we are fasting the web with the rest. Make as many chains as you need to get to the first corner. Then fasten with a slip stitch
Do this on all four corners. Make sure that there is a bit of tension there.