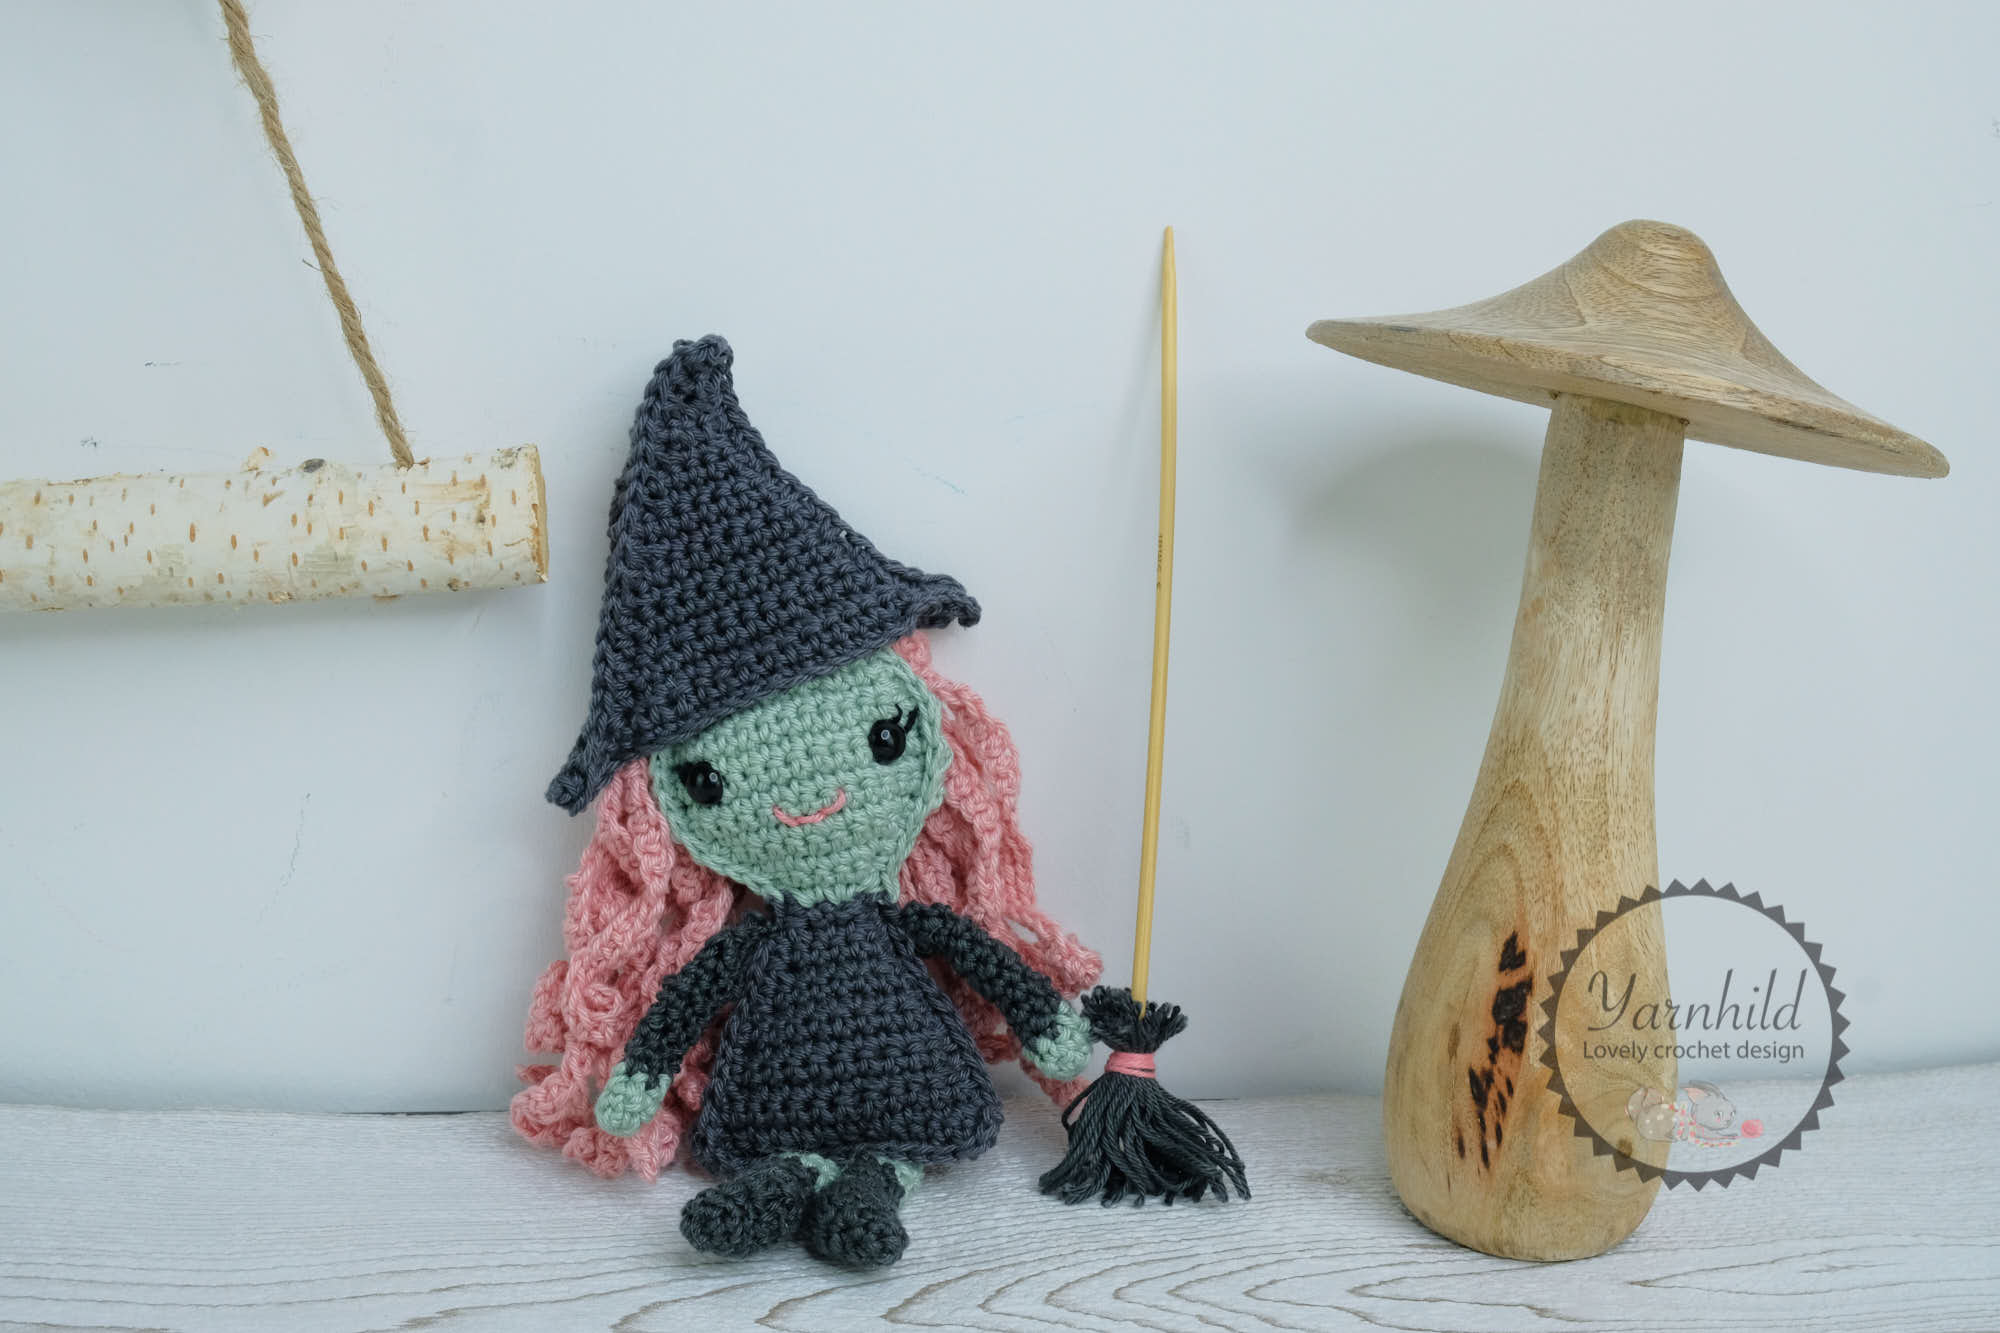
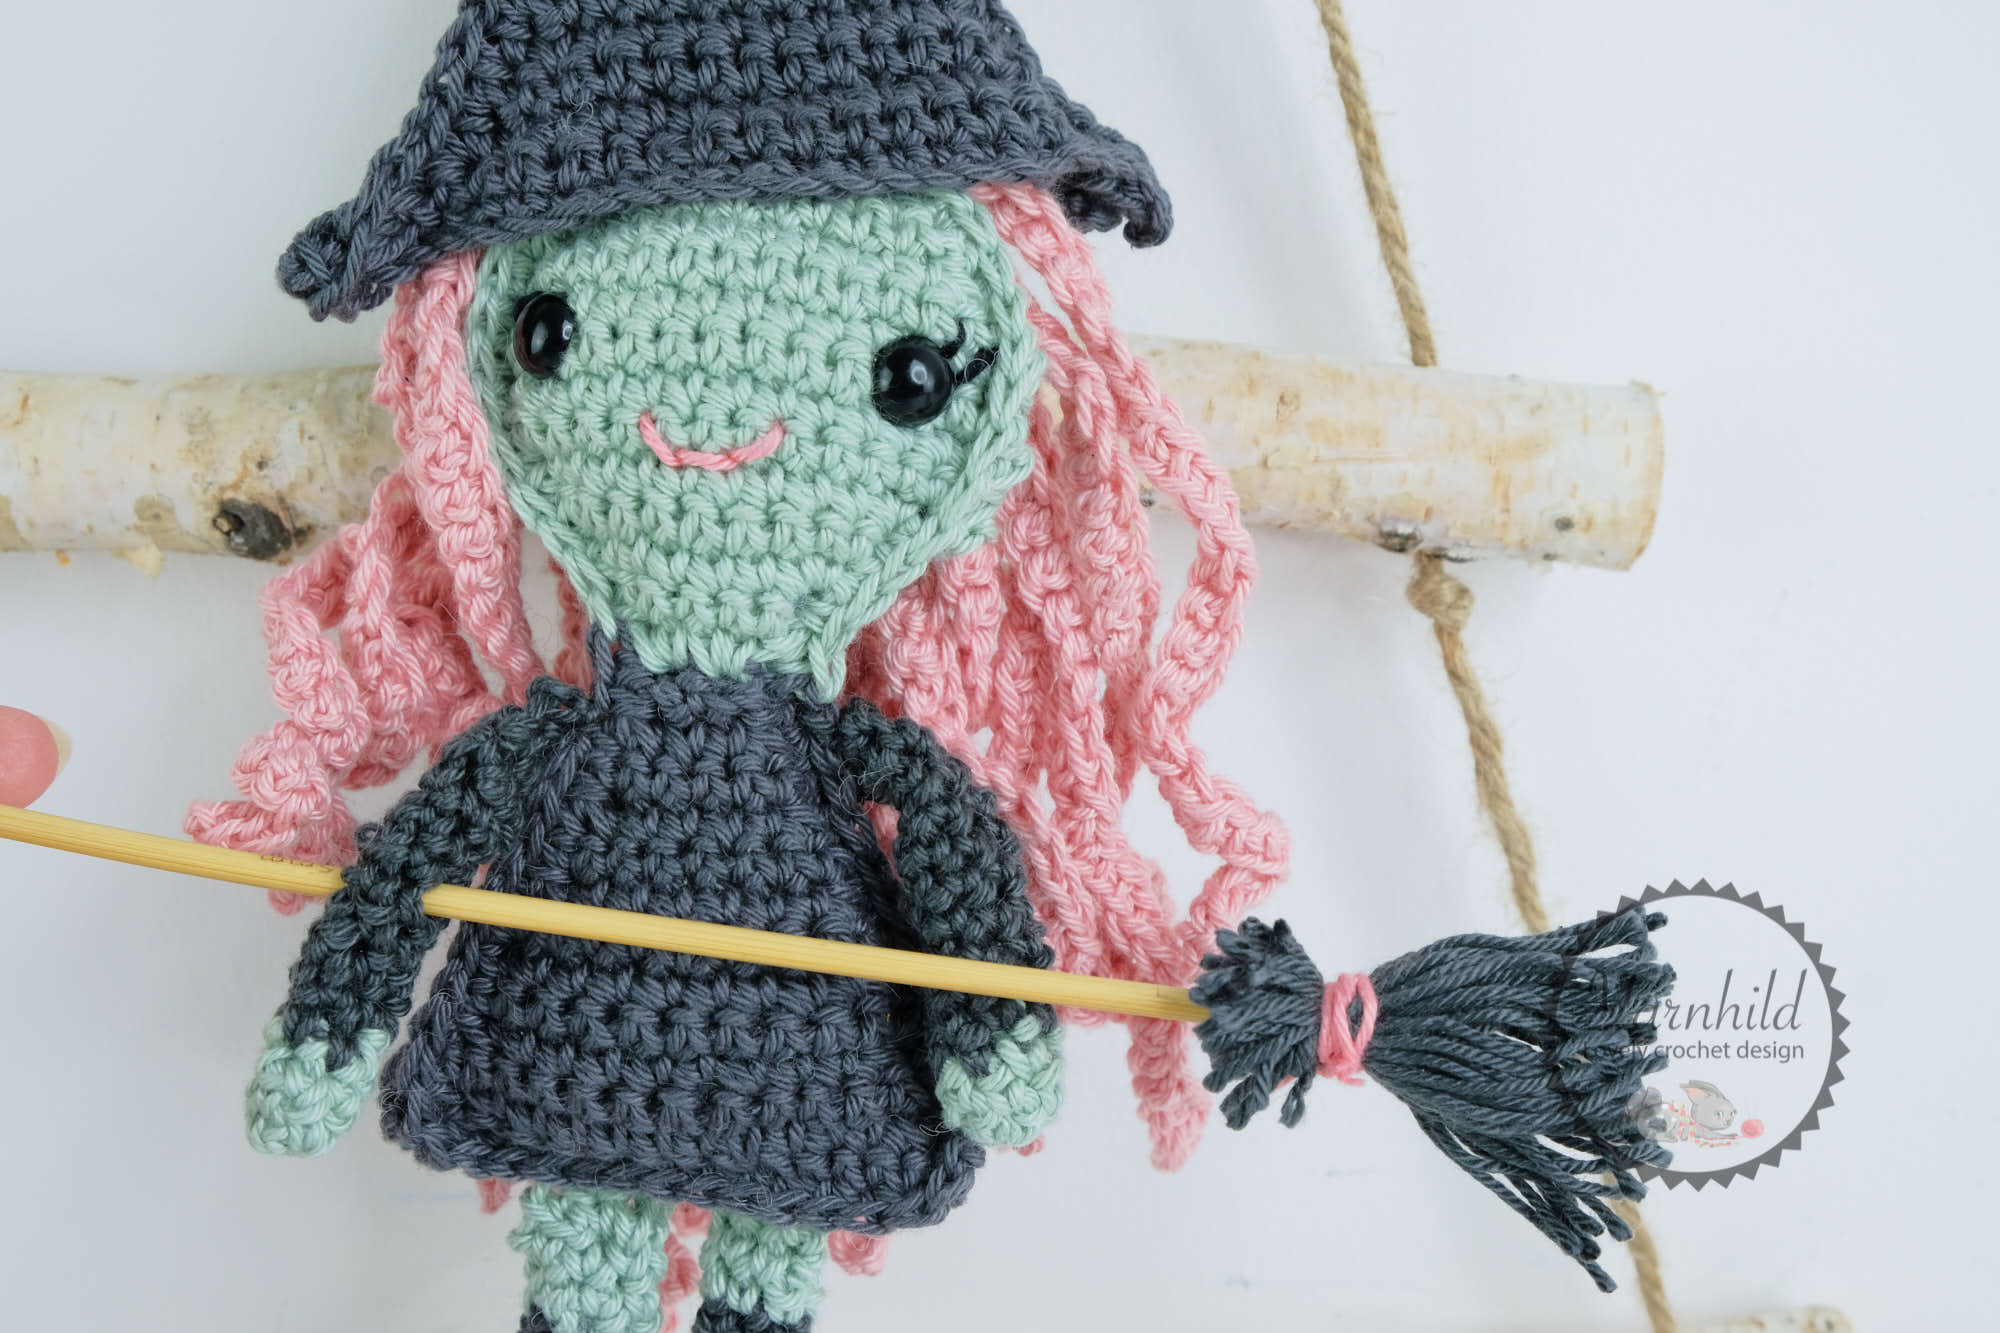
The Halloween witch Sigrid
I am so excited to share a new ragdoll crochet pattern with you, and since Halloween is around the corner, I made a witch! I didn't know what to call her, first her name was Glinda the friendly witch from the North. But since she doesn't look so much like Glinda, I've decided to call her Sigrid instead.
Disclaimer: This blog post contains affiliate links, read more about it here.
Sigrid is a nordic name and it means the beautiful one and victory. If you live in the USA you probably never heard of this name before, but in Norway, it`s pretty common.
This pattern has also been translated into Norwegian and German.
The yarn
I've used Catania from Schachenmayr for my witch. This is a sports weight yarn, and it's my favorite for amigurumi projects. However, feel free to use whatever yarn you'd like. Some of my testers used worsted weight and they turned out amazing too!
You can
- scroll down to the free version
- add the pattern to your queue on Ravelry
- Save it for later on Pinterest
- Purchase the inexpensive pdf in English, German and Norwegian. You'll also get more detailed pictures that aren't available on the free version. Thank you for your support!
Cute crochet patterns - Whimsical Stitches. I have this book my self, and if you like my patterns, you will like these!

More ragdoll patterns
If you like ragdoll crochet patterns, check out these links!
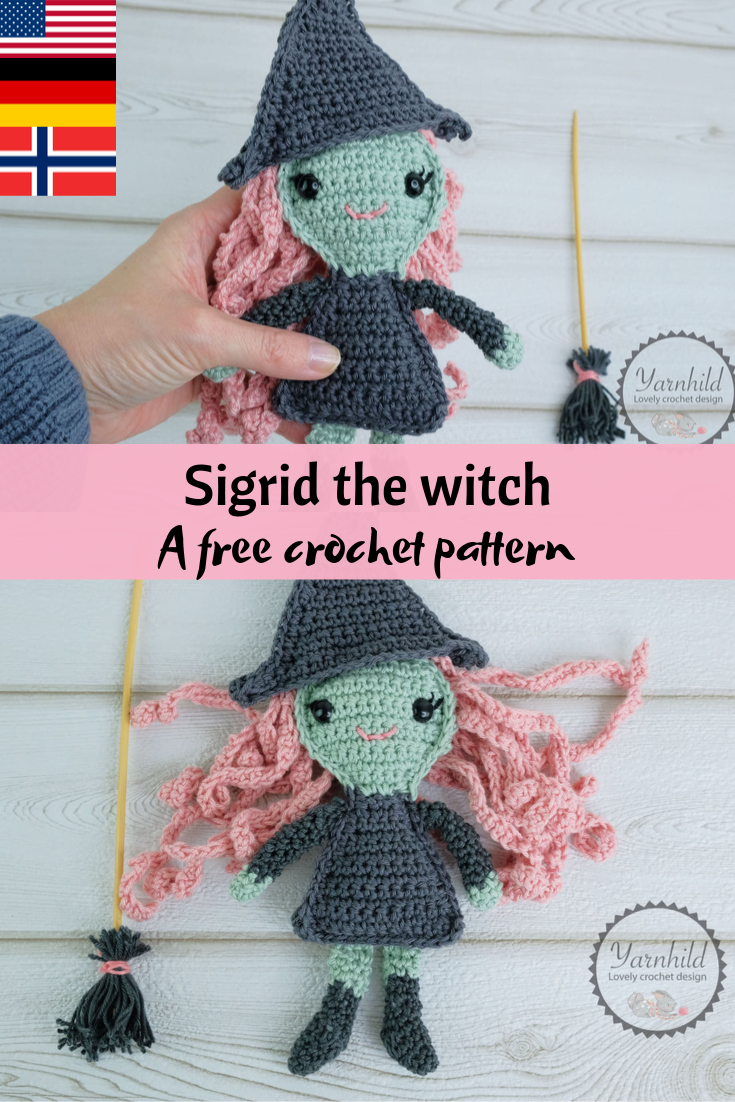
Ragdoll witch - a free crochet pattern
This pattern is the intellectual property of Yarnhild. The pattern must not be altered, translated, copied or republished without approval. You are welcome to sell the items that you have made from my patterns, but please be sure to give me credit for the pattern that you sell online. For private use only, no commercial use. 2019 – Yarnhild ©
Abbreviations – US terms
ch – chain
yo – yarn over
st – stitch
sl st – slip stitch
sc – single crochet
sc2tog – single crochet decrease
inc – single crochet increase, 2 single crochet in one stitch
dc – double crochet
r – rows
mr – magic ring
hdc – half double crochet
Materials
Filling materials
Stitch marker
Crochet hook 2.5 mm and 3.0 mm
Safety eyes 10 mm
Scissors
Piece for broomstick (I used a wooden knitting needle)
Yarn sports weight. Color dark grey, pink and green. About 30 g of grey and green and 40 of pink needed.
Straight pins
Information
All parts, except the hat, are being crocheted with a 2.5 mm crochet hook. We are making two panels for each part. The head/body, and the hat are crocheted separately and then the pieces are placed wrong sides together and crocheted together. The witch is crocheted from bottom up. I stuffed my witch lightly with some filling material.
You can do regular decreases for the flat parts and invisible decreases for the round parts.
Skill level: Intermediate
Finished size: 24 cm/9.5”
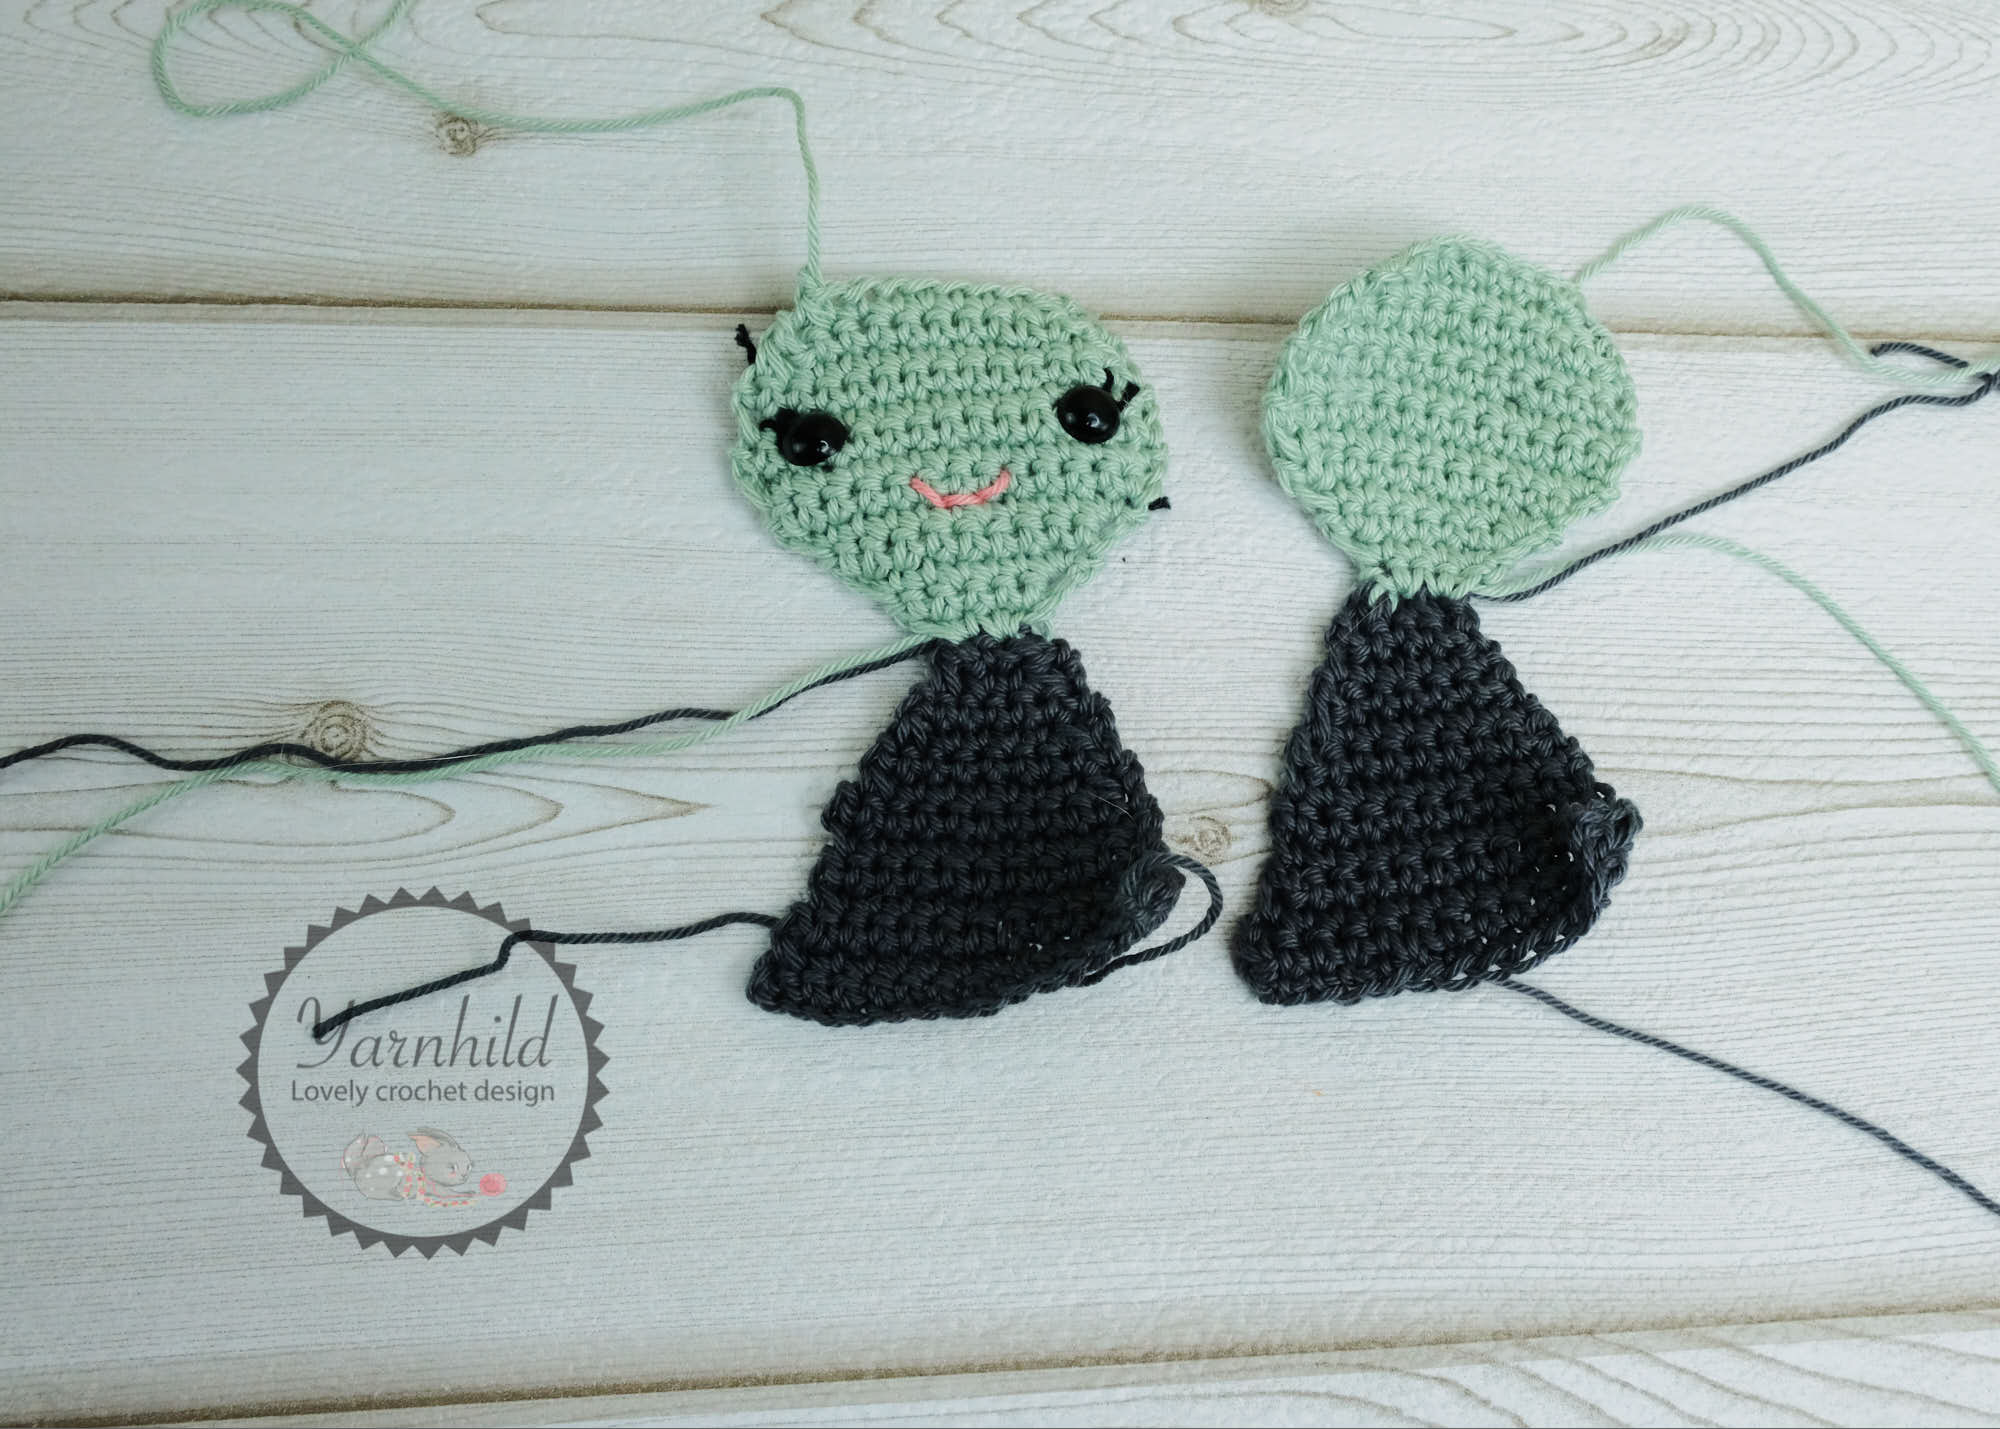
BODY AND HEAD
Color dark grey and green. Make 2 panels
With dark grey:
R 1: Ch 15, turn, 1 sc in the second ch from the hook and across, ch 1, turn = 14 sc
R 2: Sc2tog, 10 sc, sc2tog, ch 1, turn = 12 sc
R 3: 12 sc, ch 1, turn = 12 sc
R 4: Sc2tog, 8 sc, sc2tog, ch 1, turn = 10 sc
R 5-7: 10 sc, ch 1, turn (3 rows) = 10 sc
R 8: Sc2tog, 6 sc, sc2tog, ch 1, turn = 8 sc
R 9: 8 sc, ch 1, turn = 8 sc
R 10: Sc2tog, 4 sc, sc2tog, ch 1, turn = 6 sc
R 11: 6 sc, ch 1, turn = 6 sc
R 12: Sc2tog, 2 sc, sc2tog, ch 1, turn = 4 sc
R 13: Sc2tog x 2, ch 1, turn. Switch to green on the last pull trough of row 12 = 2 sc
R 14: Sc inc x 2, ch 1, turn = 4 sc
R 15: Sc inc, 2 sc, sc inc, ch 1, turn = 6 sc
R 16: Sc inc, 4 sc, sc inc, ch 1, turn = 8 sc
R 17: Sc inc, 6 sc, sc inc, ch 1, turn = 10 sc
R 18: Sc inc, 8 sc, sc inc, ch 1, turn = 12 sc
R 19: Sc inc, 10 sc, sc inc, ch 1, turn = 14 sc
R 20 – 23: 14 sc, ch 1, turn (4 rounds) = 14 sc
R 24: Sc2tog, 10 sc, sc2tog, ch 1, turn = 12 sc
R 25: Sc2tog, 8 sc, sc2tog, ch 1, turn = 10 sc
R 26: Sc2tog, 6 sc, sc2tog, ch 1, turn = 8 sc
Cut the yarn. Put the panels to the side.
Hair
In pink
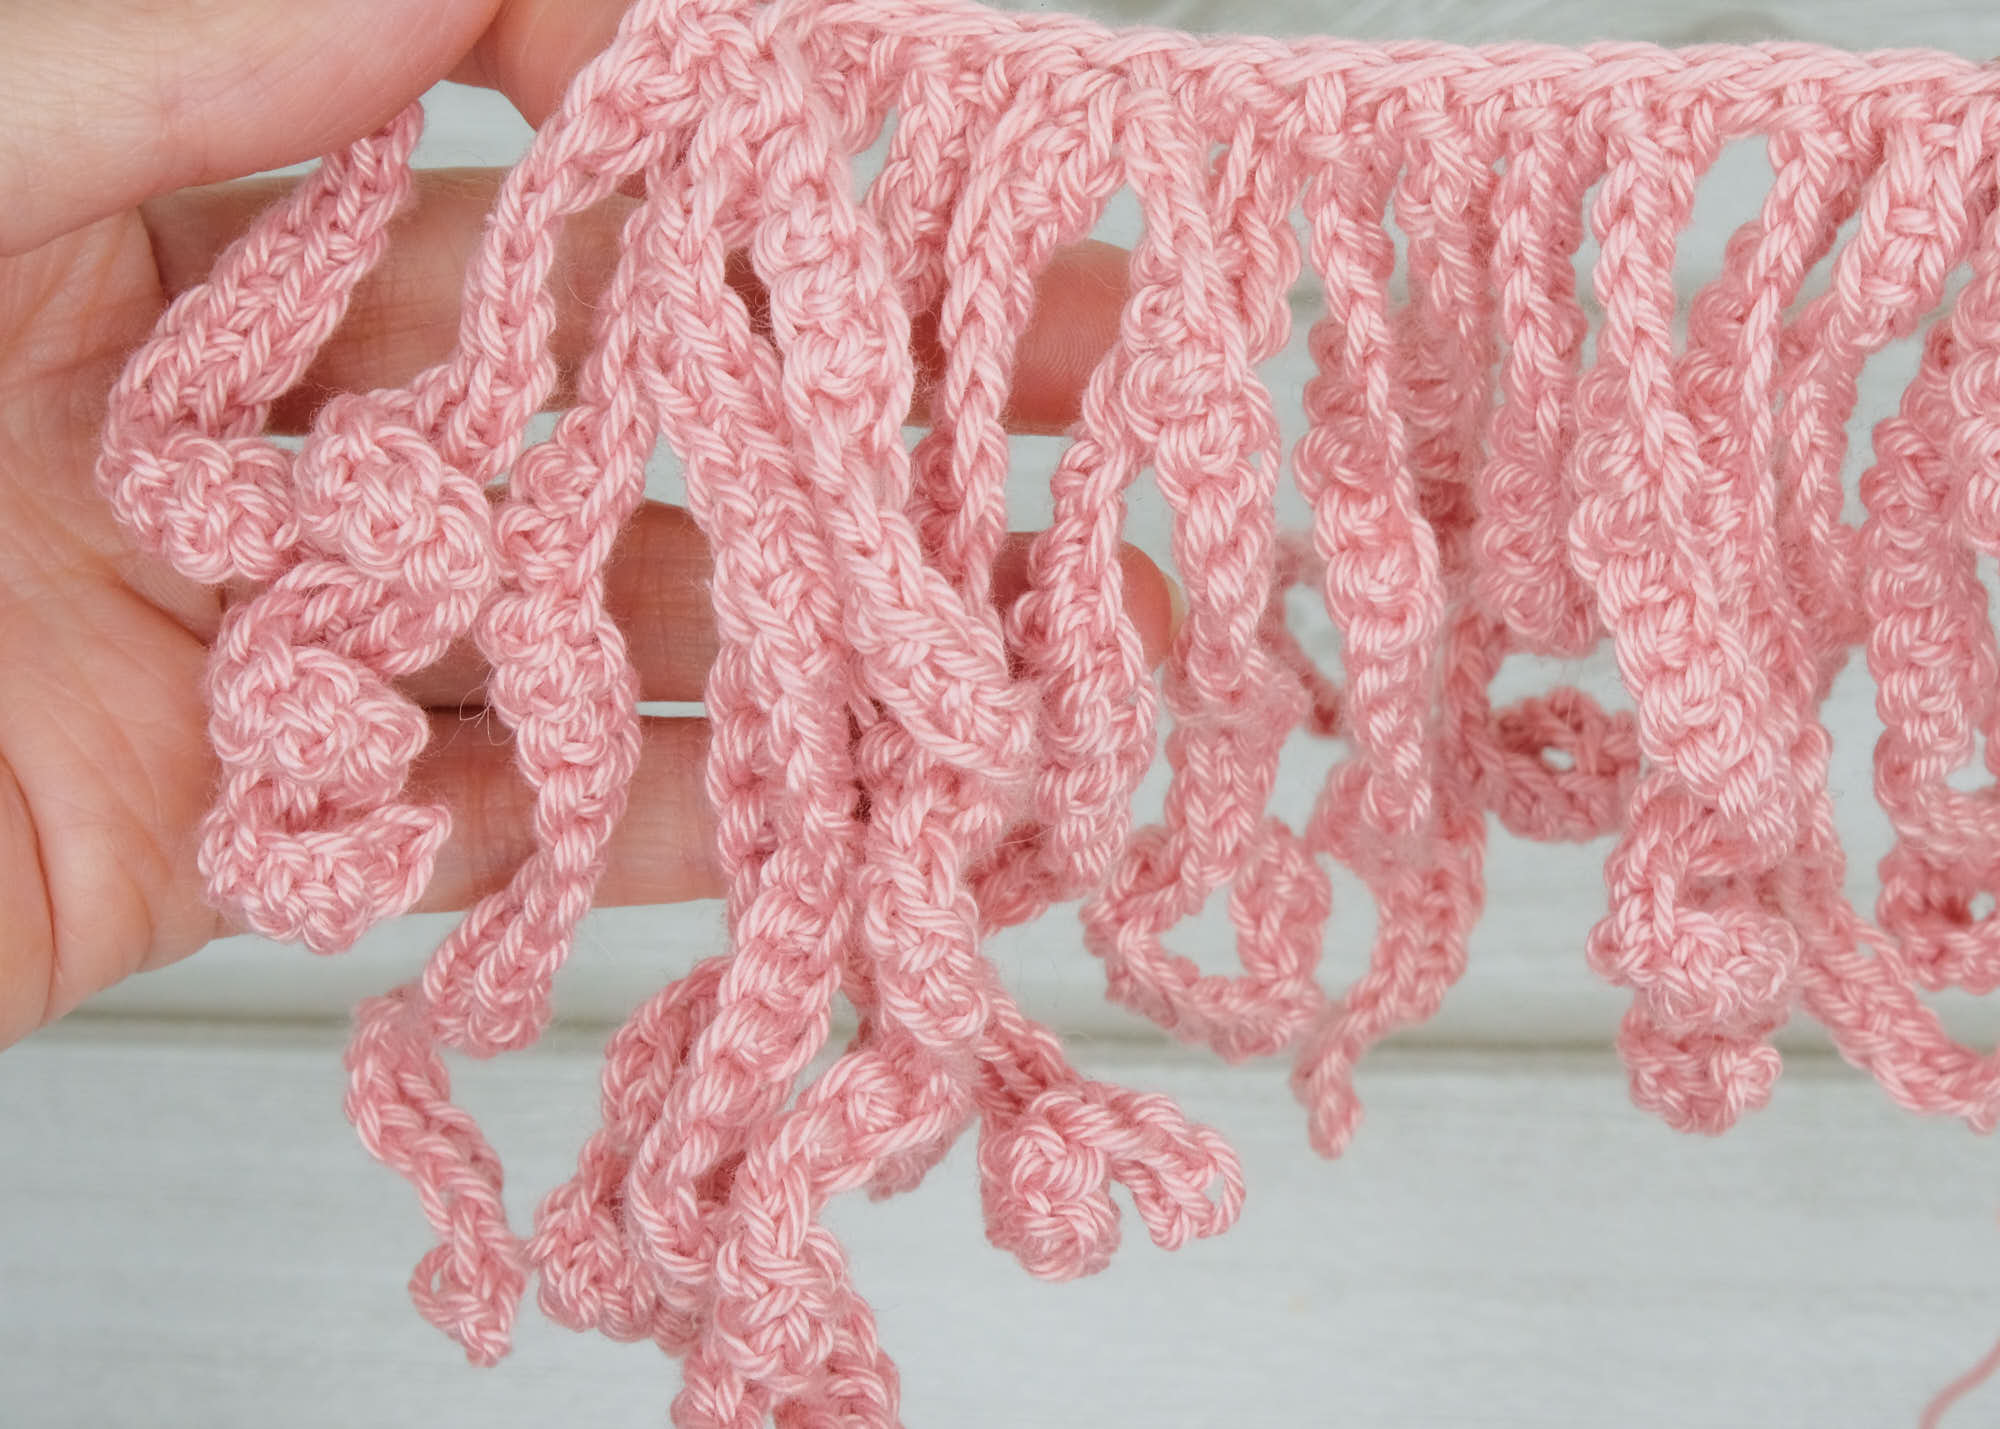
Ch 50, turn. 1 sc in the second chain from the hook and in the next 28 chains. This will be the first strand of the hair. Now sl st in the next ch, ch 30, turn, 1 sc in the second chain from the hook and in the next 29 ch. Repeat the proses with all the remaining chains, until you have 20 strands or so of hair. (See pictures below):
Hat
3.0 mm crochet hook
Color dark grey
Make 2 panels
R1: Chain 23, turn, sl st in the 2ndch from the hook (keep tension loose) and in next 3 ch, 1 sc in next 13 ch, sl st in last 4 chains, ch 1, turn.
Sl st in next 2 st, 1 sc in next 18 sc, sl st in last 2 st. This will be the brim of the hat.
R 2: Break the yarn, turn, and reattach the yarn in st nr 5. Ch 1, 1 sc in same st and in next 14 st, ch 1, turn. = 14 sc
R 3: Sc2tog, 10 sc, sc2tog, ch 1 turn = 12 sc
R 4: 12 sc, ch 1, turn = 12sc
R 5: Sc2tog, 8 sc, sc2tog, ch 1, turn =10 sc
R 6-7: 10 sc, ch 1, turn (2 rows) = 10 sc
R 8: Sc2tog, 6 sc, sc2tog, ch 1, turn = 8 sc
R 9-10: 8 sc, ch 1, turn (2 rows) = 8 sc
R 11: Sc2tog, 4 sc, sc2tog, ch 1, turn = 6 sc
R 12: 6 sc, ch 1, turn = 6 sc
R 13: Sc2tog, 2 sc, sc2tog, ch 1, turn = 4 sc
R 14: 4 sc, ch 1, turn = 4 sc
R 15: sc2tog x 2 = 2 sc
R 16: 2 sc, ch 1, turn = 2 sc
R 17: Sc2tog = 1 sc
Make another panel. When you are finished with crocheting, don’t cut off the yarn. Chain 1, put the other panel on top of it and sc them together. Sc until you get to the brim of the left side Leave the stitches for the bottom open. Cut the yarn and insert it on the other brim side. Sc your way until you get to the top of the hat. Sl st in the first sc and cut the yarn. Weave in all ends.
Once you have sewed the hat on the head, you can fill it lightly with some stuffing before closing the hole. You don’t have to attach it if it stands by itself.
Crochet the panels together
Attach safety eyes on row 21-22, 7 sc space apart, or sew on eyes and mouth on one of the panels.
If you want to sew on eyelashes, do not add washers to the back of the eyes. Decide where to place the eyes and put them on without attaching the back part. Now sew on the eyelashes using embroidery thread. Sew on 2-3 lashes. Go out on an angle, starting where the safety eye is. Then add the washers to the back part.
Lay the panels on each other and sc them together. Place 2 sc in each corner of the dress. Match the color used to sew the pieces together with the color being attached.
See the pictures below for more details.
Lay the panels on top of each other, wrong sides facing in. Attach yarn at the corner, chain 1 and sc the parts together.
Change color to
Add some stuffing. Put 2 sc in each corner of the bottom part. Sl st in the first sc, cut the yarn and weave in ends.
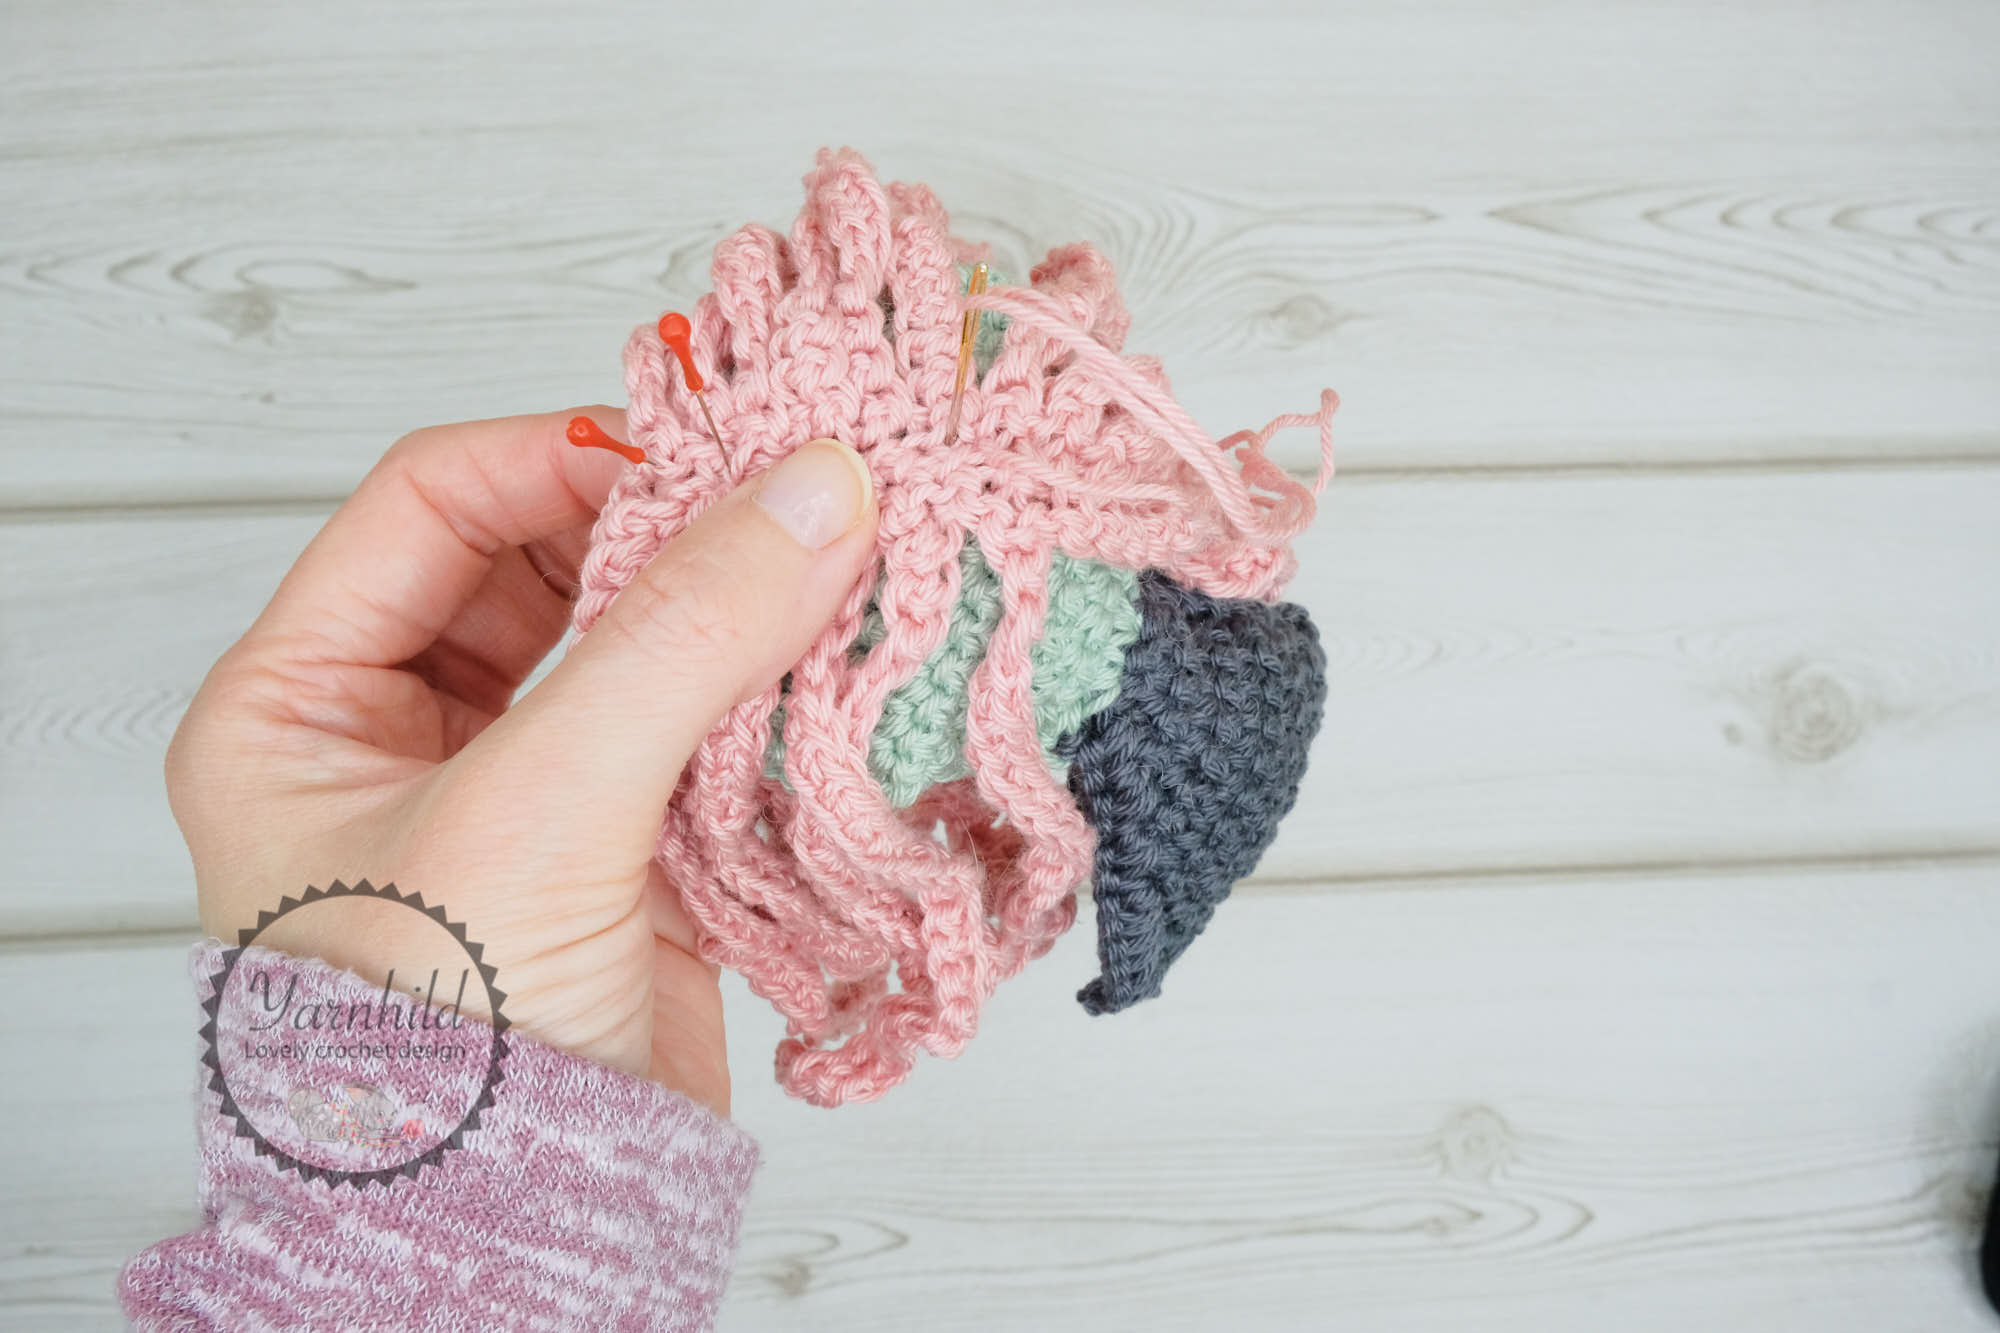
How to make the hair.
Ch 50, turn. 1 sc in the second chain from the hook and in the next 28 sc. This will be the first strand of the hair.
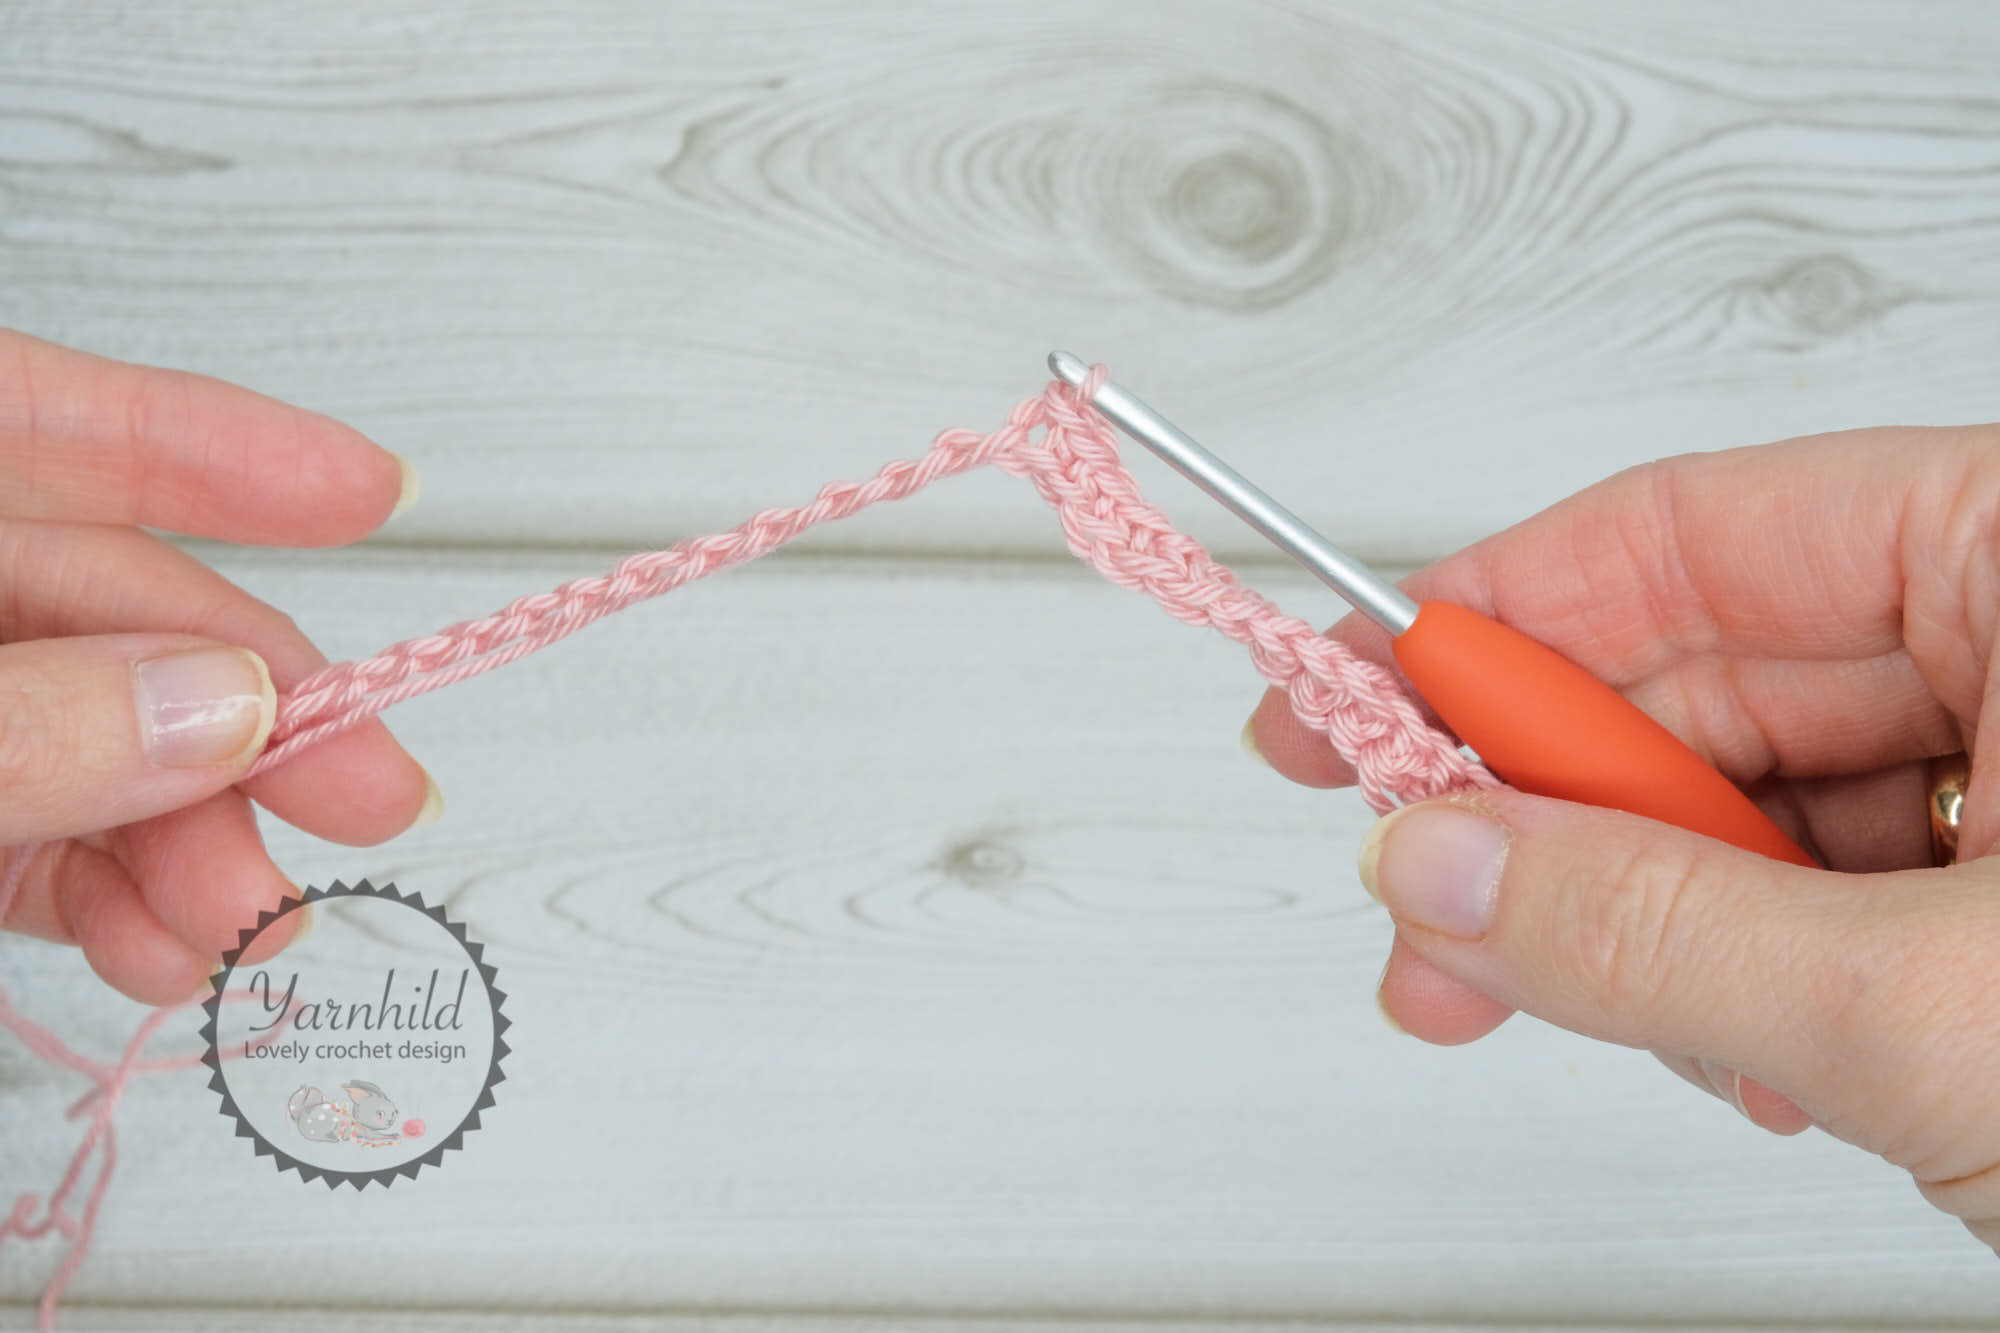
Now
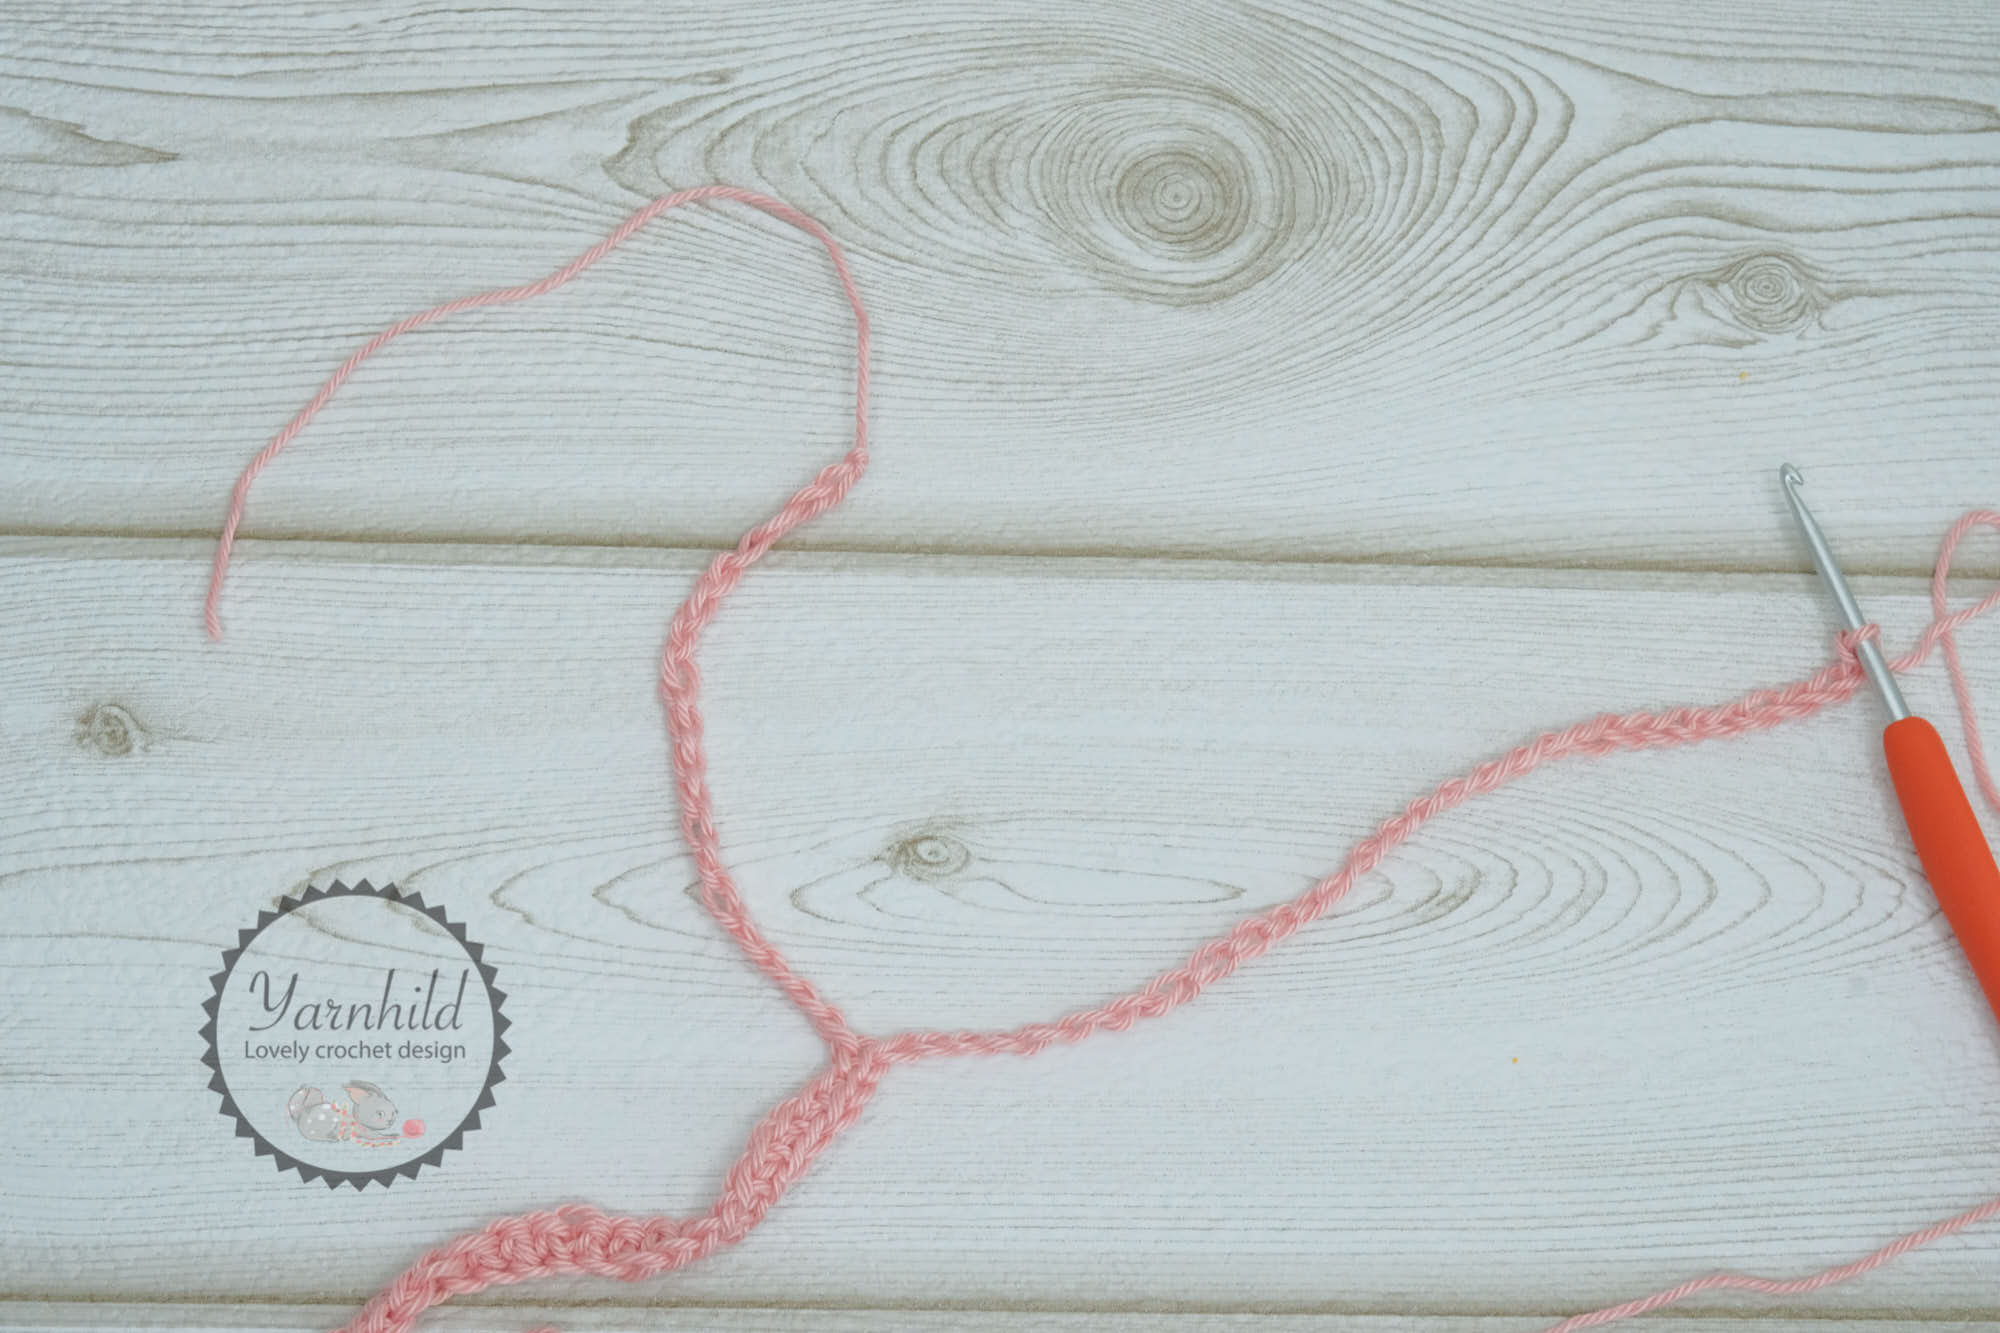
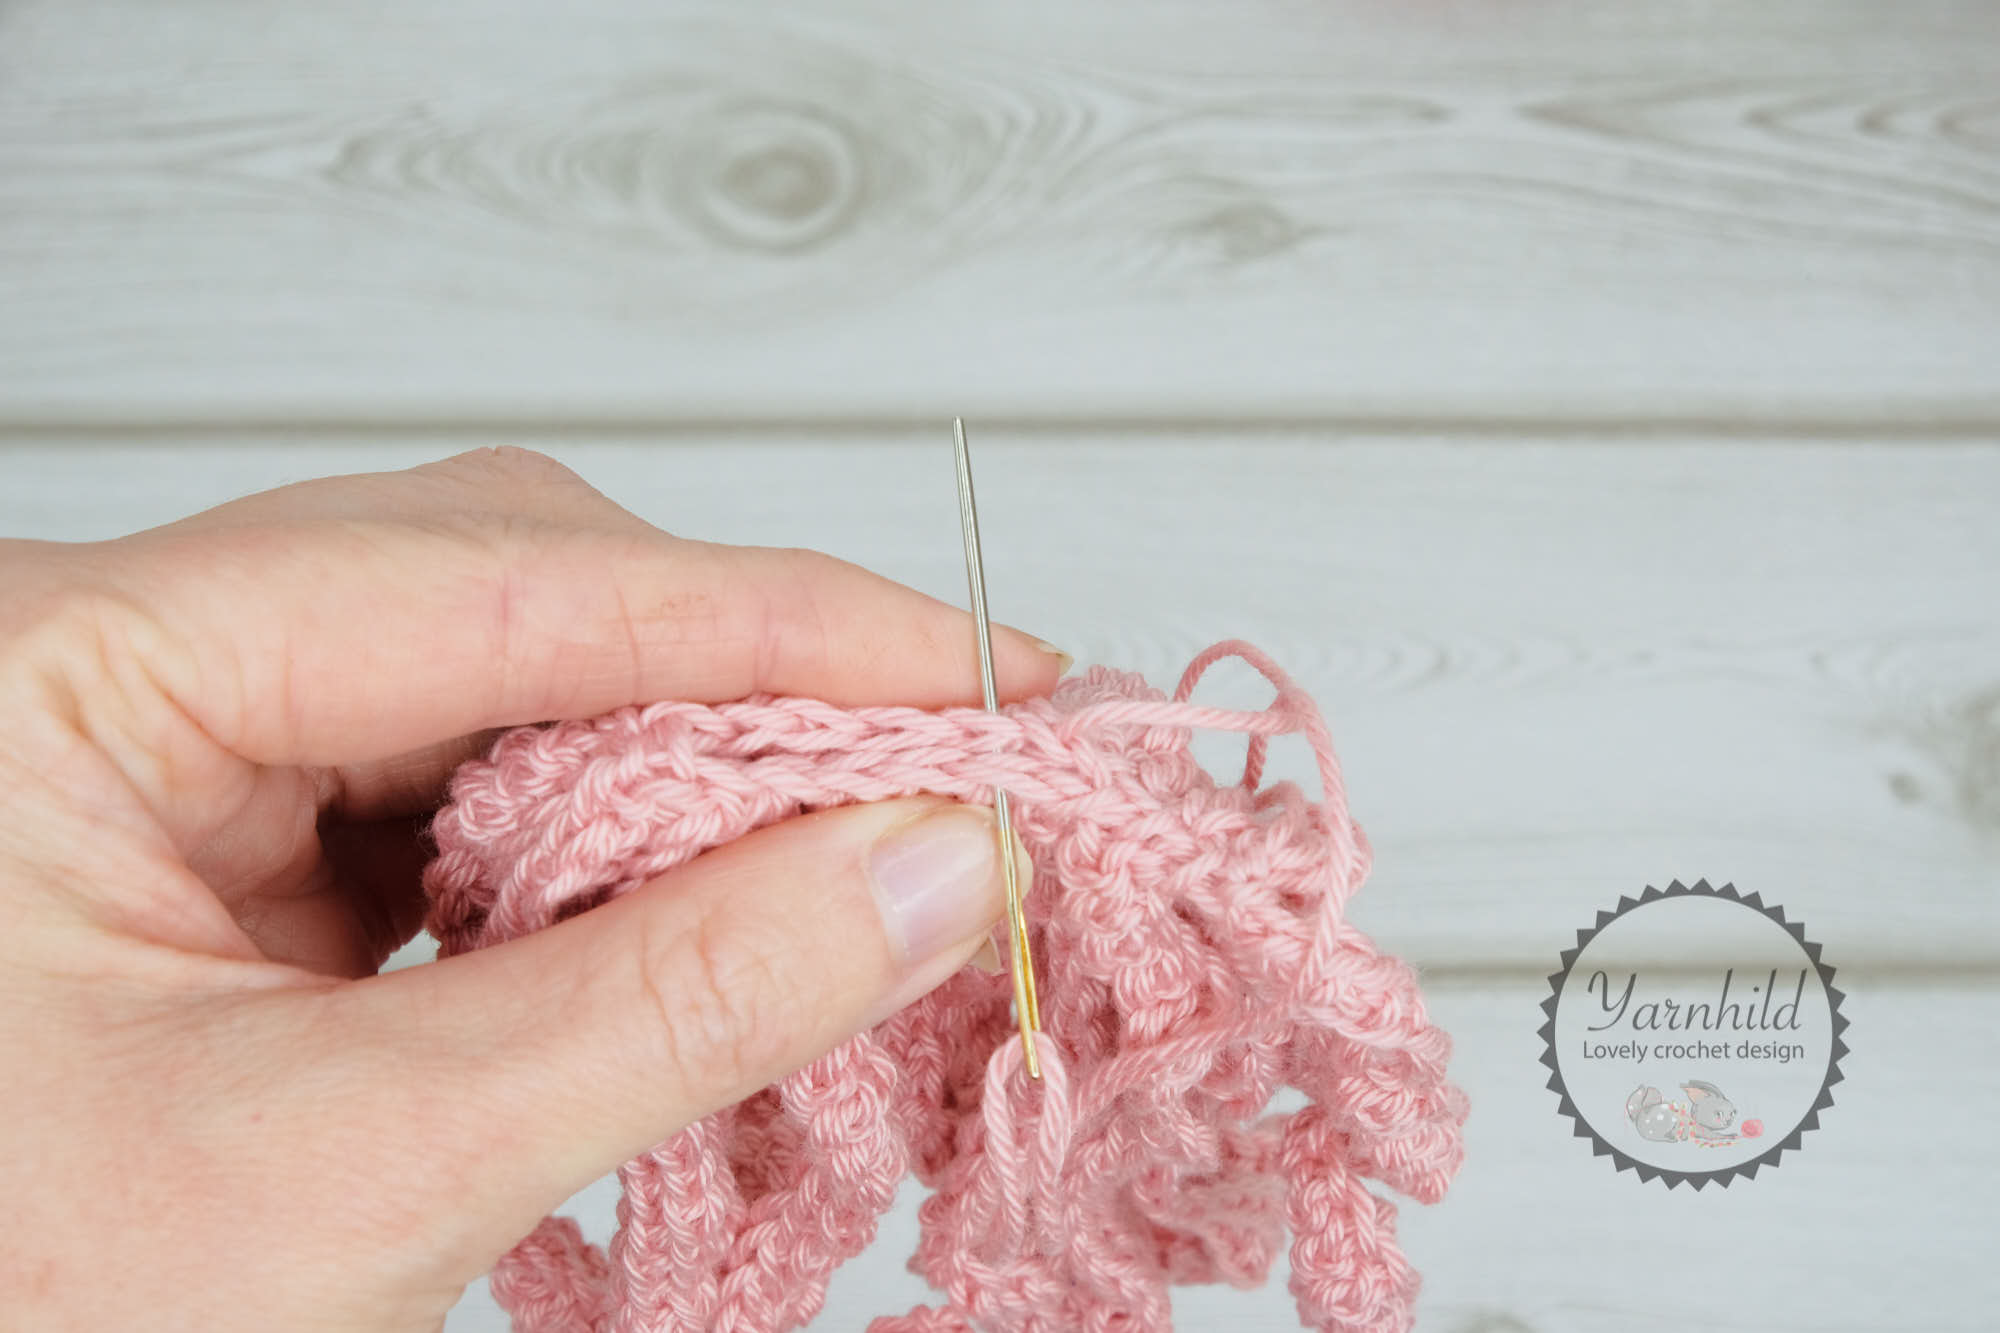
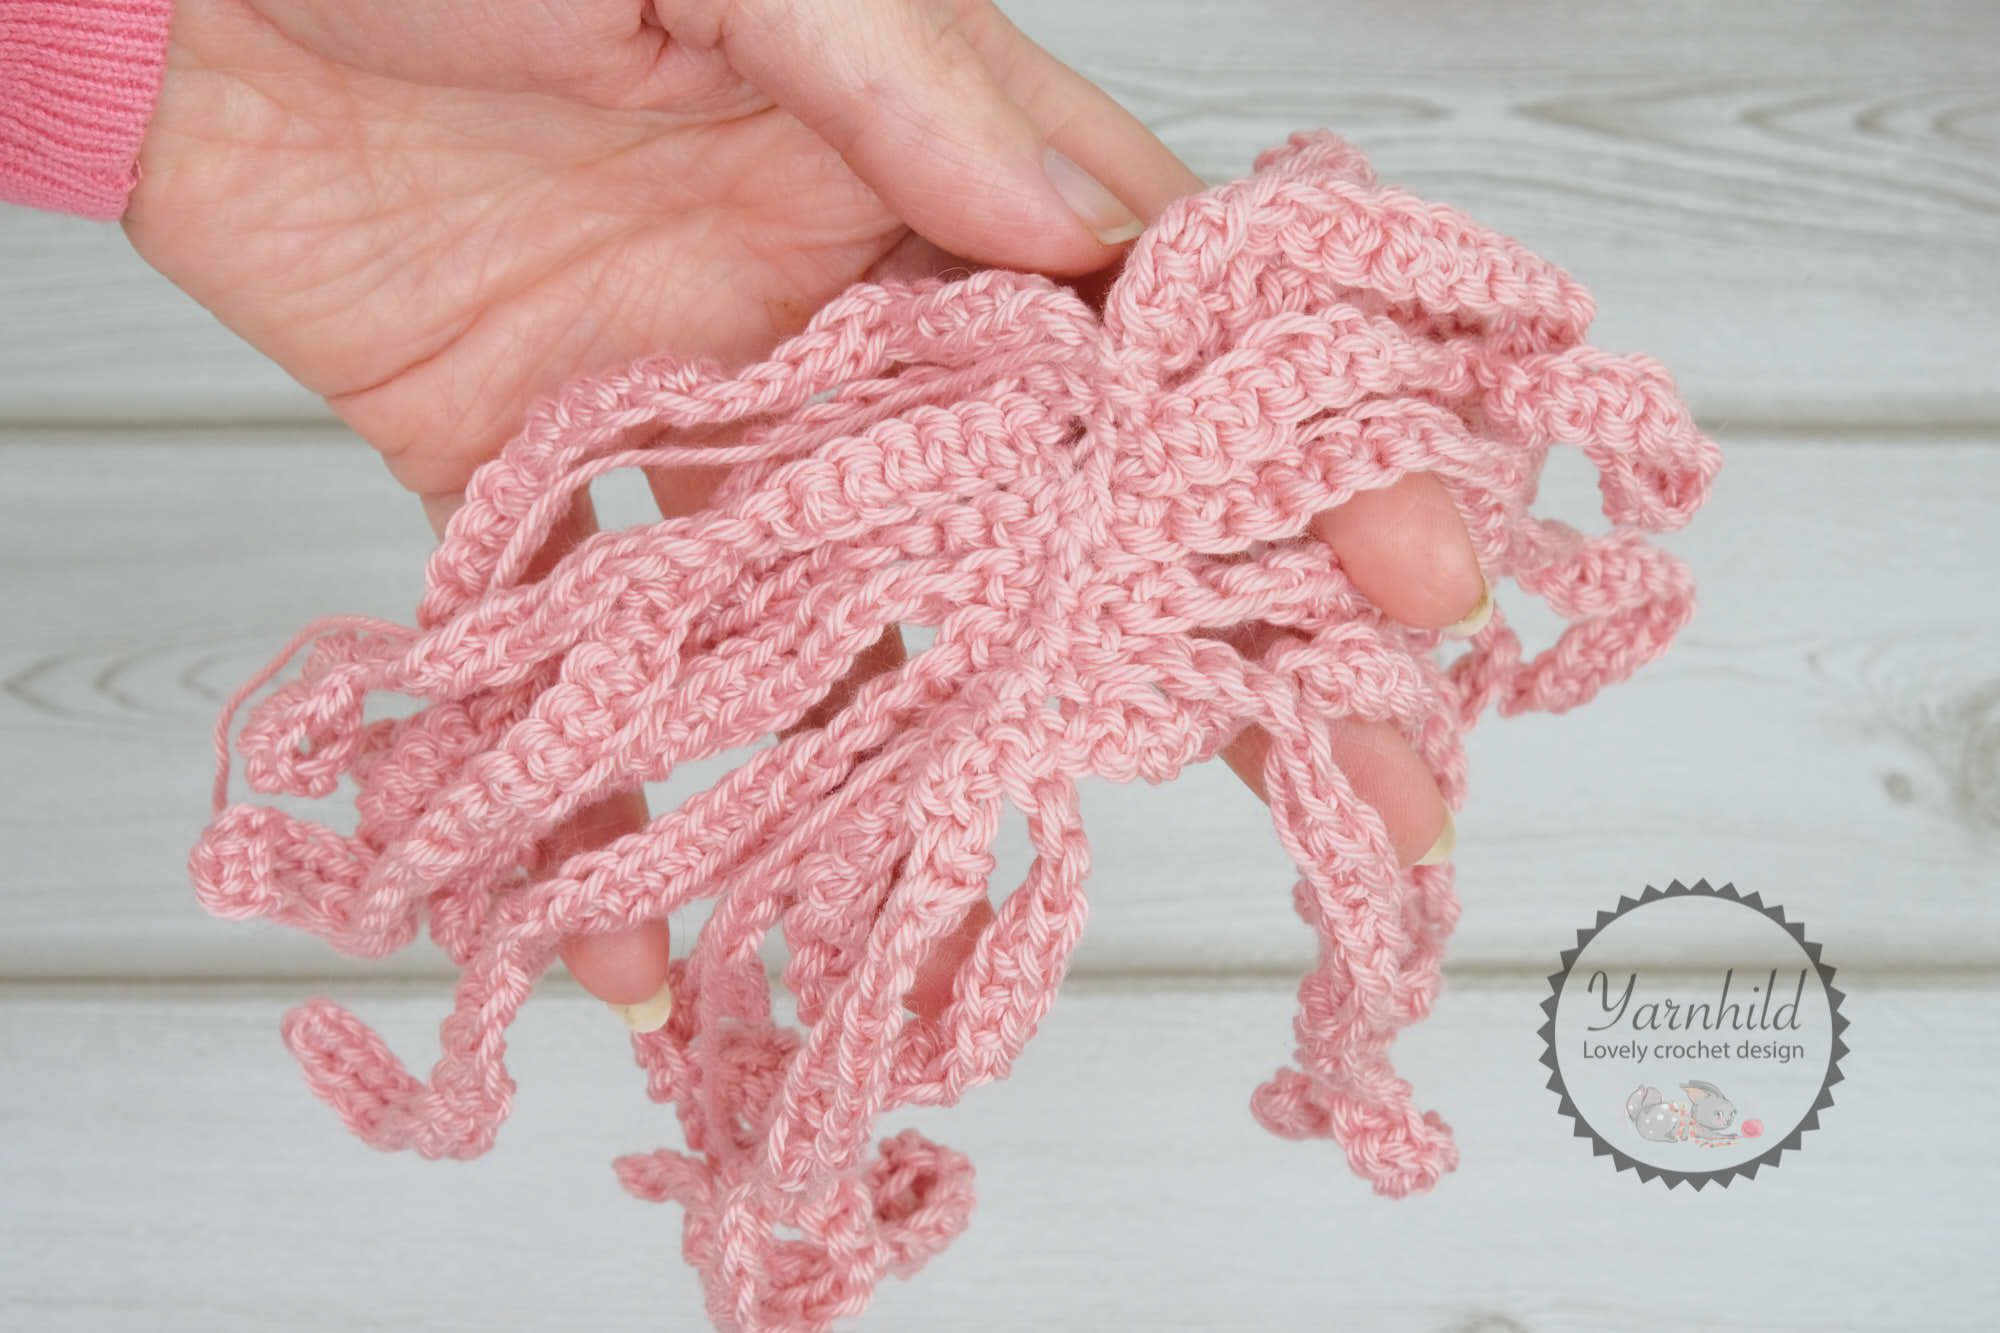
Repeat the process with all the remaining chains, until you have 20 strands or so of hair. When you have made all the strands, fold the piece in half and sew it together, so you`ll get about the same number of strands on each side.
Sew the hair on the head. Use straight pins to decide the position.
Feet. Make 2
Colors; dark gray and green
Worked in continuous rounds
Start with dark grey
Rnd 1: 5 sc in a mr = 5 sc
Rnd 2: sc inc, 4 sc = 6 sc
Rnd 3: 5 sc, sc inc = 7 sc
Rnd 4: Sc inc x 2, 3 sc, sc2tog = 8 sc
Rnd 5: 6 sc, hdc inc x 2 = 10 st (6sc, 4 hdc)
Stuff lightly
Rnd 6: hdc inc, 5 sc, sc2tog x 2= 9 st (2 hdc, 7 sc)
Rnd 7: 2 sc, sc2tog x 2, 1 sc, sc2tog = 7 sc
R 8 -11: 7 sc. Change color to green after rnd 8. (4 rounds 7 sc).
Crochet the feet together with sc to close the hole. Fasten off. Leave a strand for fastening
Arms, make 2
Start with green
Worked in continuous rounds
Rnd 1: 6 sc in a mr = 6 sc
Rnd 2 – 12: 6 sc. Change color to dark grey after round 4. Crochet the arm together with sc to close the hole. Fasten off. Leave a strand for fastening
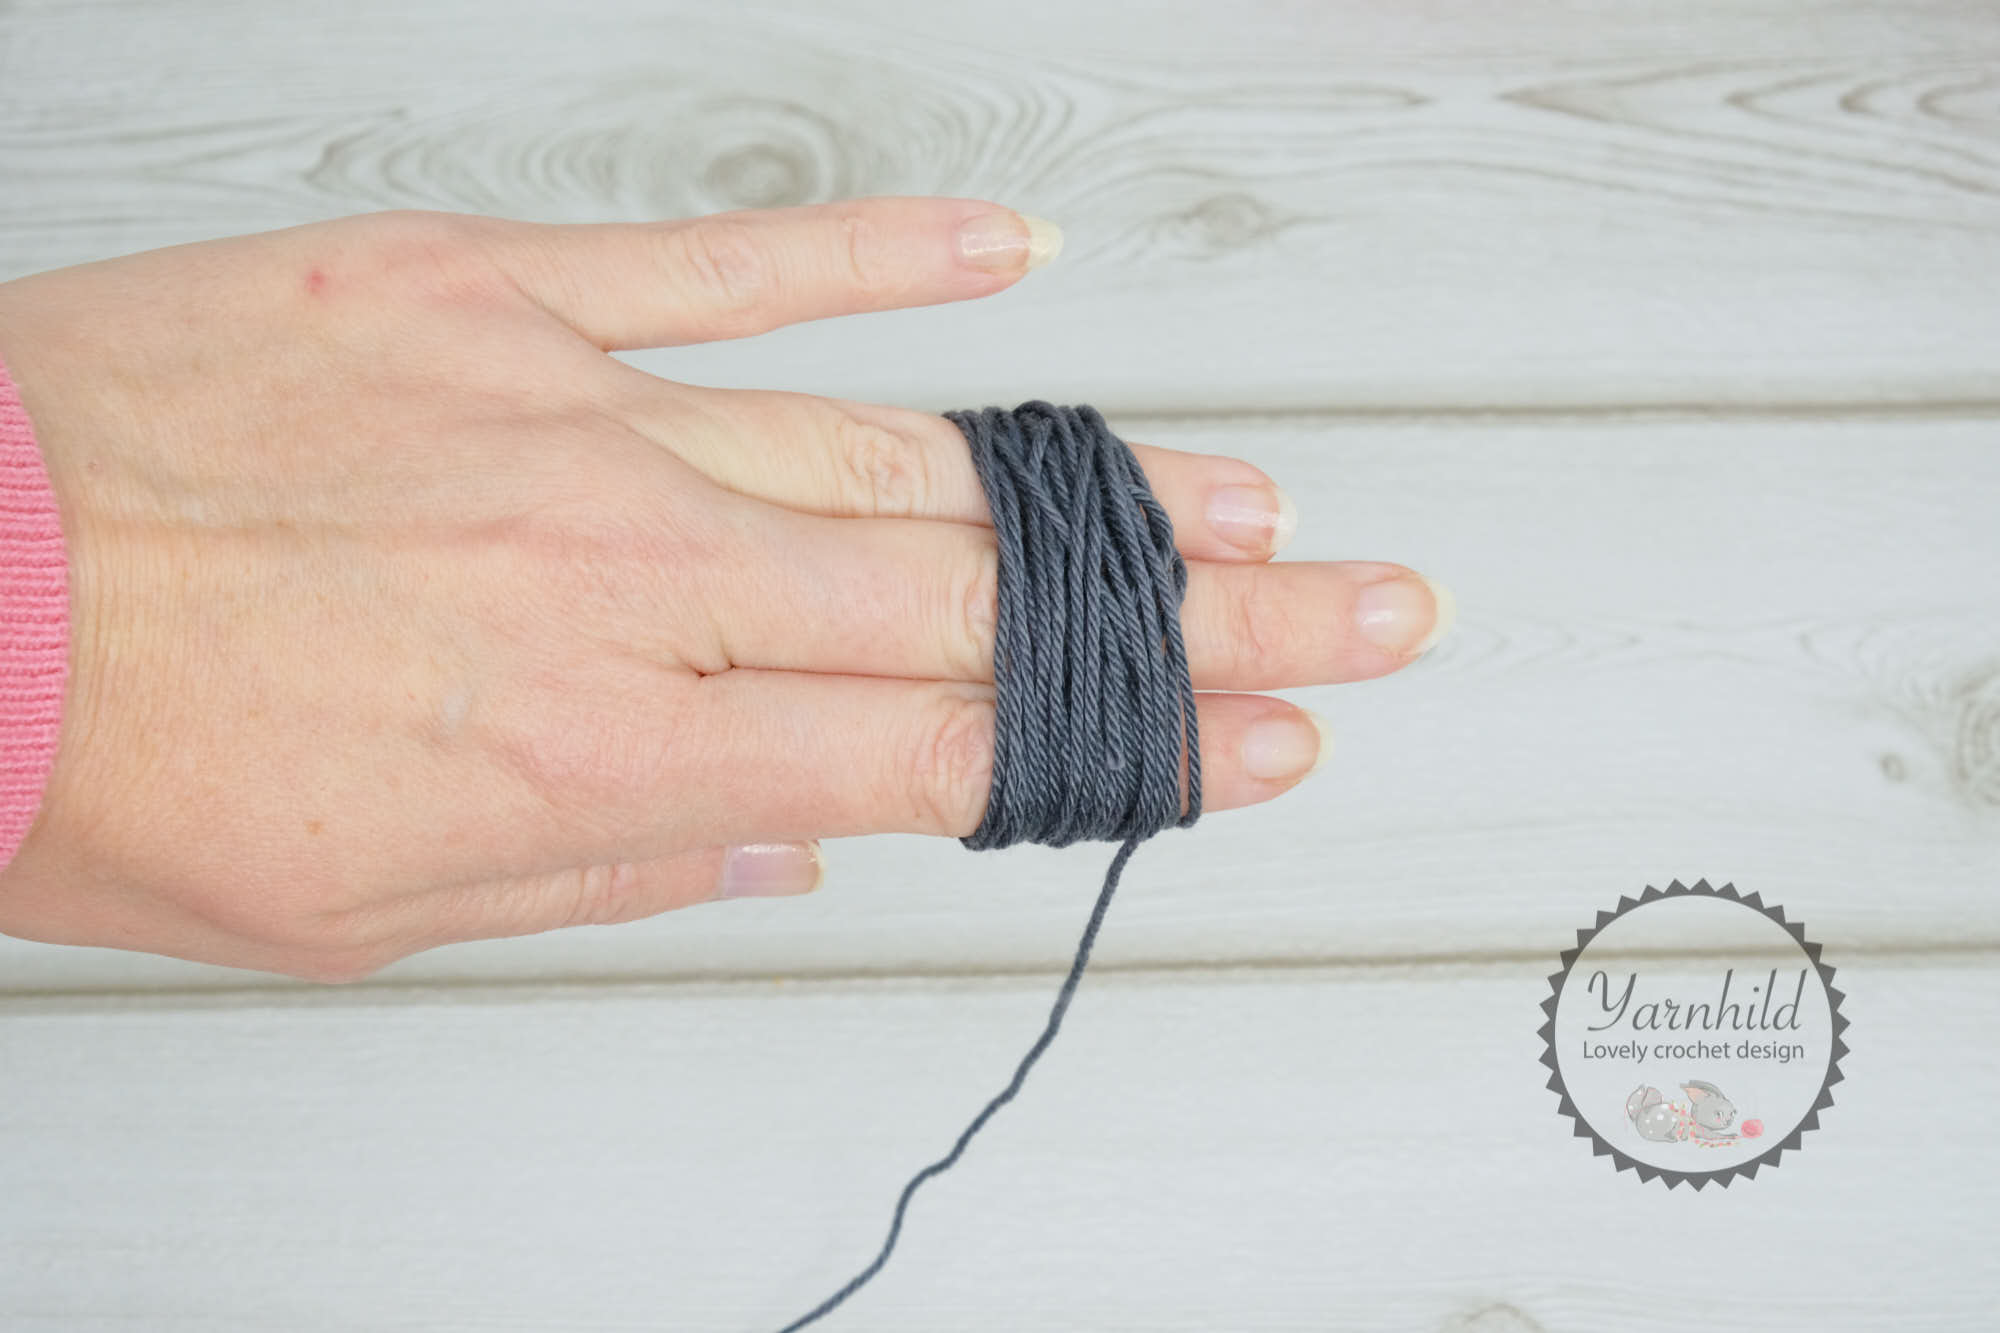
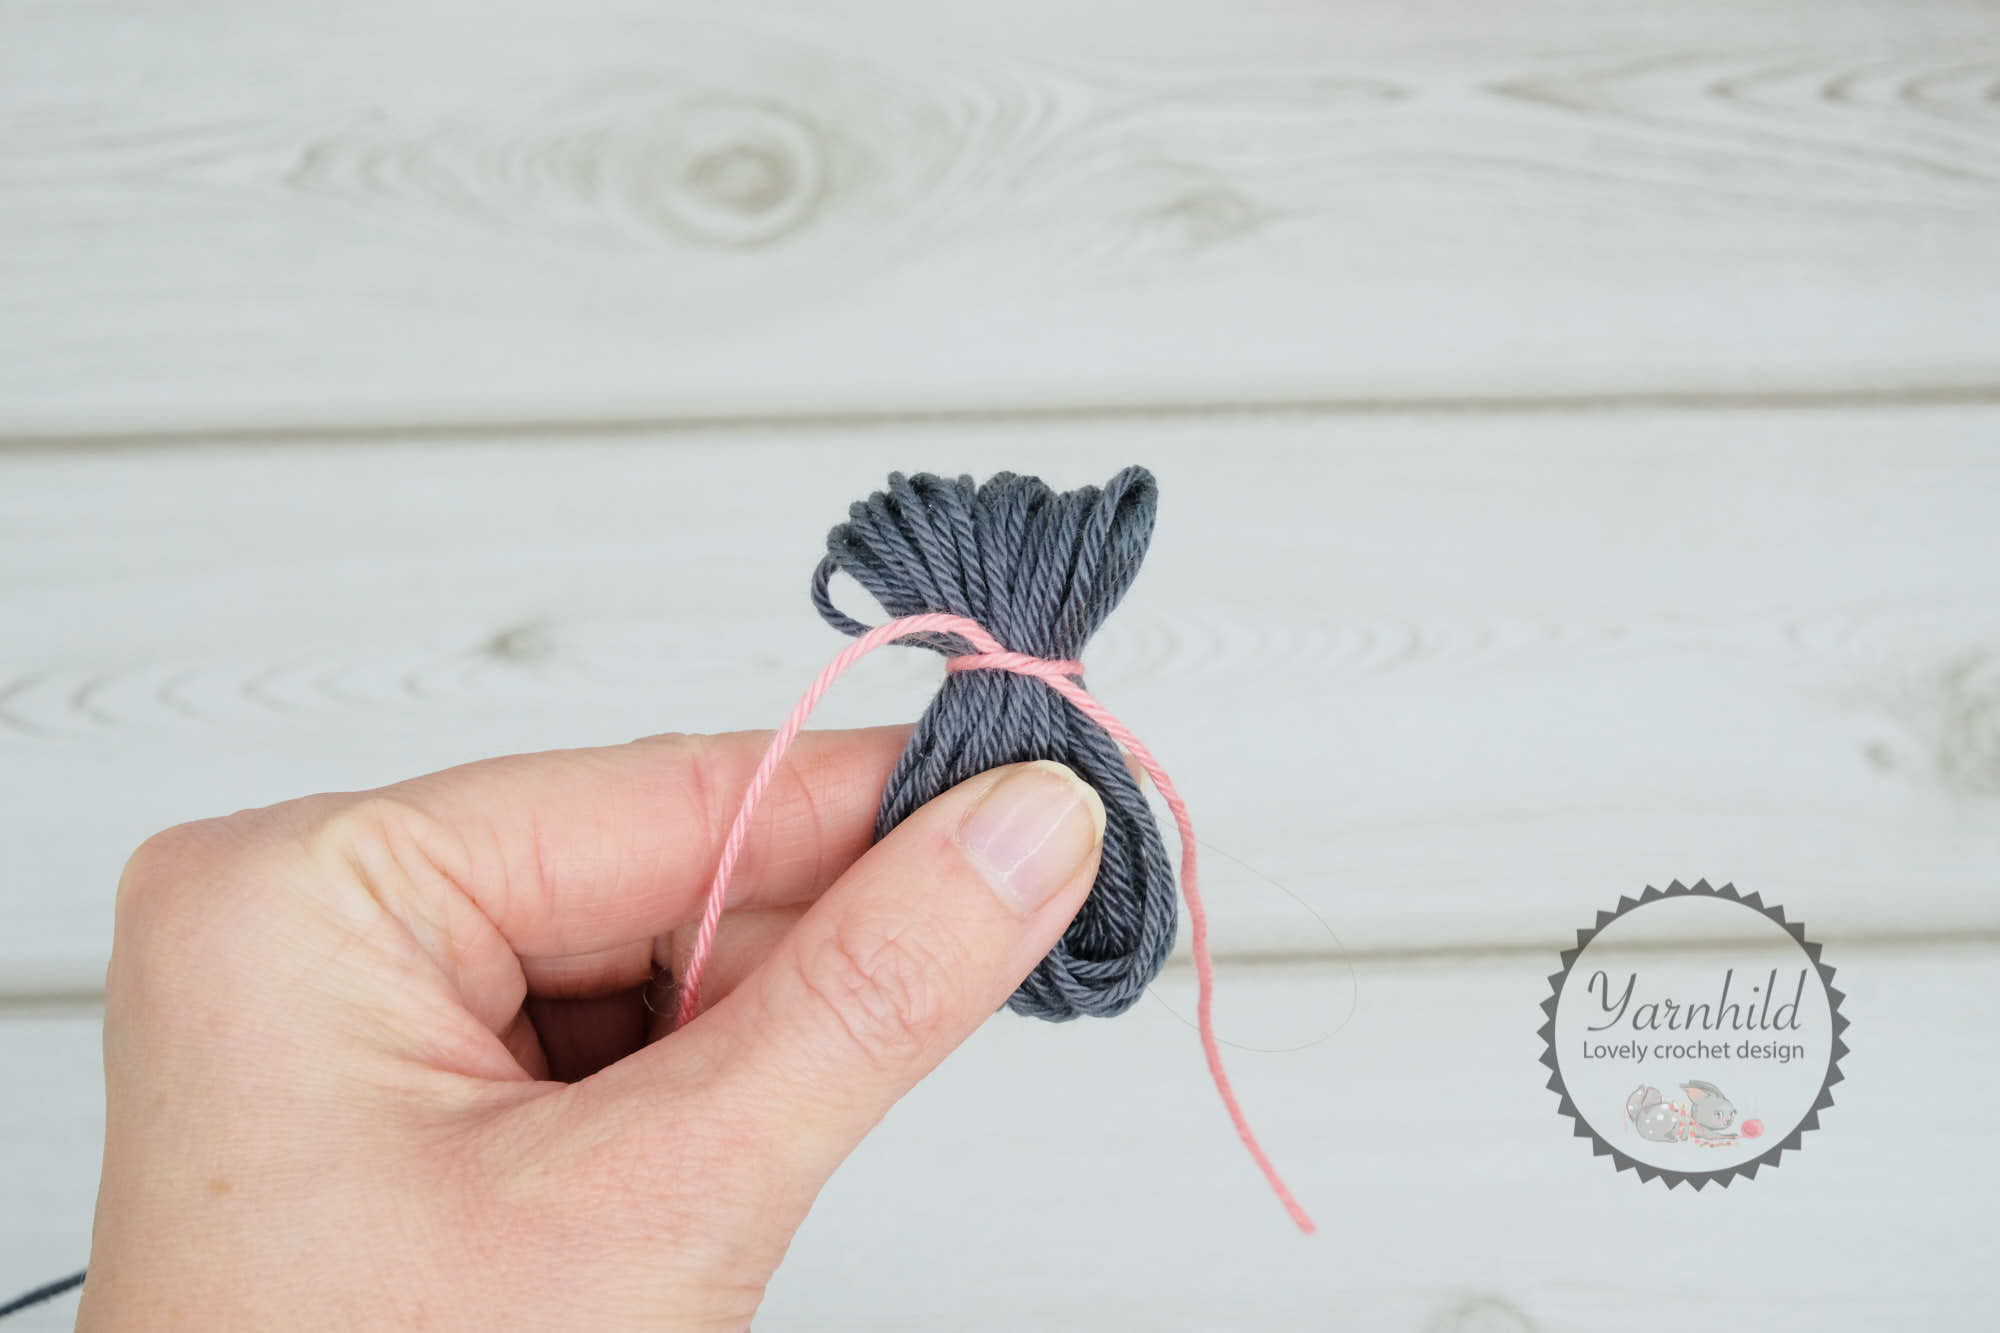
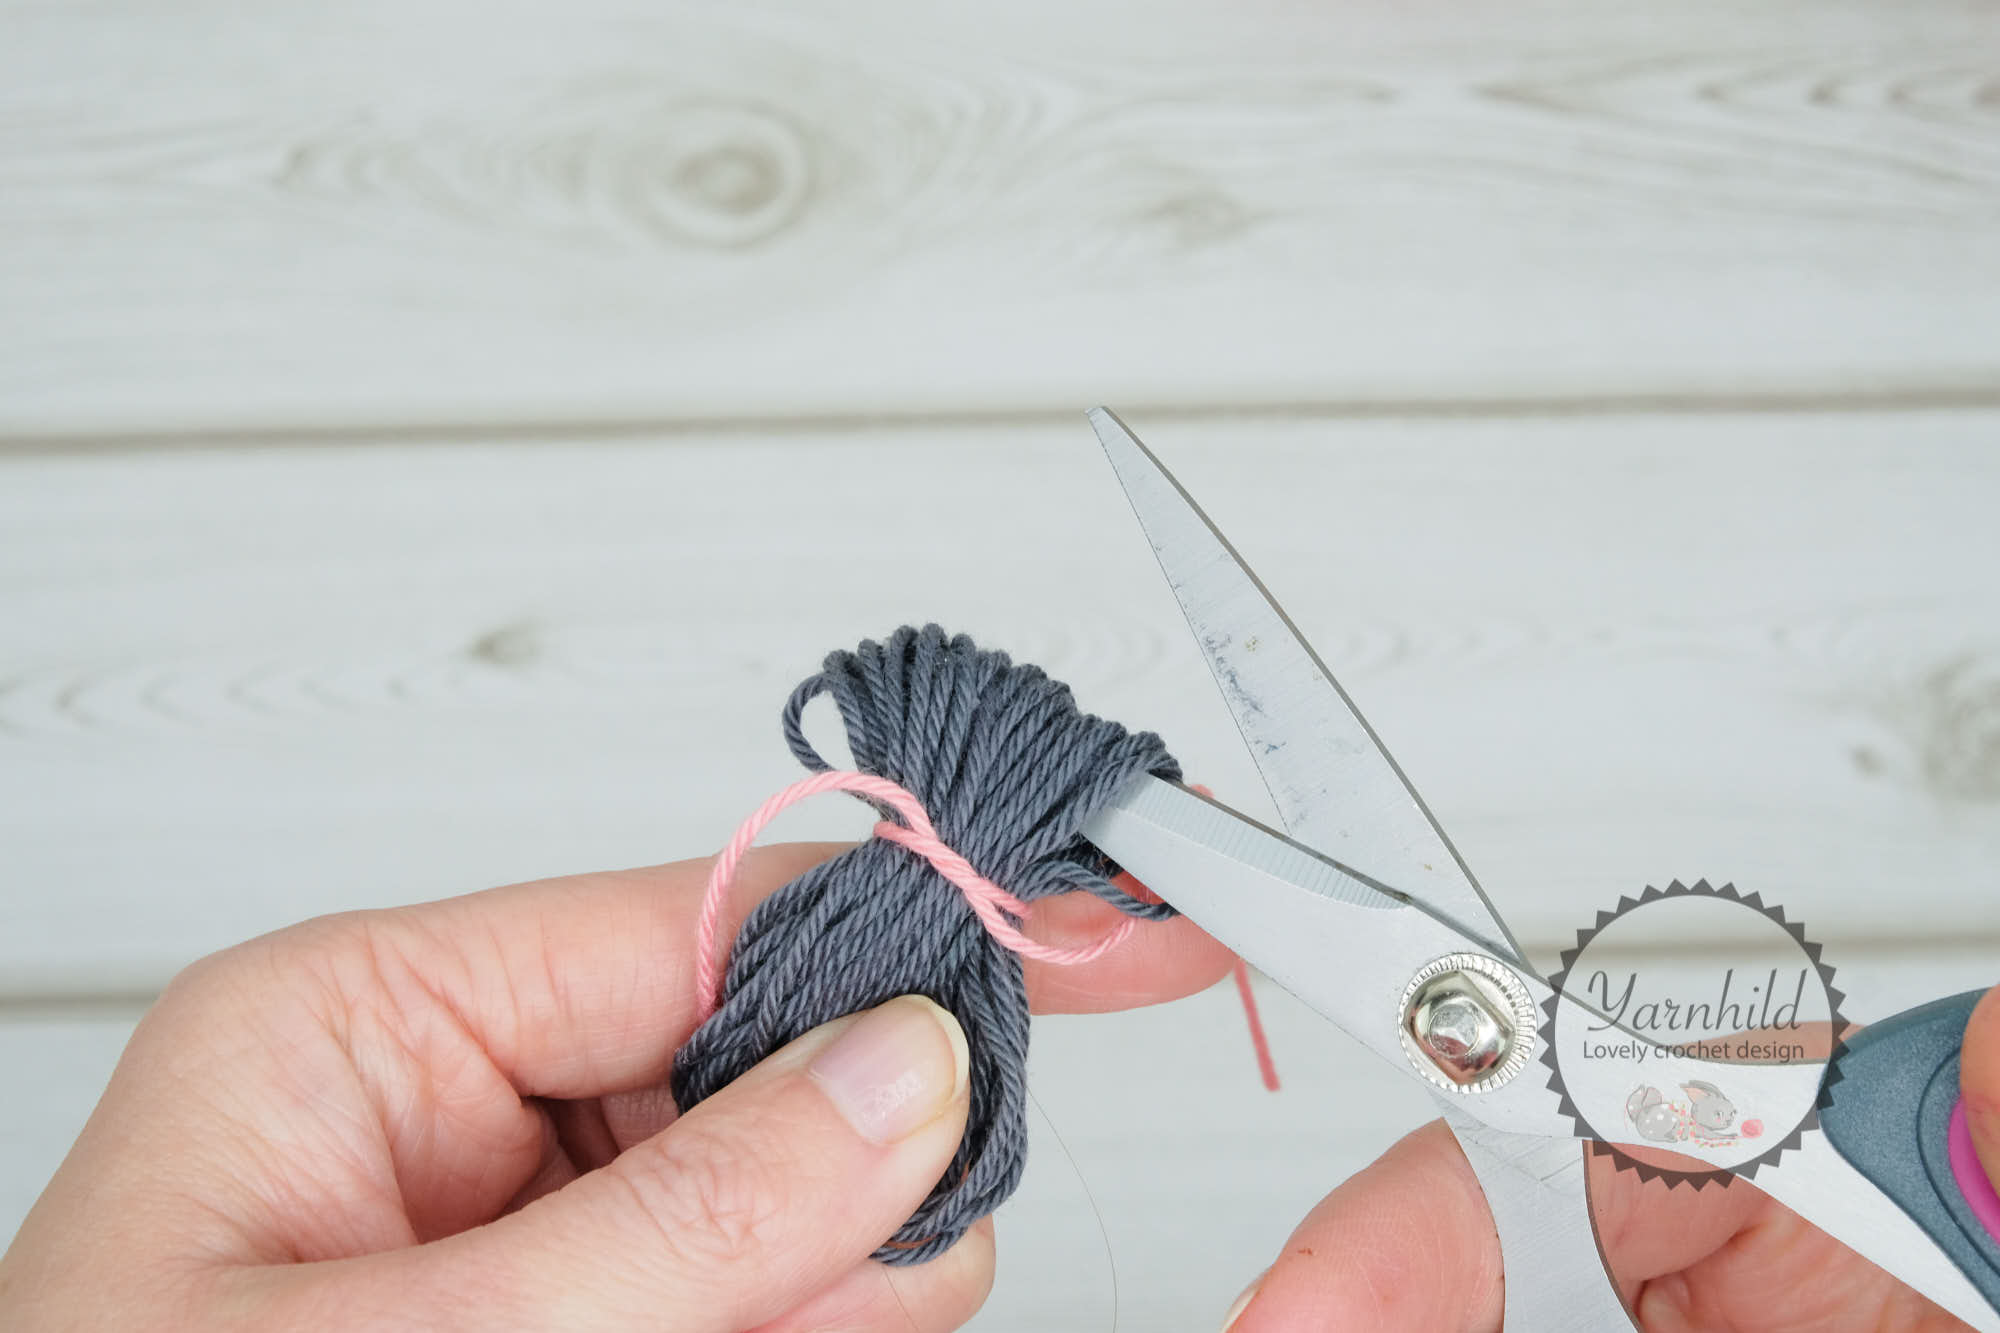
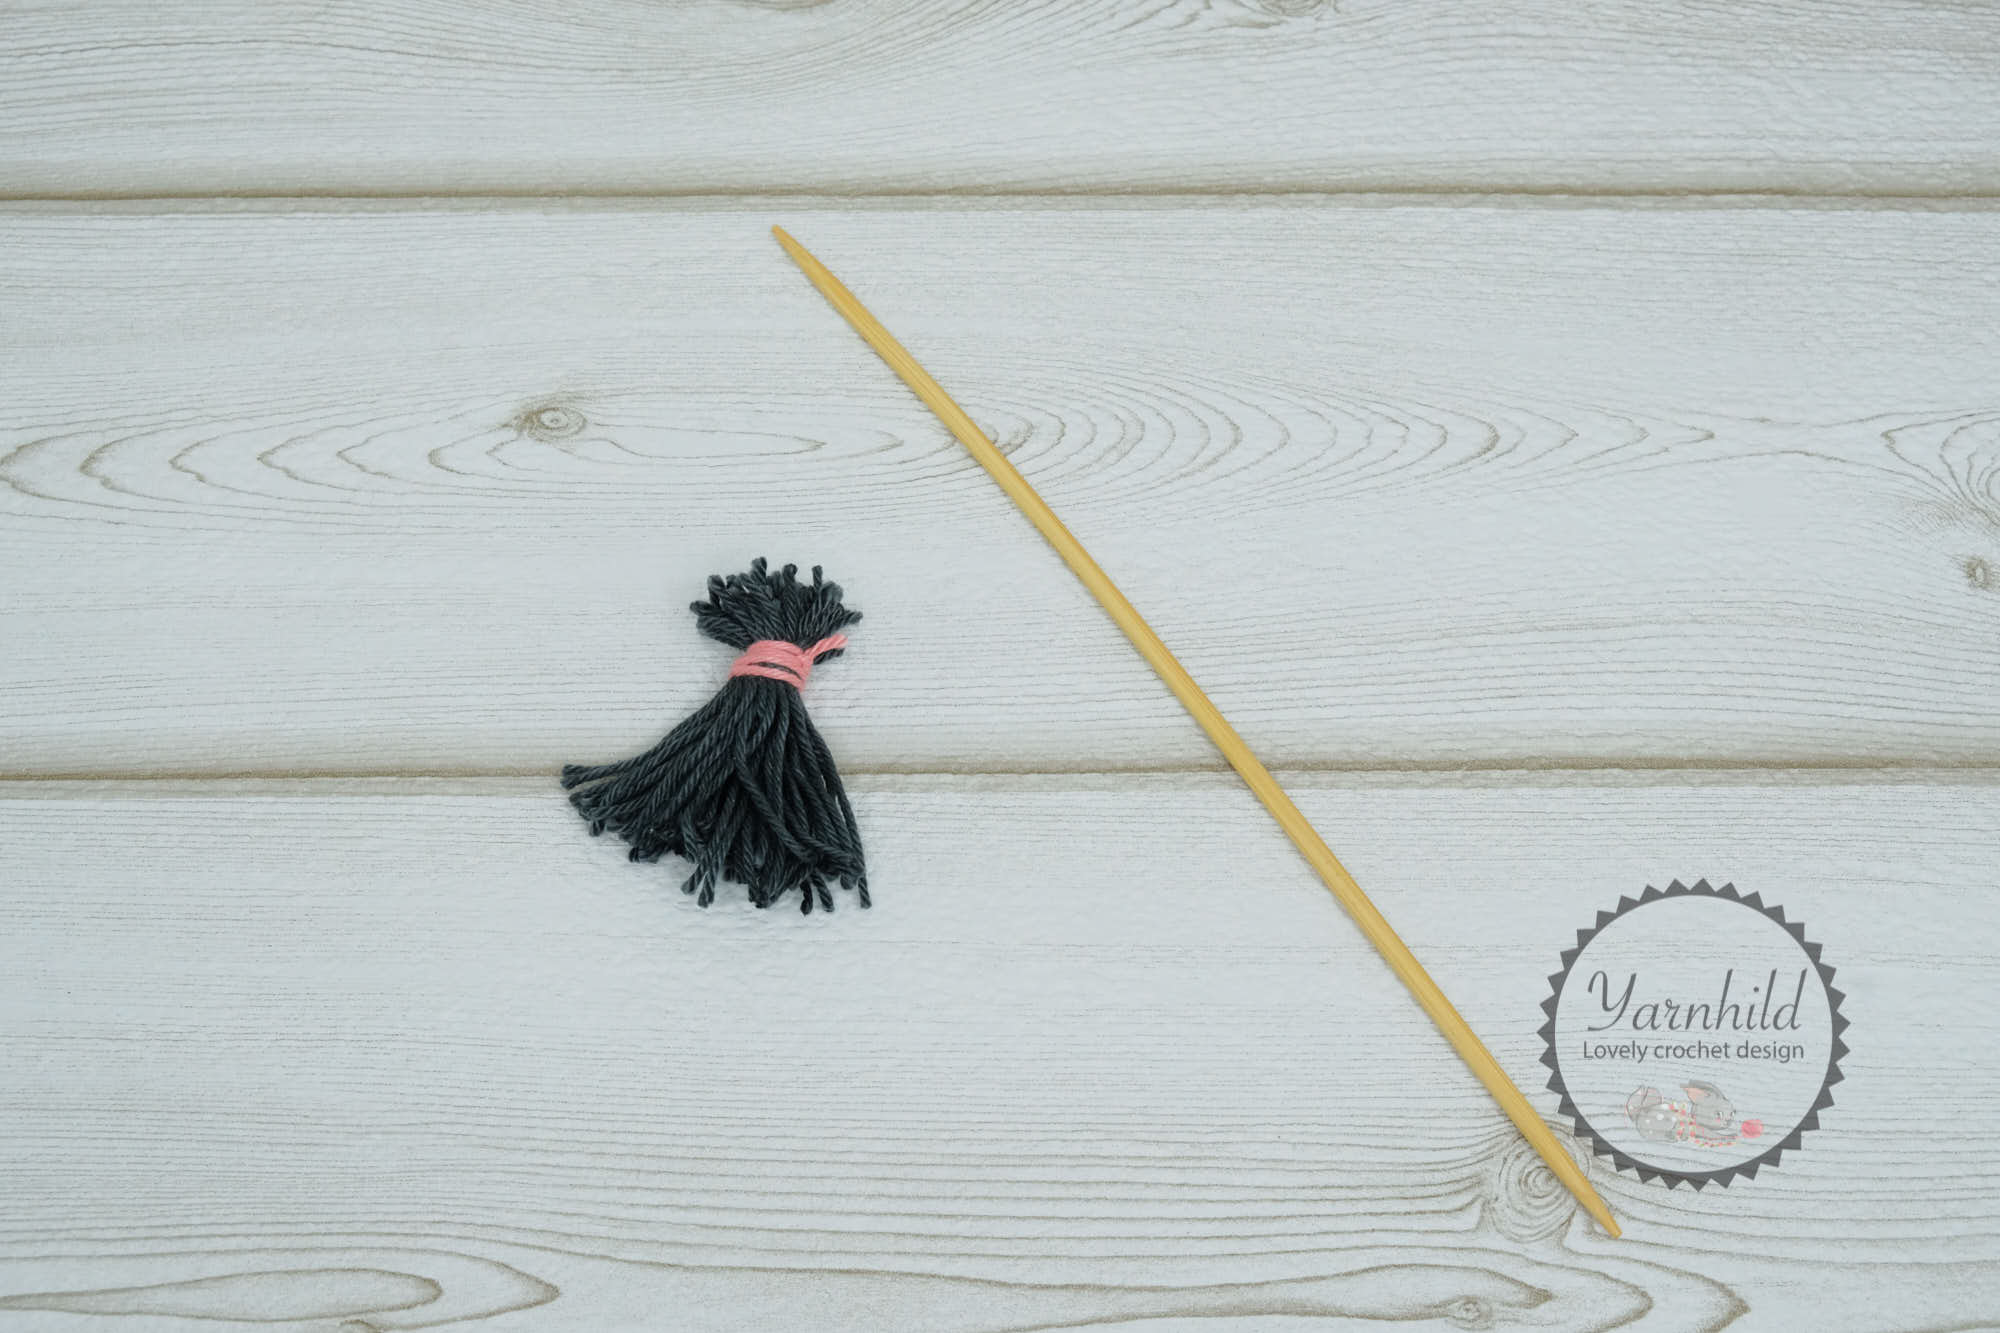
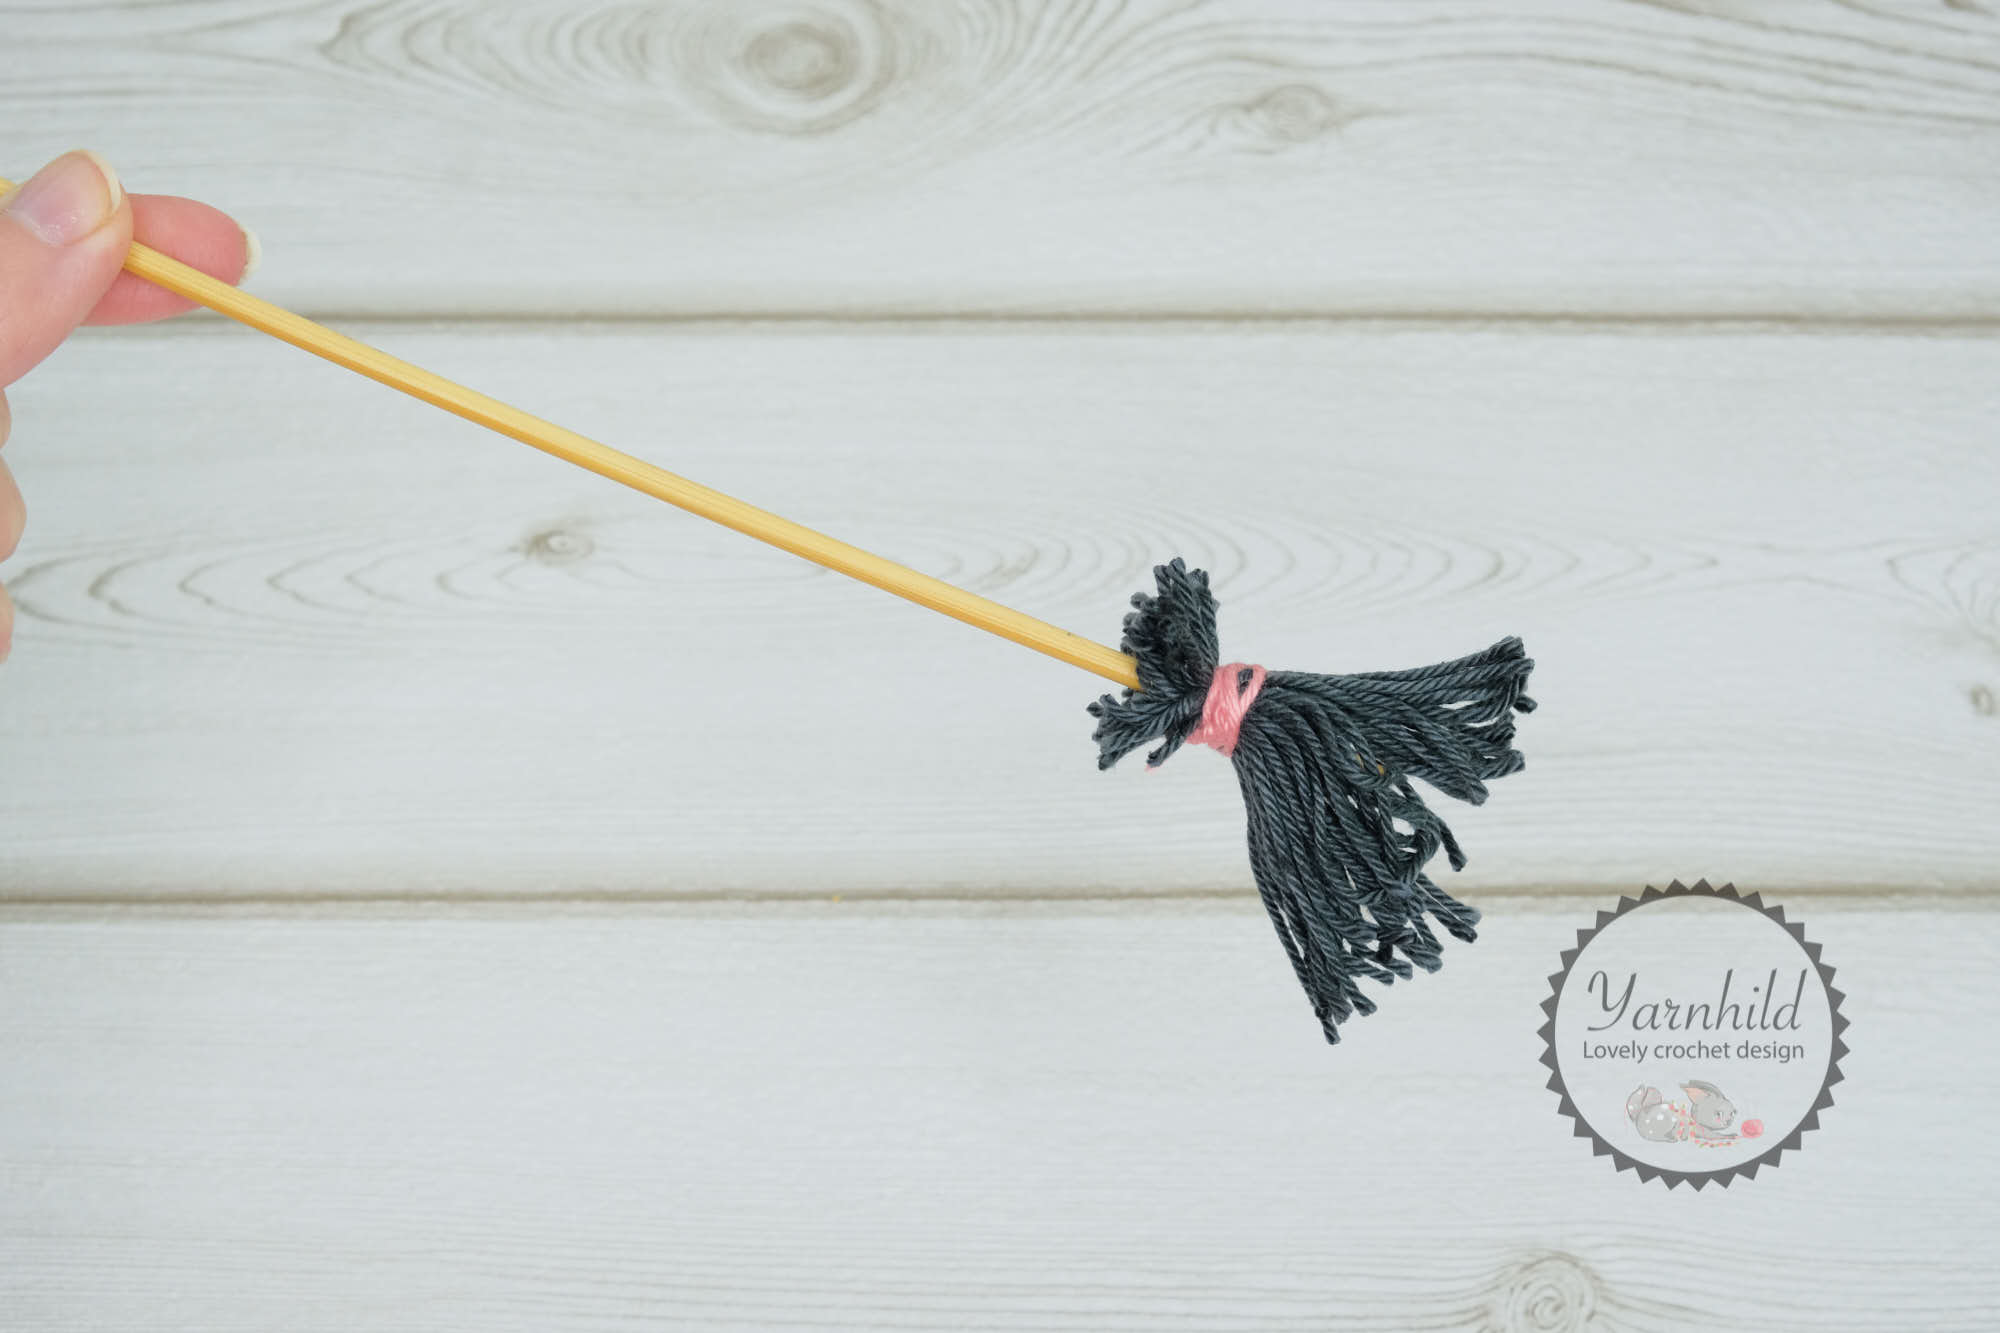
Broom
Make a broom. Wind some yarn around your fingers and follow the steps on the pictures.

Assembly
Sew on the arms and legs. Use straight pins do decide the location. I sewed the arms on near the color change and the feet in the middle of the skirt. You can also sew on the hat, but it will most likely stand on the head by its self.
Thank you for purchasing this pattern! I hope that you liked it! If you have any questions, please write me: yarnhild@outlook.com
Also, don’t forget to share your finished work with me! Find me on Facebook and Instagram @Yarnhild