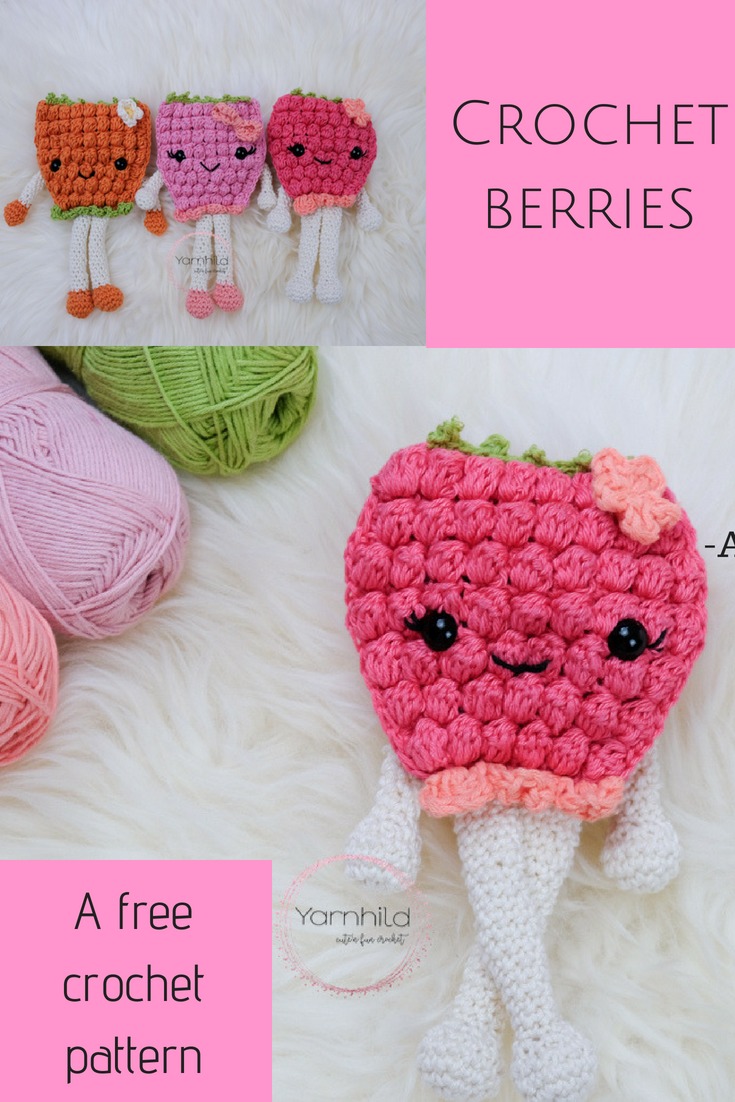
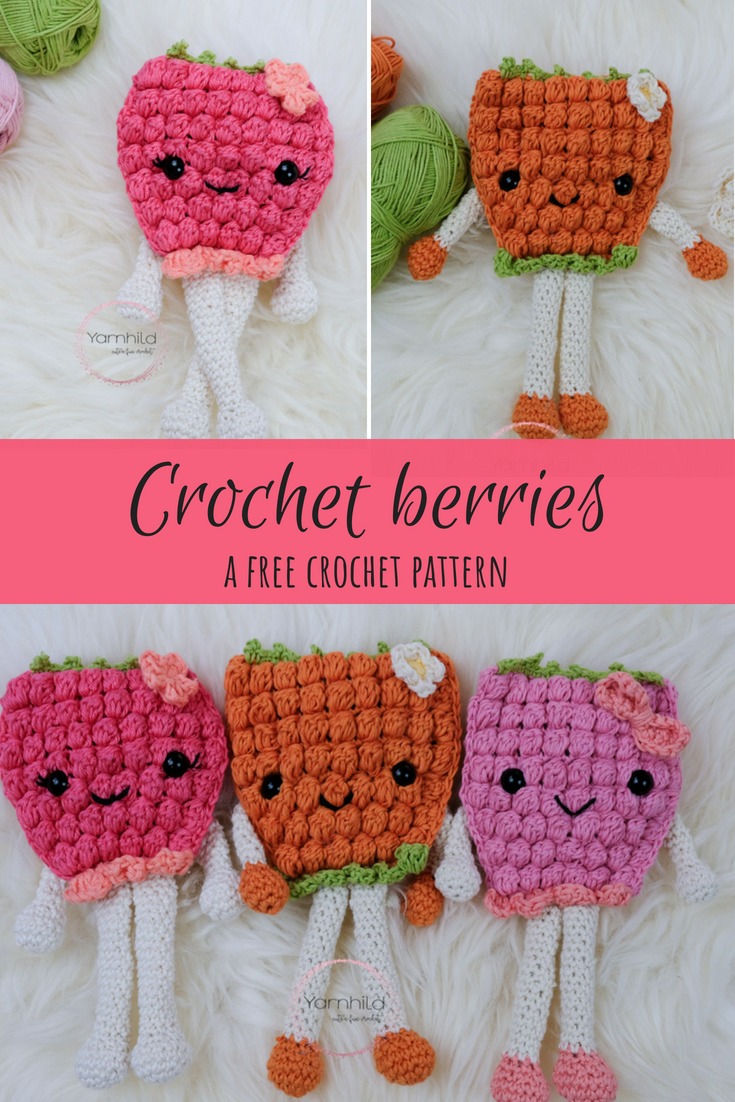
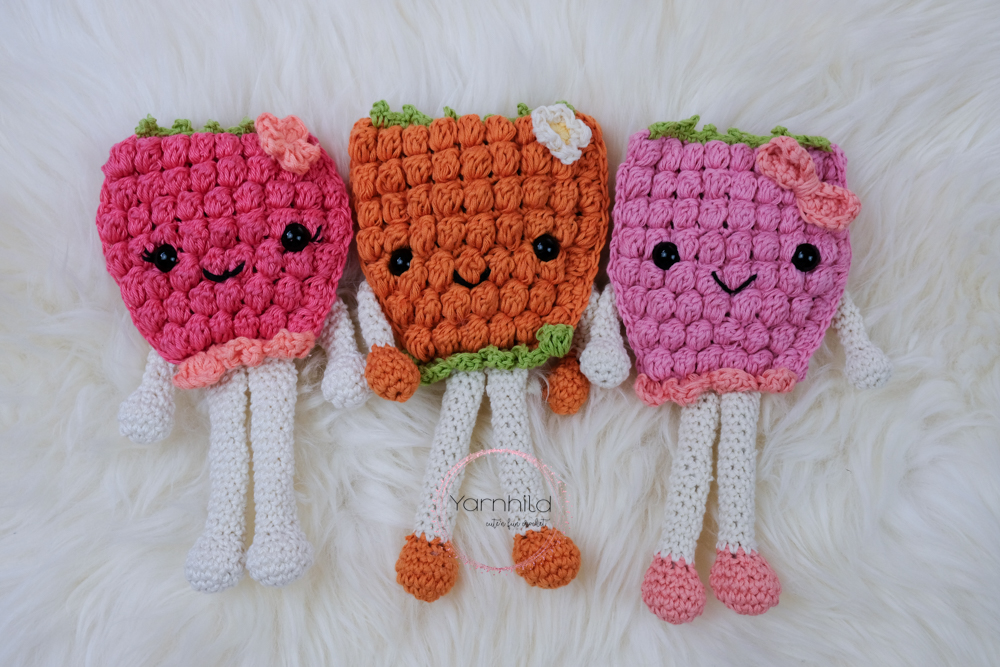
This blog post contains affiliate links, read more about it here. Hello Friends! Ever made a crochet berry before? What’s your favorite berry? I think mine would have to be blueberry raspberry, cloudberry, and strawberry. In that order. It’s hard to decide! The great thing about this pattern is that with just switching the colors, you can crochet different berries! Blackberry, blueberry, raspberry, cloudberry, strawberry, just make one in dark purple, orange, pink and red, using the same pattern. If you want to make a blueberry just use single crochet instead of the bobble stitch.
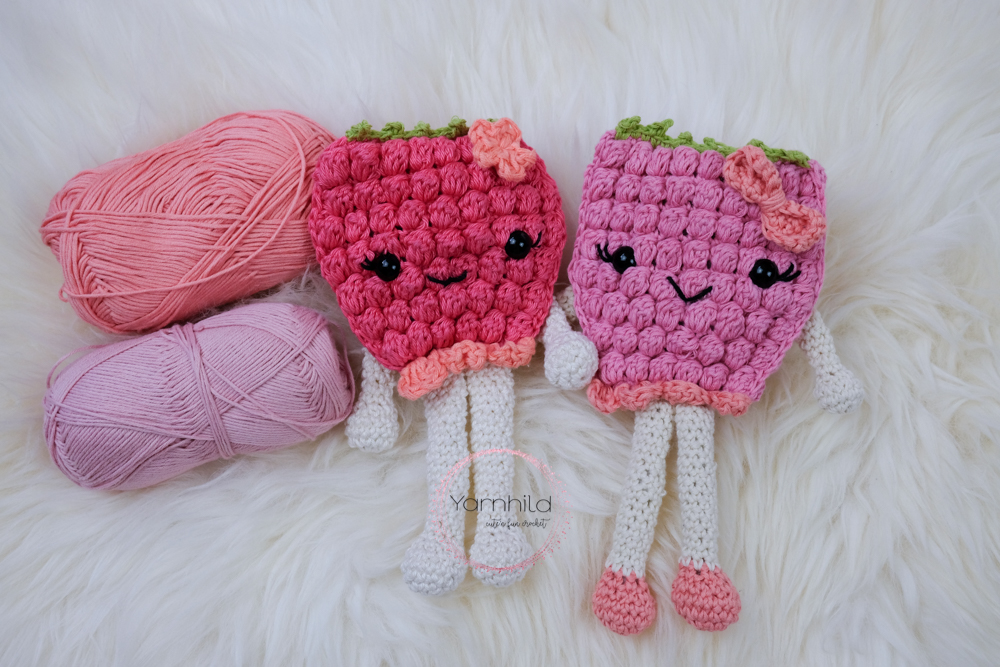
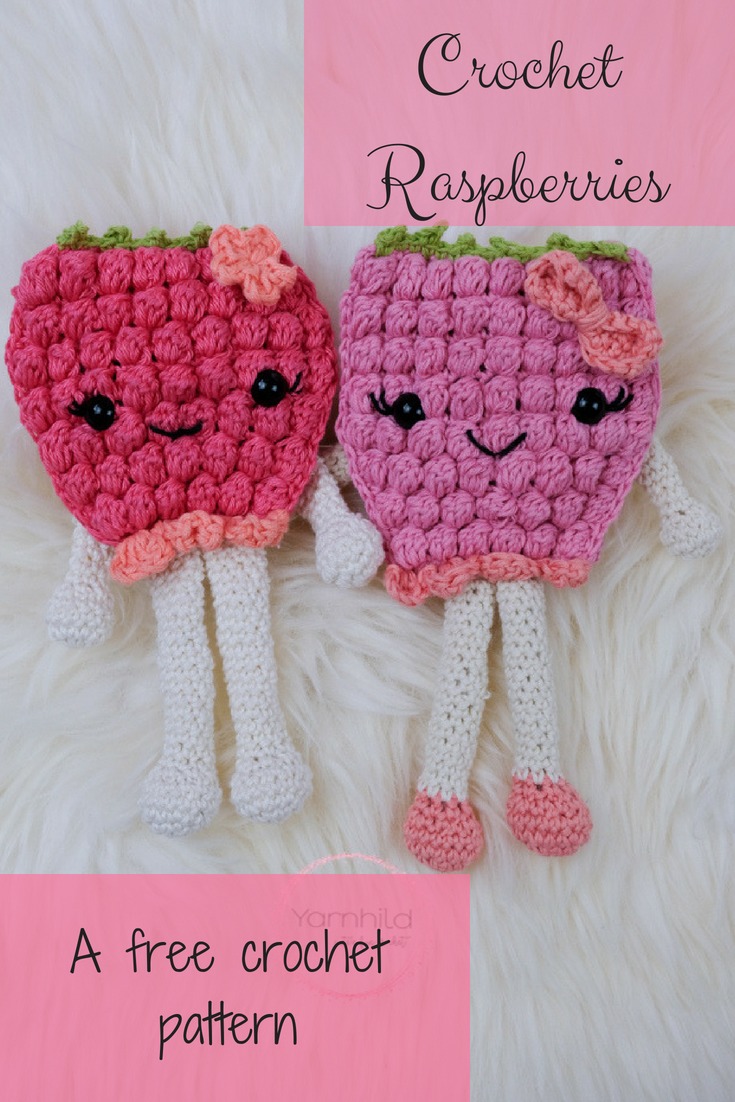
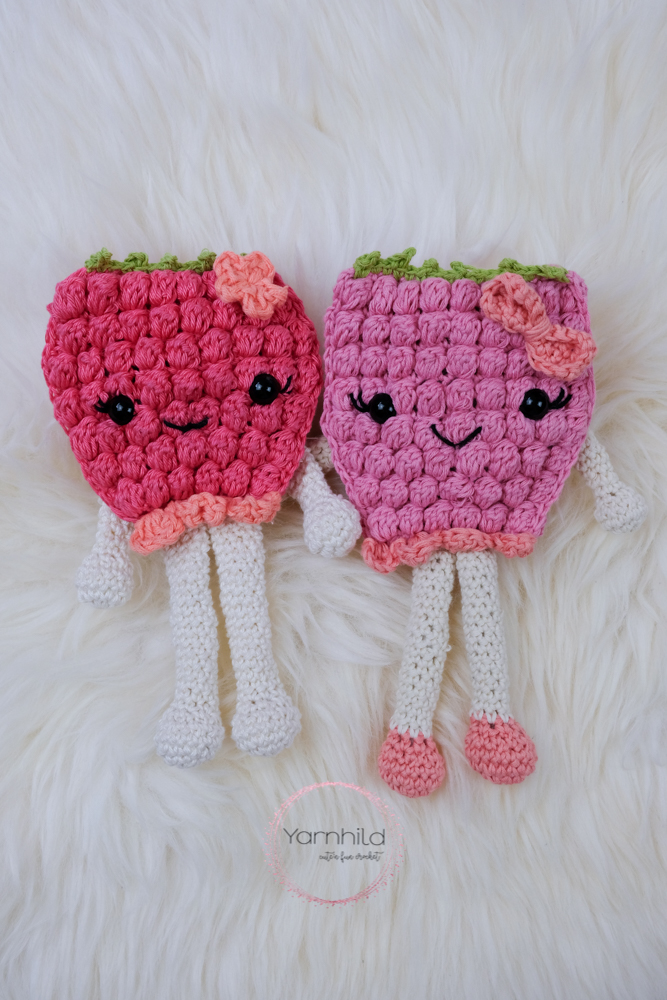
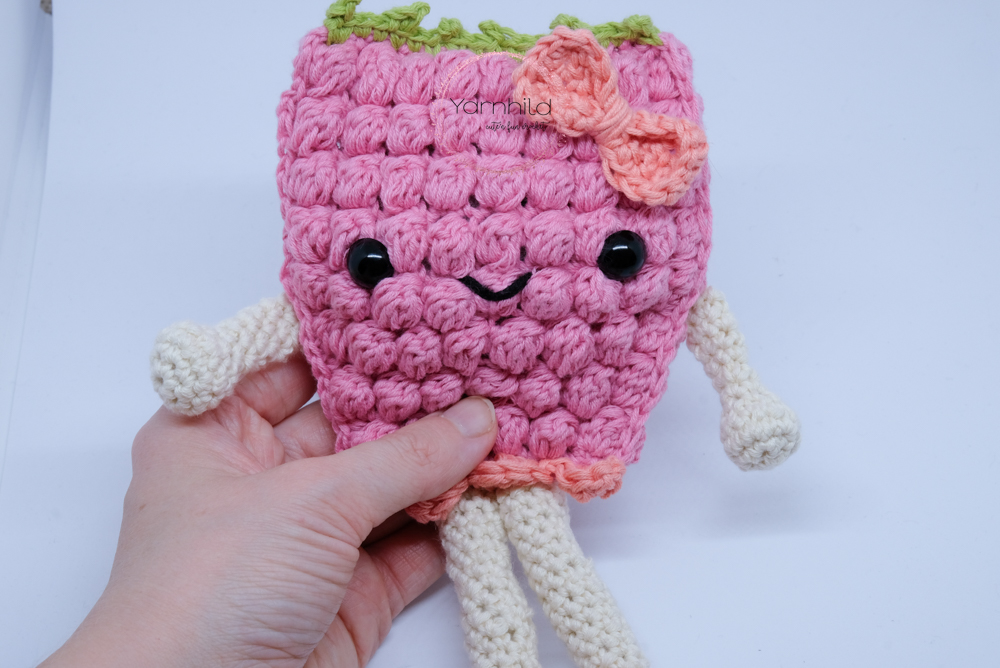
You can be creative and add different accessorize to your berry too! I made one with a flower and the other one has a bow for head decoration.
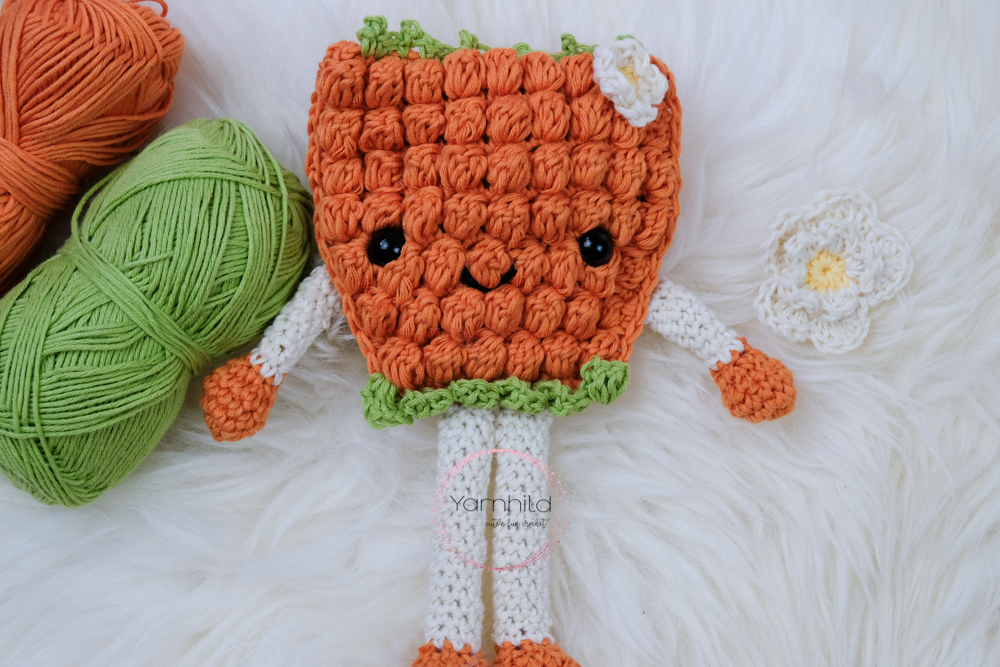
The orange berry below is supposed to be cloudberry. Many of you probably haven’t tasted cloudberry because it only grows near the arctic circle. Growing up on Norway, I was lucky to have parents who liked to walk in the woods/mountains each fall to search for the well-hidden cloudberry. She grows in bogs in the mountains and she isn’t easy to find. The raspberry, on the contrary, grew in the woods near our house and some years there would be many and other years less. Blueberries grew behind our house and I find that the wild ones taste so much better than the ones you get in the store.
So my love for berries inspired me to make this crochet raspberry pattern. I hope that you will make a few berries on your own and maybe share a pic with us when you are done. I love seeing your work and it always motivates me when you make my patterns. Use the #Yarnhild on Instagram or join our Facebook group and share your work!
Other videos from me
Pattern
- Purchase the add-free version on Etsy
- Add it to your queue on Ravelry
- Sign up for Newsletter
Crochet berry pattern
Made by ©Yarnhild
Abbreviations used
ch – chain
yo – yarn over
st – stitch
sl st – slip stitch
sc – single crochet
hdc – half double crochet
sc2tog – single crochet decrease
inc – single crochet increase, 2 single crochet in one stitch
picot stitch – 1 sc, ch 3, sl st in the first ch.
bo – bobble stitch
dc – double crochet
Materials used
For the cloudberry I used Drops Safran, for the berry in dark pink I used Schahenmayer
Yarn type: sport
50 g =125 m
Colors: raspberry (no 00256) 25 g 0.7 oz, nature (no 00105)
10 g/0.35 oz, green (no 00418) 2g/0.07 oz, dahlie (no 00409) 2g/0.07 oz
8 inches/20 cm in black for the mouth
Filling material
Stitch marker
Yarn needle
Scissors
Notes
Skill level: Advanced beginner.
The pattern is written in US terms. The crochet raspberry consists of two separate panels which are being crocheted with the bobble stitch. Feet and arms are crocheted in continuous rounds. The bow is made in rows. The entire raspberry is made with a size 3,0mm C/2 crochet hook.
Extra help
Bobble stitch.
Chain 3. Yarn over, insert the hook in the same stitch and pull up a loop, yarn over and pull through 2 loops, repeat for a total of five times, until you have pulled up 5 loops on the hook. Yarn over and pull through all loops. On the first bobble of each row, you will have five loops on the hook, but in the other bobbles, you will have 6 loops, because of the chain from the previous single crochet. For pictures check out this tutorial.
Head
Color raspberry
Make 2 panels
Row 1: Ch 12, turn, 1 sc in 2nd chain from the hook and in each stitch. Ch 3, turn = 11 sc
Row 2: * 1 bo, 1 sc* repeat 5 times. 1 bo. Ch 1 turn. = 6 bo, 5 sc (The bobble stitch row always ends with a bobble).
Row 3: Inc, 9 sc, inc, ch 3 turn = 13 sc
Row 4: *1 bo, 1 sc* repeat 6 times. 1 bo. Ch 1 turn. = 7 bo, 6 sc
Row 5: Inc, 11 sc, inc, ch 3 turn = 15 sc
Row 6: *1 bo, 1 sc* repeat 7 times. 1 bo. Ch 1 turn. = 8 bo, 7 sc
Row 7: Inc, 13 sc, inc, ch 3 turn = 17 sc
Row 8: *1 bo, 1 sc* repeat 8 times. 1 bo. Ch 1 turn. = 9 bo, 8 sc
Row 9: 1 sc in each stitch. Ch 3, turn = 17 sc
Row 10: As row 8 = 9 bo, 8 sc
Row 11: As row 9 = 17 sc
Row 12 -15: Repeat row 8 and 9 four more times, ending with a row 9. Fasten of yarn and weave in ends.
Make another one and but the panels to the side.
[adToAppearHere]
Feet
Color nature
Worked in continuous rounds. Make 2 pieces
Rnd 1: Magic ring, 6 sc in the ring = 6 sc
Rnd 2: 2 sc in every stitch = 12 sc
Rnd 3: (1 sc, inc) x 6 = 18 sc
Rnd 4: 1 sc in each stitch = 18 sc
Rnd 5: (1 sc, sc2tog) x 6 = 12 sc
Start stuffing
Rnd 6: sc2tog x 4, 4 sc = 8 sc
Rnd 7-24: 1 sc in each for 18 rounds = 8 sc
Stuff light as you are working your rounds.
Sl st in the first sc. Cut the yarn, leave a long strand for fastening.
Hands
Color nature.
Worked in continuous rounds. Make 2
Rnd 1: Magic ring, 6 sc in the ring = 6 sc
Rnd 2: 2 sc in every stitch = 12 sc
Rnd 3-4: 1 sc in each stitch for 2 rounds = 12 sc
Stuff the hands
Rnd 5: sc2tog x 6 = 6 sc
Rnd 6 -10: 1 sc in each stitch for 5 rounds = 6 sc
Stuff lightly as you are crocheting.
Sl st in the first sc. Cut the yarn, leave a long strand for fastening.
For head decoration, you can choose from a bow or a flower.
[adToAppearHere]
Bow
Color Dahlie or any other matching color.
Row 1: Chain 10, turn, 1 sc in the 2nd loop from the hook and in each stitch, ch 1 turn = 9 sc
Row 2-4: 1 sc in each stitch, ch 1, turn = 9 sc
Single crochet around the entire bow. Put 2 sc in each corner.
Sl st in the first sc and cut the yarn. Use a long strand to wire it firmly around the bow. Weave in ends but leave a long strand for fastening.
Flower
Color Pink or any other matching color.
Magic ring.
Ch 2, 1 dc, 1 hdc, sl st in the ring. Repeat 4 more times. Sl st in the second chain. Fasten off and weave in ends but leave one for fastening.
Assembly
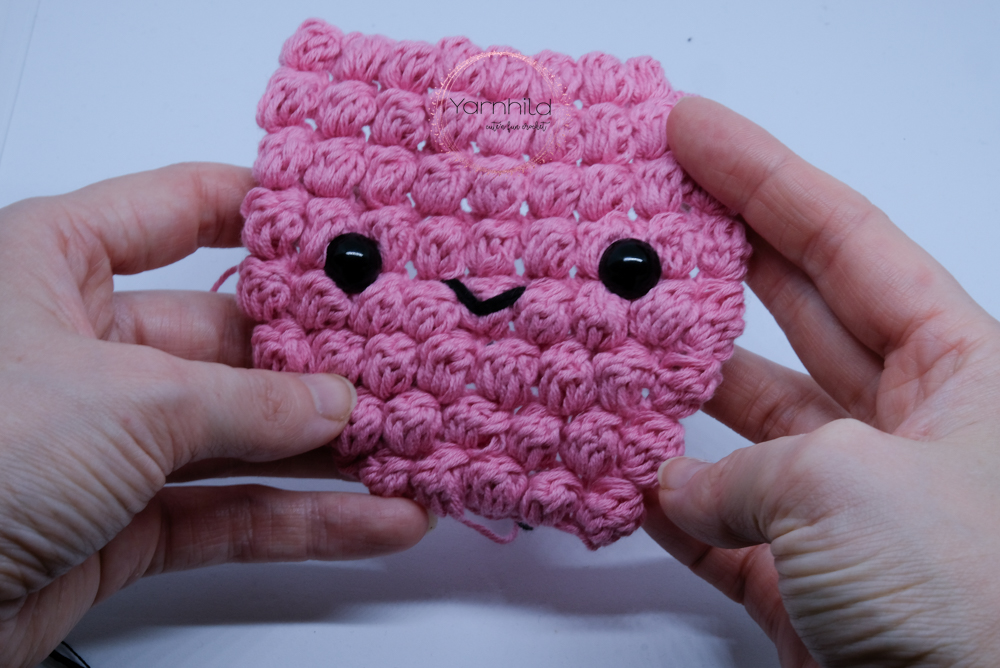
Fasten safety eyes just below the middle of the raspberry’s head. Leave about 4 bobbles space between the eyes. Sew on the mouth between the eyes. You can also sew on eyelashes, sew 2 stitches diagonally on the sides of the eyes.
Put the two panels on top of each other, the bubbles facing out and crochet them together. Start with the face facing towards you, in the left corner and single crochet around the 3 sides until you get to the top of the head. I did 2 sc in each bobble stitch and 1 in the normal sc.
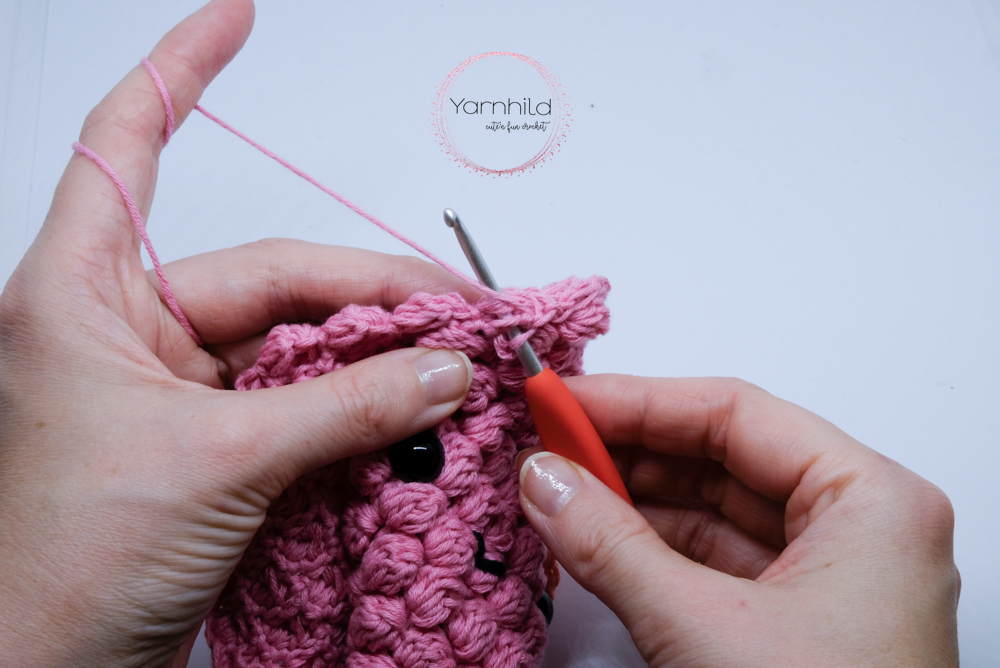
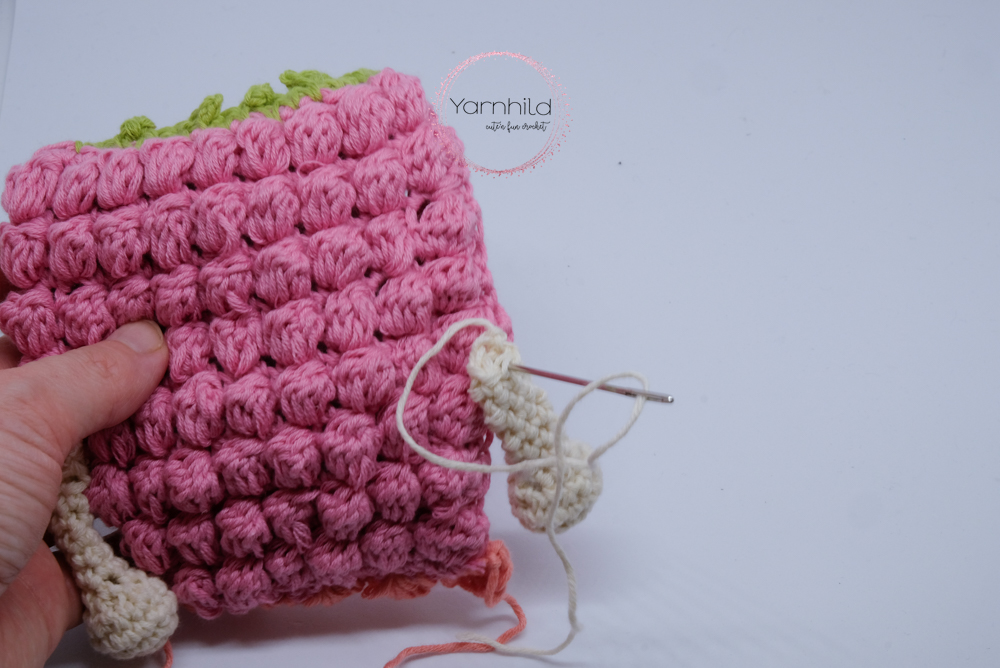
Change to green when you get to the top before you finish the last sc (to get a nice color change)
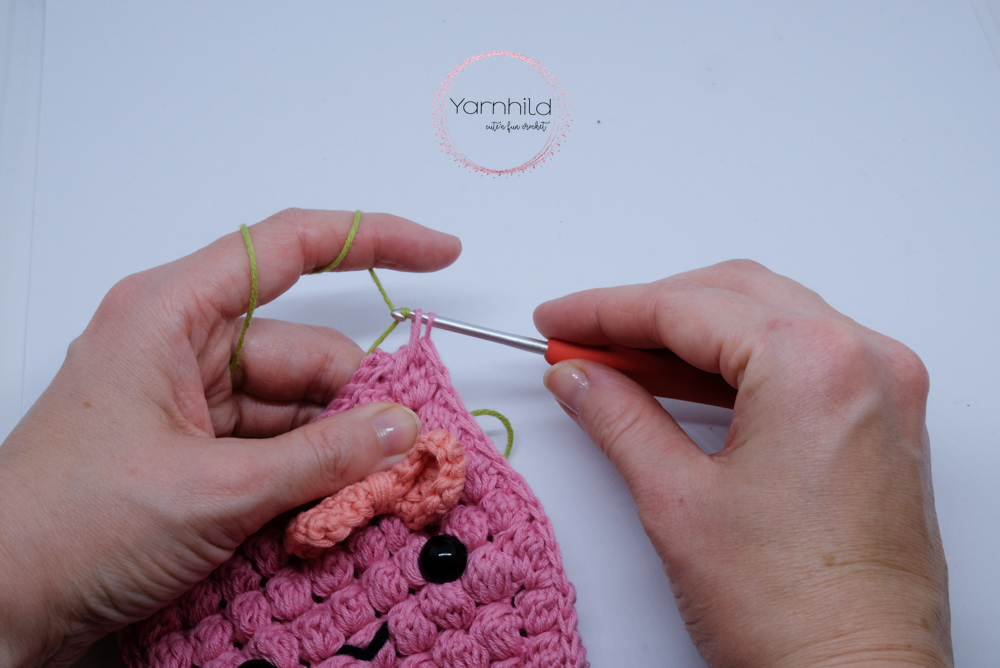
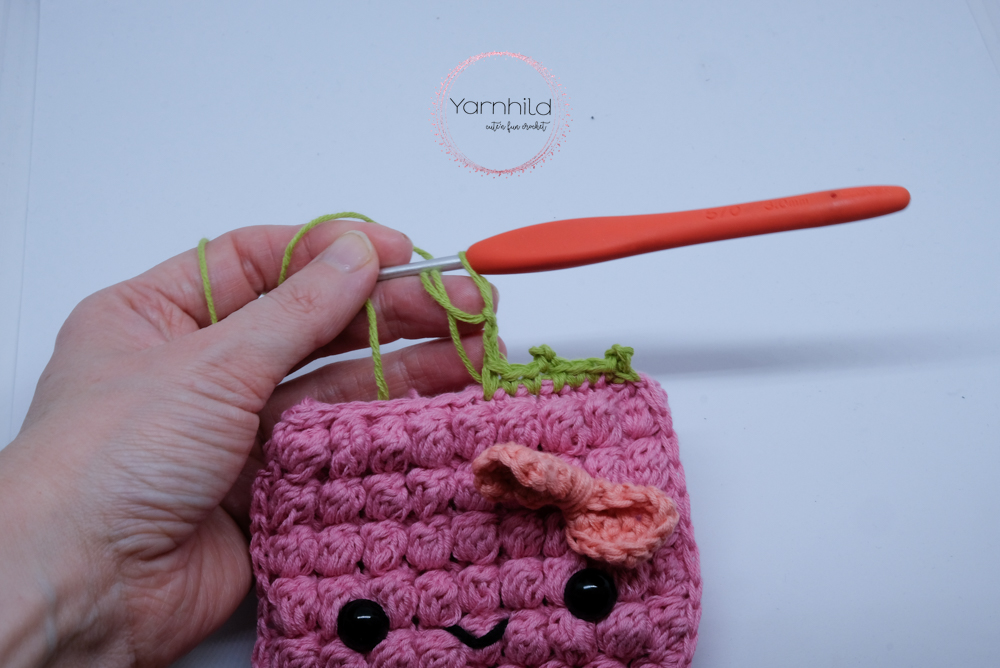
1 sc, chain 3, sl st in the first ch (picot stitch) 1 sc in the next 3 stitches, picot stitch in every third sc. Repeat until end of row. Don’t forget to stuff before closing. (16 sc. 6 picot stitches)
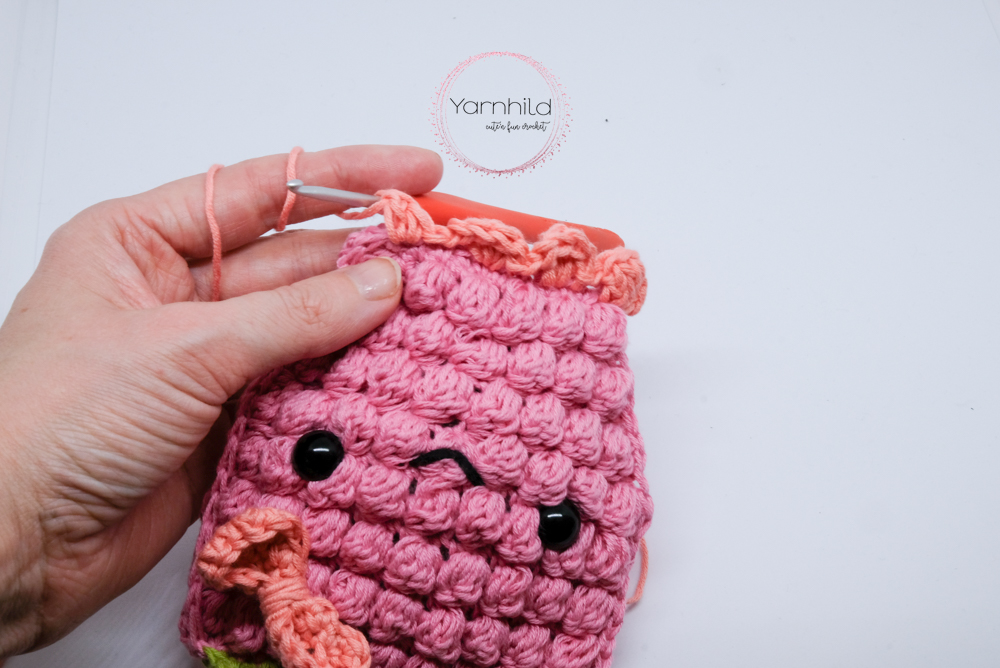
Skirt
Flip the work so that the head is facing down and the face facing towards you. Fasten yarn in the same color as the bow/flower in the right corner. Chain 3, 4 dc in the same stitch, sl st in the next 2 stitches, repeat 3 more times until you get to the end of the row. Sl st in the next on the side. Cut the yarn and weave in ends.
Sew on hands and feet. Sew on hands just below the eyes and fasten them on the back side like shown on the picture. Sew through the arms and feet to close the hole.
Fasten the feet in the middle on the back side too. Fasten the Flower/Bow on the right side on the head.
I hope that you like this pattern.
If you have any questions, please don’t hesitate to ask!