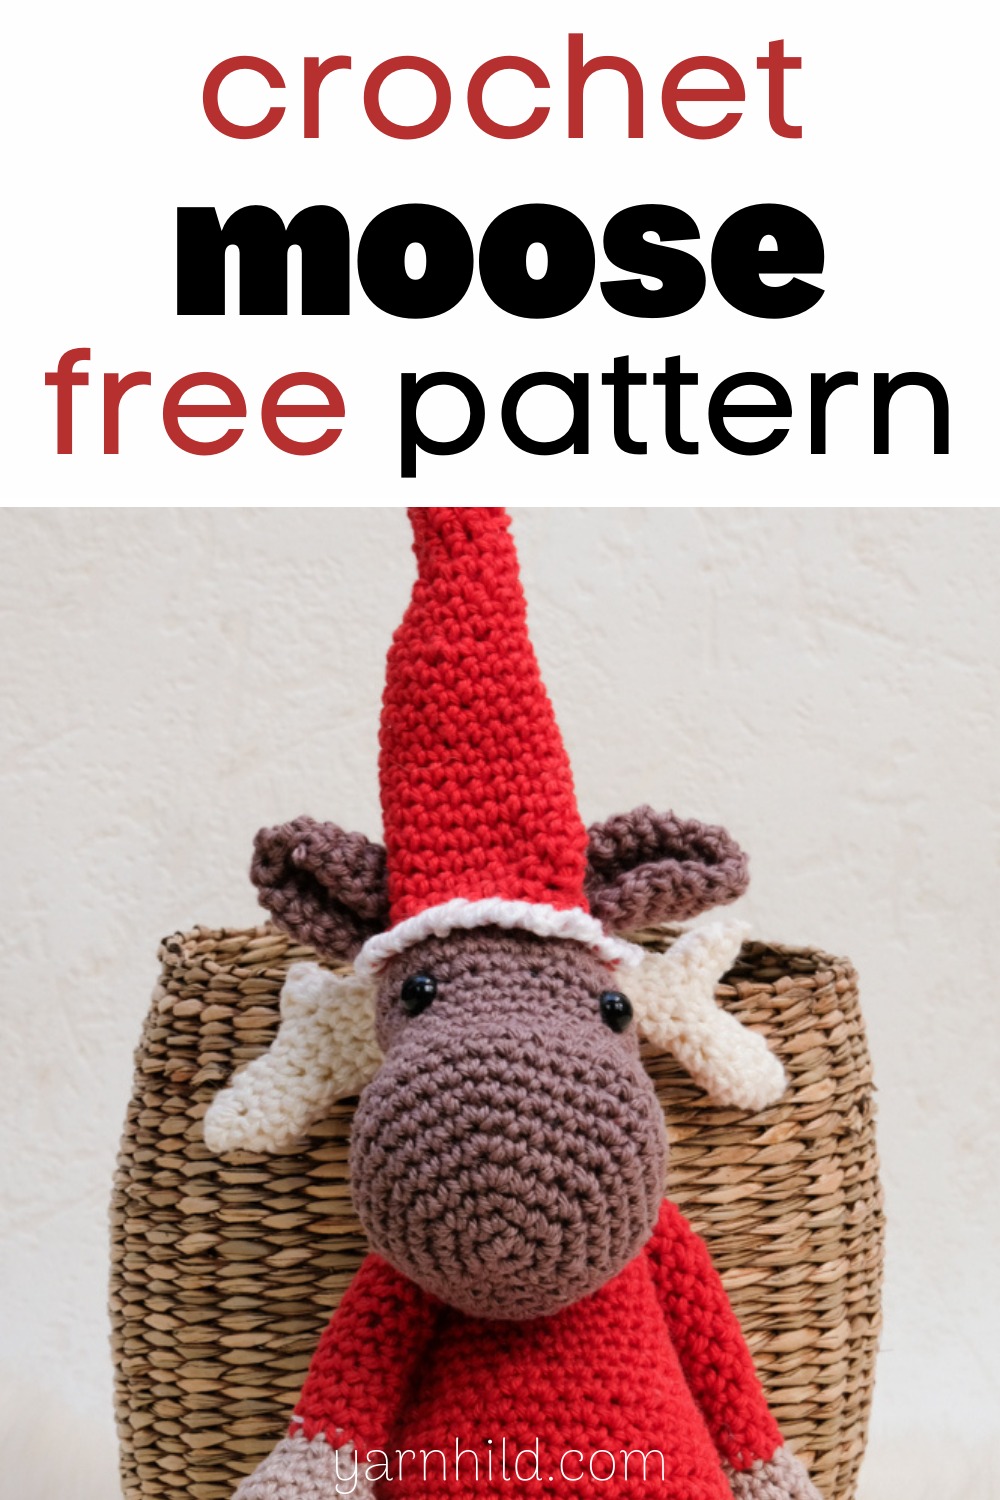
Crochet moose - a free crochet pattern
Hi! Today I am sharing a free crochet pattern for this cute crochet amigurumi moose! These can be used as toys and also they look decorative on the couch. Make a hat in red to make the moose ready for Christmas. To make the crochet moose ready for fall, crochet an orange hat for him.
This is a fairly easy amigurumi moose pattern. The most difficult part is the antlers and I have added pictures to make this part more clear.
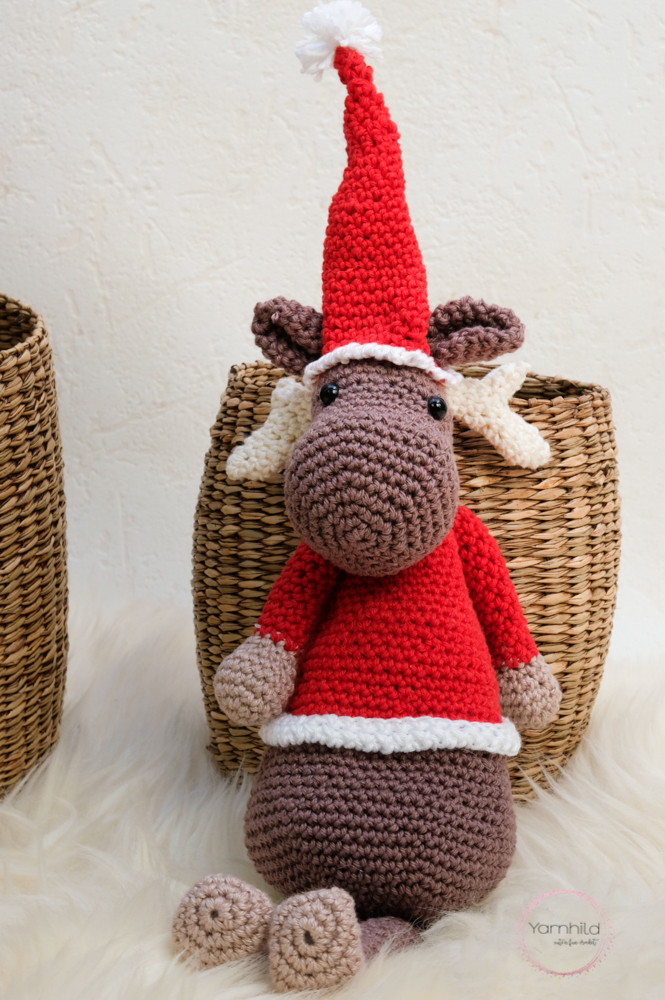
This crochet moose is a very fun and easy amigurumi pattern that I am sharing with you for free! I made mine for Christmas, but you can change the colors of his sweater for fall or spring or fall.
My two moose are in a cabin in the woods in Norway. My sister immediately fell in love with these and claimed them. So now they are enjoying a quiet life, deep in the woods, in the middle of Norway.
Scroll down for the free version. Find the PDF pattern here. Also in German and Norwegian.
Save this for later on Pinterest!
I sometimes include affiliate links in my blog posts. That means that I earn a small commission if you purchase a product that I recommend, on no extra costs on your behalf. Thank you for your support!
Materials
The crochet moose is made with sports weight yarn and a 3.0 mm crochet hook. Feel free to use thicker yarn and a bigger hook for a bigger moose.
Crochet moose
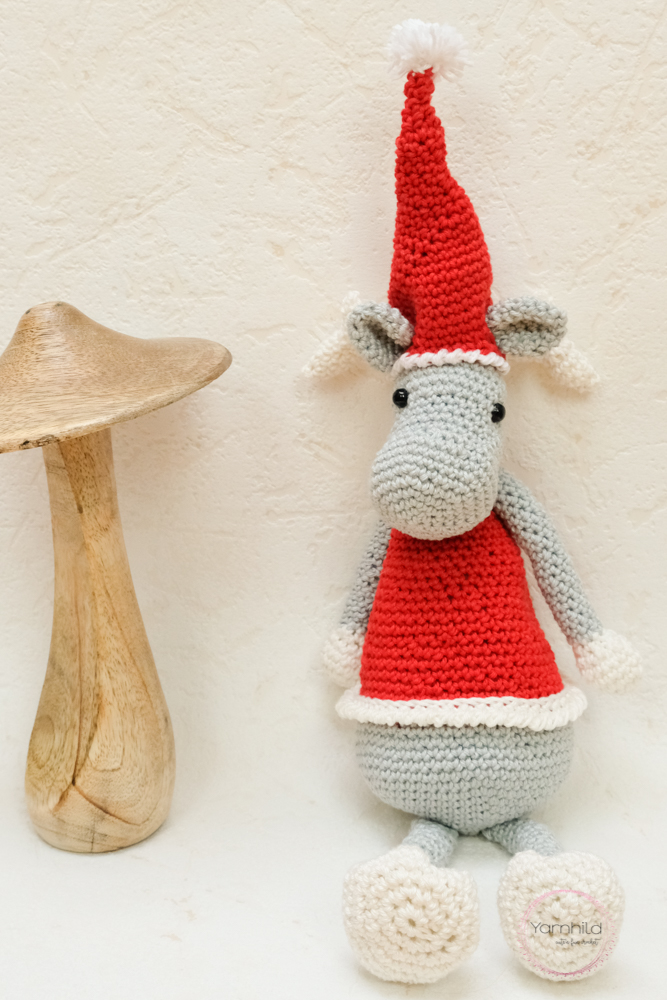
Anyway, the crocheted version is pretty small and harmless. They like to hang out on the couch and relax.

I made two moose, one in grey and one in brown. Now that I gave mine away, I think I'll need to make a few more.
Don't forget to sing up for our newsletter so you don't miss the next pattern!
Are you crocheting a moose?
Please share a picture with us on Instagram or Facebook. You can use the #crochetmoose and don't forget to tag me so that I can see!
Find more free patterns
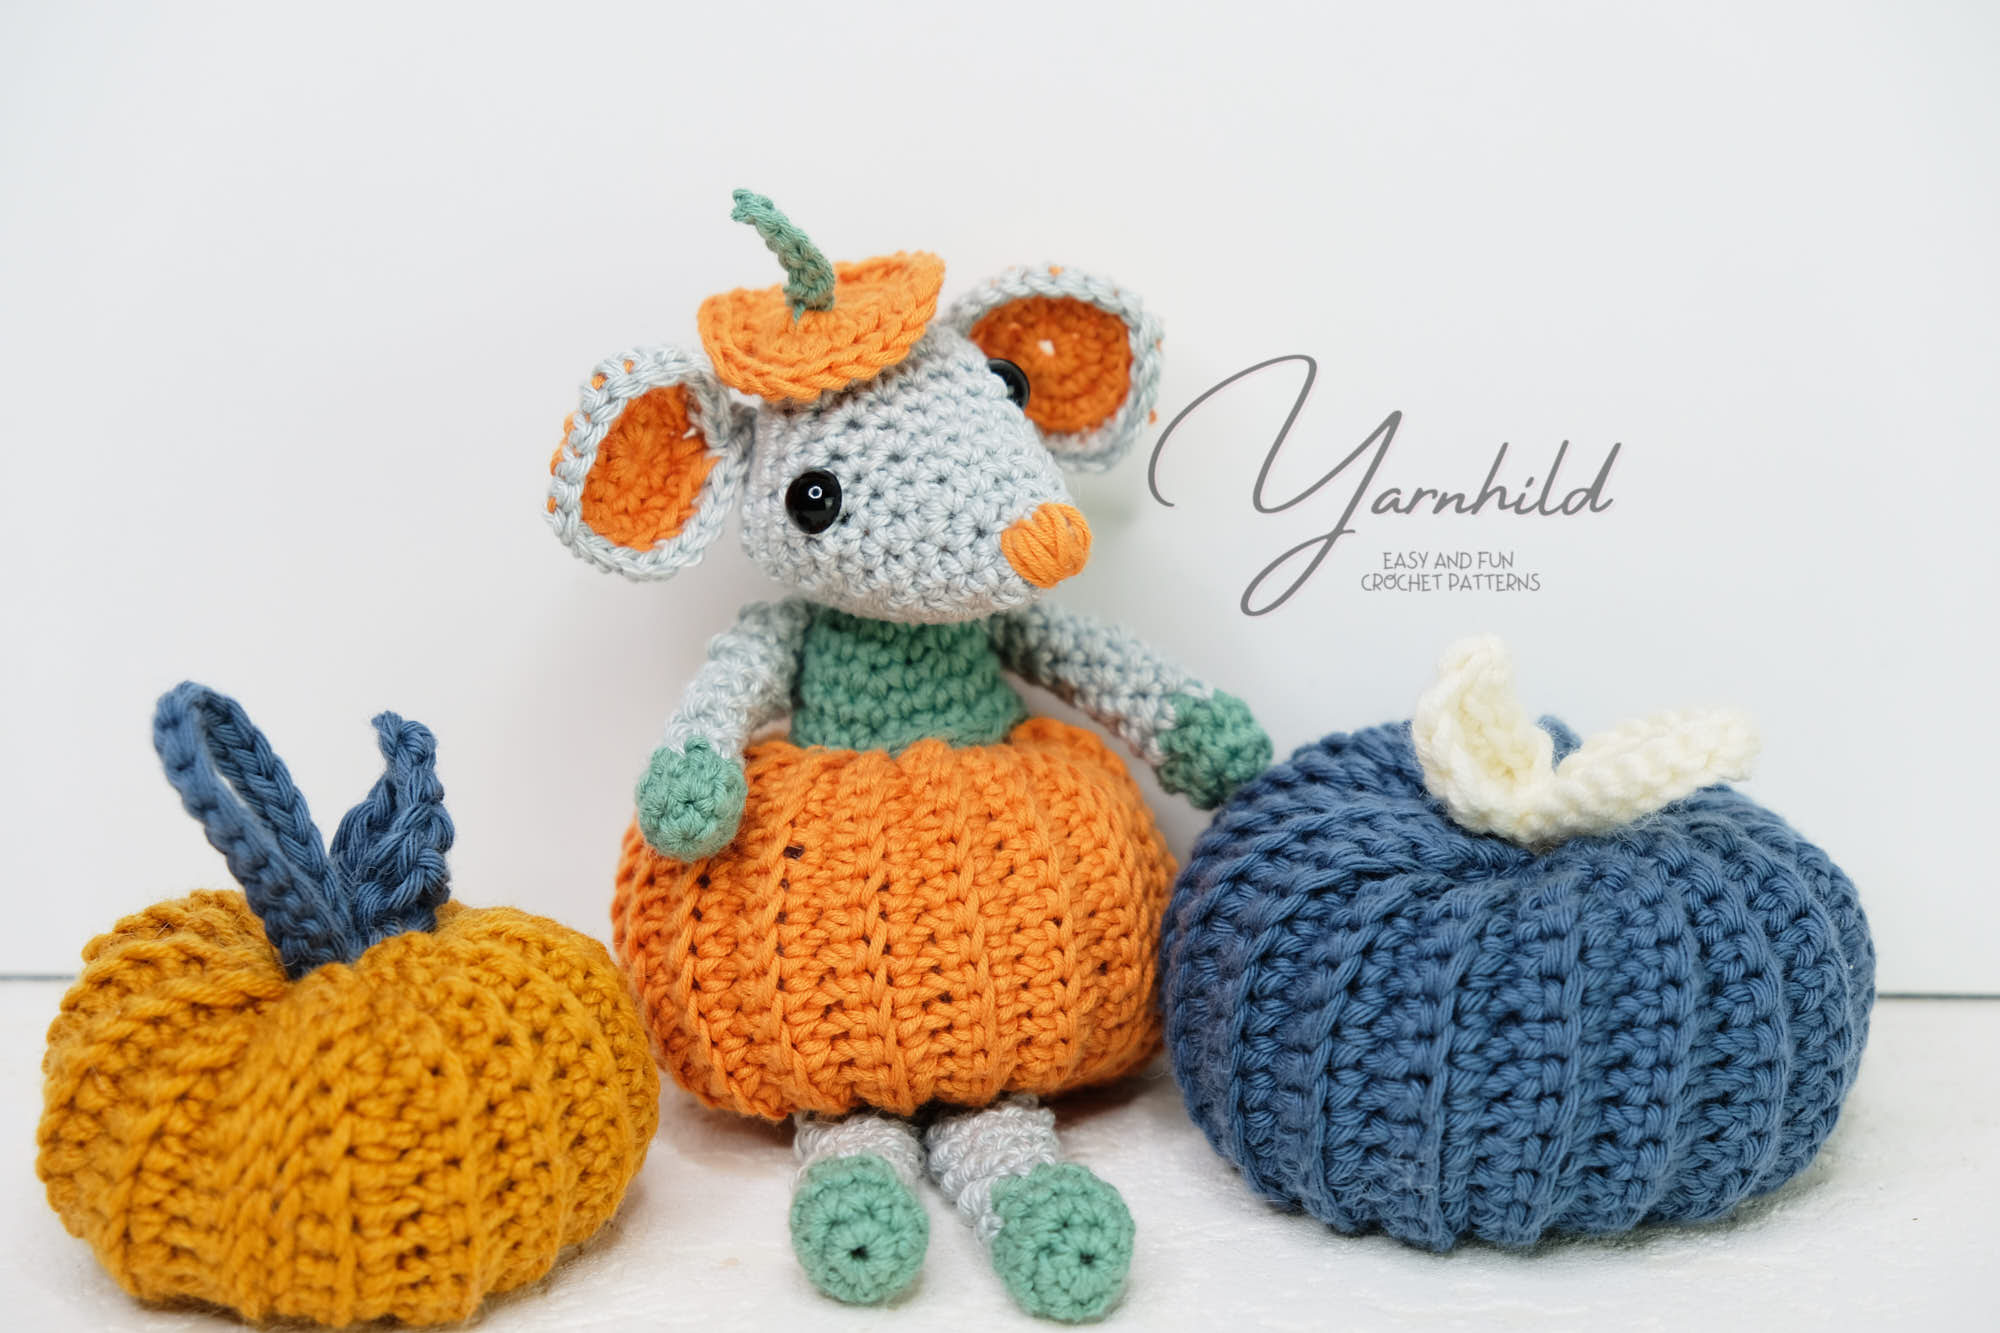
On this blog, we share a new pattern almost every week! Don't forget to check out this cute pumpkin mouse!
Have fun crocheting!
This pattern is the intellectual property of Yarnhild. The pattern must not be altered, translated, copied, or republished without approval. You are welcome to sell the items that you have made from my patterns, but please be sure to give me credit for the pattern that you sell online. For private use only, no commercial use. 2020 – Yarnhild
Crochet moose
Abbreviations used
ch – chain
yo – yarn over
st – stitch
sl st – slip stitch
sc – single crochet
sc2tog – single crochet decrease
yo – yarn over
crab stitch – crab stitch
Materials used
Cotton yarn Schachenmayr
You need 4 colors. Beige (10 g), red (30 g),
brown or grey (30 g) (main color) and light brown (10 g).
Red 30 g
Beige 10 g
Stitch marker
Yarn needle
Stuffing
Safety eyes 8 mm
Scissors
3.0- and 3.5-mm crochet hook
Pipe cleaner
Information about the pattern
The elk is made in continuous rounds, remember to use a stitch marker. All parts, except the hat, are made with a 3.0 mm hook. Don’t stuff too much, just so you don’t see the filling.
The pattern is written in US terms.
Skill level intermediate.
Finished size: 45 cm
Instructions
Head
With brown/ grey and 3 mm crochet hook
Rnd 1: Magic ring, 6 sc ring, pull closed = 6 sc
Rnd 2: 2 sc in every stitch= 12 sc
Rnd 3: (1 sc, inc) x 6 = 18 sc
Rnd 4: (2 sc, inc) x 6 = 24 sc
Rnd 5: (3 sc. inc) x 6 = 30 sc
Rnd 6: (4 sc, inc) x 6 = 36 sc
Rnd 7 -10: 1 sc in every stitch for 4 rounds =36 sc
11: (4 sc, sc2tog) x6 =30 sc
12-14: 1 sc in every stitch for 3. rounds =30 sc
15: (1 sc, 1 inc) x 6, (1 sc, sc2tog) x 6= 30 sc
16-21: 1 sc in every stitch for 6 rounds = 30 sc
Fasten safety eyes between round 15-16.
Place the one eye where the 1 sc, 1 inc x 6 is. Leave 6 sc space between.
22: (3 sc, sc2tog) x 6 = 24 sc
23: (2 sc, sc2tog) x 6 = 18
Stuff the head.
24: (1 sc, sc2tog) x 6 = 12
25: sc2tog x 6 = 6 sc. Sl st in the first sc, cut the yarn. Sew the hole closed.
Body
With brown/ grey and 3 mm crochet hook
Rnd 1: Magic ring, 6 sc in the ring, pull closed = 6 sc
Rnd 2: 2 sc in every stitch= 12 sc
Rnd 3: (1 sc, inc) x 6 = 18 sc
Rnd 4: (2 sc, inc) x 6 = 24 sc
Rnd 5: (3 sc. inc) x 6 = 30 sc
Rnd 6: (4 sc, inc) x 6 = 36 sc
Rnd 7: (5 sc, inc,) x 6 = 42 sc
Rnd 8: (6 sc, inc,) x 6 = 48 sc
Rnd 9: (7 sc, inc,) x 6 = 54 sc
Rnd 10: (8 sc, inc,) x 6 = 60 sc
Rnd 11-15: 1 sc in every stitch for 5 rounds = 60 sc
Rnd 16: (8 sc, sc2tog) x 6 =54 sc
Rnd 17-19: 1 sc in every stitch for 3 rounds = 54 sc
Rnd 20: (7 sc, sc2tog) x 6 =48 sc
Change to red.
Rnd 21-23: 1 sc in every stitch for 3 rounds = 48 sc
Rnd 24: (6 sc, sc2tog) x 6 =42 sc
Rnd 25-27: 1 sc in every stitch for 3 rounds =42 sc
Rnd 28: (5 sc, sc2tog) x 6 =36 sc
Rnd 29-31: 1 sc in every stitch for 3 rounds =36 sc
Rnd 32: (4 sc, sc2tog) x 6 =30 sc
Rnd 33-35: 1 sc in every stitch for 3 rounds =30 sc
Rnd 36: (3 sc, sc2tog) x 6 =24 sc
Rnd 37 –38: 1 sc in every stitch for 2 rounds =24 sc
Rnd 39: (2 sc, sc2tog) x 6 =18 sc
Rnd 40: 1 sc in every stitch for 1 round =18 sc
Stuff the body.
Rnd 41: (1 sc, sc2tog) x 6 =12 sc
Rnd 42: sc2tog x 6 = 6 sc
Sl st in the first sc. Cut the yarn, leave the hole open. Leave a long tail for attaching the head.
Ears, make 2
Brown or grey
Rnd 1: Magic ring, 6 sc in the ring, pull closed = 6 sc
Rnd 2: 2 sc in every stitch= 12 sc
Rnd 3: (1 sc, inc) x 6 = 18 sc
Rnd 4-6: 1 sc in every stitch for 3 rounds = 18 sc
Rnd 7: (1 sc, sc2tog) x 6 =12 sc
Rnd 8: sc2tog x 6 = 6 sc
Sl st in the first sc. Cut the yarn, leave a long tail.
Fold the ear in half and sew it together with a few stitches at the last round so they get a little pointy.
Arms, make 2
Start with light brown
Rnd 1: Magic ring, 6 sc in the ring, pull closed = 6 sc
Rnd 2: 2 sc in every stitch= 12 sc
Rnd 3: (1 sc, inc) x 6 = 18 sc
Rnd 4-5: 1 sc in every stitch for 2 rounds = 18 sc
Rnd 6: (1 sc, sc2tog) x 6 = 12 sc
Change to red.
Stuff as you go
Rnd 7: (1 sc, sc2tog) x 6 = 8 sc
Rnd 8-21: 1 sc in every stitch for 14 rounds = 8 sc
Sl st in the first sc, cut the yarn, leave a long tail for fastening.
Feet, make 2
Start with light brown
Rnd 1: Magic ring, 8 sc in the ring, pull closed = 8 sc
Rnd 2: 2 sc in every stitch= 16 sc
Rnd 3: (1 sc, inc) x 8 = 24 sc
Rnd 4: (2 sc, inc) x 8 = 32 sc
Rnd 5-7: 1 sc in every stitch for 3 rounds = 32 sc
Rnd 8: (sc2tog) x 8, 16 sc = 24 sc
Rnd 9: (sc2tog) x 6, 8 sc, (sc2tog) x 2 = 16 sc
Rnd 10: (sc2tog) x 8 = 8 sc
Change to brown.
Stuff as you go.
Rnd 11 – 32: 1 sc in every stitch for 21 rounds = 8 sc
Sl st in the first sc, cut the yarn, leave a long tail for fastening.
Antlers, make 2, color beige
Rnd 1: Magic ring, 4 sc in the ring, pull closed = 4 sc
Rnd 2: 1 sc in every sc = 4 sc
Rnd 3: 2 sc in every sc= 8 sc
Rnd 4-5: 1 sc in every sc for 2 rounds = 8 sc
Rnd 6: (1 sc, inc) x 2 (sc2tog) x2 = 8 sc
Rnd 7: As round 7 = 8 sc
In the next row, we will be left with a hole that will later be used for making the second horn of the antler.
Rnd 8: 5 sc, 2 ch, skip 2 sc, 1 sc = 6 sc, 2 ch
Rnd 9: 5 sc, sl st 2 times around the ch 2 from last round, 1 sc = 6 sc, 2
Rnd 10: 5 sc, 1 sc in the sl st x 2, 1 sc = 8 sc
Rnd 11: 4 sc, sc2tog, 1 sc = 7 sc
Rnd 12: 4 sc, sc2tog, 1 sc = 6 sc
Rnd 13- 15: 1 sc in each sc for 3 rounds = 6 sc
Sl st in the first sc, cut the yarn, leave a long tail for fastening.
Fasten yarn on the slip stitch on the hole that we made
Pick up five sc around the hole.
Single crochet your way around for 2 rounds. Cut the yarn and sew the tale in the middle so it won’t be so pointy. Do not stuff.
Hat
Color red, size 3,5 mm/E crochet hook.
Rnd 1: Magic ring, 4 sc in the ring, pull closed = 4 sc
Rnd 2-3: 1 sc in every sc for 2 rounds = 4 sc
Rnd 4: inc, 3 sc = 5 sc
Rnd 5: inc, 4 sc = 6 sc
Rnd 6, inc, 5 sc = 7 sc
Rnd 7: inc, 6 sc = 8 sc
Rnd 8: inc, 7 sc = 9 sc
Rnd 9: inc, 8 sc = 10 sc
Rnd 10, inc, 9 sc = 11 sc
Rnd 11 –24: Repeat this until you have 24 sc. Increase with 1 sc at the beginning of each round.
Rnd 25: 1 sc in each stitch = 24 sc
Rnd 26: 1 sc, ch 4, skip 4 sc, 7 sc, ch 4, skip 4, 8 sc. = 8 ch, 16 sc
Rnd 27: 1 sc, 4 sc around the 4 ch space, 7 sc, 4 sc around the ch 4 space, 8 sc = 24 sc
Change to white and do 1 crab stitch in each sc. See the pictures below on how to do the crab stitch or watch the video. Finish with a slip stitch in the first ch 1. Leave a long tail if you want to sew on the hat to the head.
The crab stitch
Do not turn your work as normal. Chain 1, insert the hook in the stitch to the right from your chain 1, yarn over and pull up a loop, yarn over and pull through two loops. It’s like a normal single crochet but it is being crocheted in reverse.
Make a little pompom and fasten it on the hat.
Wind yarn around two fingers, about 25 times.
Make a knot in the middle and cut the loops. Trim the pompom
Belt
Make a chain, (about 43 chains) measure if it fits around the belly. You might need more or fewer chains depending on if you are a loose or tight crocheter. 1 sc in each chain, then do 1 crab stitch in each sc. (Watch the video above or the pictures on how to do the crab stitch). Do not weave in the ends.
Assembly
I recommend that you use needles to figure out where the best positions are for the parts before attaching them completely.
Put a pipe cleaner in the hole of the body for more stabilization for the head.
Sew around and fasten the head. Sew on the arms between rounds 40 –41
Sew on ears on rounds 3-4. Leave 4 sc space between the ears.
Sew on antlers just below the ears
Sew on legs on round 3-4 on the body.
Sew on the pompom on the hat. The gaps are for the ears, so but the ears in the gaps and put it on Einar’s head. If you like the look you can fasten the hat with a few stitches or you can leave it like that. Put the belt around his belly, you can just fasten it with a little knot from the strands or use the strands to sew fast the belt to his belly.
Weave in all ends.
Notes


I absolutely love these❤️ Thank you so much for such an adorable pattern