This blog post contains affiliate links, read more about it here. Today I am going to share a little video tutorial on how to crochet the crab stitch.
The crab stitch is also known as the reverse single crochet, and it is so pretty and simple to make!
Those of you who never have crocheted the crab stitch before are in for a treat! This is such a fabulous stitch and you can make beautiful borders with it.
The crab stitch can be applied to all kinds of projects, like dishcloth, blankets, pillows, hats and more to give it a nice finish. This stitch will be used for a pattern that will be released next week so stay tuned for that!
This stitch is basically a single crochet that is being crocheted in reverse. There is a few things to keep in mind when crocheting the crab stitch. Make sure that you keep a rather firm tension when you are crocheting, otherwise the finish won’t look so neat.
It may feel a little odd at first, but as soon you get used to it will feel quite natural to crochet to the right instead of the left.
Without further ado, here is the video! Scroll below for the written instructions.
Shop related products:
The crab stitch
Chain 1, insert the hook in the nest stitch to the right. Do not turn your work.
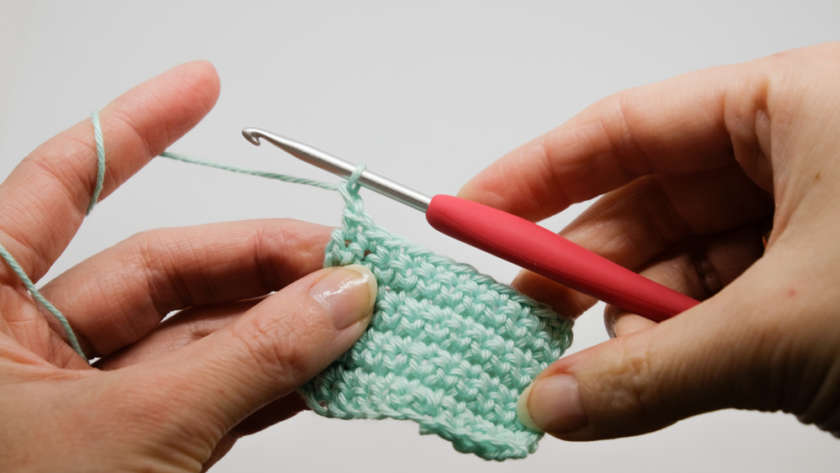
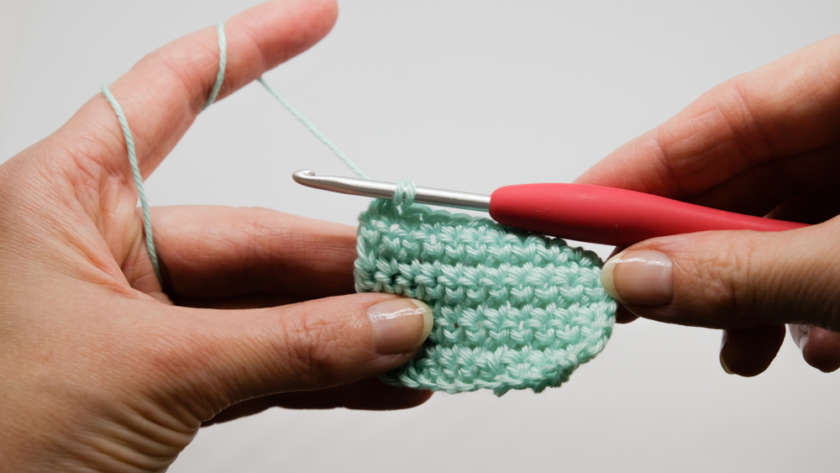
Insert the hook in the next stitch to your right. Pull up a loop, yarn over and pull through 2 loops.
Repeat until end of the row/round
Now that you have learned this beautiful and simple stitch, you can but it to good use with this free pattern!
You can simply add the crab stitch around the border instead of the normal single crochet.
You can also click on the picture to get to the free pattern!

Learn more stitches:
Share this tutorial: