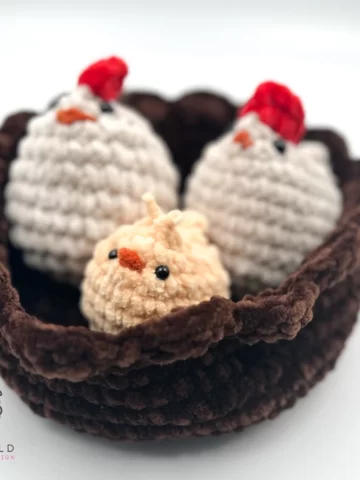
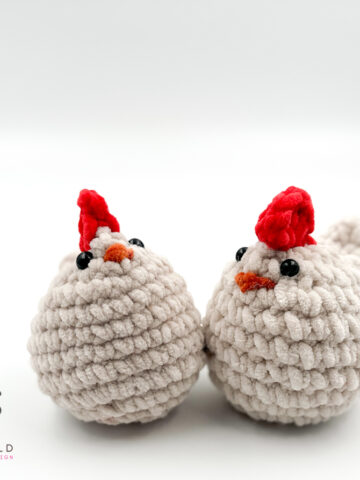
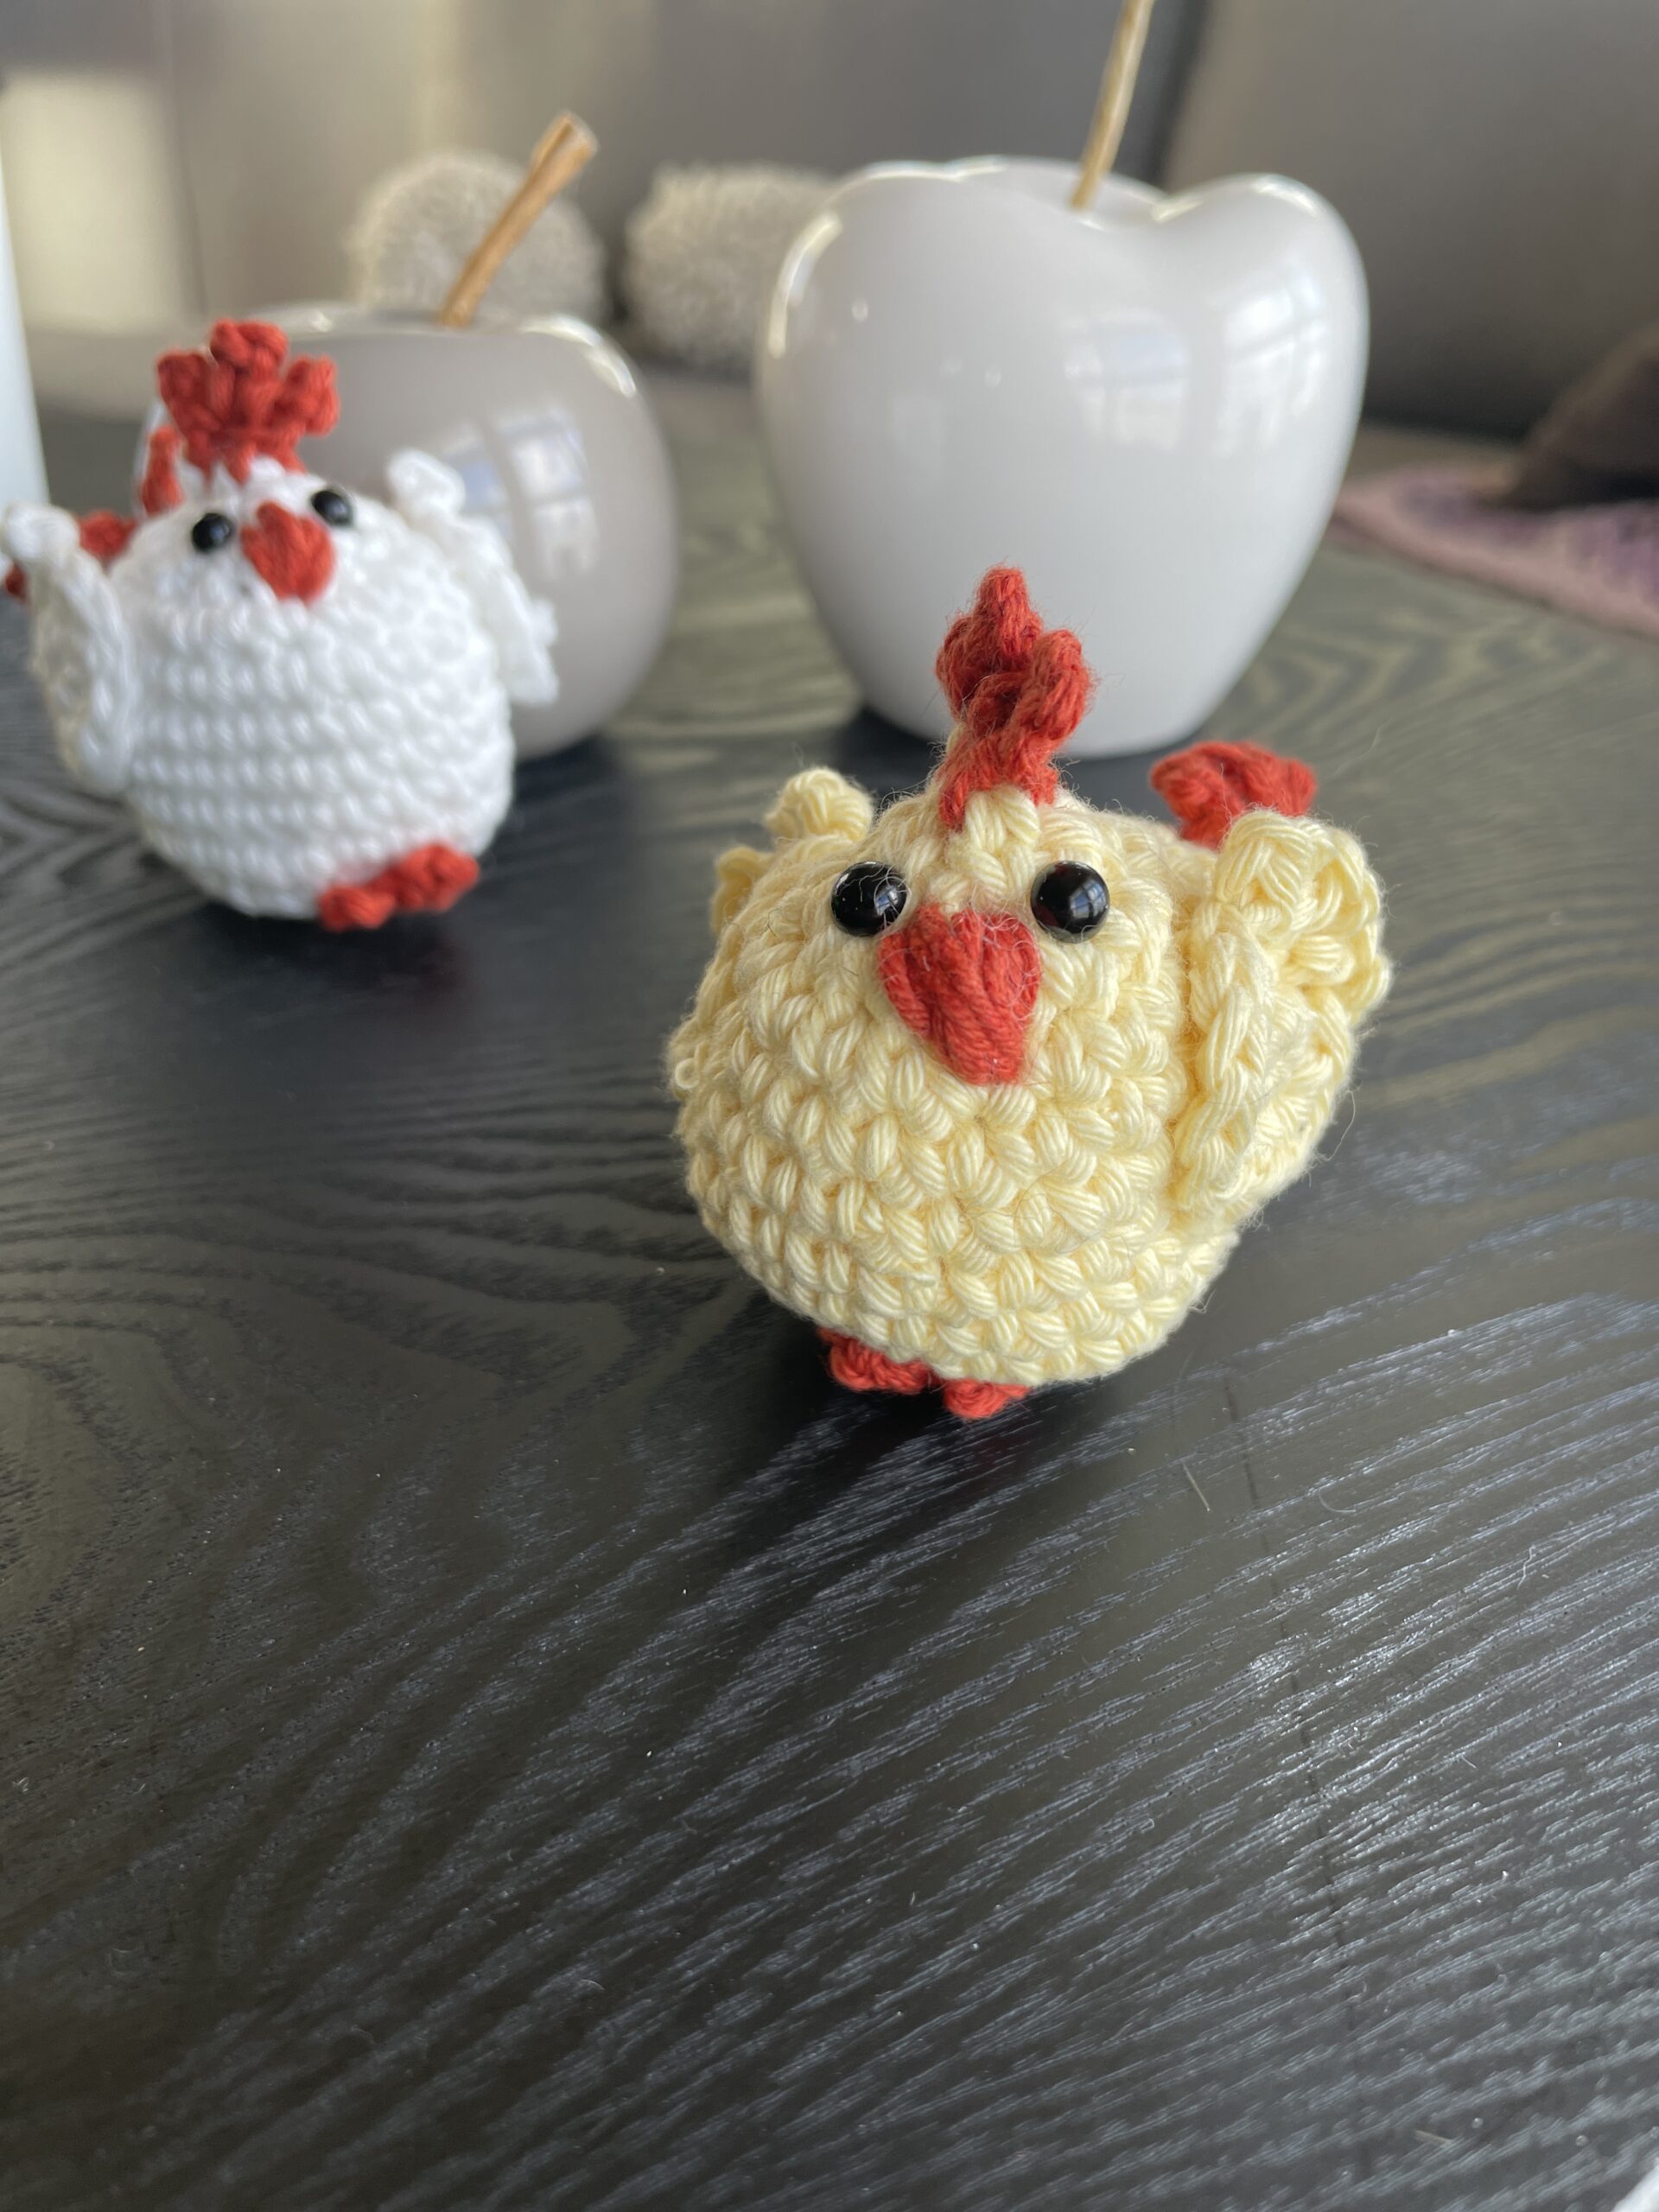
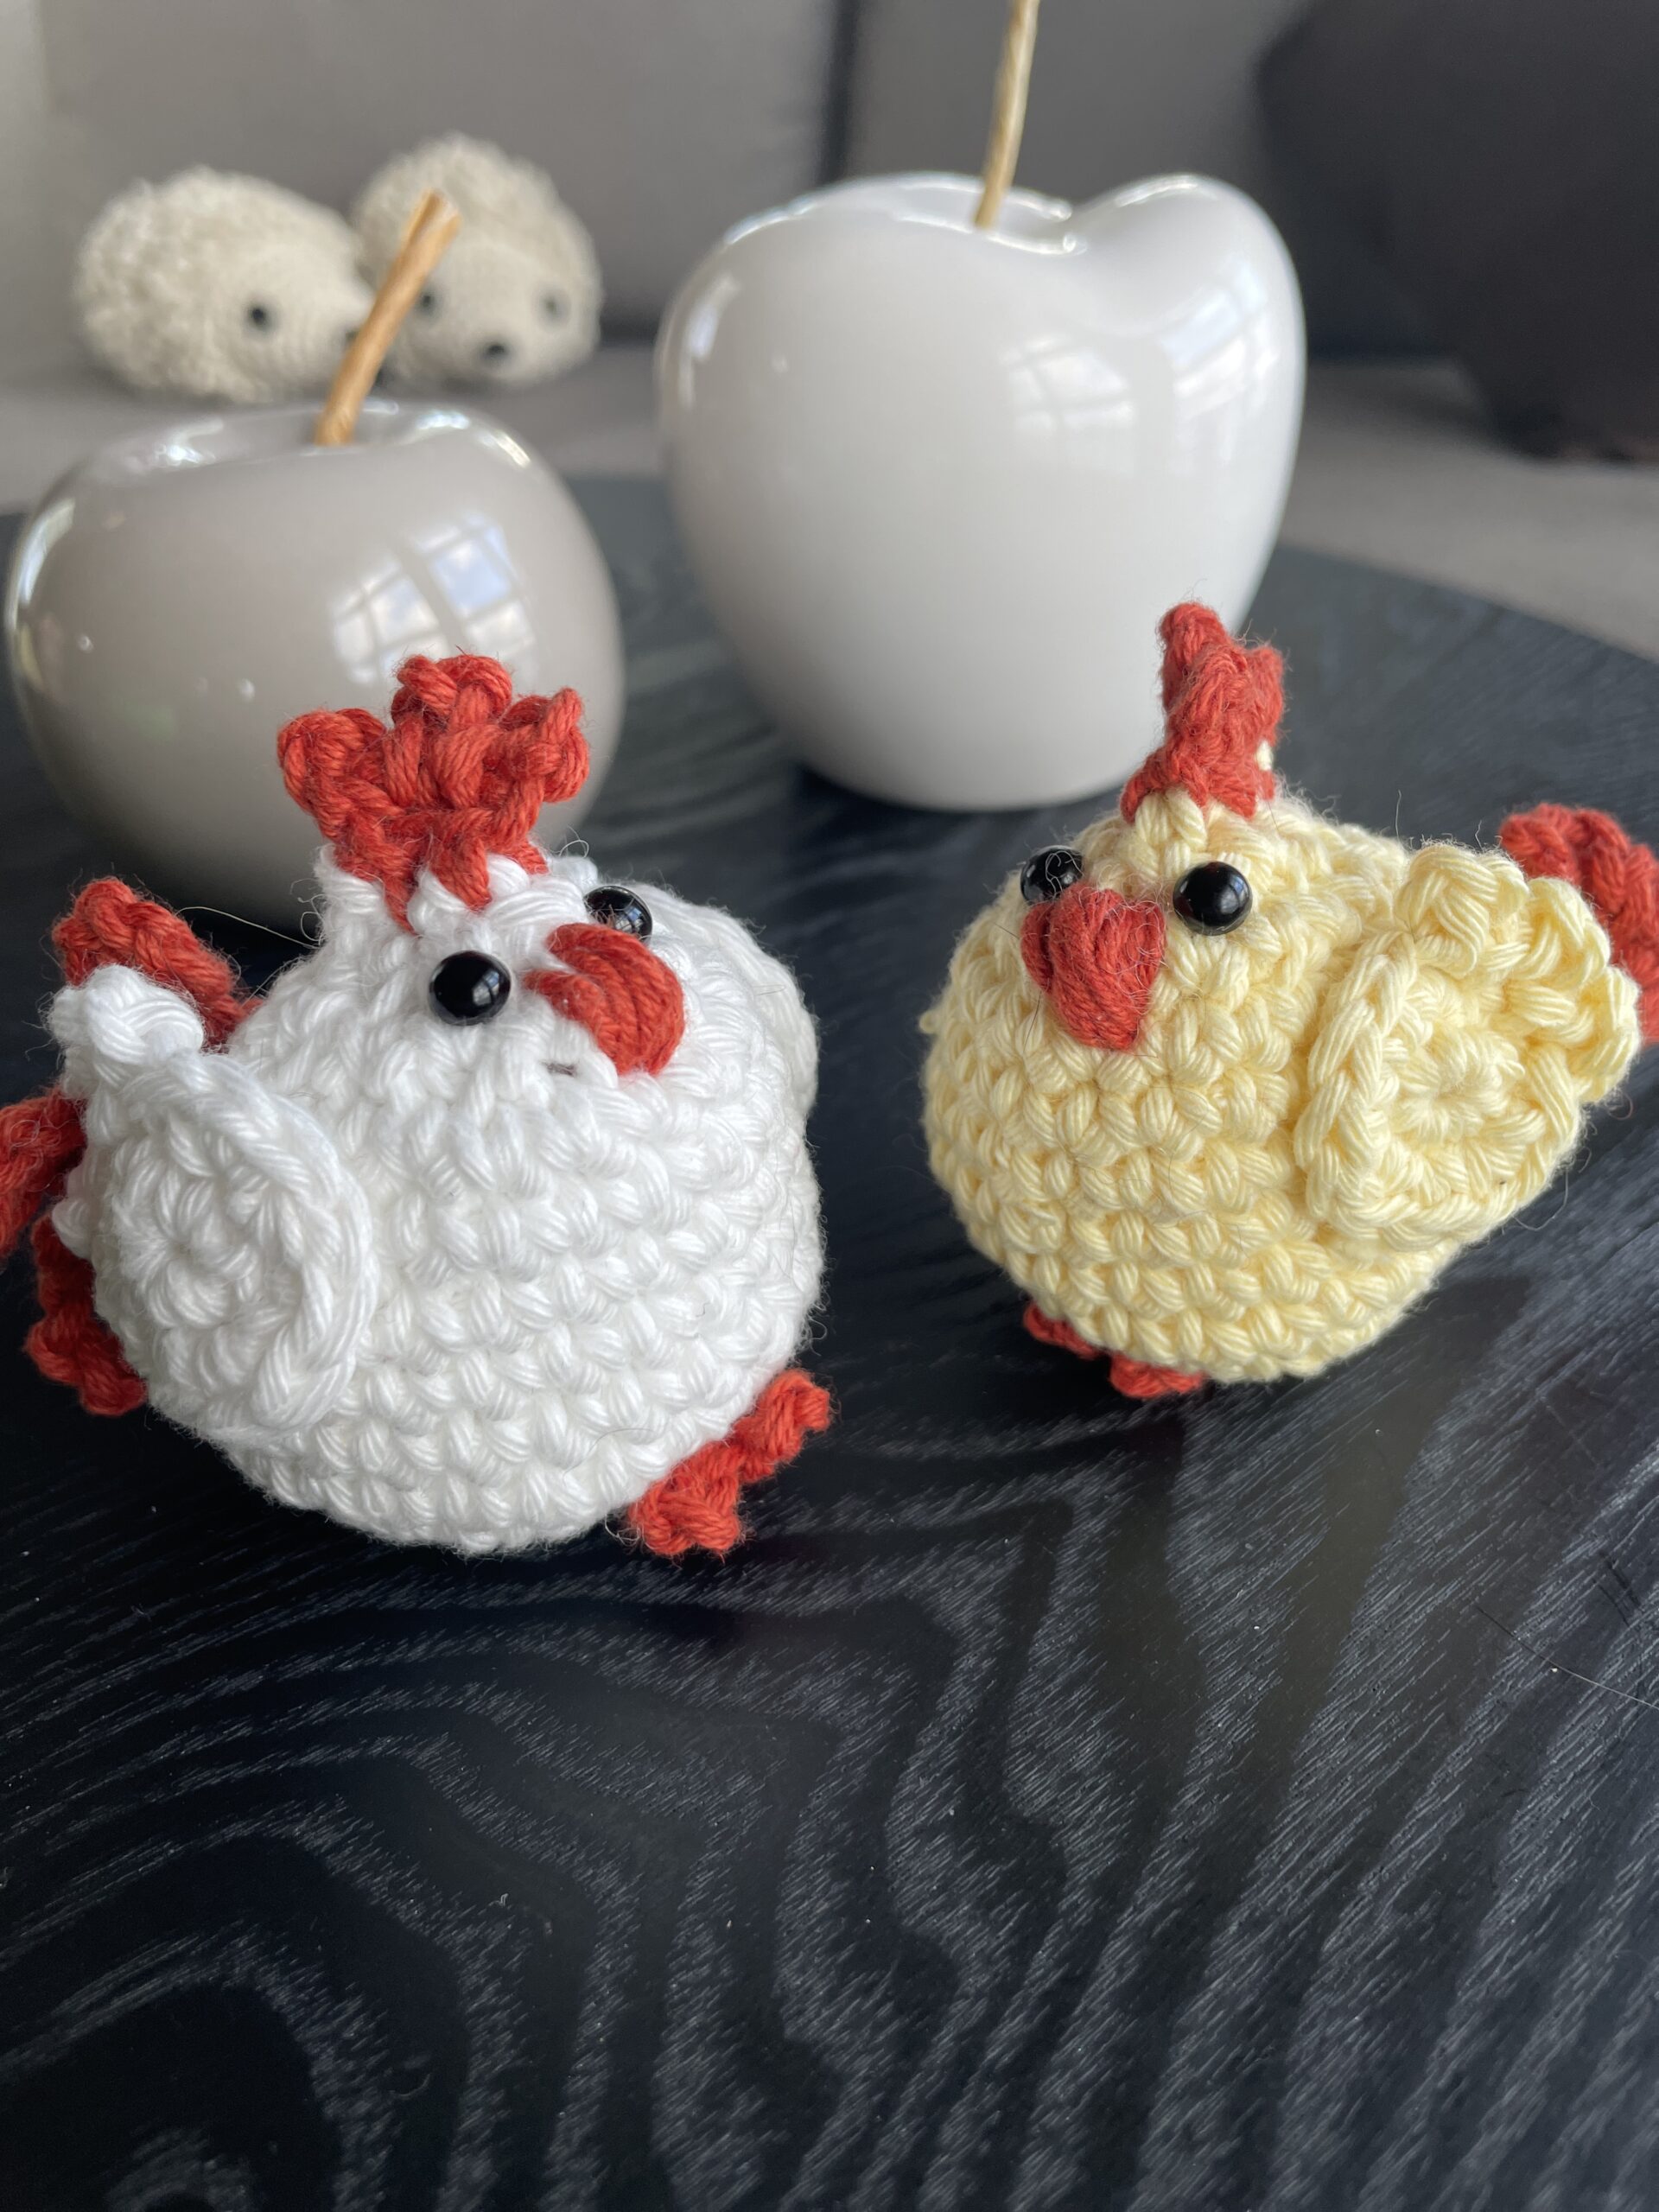
How to crochet cute and small amigurumi chicken
Warm, fuzzy, and adorable. Crochet an Easter basket full of cuteness with this easy, Amigurumi crochet chicken pattern! Perfect for stuffers, Easter decor, and just as an Easter treat for yourself, you'll love how easy it is to create these sweet little chickens.
Want the printable version? Grab it here! Click here for Ravelry
Die Videoaletuhng gibt es such auf deutsch! Einfach nach unten scrollen.
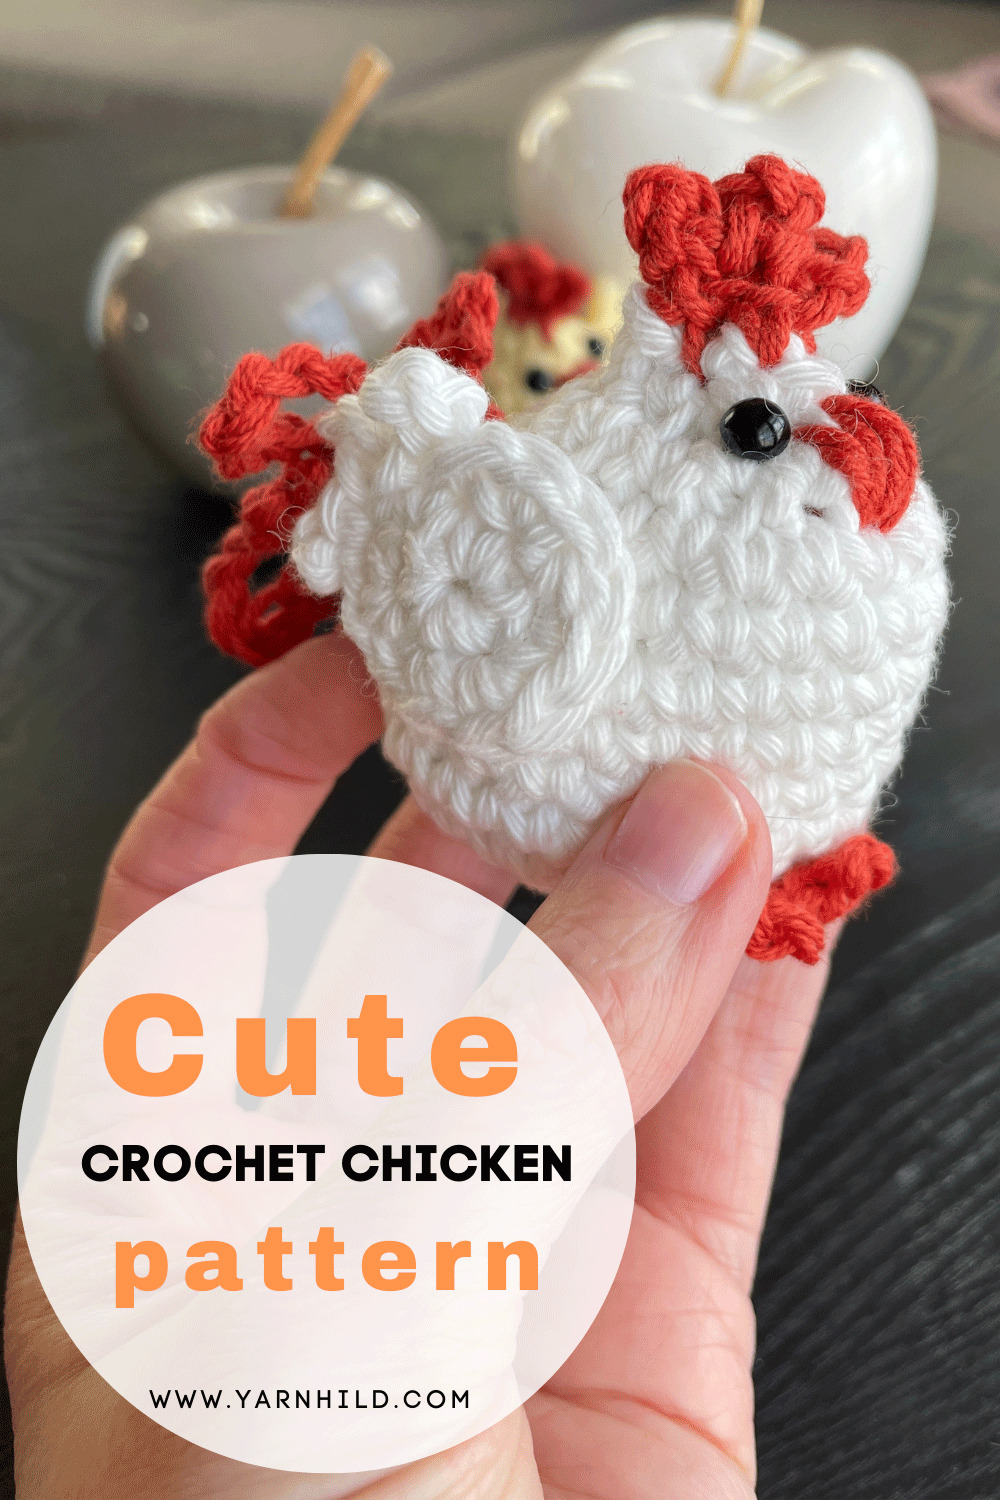
Even though I added some shaping to these chickens, they are easy to make. I think the shaping added an interesting and fun look. On the back part, where the tailfeathers are, we are adding more stitches compared to the front part. This helps to add some shaping to make your chicken look like a real chick!
Here you can find more crochet amigurumi chicken patterns!
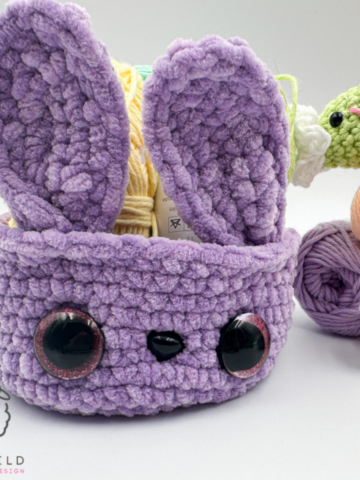
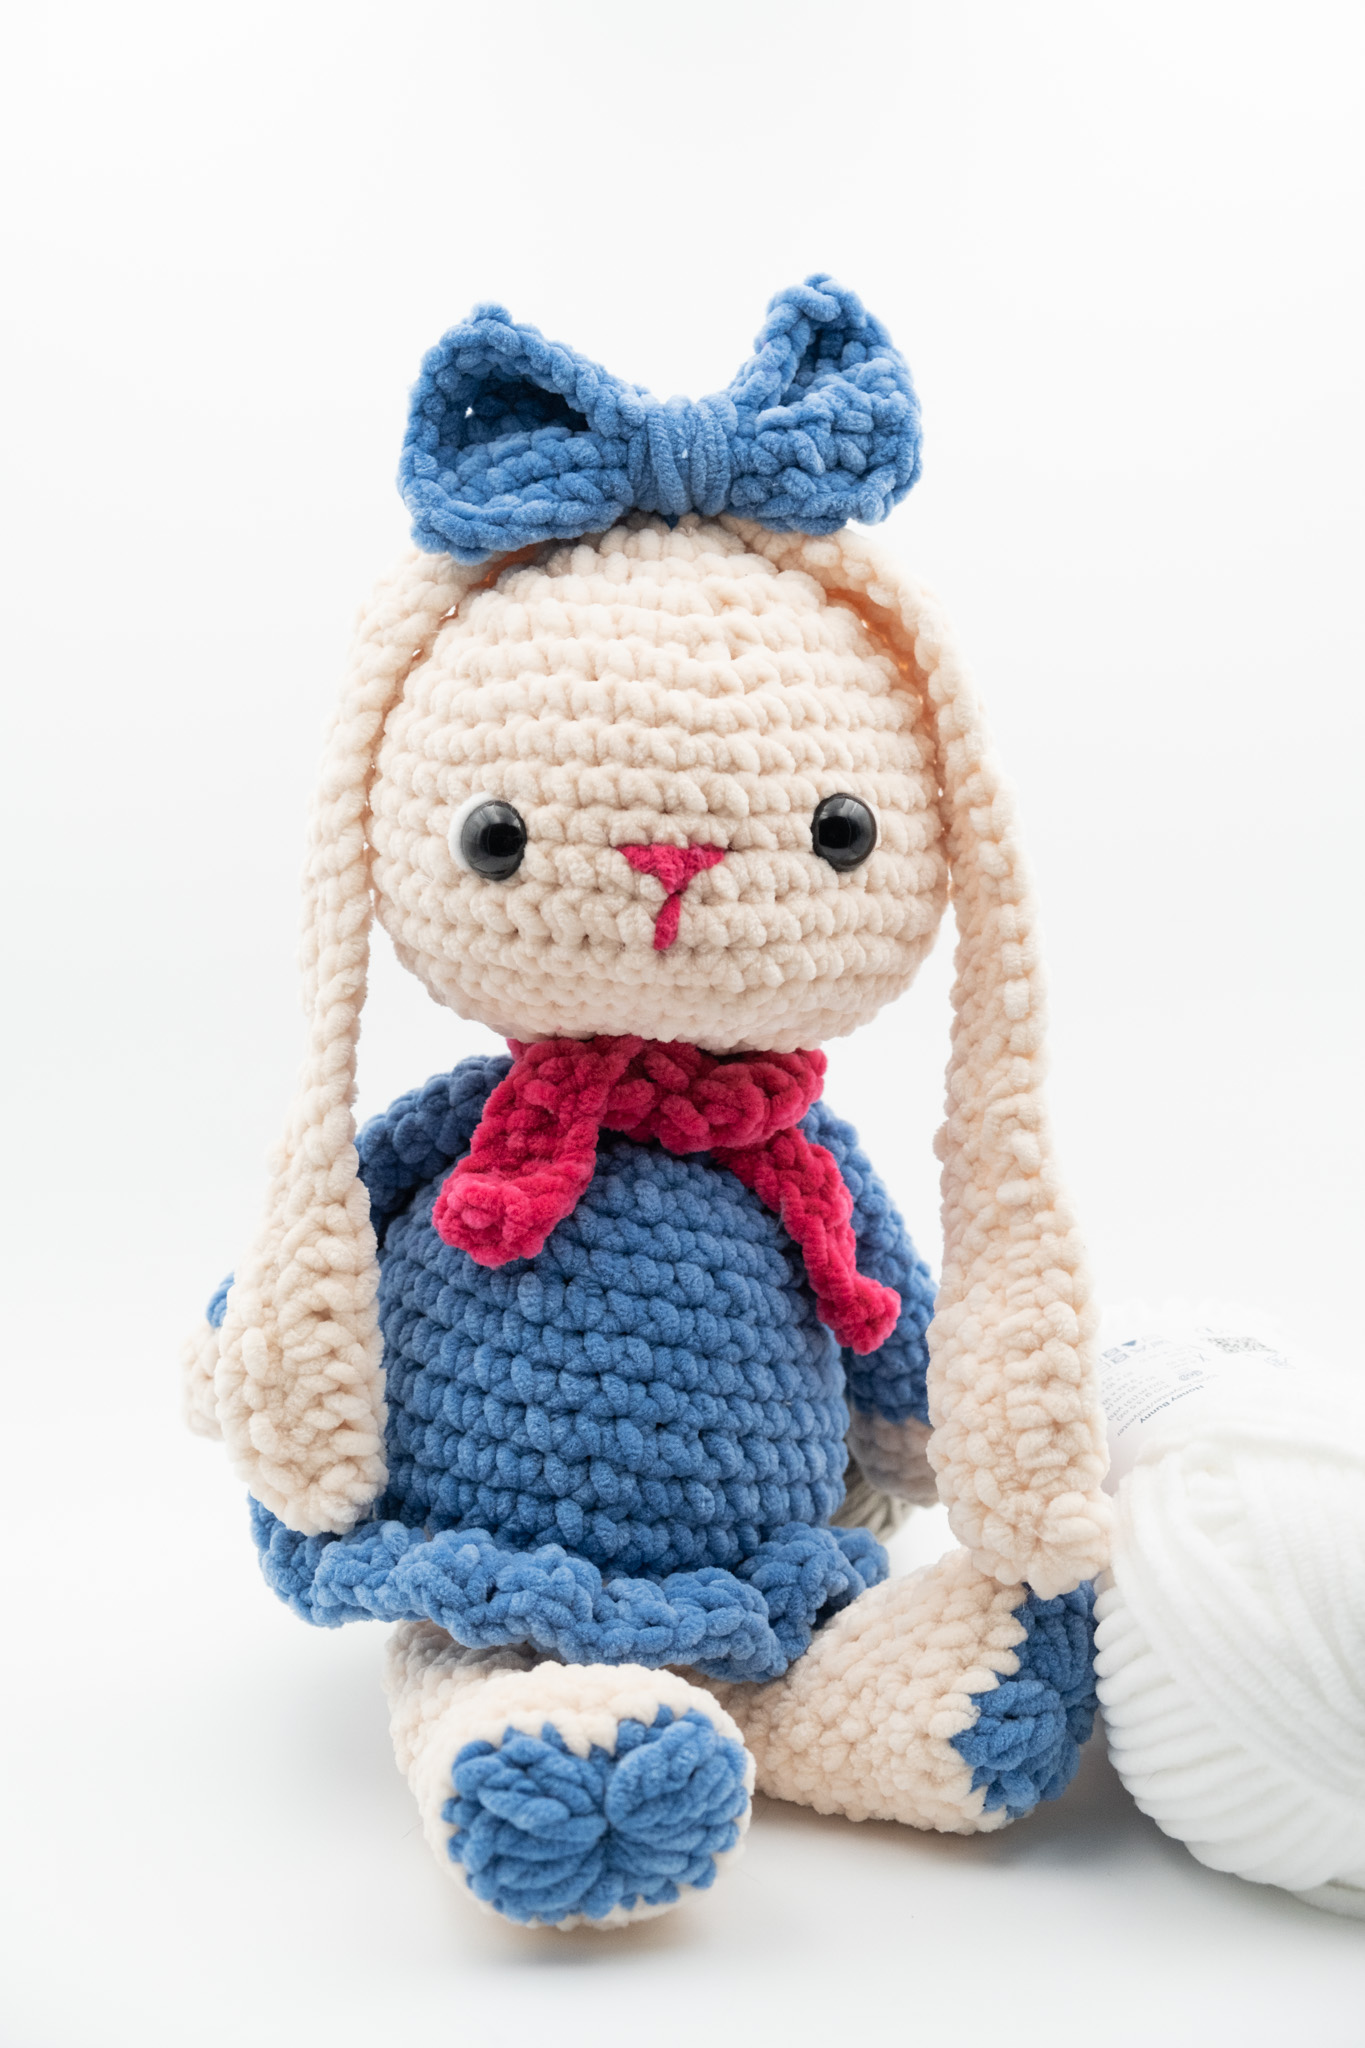
If you look at my blog, you can find more Easter-related crochet patterns. There is bunny Ben, these ragdoll chicks, then there are these super easy ones, and last, but not least, Dixie the chick. Oh, and I almost forgot about this one! These are fun and whimsical!
So, as you can see, you can find a few Easter patterns on this blog! Each year I try to make a new one, and this year is no exception. I think this is my favorite so far!
About this pattern
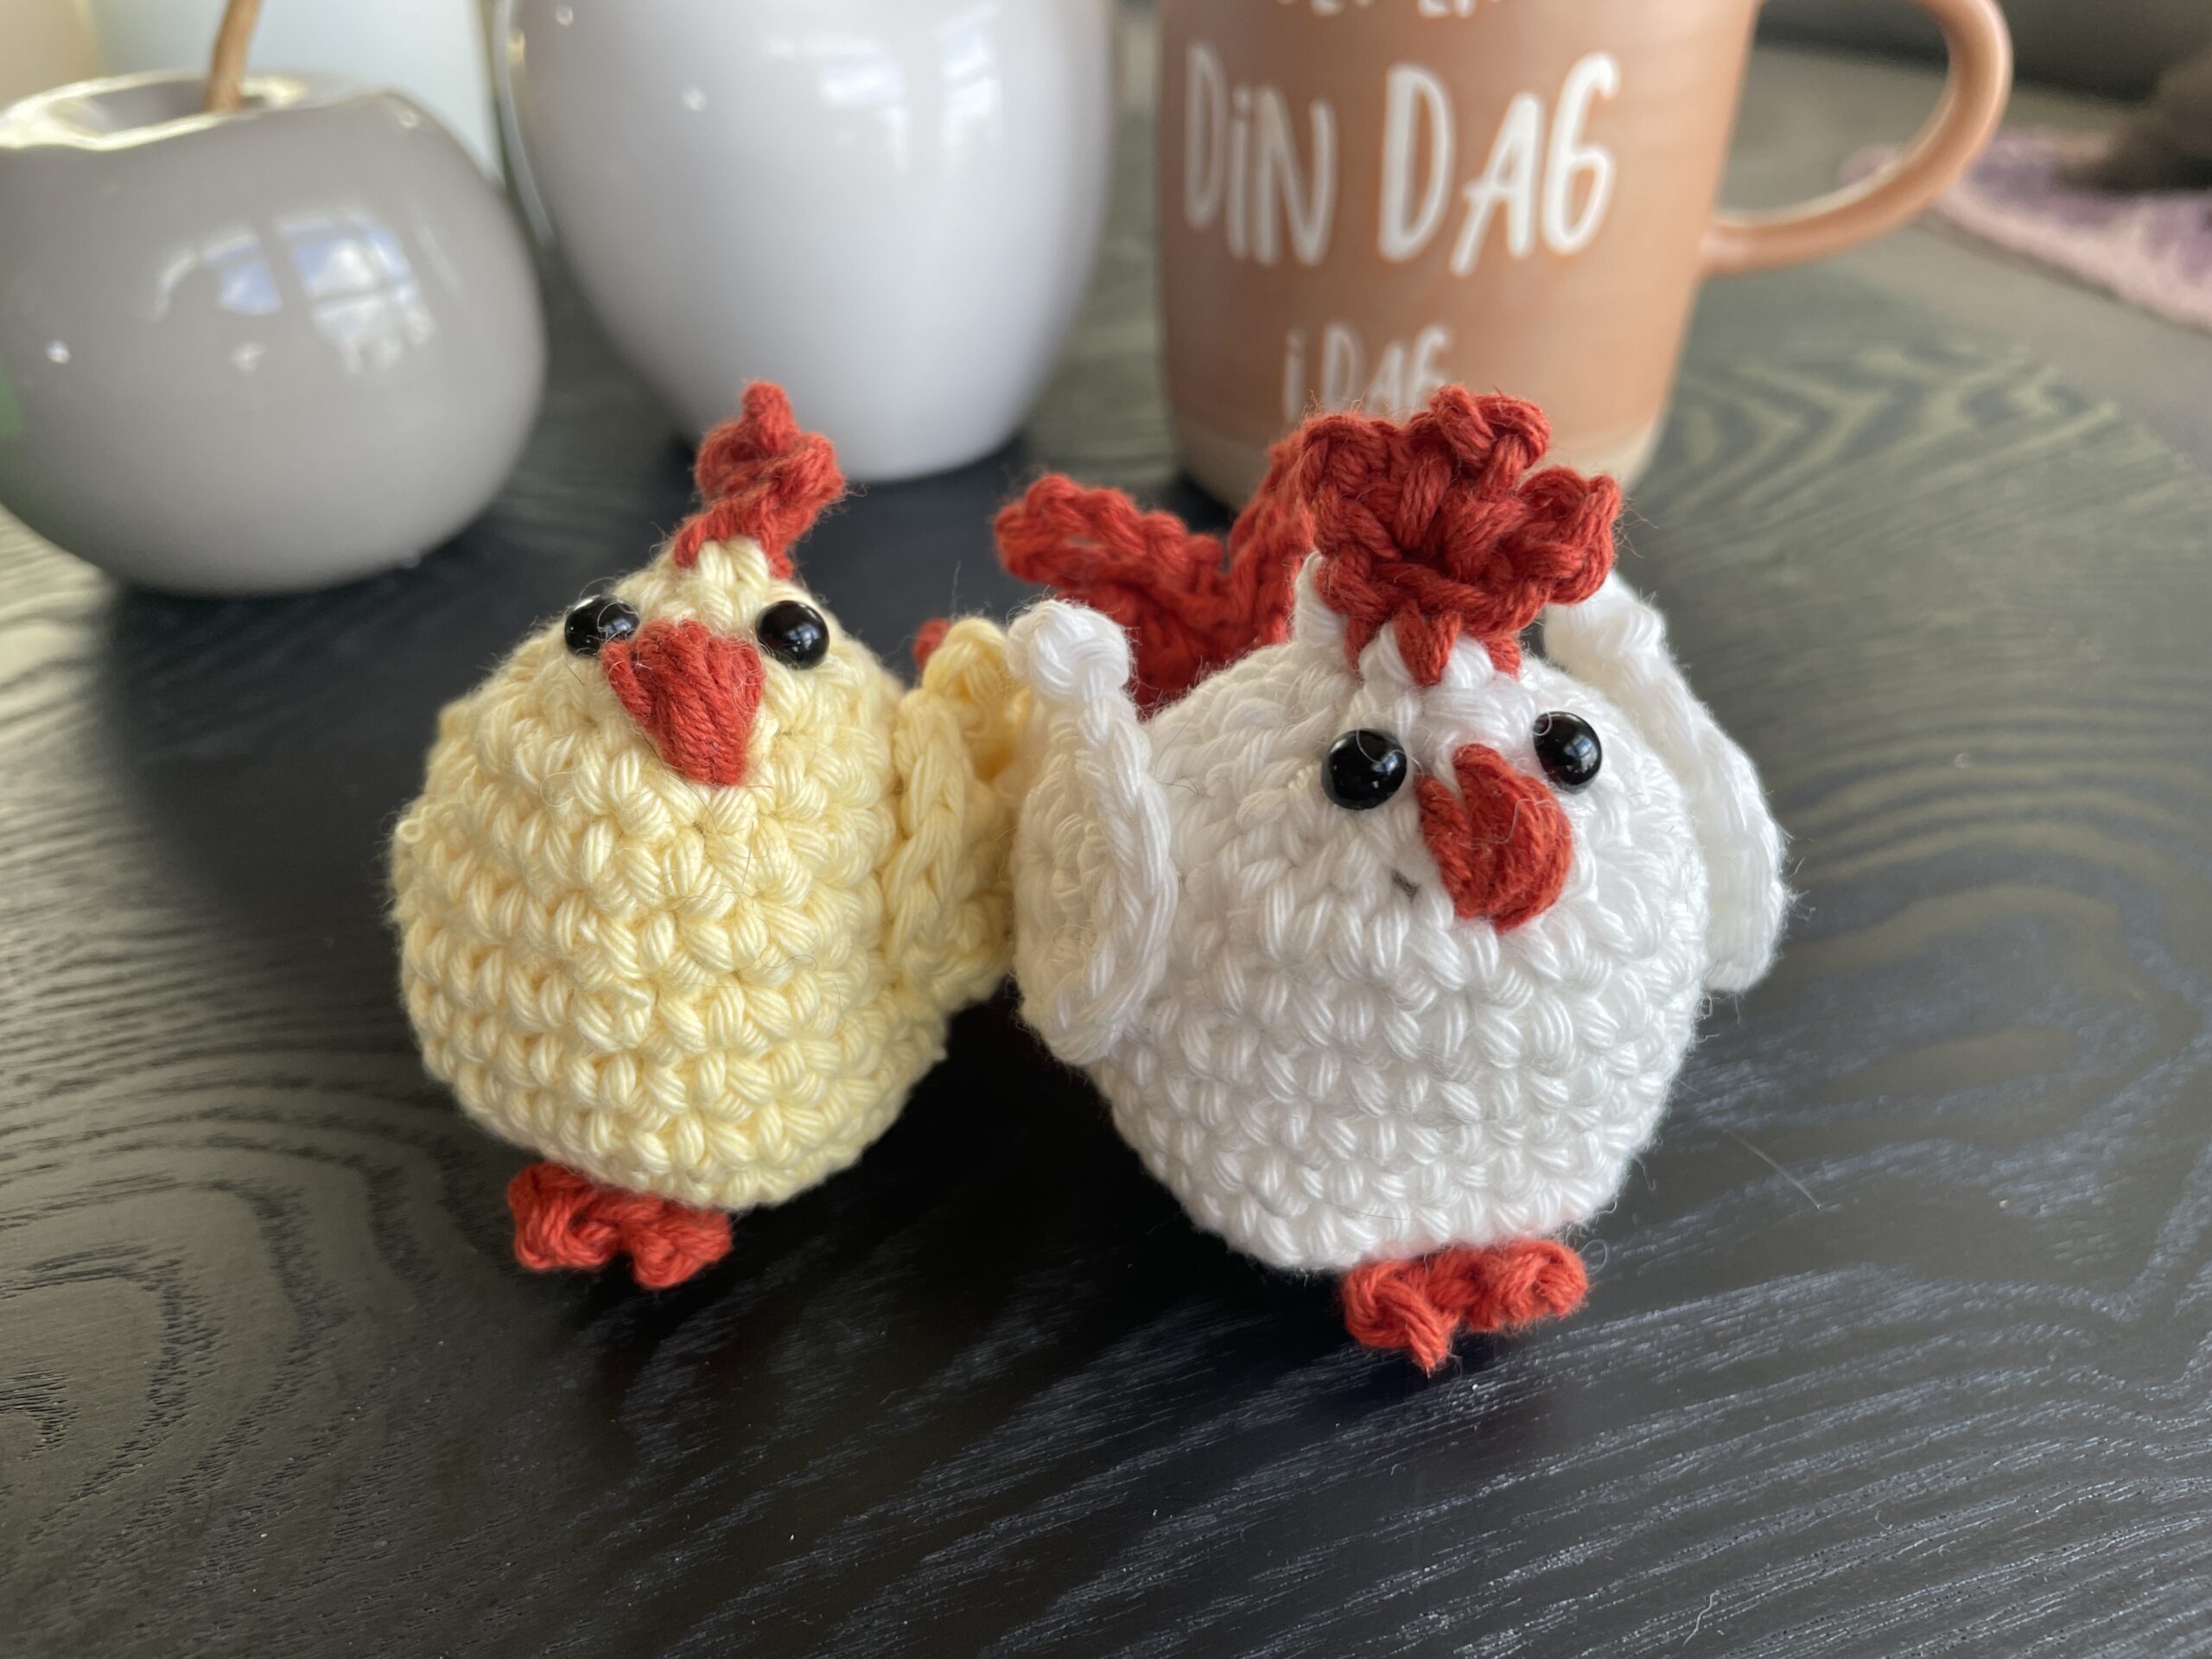
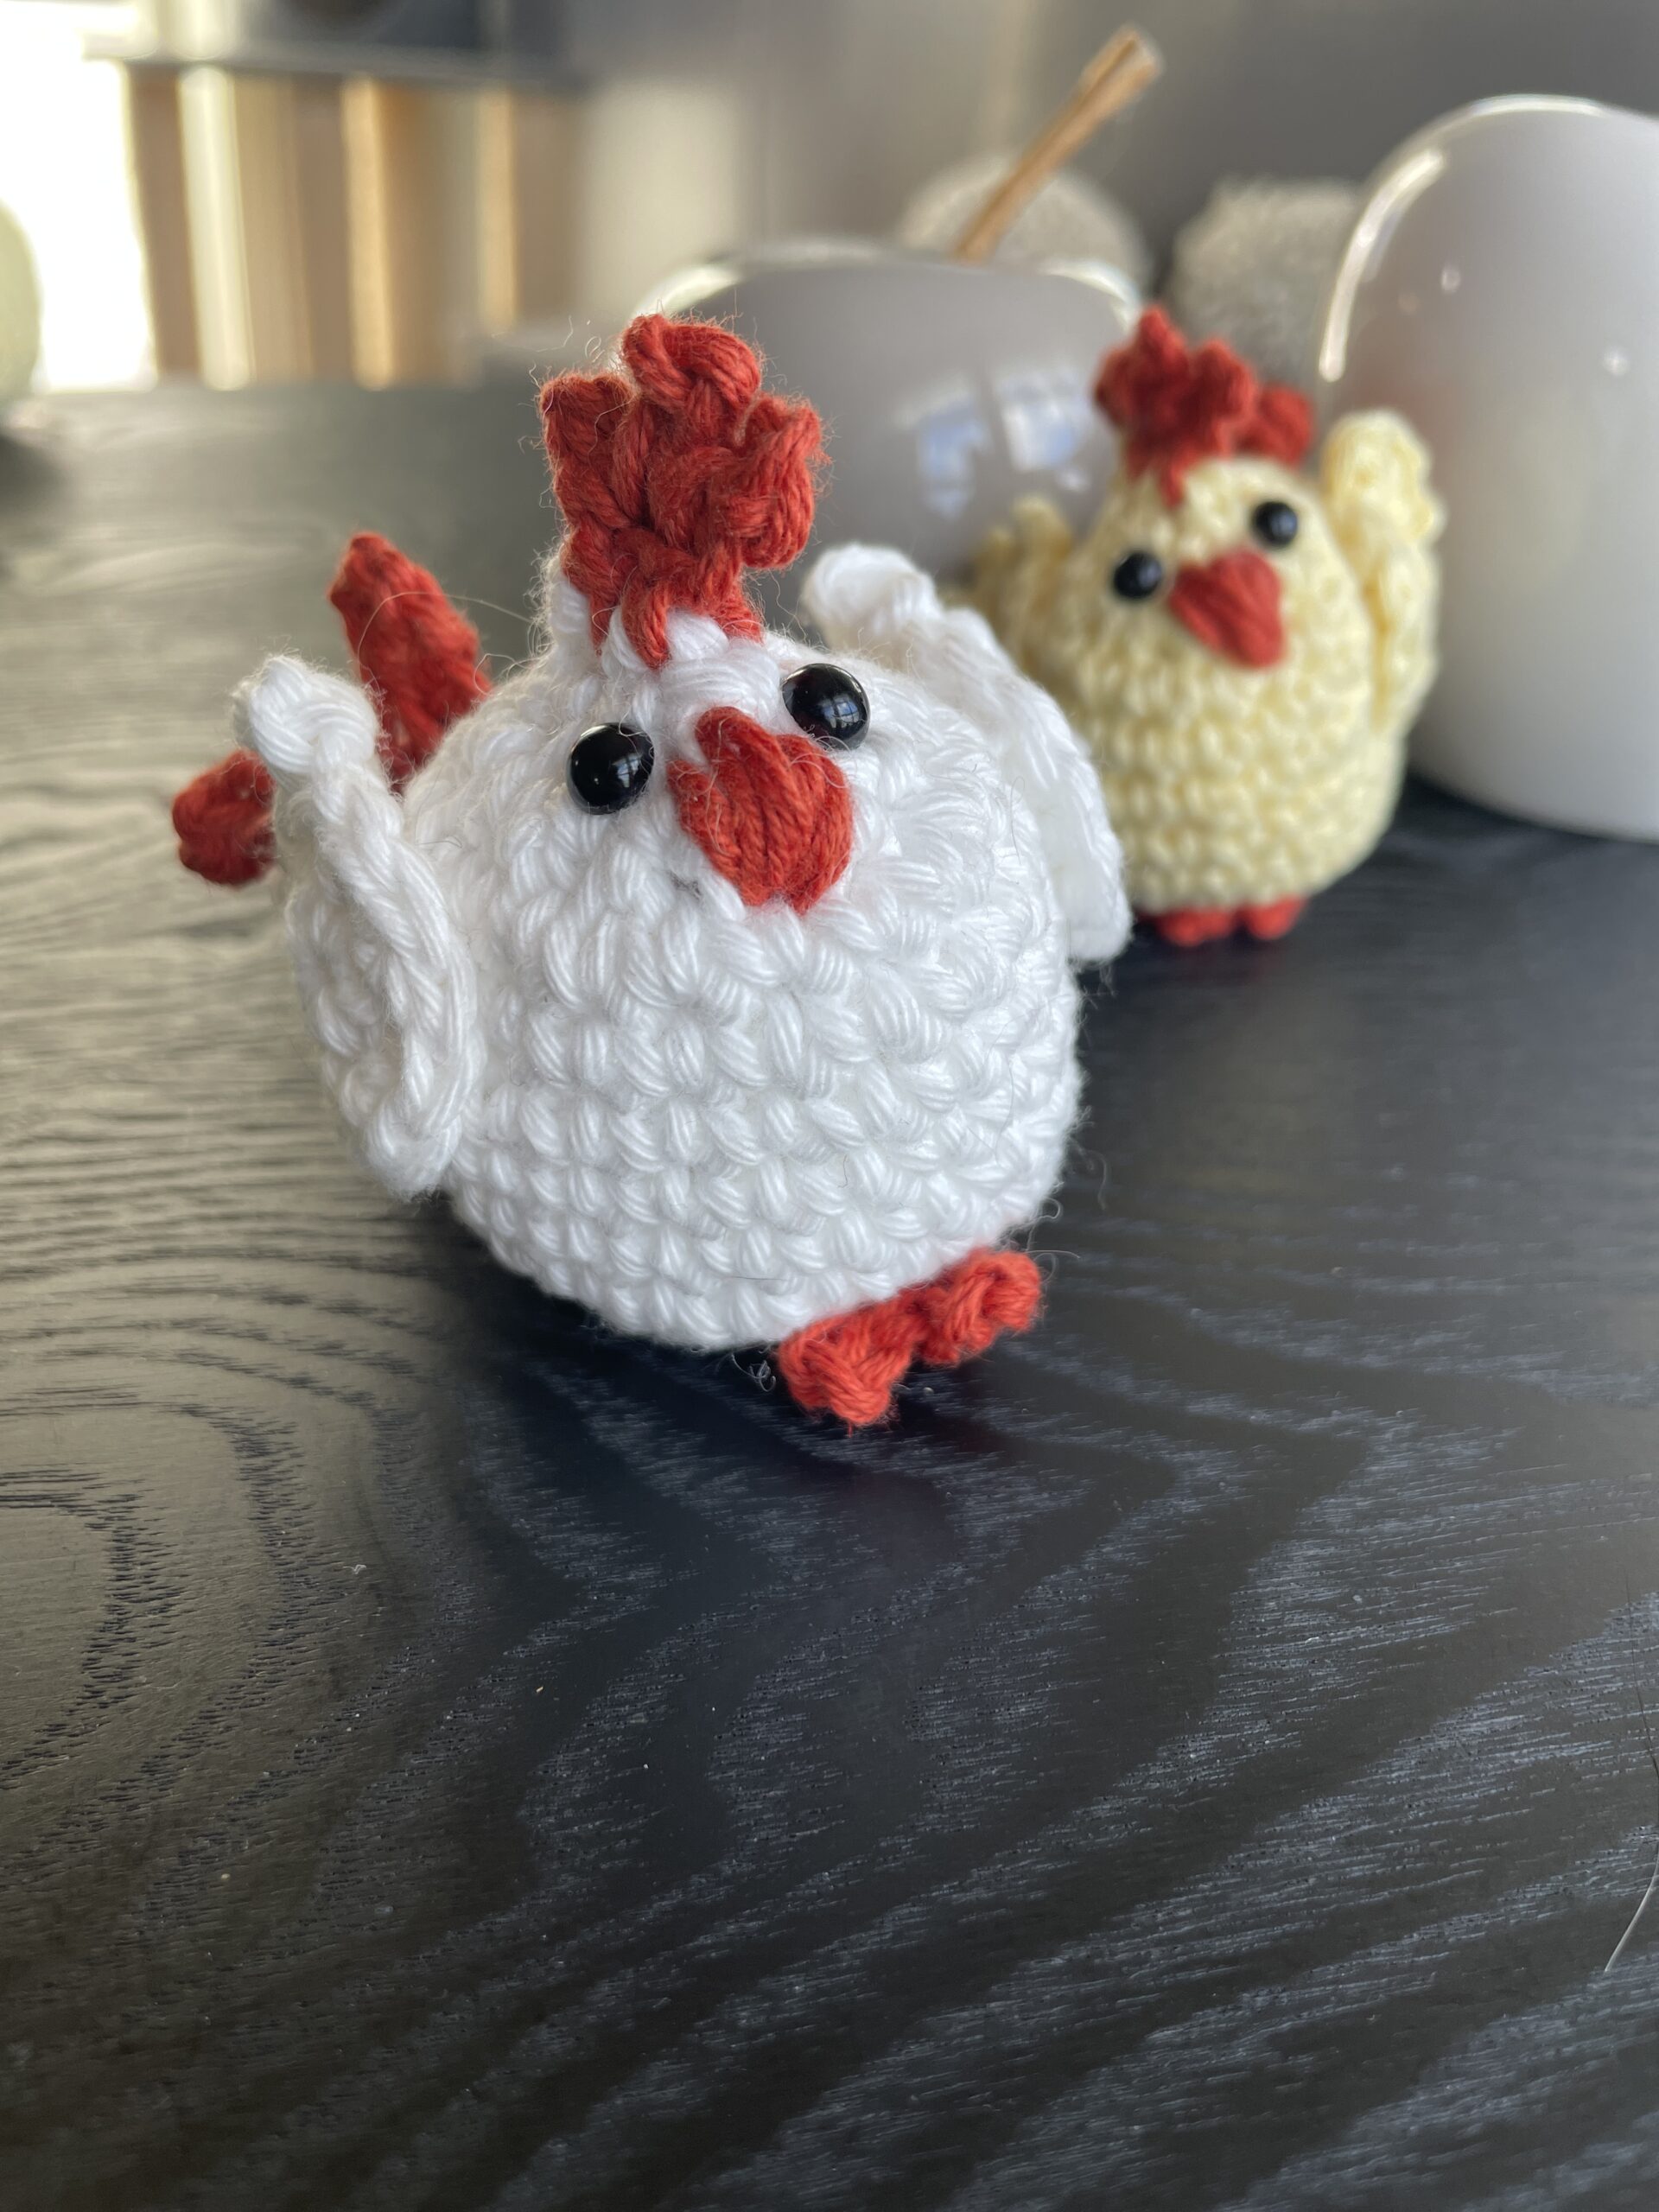
As I mentioned in the beginning, this chicken pattern has some shaping. However, it is not hard to make. If you mix colors, you can also make other types of birds. Maybe a little singing bird?
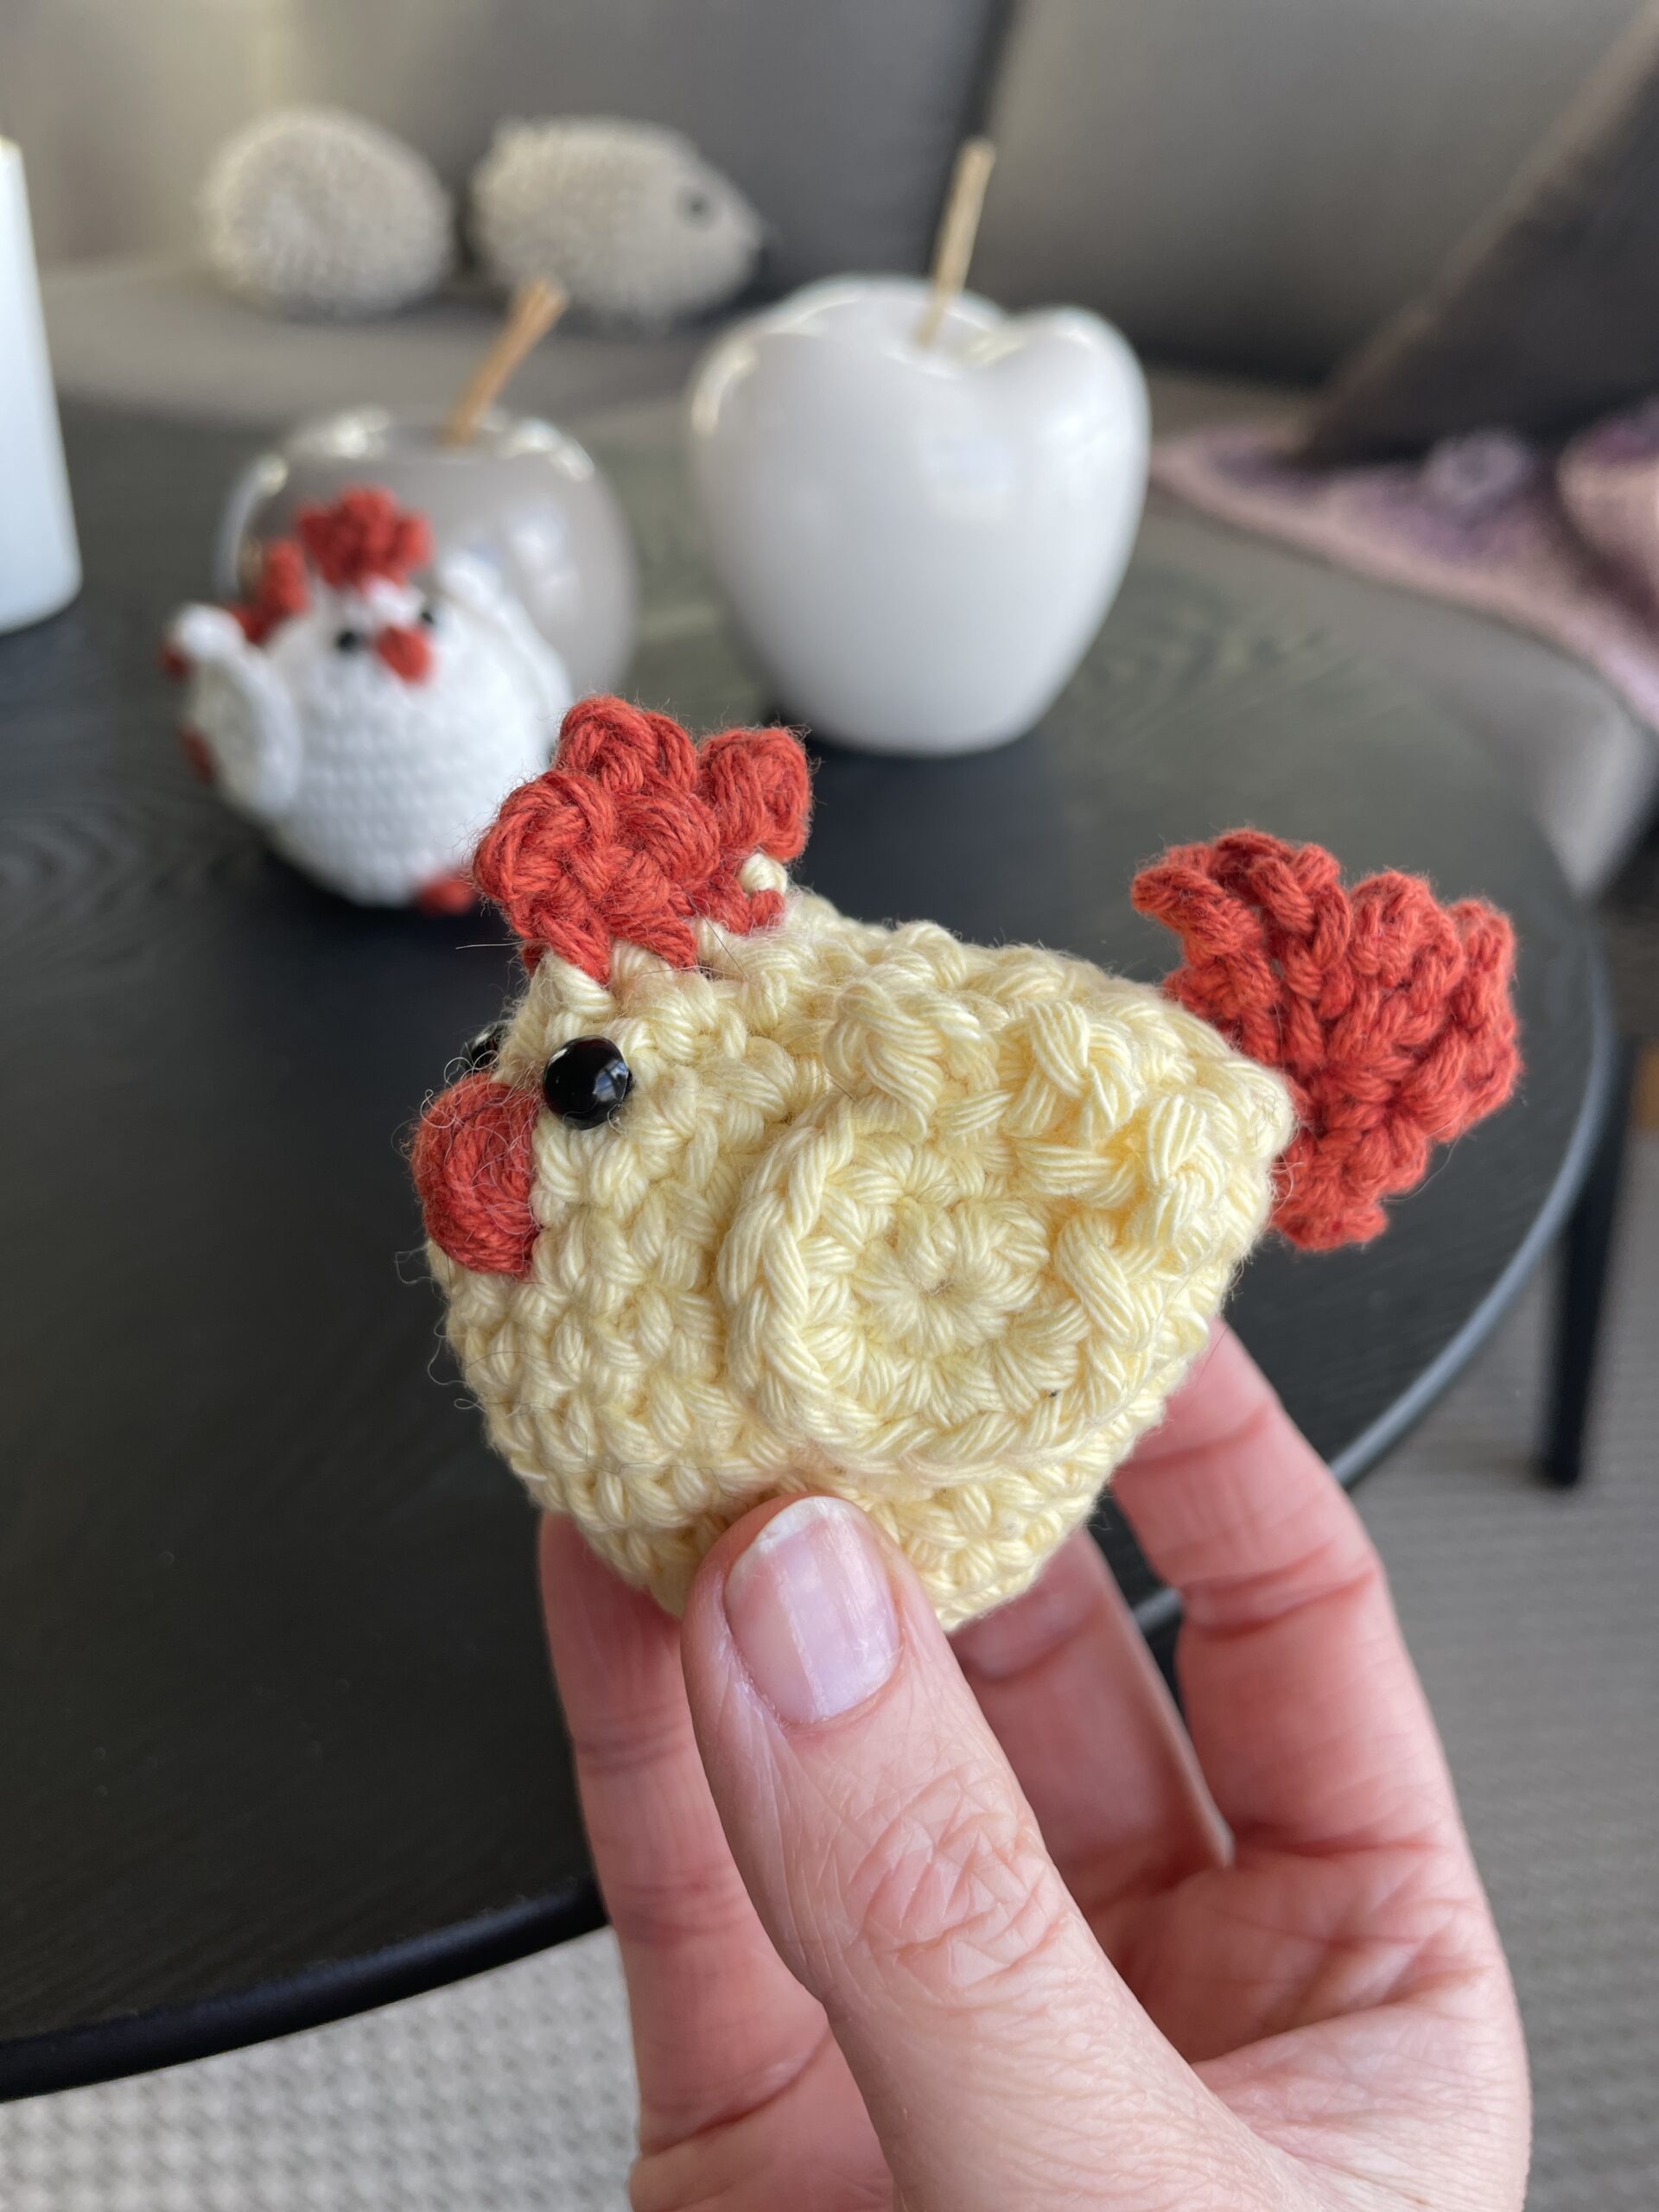
All the parts are made separately and sewn together. I embroidered on the beak and placed the safety eyes close to the beak. I glued mine to get them close to the beak and if you are just planning to use the crochet amigurumi chicken for decoration, I suggest you do the same.
You`ll love making this cute chicken! The chicken is made in continuous rounds. The parts are made separately and sewn together. Check out the video on YouTube if you need extra assistance making the chicken
Video tutorial
Deutsche Häkelanleitung
You`ll love making this cute chicken! The chicken is made in continuous rounds. The parts are made separately and sewn together. Check out the video on YouTube if you need extra assistance making the chicken
Finished size: about 7 cm
Abbreviations - US terms
- Ch-chain
- Rnd–round
- St–stitch
- Sl st–slip stitch
- Sc–single crochet
- Sc dec–single crochet decrease
- Sc inc–single crochet increase, 2 single crochet in one stitch
- Mr–magic ring
- Yo –yarn over
- *-* - Repeat action
Materials
- Sports weight yarn, or worsted weight
- 20 g in yellow or white. Some orange yarn , about 5 g
- 3,5 mm crochet hook
- yarn needle
- safety 6 mm
The body and head
Work in continuous rounds.
Use a stitch marker and move it up as you go. Crocheted from bottom-up.
In yellow or white.
Rnd 1: 6 sc in a mr = 6 sc
Rnd 2: sc inc x 6 = 12 sc
Rnd 3: (1 sc, sc inc) x 6 = 18 sc
Rnd 4: (2 sc, sc inc) x 6 = 24 sc
Rnd 5: 1 sc in each st
Rnd 6: 1 sc in the next 21 sc, sc inc x 3 =27 sc
Rnd 7: 1 sc in each st
Rnr 8:1 sc in the next 21 sc, sc dec x 3 =24 sc
Rnd 9:1 sc in the next 18 sc, sc dec x 3 =21 sc
Rnd 9:1 sc in the next 15 sc, sc dec x 3 =18 sc
Rnd 10: (1 sc, sc dec) x 6 = 12 sc
Add safety eyes here, 2 sc stitches apart. Alternatively, you can glue them
on afterward.
Add stuffing.
Rnd 11: sc dec 6 = 6 sc. Change to orange on the last pull-through.
We will be crocheting the comb now.
Rnd 12: Pinch the hole closed and close it with 3 sc stitches.
Turn. *Ch 3, sl st in the first ch, sl st into the next st* repeat from *-* two more times. Fasten off and weave in the ends.
Wings
Make 2
In yellow or white. Make 2 pieces.
Rnd 1: 6 sc in a mr = 6 sc
Rnd 2: sc inc x 6 = 12 sc
Rnd 3: Sl st into the first st. *Ch 3, sl st in the first ch, sl st into the next st* repeat from *-* two more times. Fasten off and weave in the ends. Leave a longer tail for fastening.
Tail feathers
In orange
Chain 6, 1 sc in the 2. ch from the hook and next 5 ch. *Ch 9, sl st into the base of the stitch (sc) to make a loop. Sl st into the next st. Ch 6, sl st into the base of the st to make a loop, sl st into the next.* Repeat from *-* 1 more time.
Fasten off. Leave a tail for fastening.
Feet
Make 1
Ch 4, 1 sc in the 2. ch from the hook and next 2 ch. Sl st into the same st. Ch 5, 1 sc ch from the hook and next 3 ch. Sl st into the next st.( where you started) Fasten off. Leave a tail for fastening.
Assembly
Use a double strand of yarn in orange to embroider on the beak. Sew the beak on the top of the head, between rows 11-12. When sewing on the beak, find a point on the lower part that you always go back to, and make a triangle. Attach safety eyes close to the beak. Use glue to attach the eyes. Alternatively, you can embroider on the eyes too.
Find a nice place for the wings and attach them to the body. I sewed mine on rows 6-10. Sew on the feet between rows 3-4. Sew on the tail feathers on rows 7-8 where the increases are. Sew on the feet on round 2.