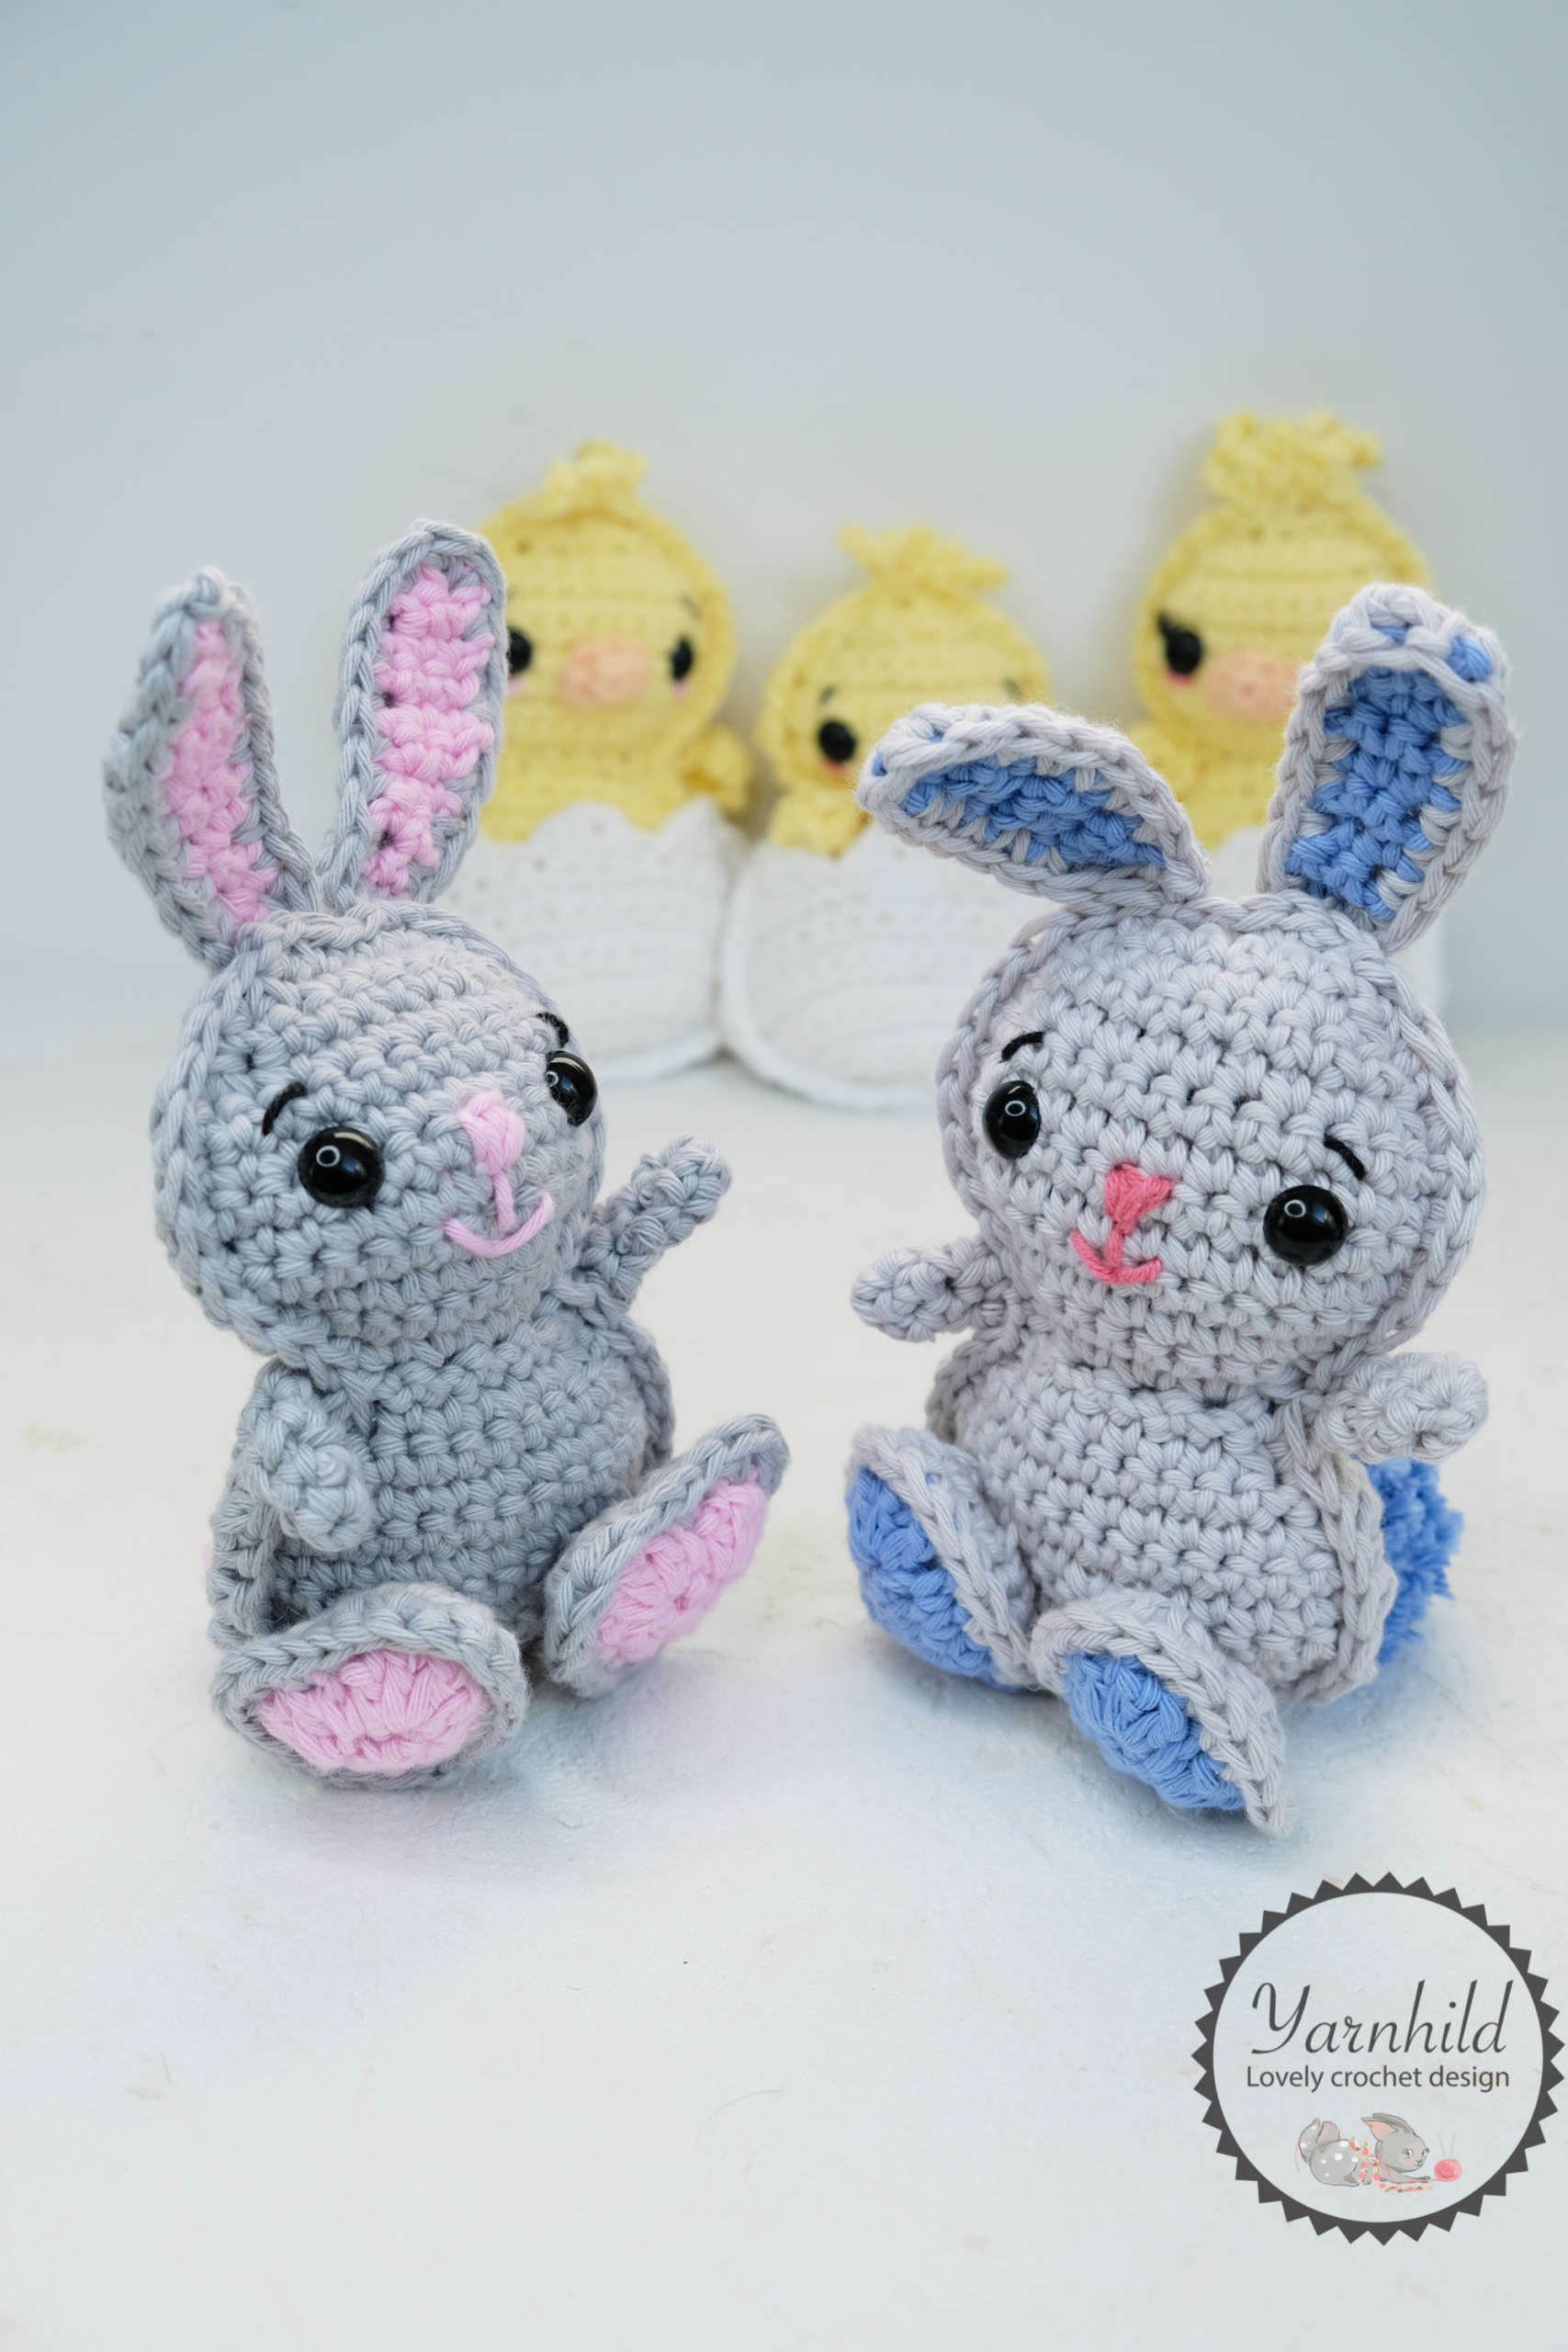
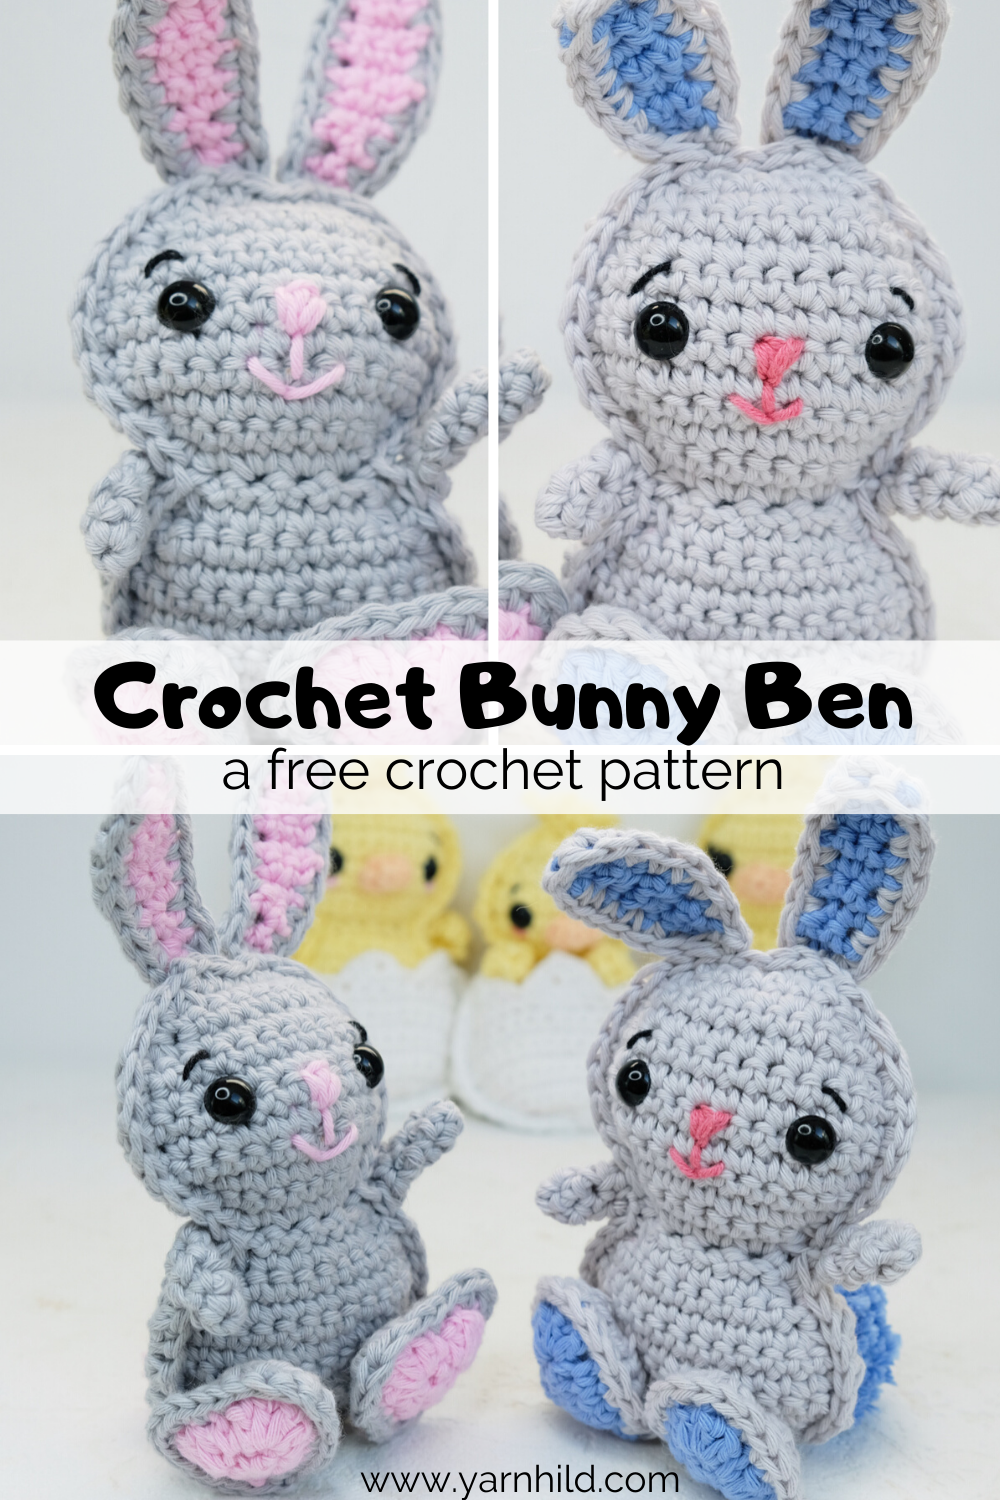
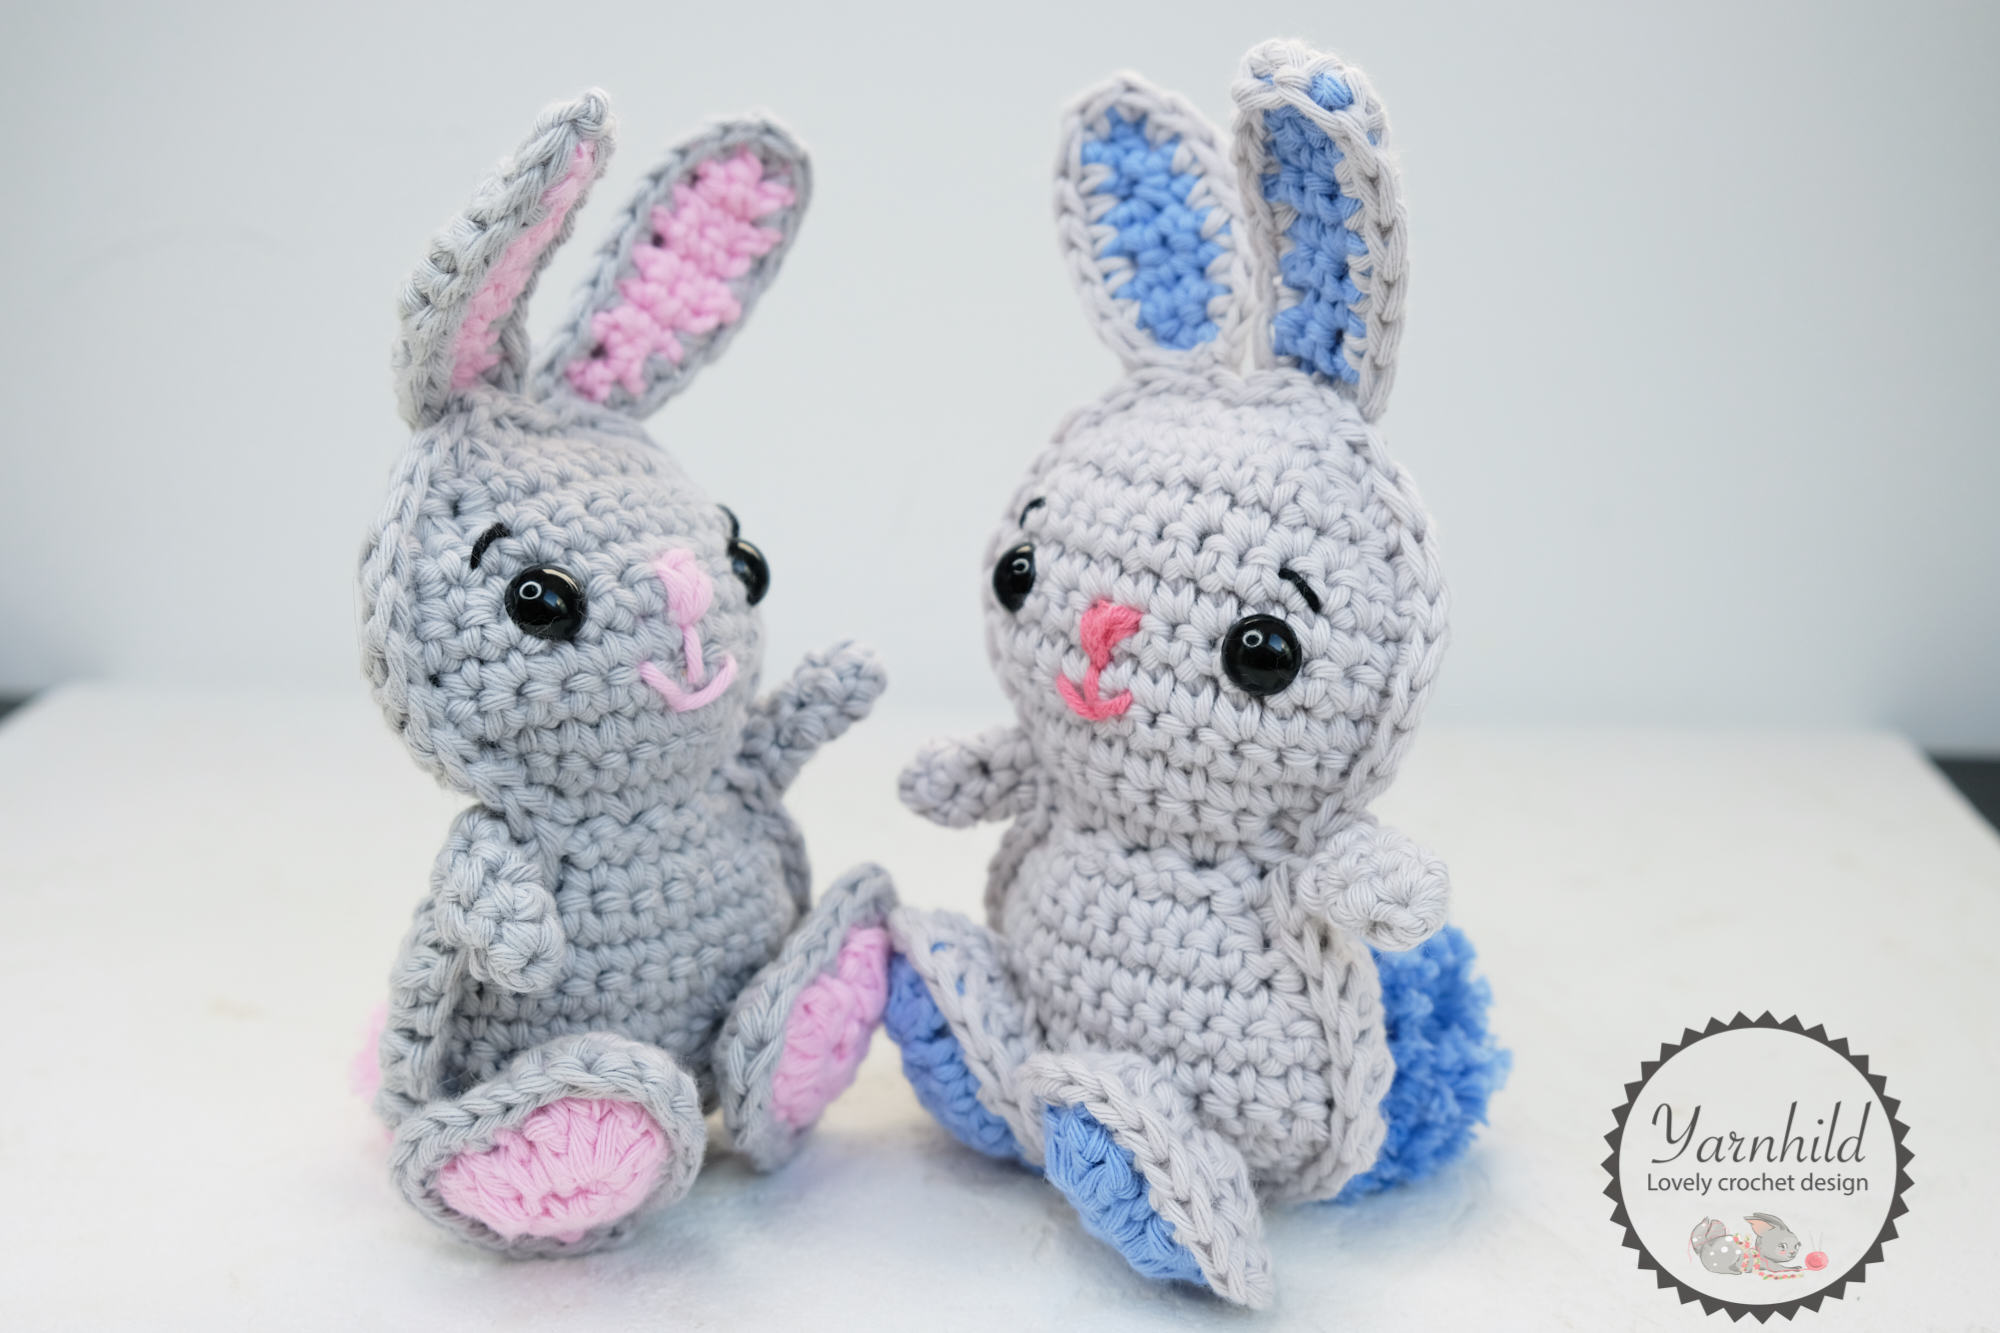
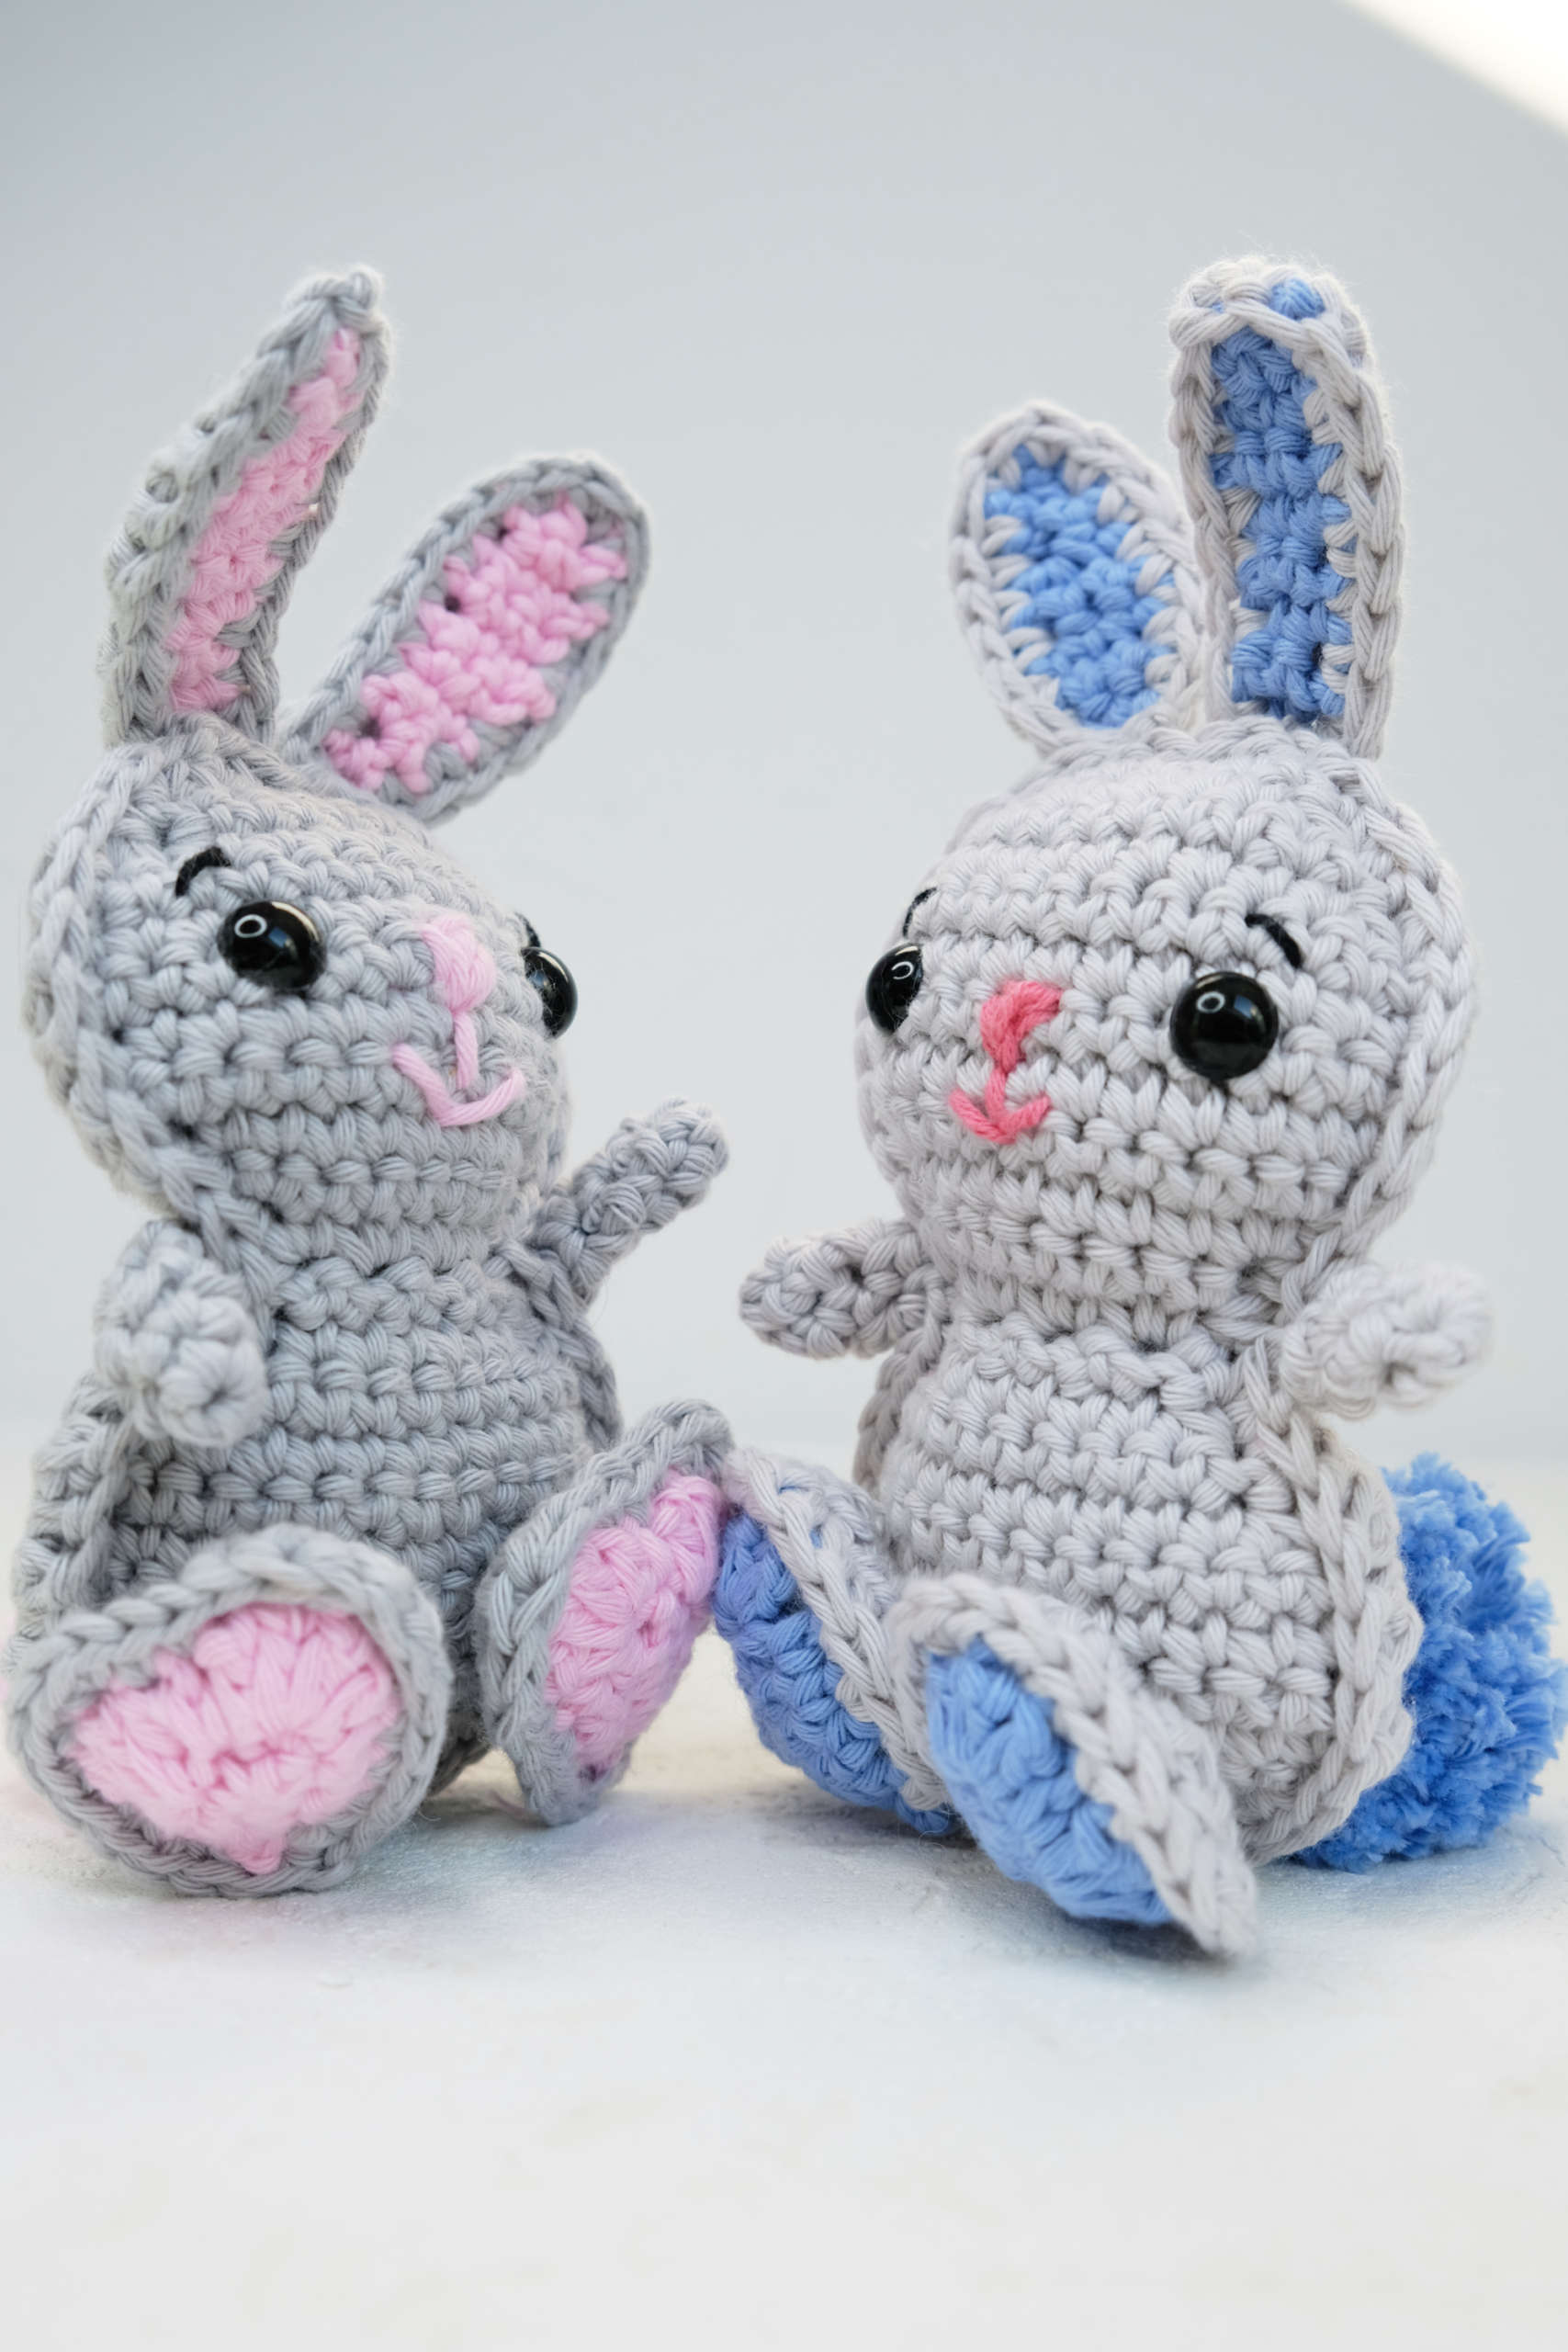
Crochet ragdoll bunny Ben
Ben is a cute ragdoll crochet bunny that will put a smile on everybody's face this Easter. He is easy and quick to crochet and this would make a perfect gift for the little ones.
The ragdoll bunny has a different style that an amigurumi bunny since it is made in rows instead of rounds. The big feet and the pom-pom tail allows him to sit on his own.
The ragdoll bunny Ben is a cute Easter bunny that you can crochet in no time!
I sometimes include affiliate links in my blog posts. That means I earn a small commission if you purchase any of the products I recommend, on no extra costs on your behalf. Thank you for supporting my work!
Materials
The ragdoll crochet bunny Ben is made with worsted weight yarn. I used yarn from Hobbii, the cotton 8/8. This is worsted weight yarn, but sports weight can be used to. I bought this yarn personally, so it is not sponsored.
I have used 12 mm Safety eyes. If you don't have any safety eyes, you can sew them on if you want to. You'll need a 4 mm crochet hook or a hook that matches your yarn.
You will also need stuffing and perhaps a pom-pom maker. However, you can also use a fork if you don't have any
Other Easter patterns
I like creating simple crochet patterns. If you like this ragdoll style, check out my other patterns in that category.

Video pattern
Here is a video tutorial for those of you who are the visual type.
Please subscribe to my channel! If you hit the little bell you'll also get notified every time I upload a video.
I am having so much fun creating videos, and there will be more in the future! Maybe because I learned to crochet from watching other YouTube tutorials.
PDF pattern
You can find the printable version in my Etsy shop. All sales help me continue my work and make more patterns. Thank you for your support!
Crochet ragdoll bunny pattern
©Yarnhild - all rights reserved.
This pattern is the intellectual property of Yarnhild. The pattern must not be altered, translated, copied or republished without approval.
You are welcome to sell the items that you have made from my patterns, but please be sure to give me credit for the pattern that you sell online. For private use only, no commercial use. 2020– Yarnhild ©
Abbreviations – US terms
ch – chain
yo – yarn over
st – stitch
sl st – slip stitch
sc – single crochet
hdc – half double crochet
sc2tog – single crochet decrease
sc inc – single crochet increase, 2 single crochet in one stitch
dc – double crochet
*-* repeat action
R – round
Mr – Magic ring
Materials
Filling materials
Stitch marker
Crochet hook 4.0 mm
Safety eyes 12 mm
Scissors
Skill level: Advanced beginner
Yarn, dk weight in grey and pink. Small amounts of black for eyelashes/eyebrows in sports weight yarn. You’ll need about 30 g of grey yarn for one bunny.
Information about this pattern
The bunny consists of two panels. The panels are crocheted separately and then the pieces are placed together and crocheted together. Make sure that the face part is facing up. I lightly stuffed my bunny with some filling material.
Finished size: 13,5 cm, not counting the ears.
Bunny
4.0 mm crochet hook. Make 2 panels in grey colored yarn. The bunny panels are worked bottom up.
Row 1: ch 7, 1 sc in the 2ndch from the hook and in each ch, ch 1 turn = 6 sc
Row 2: sc inc, 4 sc, sc inc, ch 1, turn= 8 sc
Row 3: sc inc, 6 sc, sc inc, ch 1, turn = 10 sc
Row 4: sc inc x 2, 6 sc, sc inc x 2, ch 1, turn = 14 sc
Rows 5 – 8: 1 sc in each st (4 rows), ch 1, turn = 14 sc
Row 9: sc2tog, 10 sc, sc2tog, ch 1, turn = 12 sc
Row 10: sc2tog, 8 sc, sc2tog, ch 1, turn = 10 sc
Row 11: sc2tog, 6 sc, sc2tog, ch 1, turn = 8 sc
Row 12: sc2tog x 4, ch 1 turn = 4 sc
(keep the tension tight on rows 12 and 13)
Row 13: sc inc x 4, ch 1 turn = 8 sc
Row 14: sc inc, 6 sc, sc inc, ch 1 turn = 10 sc
Row 15: sc inc, 8 sc, sc inc, ch 1 turn = 12 sc
Row 16: sc inc, 10 sc, sc inc, ch 1 turn = 14 sc
Rows 17 – 19: 1 sc in each st (3 rows), ch 1, turn = 14 sc
Row 20: sc2tog, 10sc, sc2tog, ch 1, turn = 12 sc
Row 21: sc2tog, 8 sc, sc2tog, ch 1, turn =10 sc
Row 22: sc2tog, 6 sc, sc2tog, ch 1, turn = 8 sc
Row 23: sc2tog, 4 sc, sc2tog, ch 1, turn = 6 sc.
Fasten off on the first panel, but not on the second. Make the face on the second part. Fasten safety eyes between rows 17 -18, 5 sc stitches space apart (or whatever looks best). Sew on a little nose and make a mouth. If you wish, make eyelashes or eyebrows with some black, thin yarn. If you want to make eyelashes, sew them on before attaching the back part of the safety eyes. Lay the panels on each other and single crochet them together. One single crochet in each stitch. Remember to add stuffing before closing. Do not stuff the neck.
Feet
4 mm crochet hook. 4 panels.
Right foot, make two panels, one in pink and one in grey.
R 1: Ch 5, turn, 1 sc in the second chain from the hook and in each ch. Now work on the opposite side of the chain:
1 sc in next 3 sts, sc inc in last. Place a stitch marker here. = 9 sc
R 2: sc inc in first 2 sts, 4 dc in next st, sc in next st, 4 dc in next st, 1 sc in the next 4 sts = 17 sts (8 dc, 9 sc = 18 sts)
Sl st in the first st. Leave don’t cut the yarn on the grey part. Sl st in the first stitch and fasten off on the pink part.
Left foot, one in pink and one in grey.
R 1: Ch 5, turn, 1 sc in the second chain from the hook and in each ch. Now work on the opposite side of the chain:
1 sc in next 3 sts, sc inc in last. Place a stitch marker here = 9 sts
R 2: 1 sc in next 4 sts, 4 dc in next, 1 sc in next, 4 dc in next, sc inc in last 2 sts = 17 sts (8 dc, 9 sc).
Sl st in the first st. Leave don’t cut the yarn on the grey part. Sl st in the first stitch and fasten off on the pink part.
Do this on both panels:
Lay the panels on each other. The pink on the top and the grey on the bottom, right sides facing you, like on the picture. The feet are being crocheted together with single crochet. Remember to add stuffing before closing. 1 sc in the next 5 sts, sc inc in next 2 sts, 1 sc in the next 3 sc, sc inc in next 2 sts. Add stuffing here: 1 sc in the next 6 sc. Sl st in the first sc and fasten off. Leave a long tail for fastening = 22 sc
Ears
Make 4 panels, 2 in pink and 2 in grey.
R 1: Ch 3, turn, 1 sc in the 2ndch from the hook and in next, ch 1, turn = 2 sc
R 2 – 3: 2 sc, ch 1, turn = 2 sc
R 4: sc inc, ch 1 turn = 3 sc
R 5 – 7: 3 sc, ch 1 turn (3 rows) = 3 sc
R 8:sc2tog, 1 sc = 2 sc.
Fasten off. On the grey panels, leave a long tail for fastening.
When you have crocheted all 4 panels, lay one grey and one pink one on each other and crochet them together. The pink-colored panel facing out and crochet them together.
Hands
make 2 in grey color yarn.
Made in continuous rounds. Rnd 1: 4 sc in a mr = 4 sc
Rnd 2-5: 1 sc in each st (for 4 rounds).
Sl st in the first stitch and leave a long tail for fastening.
Assembly
Sew on the arms just below the head. The ears are being sewn on the top of the head. Use small stitches to make it look neat. Sew on the feet on the lower part of the body. Make a little pom-pom for its tail if you wish too.


2 Comments
Comments are closed.