Easter CAL 2019 - Dixie the chick
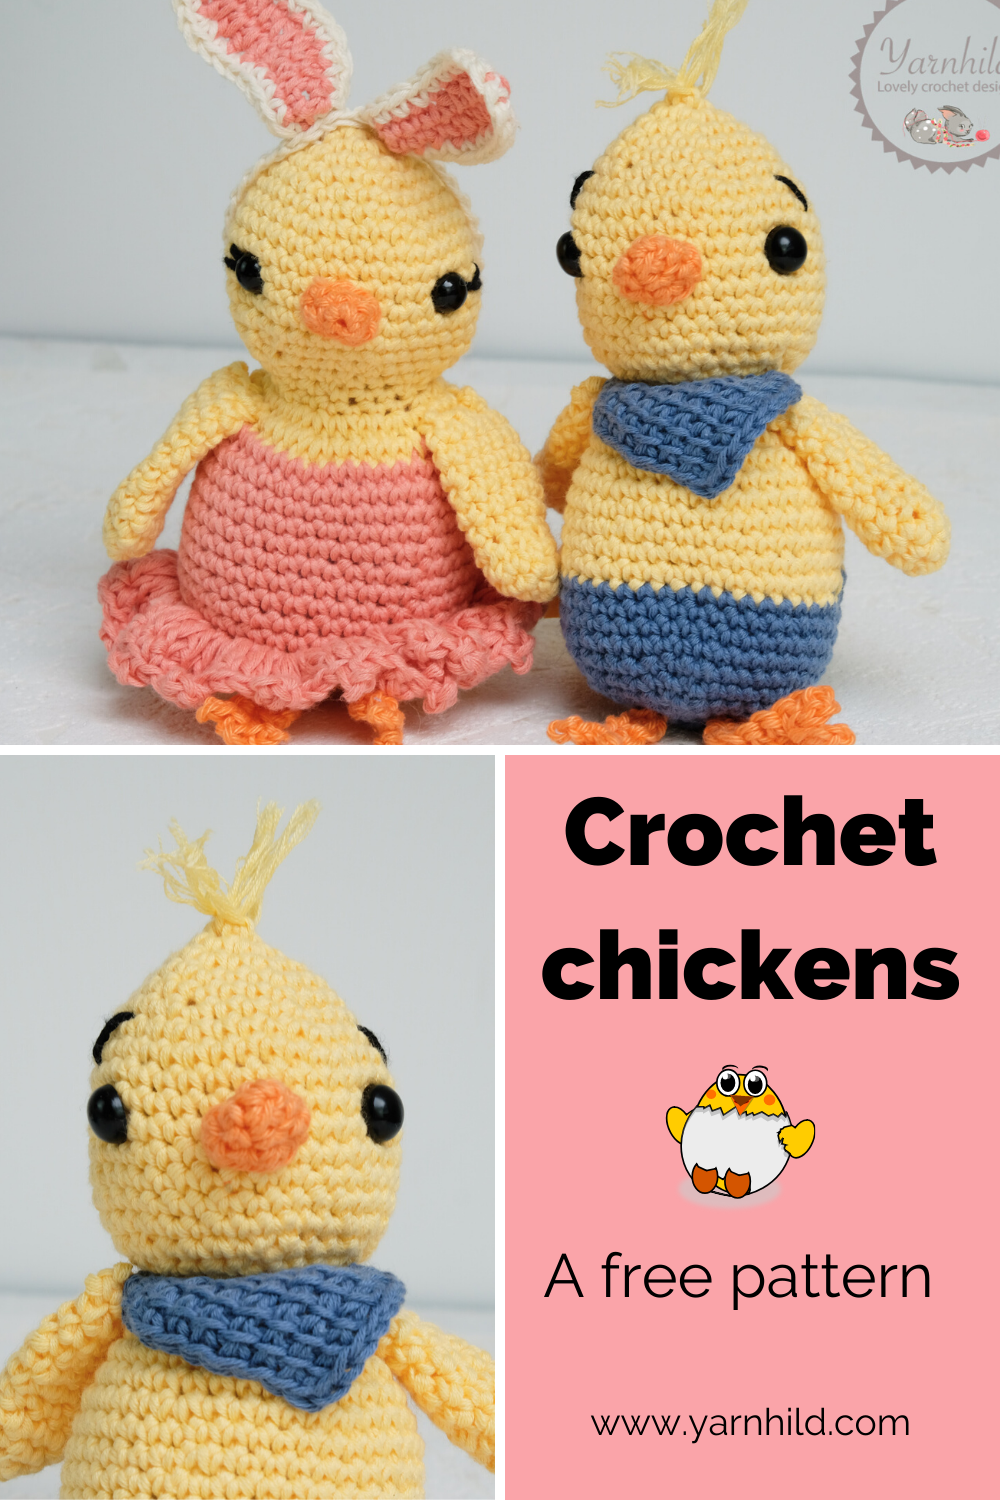
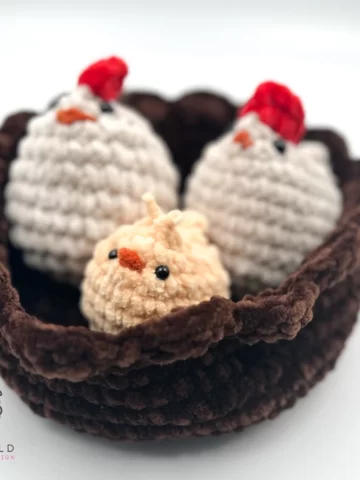
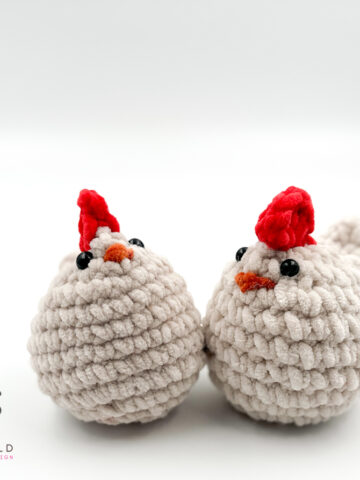
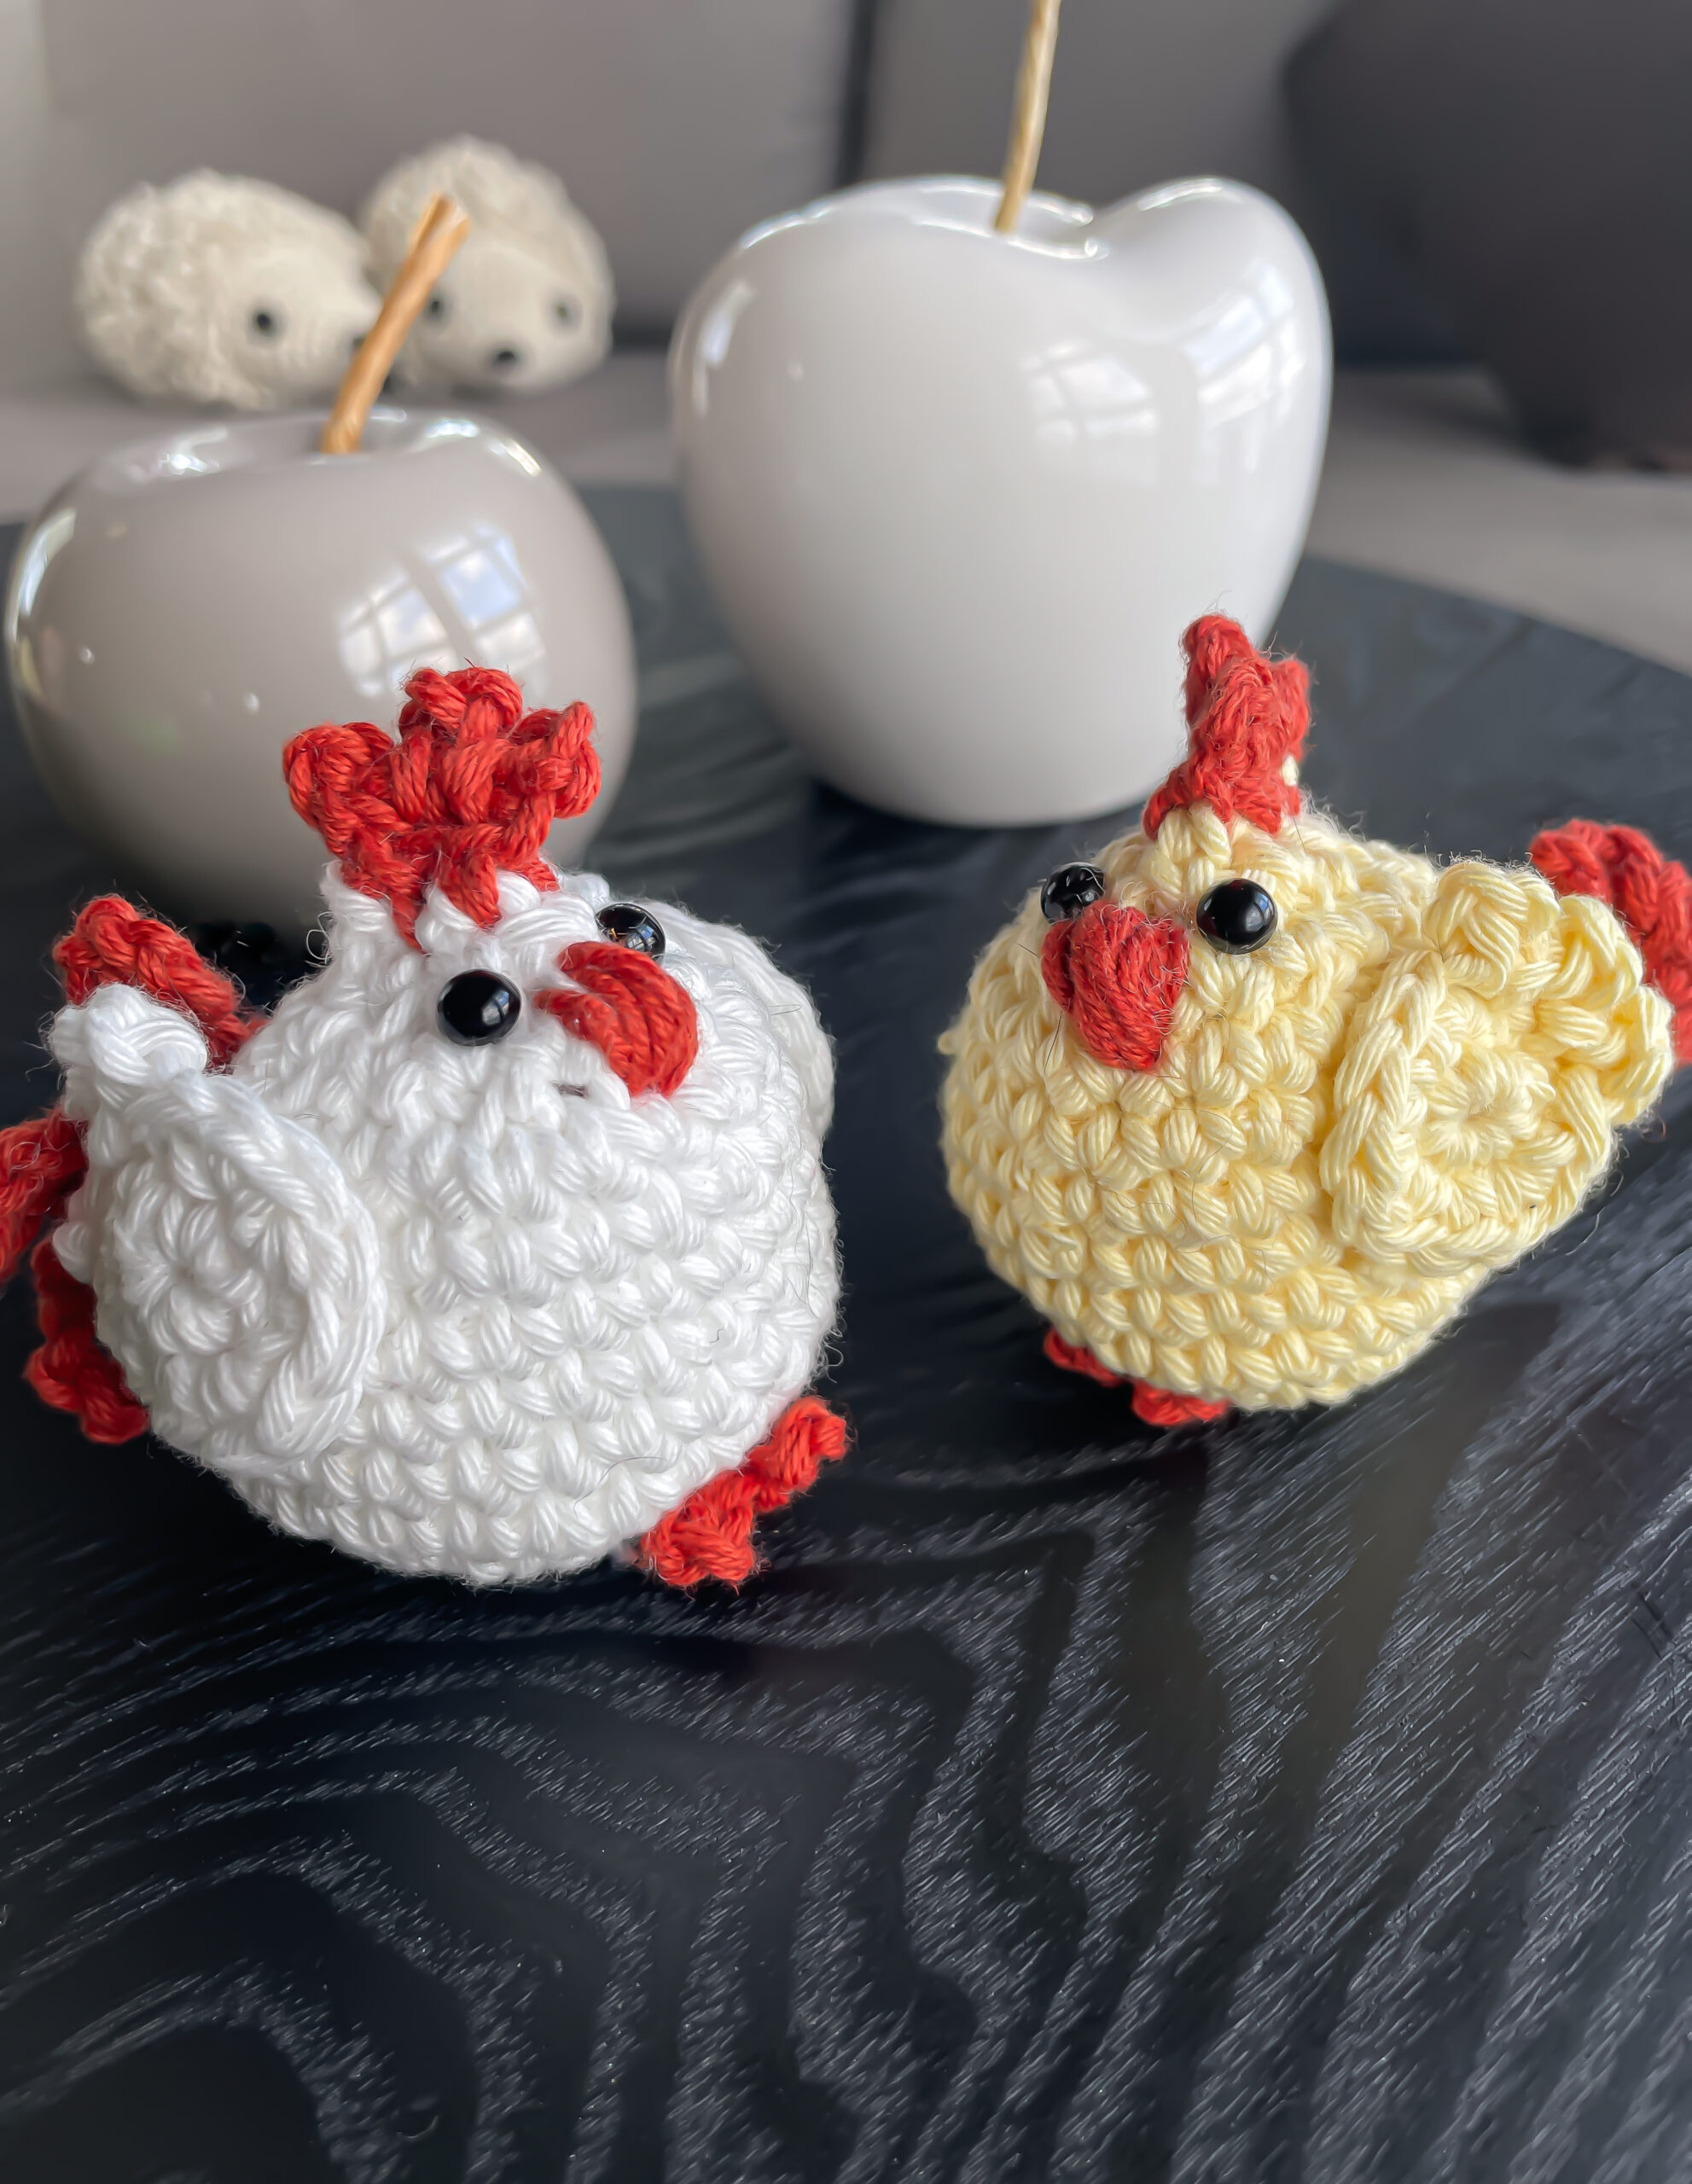
Disclosure: This blog post contains affiliate links. I am so excited to share the first part of my Easter CAL 2019 with you! An amigurumi chicken: Dixie the chick! I last week I made these easy and fun ragdoll chicks. Now it is time for an amigurumi chicken!
This little cute little chicken is quick to make and the body and head are made in one piece!
Update: Here is the pattern for Charlie the chick.
Easter CAL
I have decided to host an Easter CAL. The first part is coming today (April 5th, 2019). Part two is scheduled for Wednesday the 10th, and part three will be released at the beginning of week 13.
I know how much you love CAL's! The Lisa and Malvin couple from last year was a huge success and so many of you have made the mice!
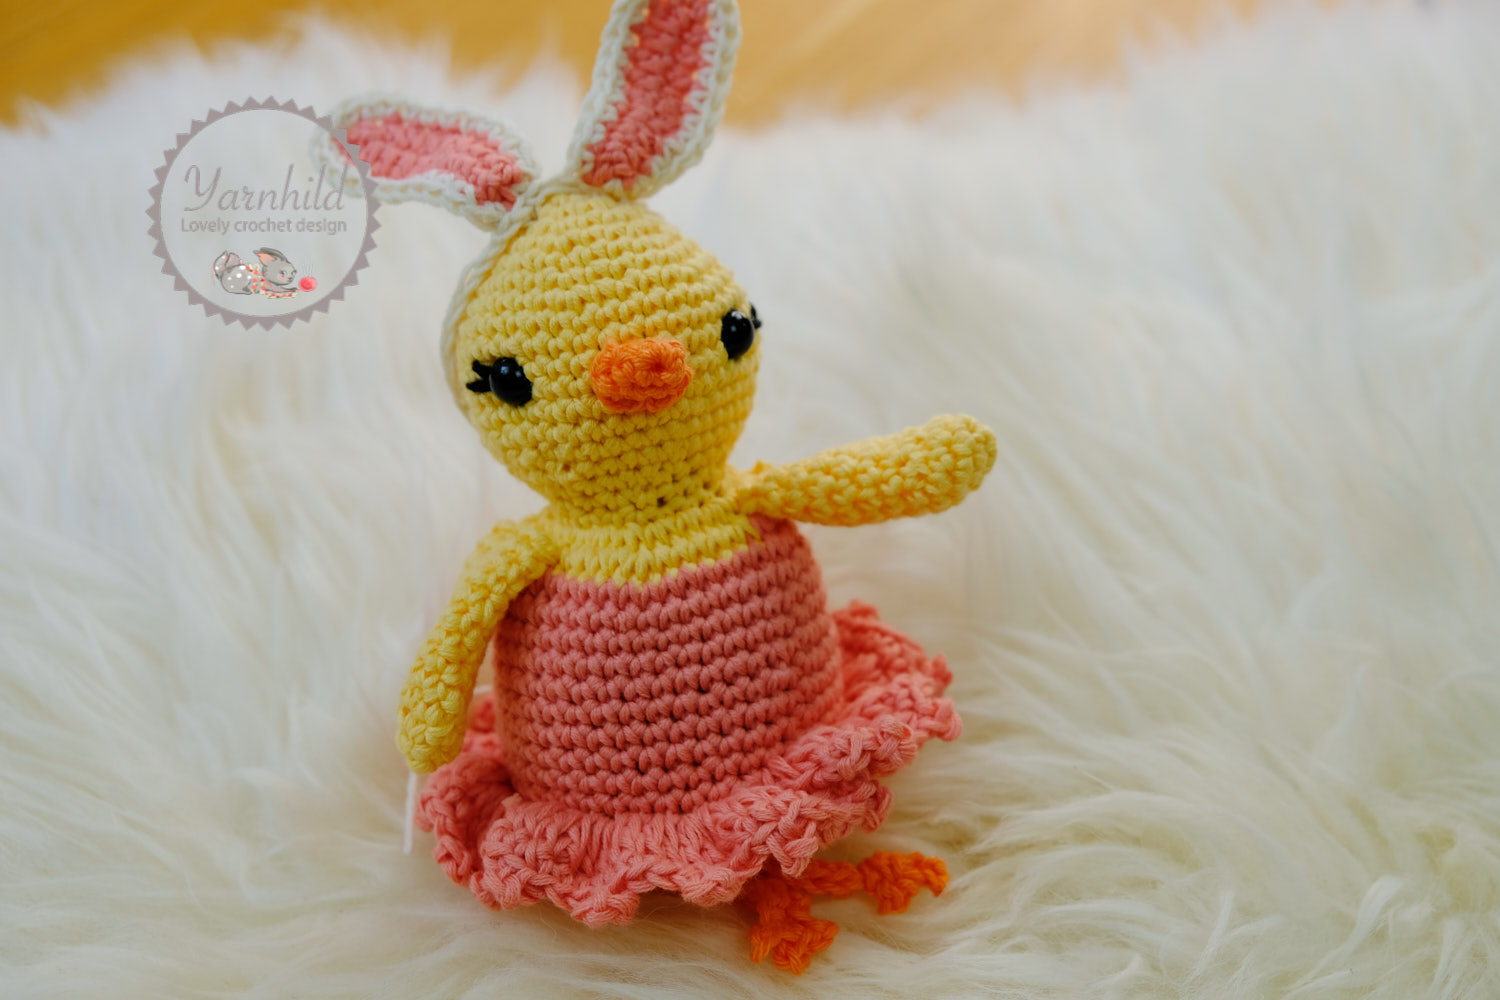
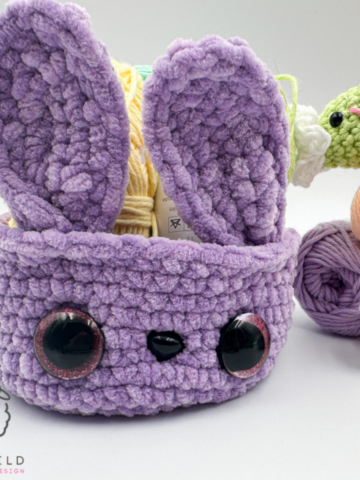
Now back to Dixie the chick. She has gotten a cute hairband with bunny ears and a bow. So that she can dress up like a bunny!
Easter traditions
I am wondering, what do you normally do on Easter, except maybe crocheting amigurumi chickens :D?
When I grew up in Norway, we used to visit the mountains and go skiing (cross country skiing mostly). We would find a place in the forest where we'd make a little bonfire and then we'd do some barbequing. Usually, the sun would shine, so with all the snow, it was important to use sunscreen. Some relatives also had a cabin, and if we were where lucky, we could borrow it for a few days.
It used to be ice cold when we came to the cabin and there was no electricity there. So you just had to put on much
Most of the people have electricity in their cabins now a days, which is, of course, more comfortable. However, I find that it takes away a little of the charm.
Now back to the amigurumi chicken pattern.
Become a Patron!PDF version
You can purchase the inexpensive pdf-version on Etsy or Ravelry. In that way you can support my word additional. Thank you so much!
Amigurumi chicken - Easter CAL 2019
This pattern is the intellectual property of Yarnhild. The pattern must not be altered, translated, copied or republished without approval. You are welcome to sell the items that you have made from my patterns, but please be sure to give me credit for the pattern you sell online. For private use only, no commercial use. 2019 – Yarnhild ©
Abbreviations used- US terms
ch – chain
yo – yarn over
st – stitch
sl st – slip stitch
sc – single crochet
sc2tog – single crochet decrease
inc – single crochet increase, 2 single crochet in one stitch
yo – yarn over
mr – magic ring
Picot stitch - 1 sc, ch 3, sl st in sc
mr – magic ring
BLO – back loop only
FLO– front loop only
exsc – extended single crochet
Materials used
Yarn – Drops Safran – 5 Ply – 10% cotton or similar. Colors yellow (10), pink/peach (12) and orange (28). Small amount nature.
Crochet hook 2.5 mm or 3.0 mm and 3.5 mm
Tapestry needle
Scissors
Stitch marker
Filling material
Scissors
Stitch marker
Filling
material
About the pattern
The body and the head are made in one piece. All parts, except the feet and the skirt, are made in continuous rounds. Use a stitch marker to mark the beginning of each round. Stuff firmly, but not so that the filling material can be seen through the stitches. All parts, except the wings are crocheted with a 3.0 mm crochet hook. Use a 3.5 mm hook for the wings. Finished size: 12 cm (feet and ears not included). With feet and ears 18 cm.
Tips
Color change.
At the end of the row before you want to change color, finish half of your
single crochet, (insert the hook in the next stitch, yo and pull up a loop) now
finish the sc with the new color.
Invisible decrease
I recommend doing an invisible decrease when crocheting 2 sc together (sc2tog). Simply insert the hook through the front loop only of the two stitches that are being crocheted together. Yarn over and pull through all loops
Extended single crochet (exsc)
Insert the hook in the stitch and yo and pull through. Two loops on the hook. Yo and pull through the first loop only. Yo and pull through both loops.
Beak – color orange
2.5 mm crochet hook.
Rnd 1: 4 sc in a mr = 4 sc, pull ring closed.
Rnd 2: 1 sc, inc x 2 = 6 sc
Rnd 3: 2 sc, inc x 2 = 8 sc
Sl st in first sc, fasten off. Leave a tail for fastening.
Head and body – color yellow
2.5 mm crochet hook.
Rnd 1: 6 sc in a mr = 6 sc, pull ring closed.
Rnd 2: 2 sc in every stitch= 12 sc
Rnd 3: (1 sc, inc) x 6 = 18 sc
Rnd 4: (2 sc, inc) x 6 = 24 sc
Rnd 5: 1 sc in each st = 24 sc
Rnd 6: (3 sc. inc) x 6 = 30 sc
Rnd 7: (4 sc, inc) x 6 = 36 sc
Rnd 8 – 15: 1 sc in each st for 7 rounds = 36 sc
Rnd 16: (4 sc, sc2tog) x 6 = 30 sc
Rnd 17: (3 sc, sc2tog) x 6 = 24 sc
NOTE: If you want to sew on eyelashes, do this before attaching the safety eyes. Simply put them where you want to have them and sew on the eyelashes. Then fasten the safety eyes.
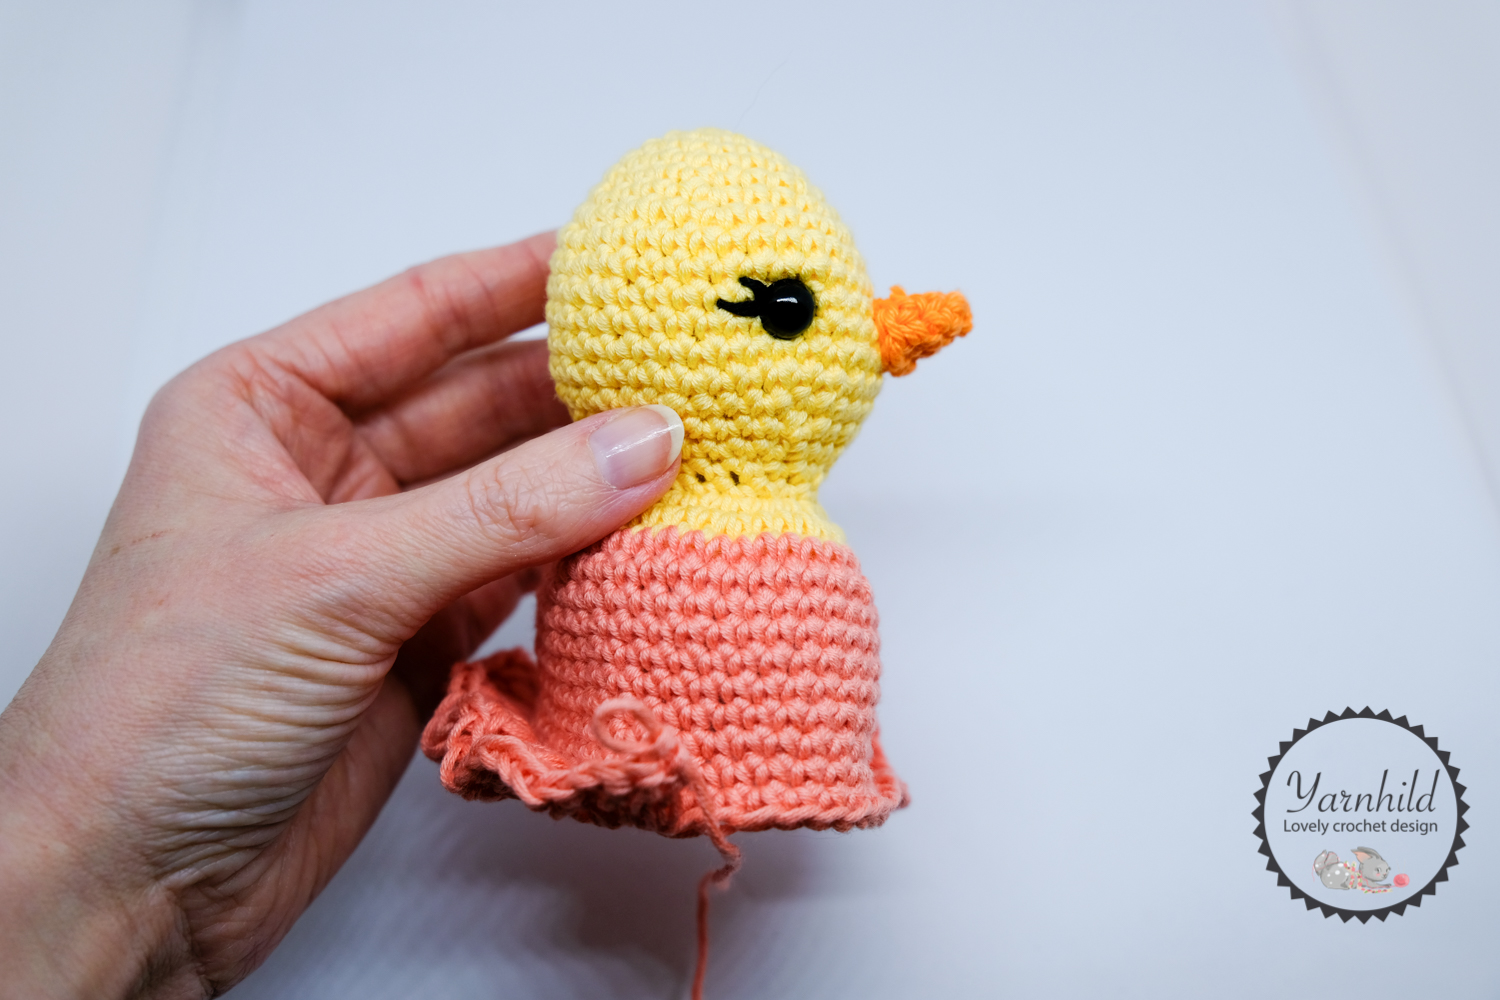
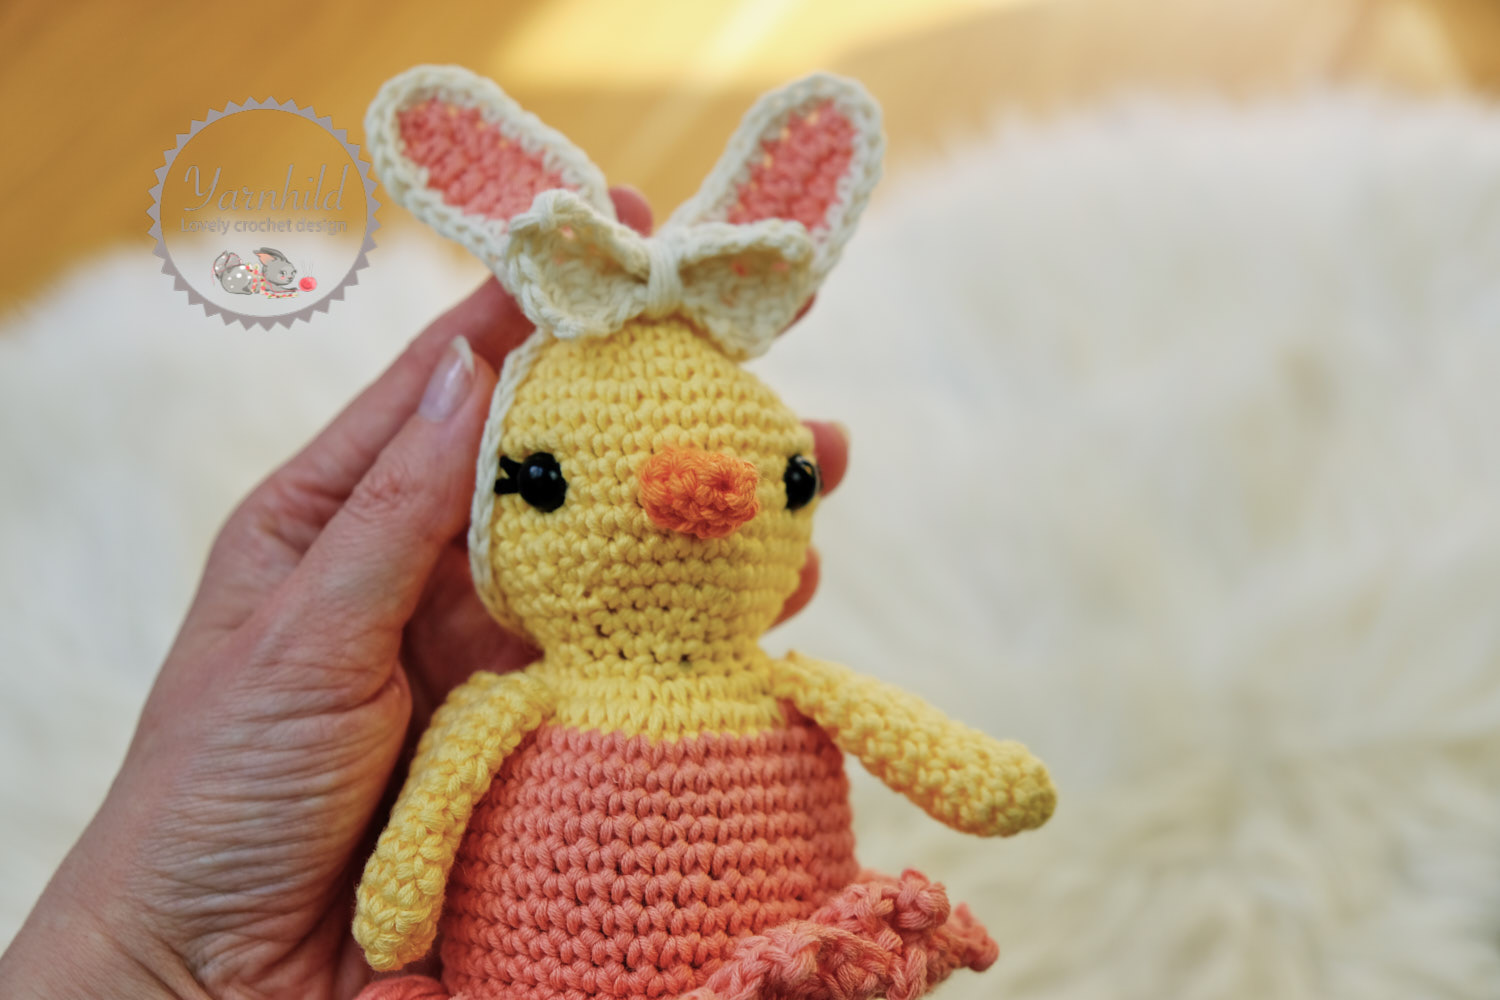
Fasten safety eyes between rows 11 – 12. Leave 9 sc space between. Sew on beak in the middle between the eyes on rows 13 – 14. Stuff the head.
Rnd 18: (2 sc, sc2tog) x 6 = 18 sc
Rnd 19: 1 sc in each stitch = 18 sc
Rnd 20: Inc in each st = 36 sc
Rnd 21: (5 sc, inc) x 6 = 42 sc
Change color to peach
Rnd 22 – 31: 1 sc in each st for 9 rounds = 42 sc.
Sl st in the next sc and chain 3. Now we will work in joining rounds.
Wings – color yellow. Make 2
3.5 mm crochet hook
Rnd 1: 4 sc in a mr = 4 sc. Pull ring closed
Rnd 2: Inc x 4 = 8 sc
Rnd 3: (1 sc, inc) x 4 = 12 sc
Rnd 4: 1 sc in each stitch = 12 sc
Rnd 5: Sc2tog x 3, 1 sc in next 3 st, inc x 3 = 12 sc
Rnd 6 – 10: 1 sc in each stitch for 5 rounds = 12 sc
Sl st in first sc. Fasten off, leave a long tail for fastening. Sew on wings on row 18.
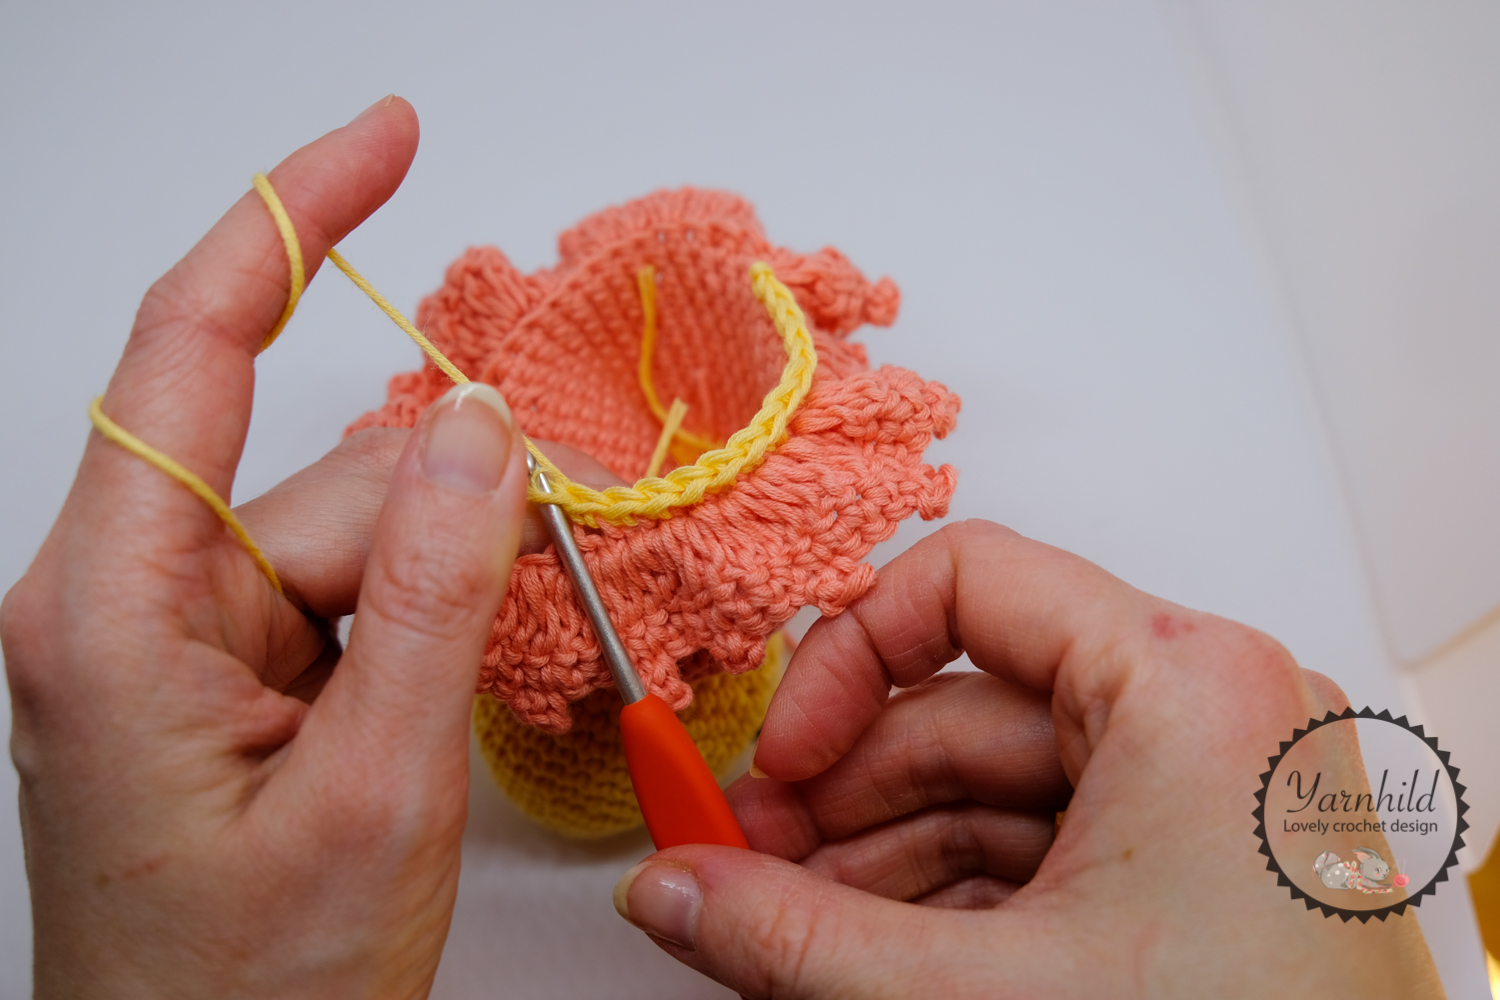
Skirt
Work on FLO (we will come back to the body afterwards).
Rnd 1: 1 dc in the same st as ch 3 and 2 dc in each st, join with a sl st in the first dc = 84 dc
Rnd 2. Ch 1 (counts as a sc). Picot stitch in the same st, ch 3 sl st in sc (picot stitch). *1 sc in next 4 st, 1 picot stitch in every 4th sc*. Repeat until 4 sc left and 1 sc in the last 4 sc = 21 groups of picot stitches. Sl st in the first sc and fasten off. Weave in ends.
Now go back and work on the body and into the back loops in the same rows as where the skirt was started.
Work in continuous rounds.
Fasten yellow yarn in the back loop of round 31.
Rnd 32: 1 sc in BLO = 36 sc
Work through both loops.
Rnd 33: (5 sc, sc2tog) x 6 = 36 sc
Rnd 34: (4 sc, sc2tog) x 6 = 30 sc
Rnd 35: (3 sc, sc2tog) x 6 = 24 sc
Rnd 36: (2 sc, sc2tog) x 6 = 18 sc
Stuff the body.
Rnd 36: (1 sc, sc2tog) x 6 = 12 sc
Rnd 37: sc2tog x 6 = 6 sc.
Sl st in the first sc and fasten off leaving a long tail to close the hole. Close hole and weave in ends.
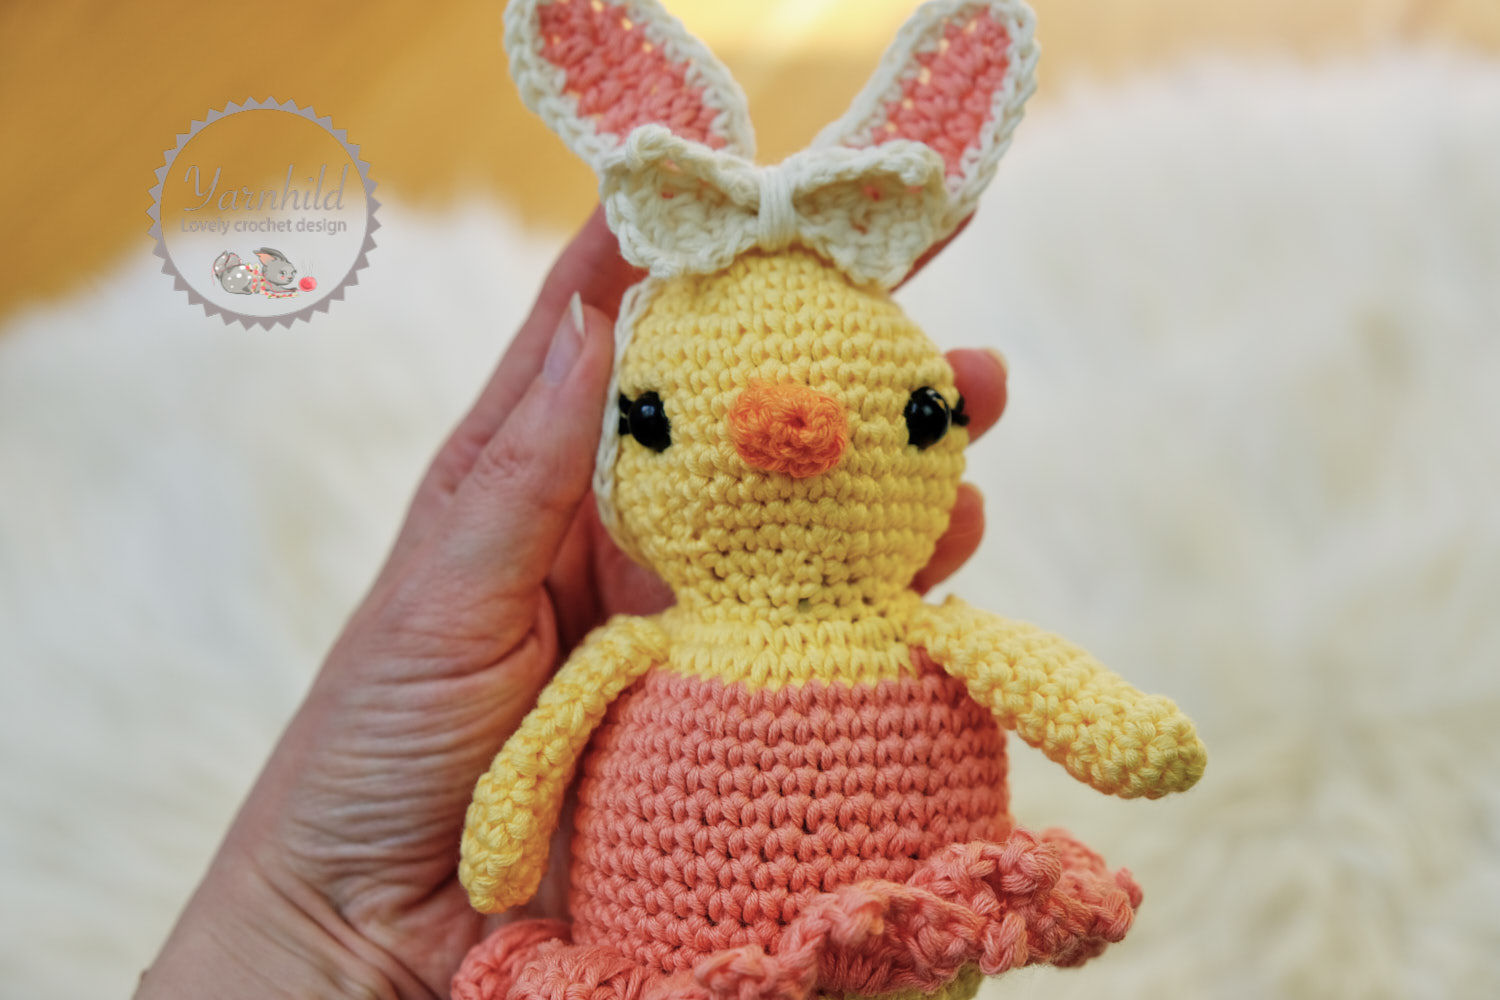
Hairband with bunny ears
In peach, or same color as the dress.
Row 1) Chain 11, turn. 1 sc in the next 4 ch, 1 hdc in the next 6 ch. Now work on the opposite side; 1 hdc in the next 6 hdc, 1 sc in the next 4 sc =12 hdc, 8 sc
Row 2) Change to nature. 1 sc the next 9 sc, inc x 2, 1 sc in the next 7 sc. Sl st in the first stitch = 22 sc
Put the ears to the side. In nature chain 30. Now fasten the first ear to the headband with three slip stitches. Skip in ch and fasten the other ear in the same way. Chain 30 and fasten off. Weave in ends. To make the ears more stable, spray a little hairspray on them.
Bow –in nature
Row 1: Ch 8, turn. 1 exsc in the third ch from the hook, and one exsc in each ch = 6 exsc.
Row 2) Ch 1, 1 exsc in the same st and in each st = 6 exsc.
Row 3 – 8) Repeat row 2 = 6 exsc.
Feet – in orange
Ch 8, turn, 1 sc in the second chain from the hook and in each ch (7 sc).
Ch 1. 3 ch, sl st in the third chain from the hook. Sl st in the first ch 1. *3 ch, sl st in the third chain from the hook*. Sl st in the sc. Repeat *-*one more time. Sl st to a stitch on the side. Fasten off and weave in ends. Sew the feet on the body.
Assembly
Tie the headband with the ears on Dixie’s head. If the
ears won’t stand up, simply fasten them with a few stitches. Sew on the bow to
one side of her head near the one ear. You can also tie the bow to the headband.
Your Dixie chick dressed as a bunny is finished! Please share the result with
on social media, just use the #Yarnhild and be sure to tag me!

Thank you so much for doing these CALs! The little chicks are so cute! I will add a picture when I am finished. I hope that you will have more CALs in the future.
Hi! Thank you for your nice words! I will definitely include more CAL's in the future! I am glad you like the pattern:). Have a nice day!