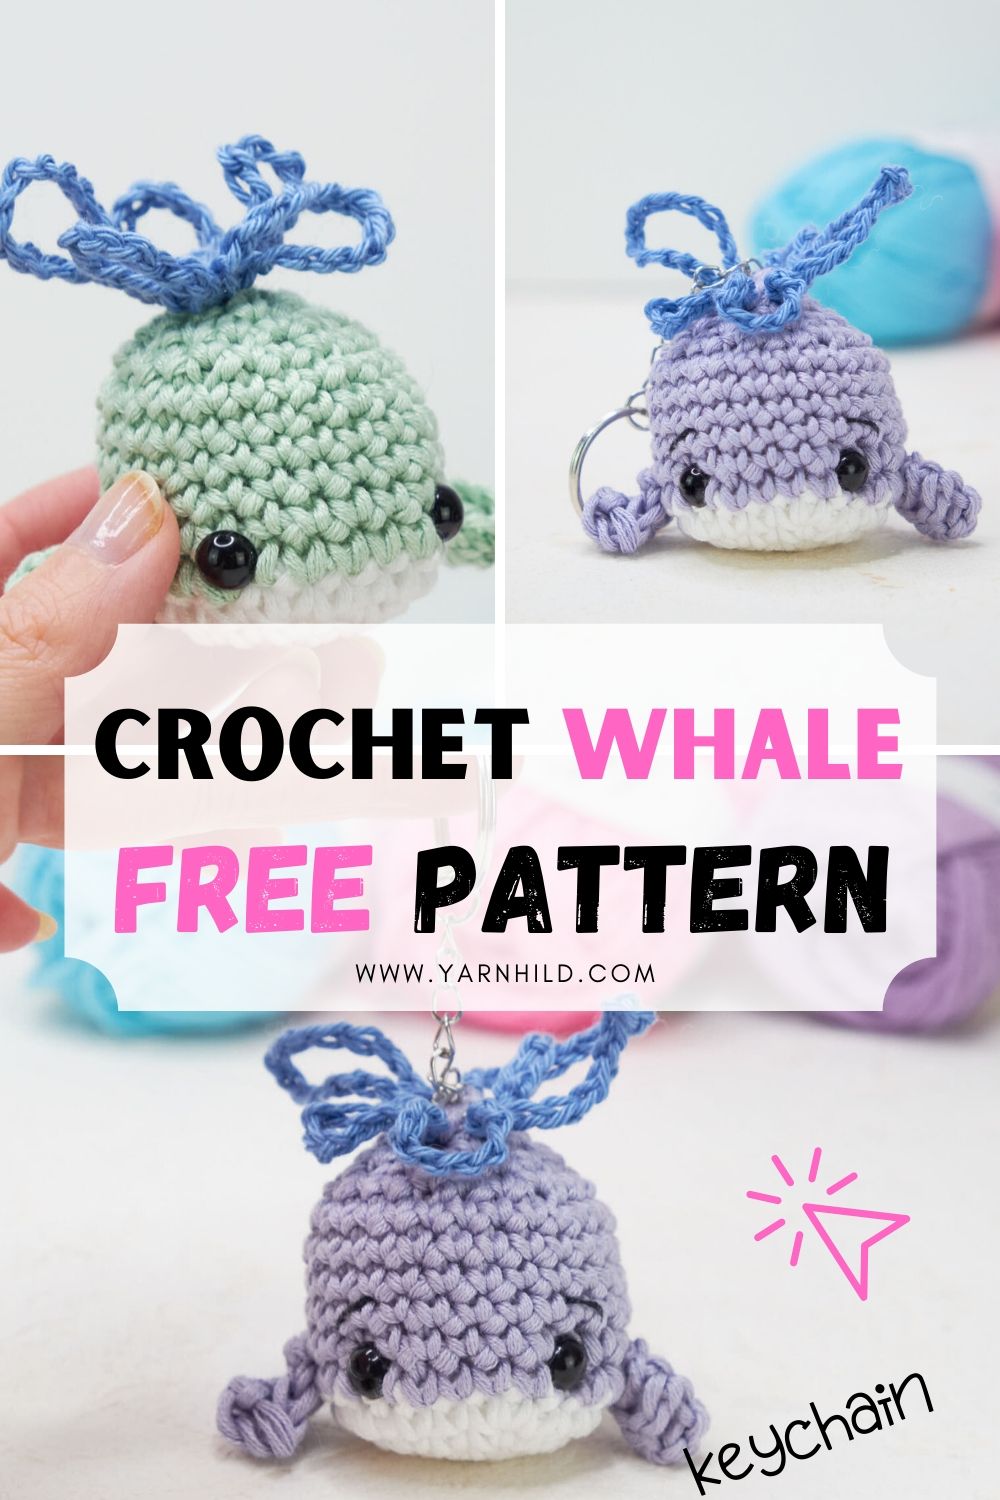
Wilbur the whale - free crochet whale pattern
Grab the inexpensive PDF pattern here or scroll down to the free pattern + a video tutorial (German and English)!
Die Deutsche, schriftliche Anleitung gibt es auch, einfach nach unten scrollen.
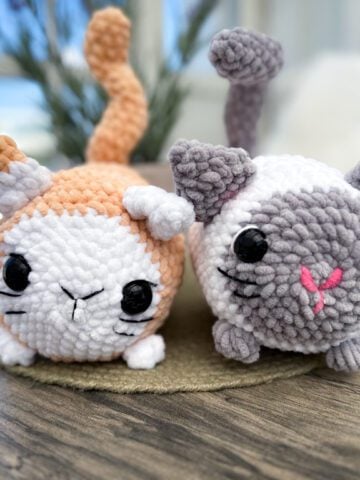
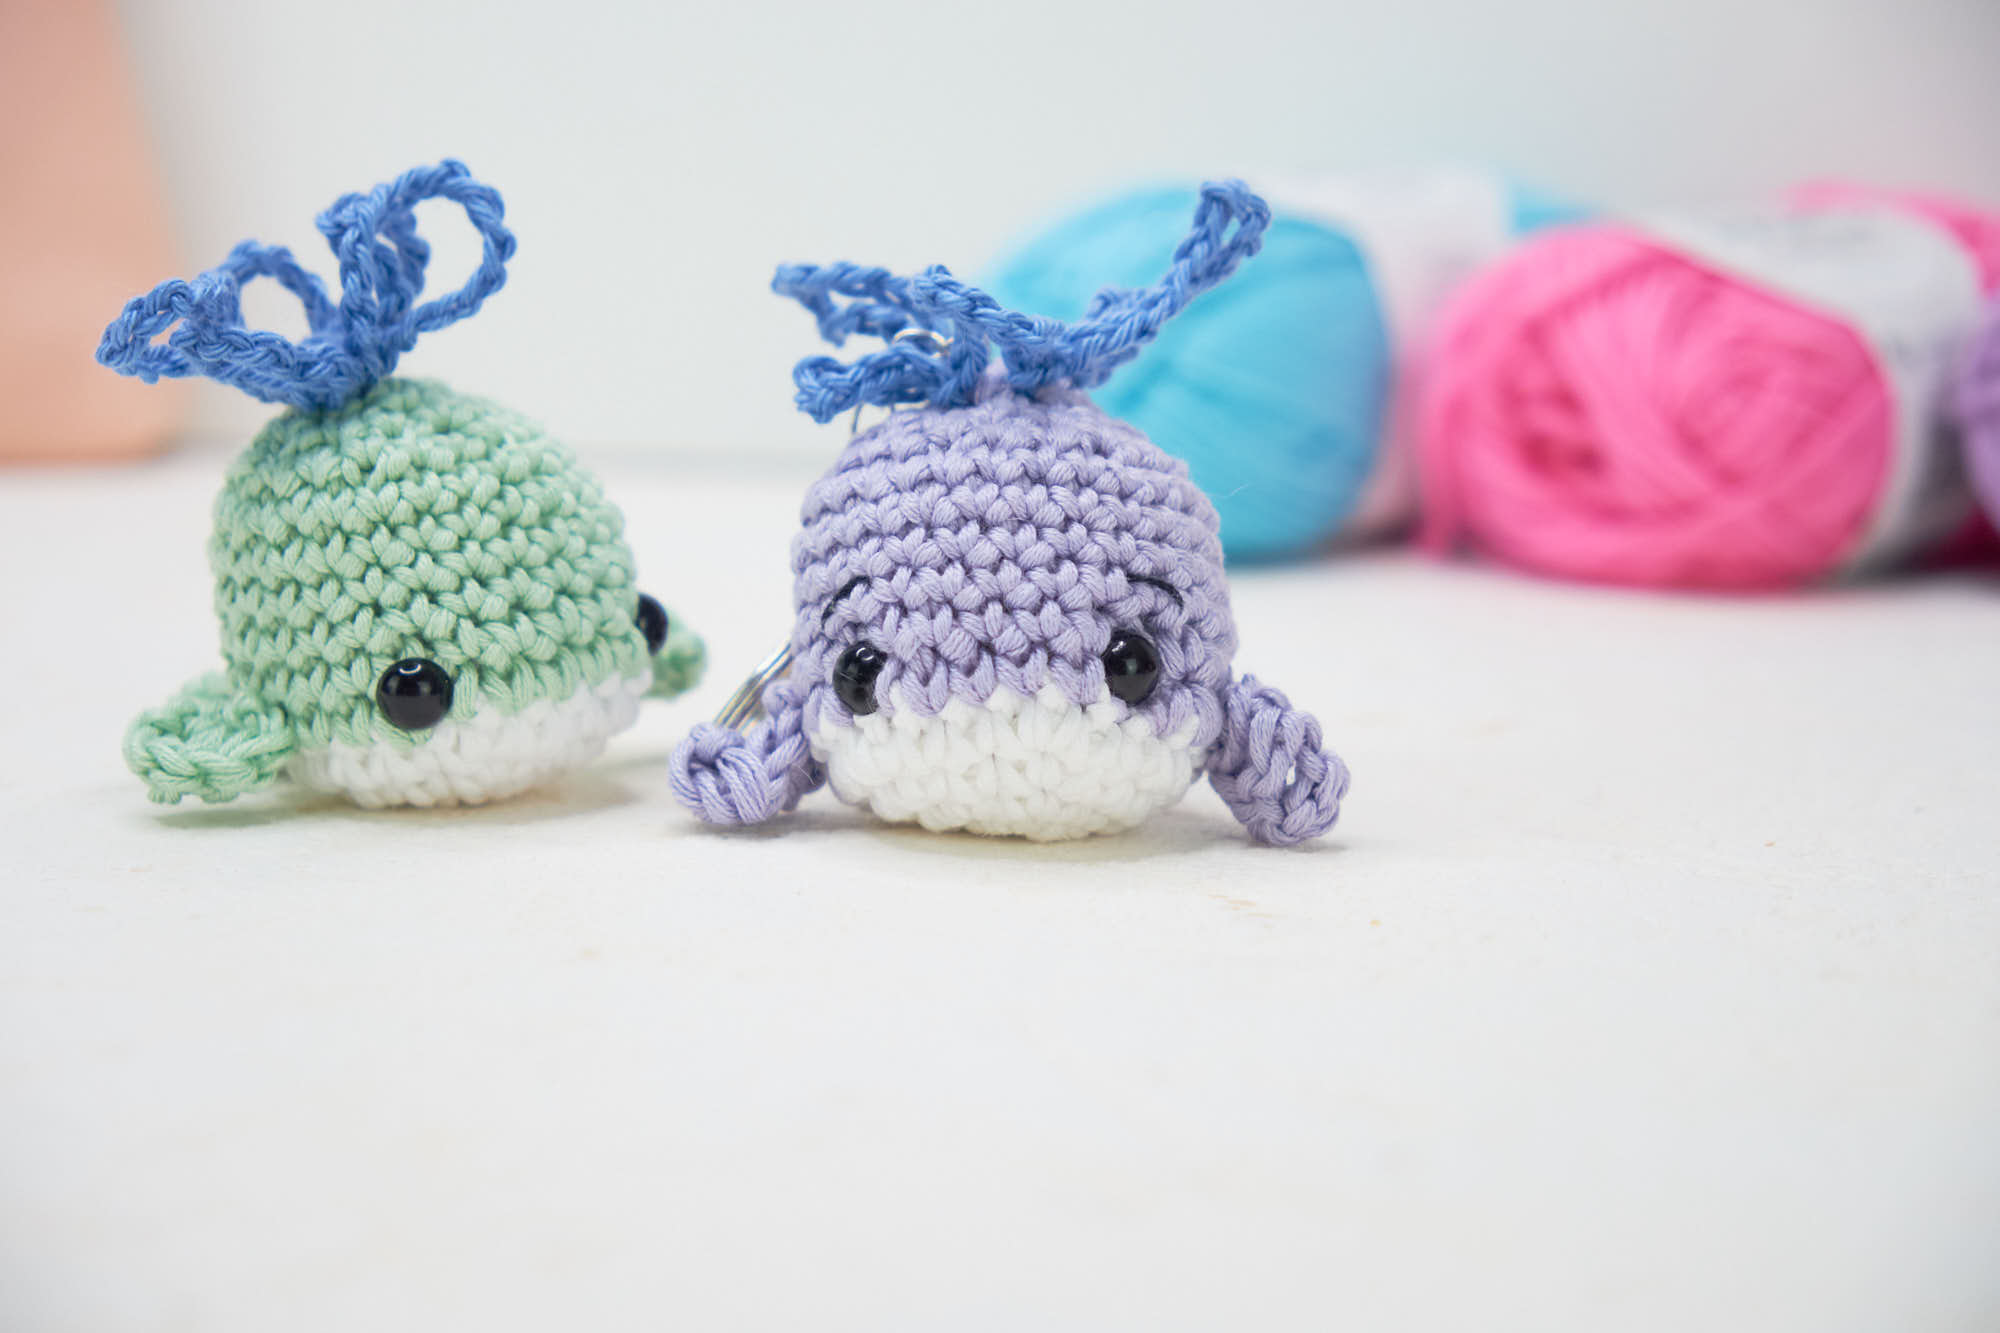
I did an update on my popular crochet whale pattern! I think this version is so cute and maybe a little bit more original than the first version.
I called this one Wilbur the whale and his buddy (don't have a name yet, maybe you can think of something?). This quick and easy amigurumi and it can easily be turned into a keychain as well.
Save this for later on Pinterest.
So I hope that you will love this version too! These are great as little gifts for when school starts as well. Or you could just make on and add on your keychain.
I sometimes include affiliate links in my blog posts. That means that I earn a small commission if you purchase a product that I recommend, on no extra costs on your behalf. Thank you for your support!
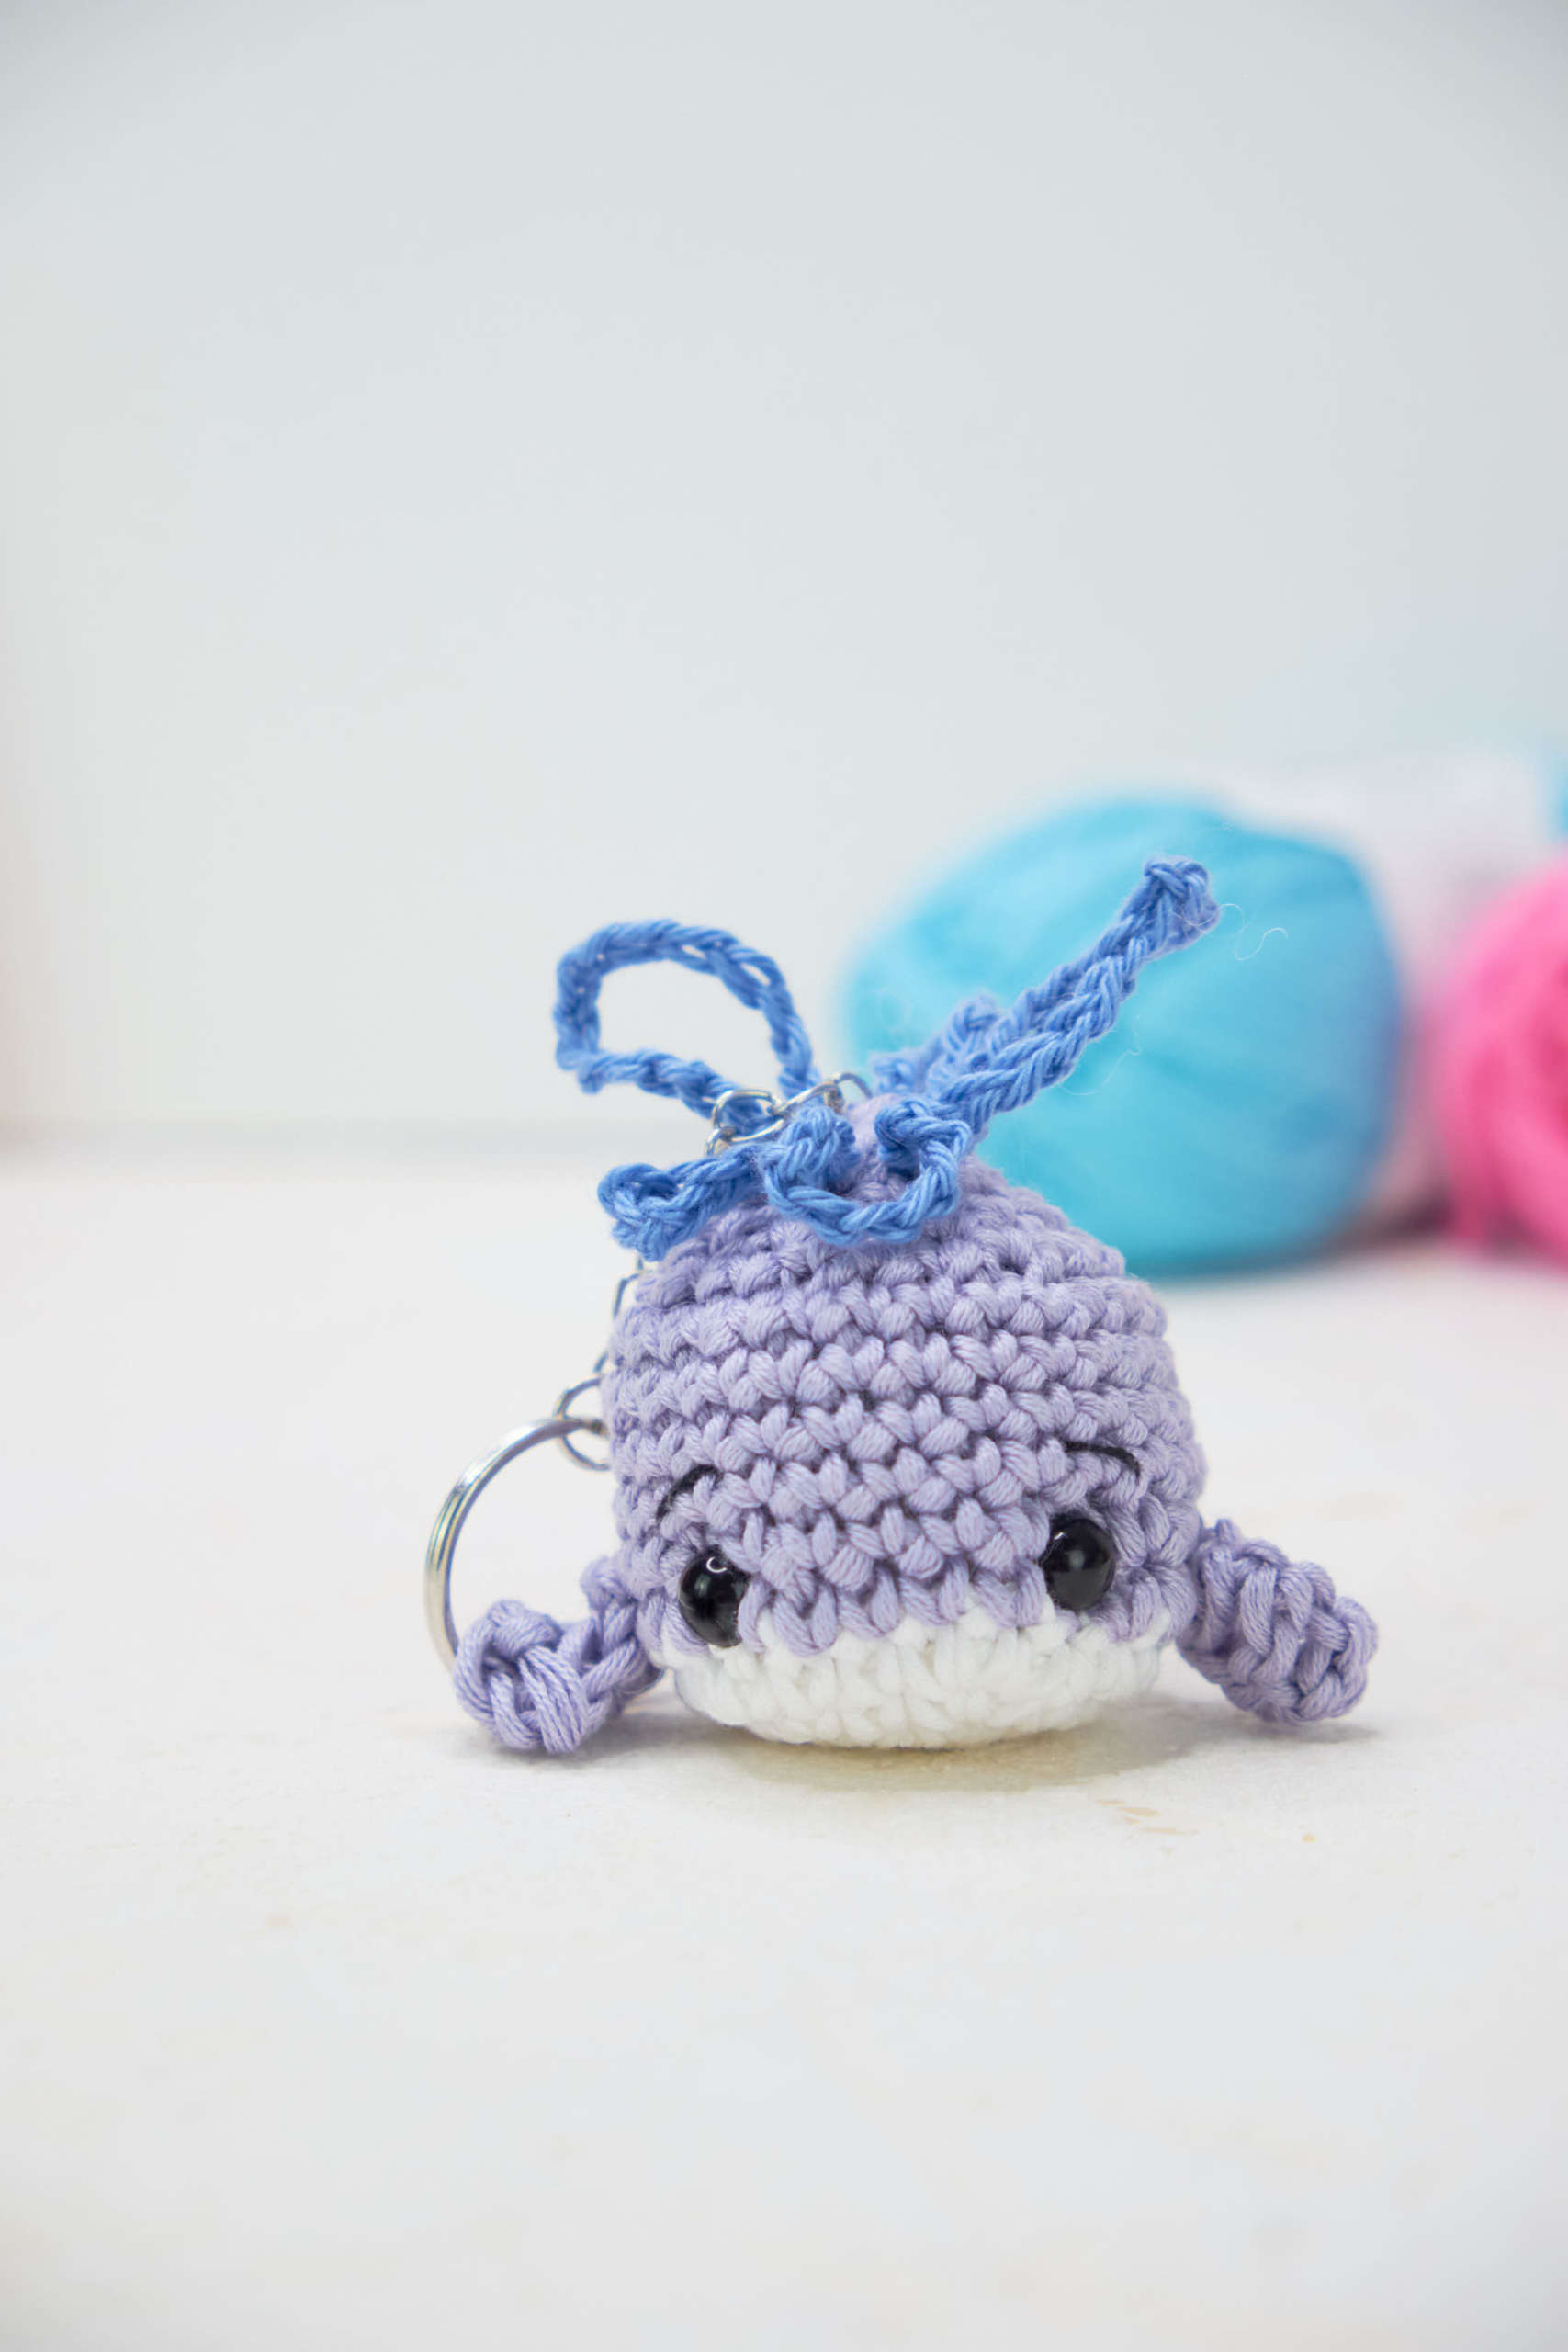
Whale blow
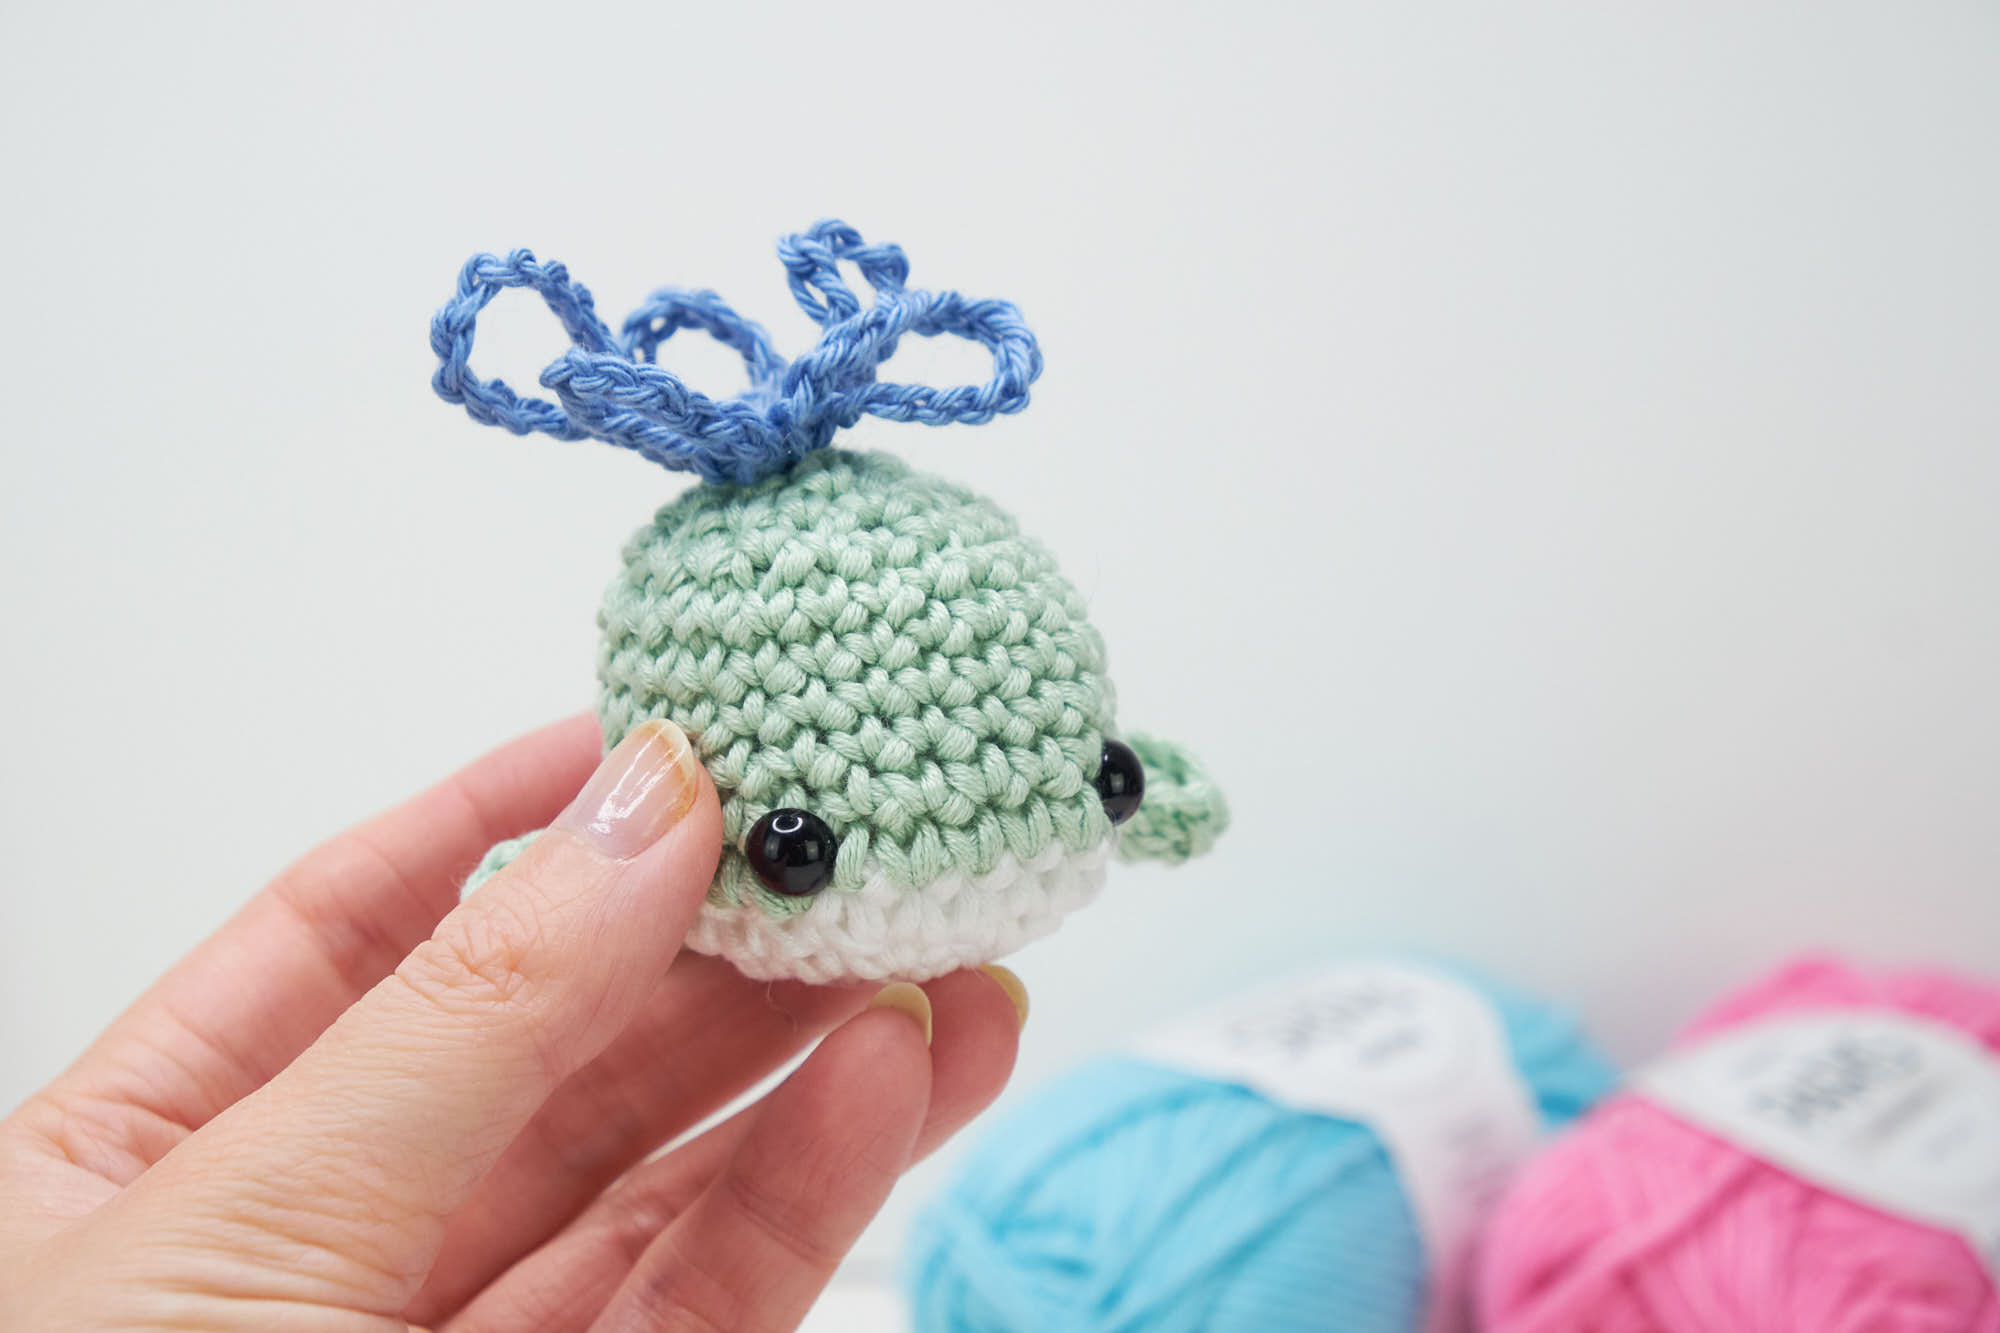
You know when it looks like whales are blowing water, it is actually air. As English is not my first language I had to figure out the name of this therm. I learned that it is called a whale blow. The crocheted blue chains on the top are supposed to be that whale blow. I always thought it was water, but it is actually air.
Blowholes are a whale's nostrils and are located on the top or back of the whale's head. When whales swim up to the surface for air, they forcefully expel air through the blowhole. The air outside is much cooler and this immediately condenses, making it look like water.
I did not know this so I learned something new today. Now let's crochet the whale!
Materials
You are going to need some leftover yarn. I used worsted weight, and you only need about 10 g of white and about 15 g of a different color. Also, I used safety eyes and filling materials. Here is a cotton yarn from Lion Brand that you can try.
Newsletter signup + free pdf pattern!
Make sure to sign up for our newsletter to get a free pfd pattern as well!
Video tutorial
Check out the video tutorial for extra tips and tricks! Also, be sure to subscribe to my channel for weekly videos!
[ytplayer id=8655]
[ytplayer id=8649]Crochet whale PDF version in German and English
Here you can purchase the PDF version for a small amount and get rid of the ads. Thank you for your support.
Abbreviations – US terms
Ch - chain
rnd – round
rt – stitch
sl st – slip stitch
sc – single crochet
r – round
sc2tog – single crochet decrease
sc inc – single crochet increase, 2 single crochet in one stitch
dc – double crochet
mr – Magic ring
hdc – half double crochet
Yo – yarn over
*-*. – repeat action
Materials
DK worsted yarn in two colors. A = white B = white/purple (or colors of choice). Blue or white yarn for the blowhole. (I used sports weight for this part). A strand of thinner yarn for the eyebrows
Filling materials
Crochet hook 3.0 and 3.5 mm
Scissors and stitch marker
Safety eyes 8 mm
Keychain – optional
About the pattern
The whale is made in continuous rounds. Use a stitch marker and move it up as you finish the rounds. The whale consists of 4 parts; the body, the side fins, and the tail fin. We will also make a blowhole with air coming out. The finished whale is about 5,5 cm/ 2.5 inches tall.
Difficulty level: Advanced beginners.
Body
Work in continuous rounds. Use a stitch marker. Colors A and B
Start with A:
Rnd 1: 6 sc in a mr = 6 sc
Rnd 2: sc inc x 6 = 12 sc
Rnd 3: (1 sc, sc inc) x 6 = 18 sc
Rnd 4: (2 sc, sc inc) x 6 = 24 sc
Change to color B
Rnd 5- 10: 1 sc in each st (6 rounds) = 24 sc
Fasten safety eyes between rows 5 and 6, 5 sc stitches space between. If you use smaller eyes, but them closer together.
(Sew on eyebrows if you want to. Use thinner yarn).
Rnd 11: (2 sc, sc2tog) x 6 = 18 sc
Add stuffing here
Rnd 12 (1 sc, sc2tog) x 6 = 12 sc
Rnd 13: sc2tog x 6 = 6 sc
Sl st in the first st, fasten off and weave in ends. Leave the hole open for the blowhole.
Air and blowhole
Attach some blue or white yarn. *chain 15, sl st in the ring. Chain 10, sl st in the ring. Repeat from *-* 2 more times. Chain 10, sl st in the ring and fasten off. (until you have 5 loops). Weave in ends.
See pictures for more details
Side fins
Work in rows
Make 2
In color B
Row 1: ch 5, 1 dc in the 2nd ch from the hook and next 2, 1 hdc in the last. Fasten off. Leave a strand for fastening.
Tail fin
In color B
Make a magic ring, in the ring: Ch 2, 5 dc, sl st in the ring, ch 2, 5 dc, sl st in the ring. Pull ring closed. Fasten off. Leave a strand for fastening.
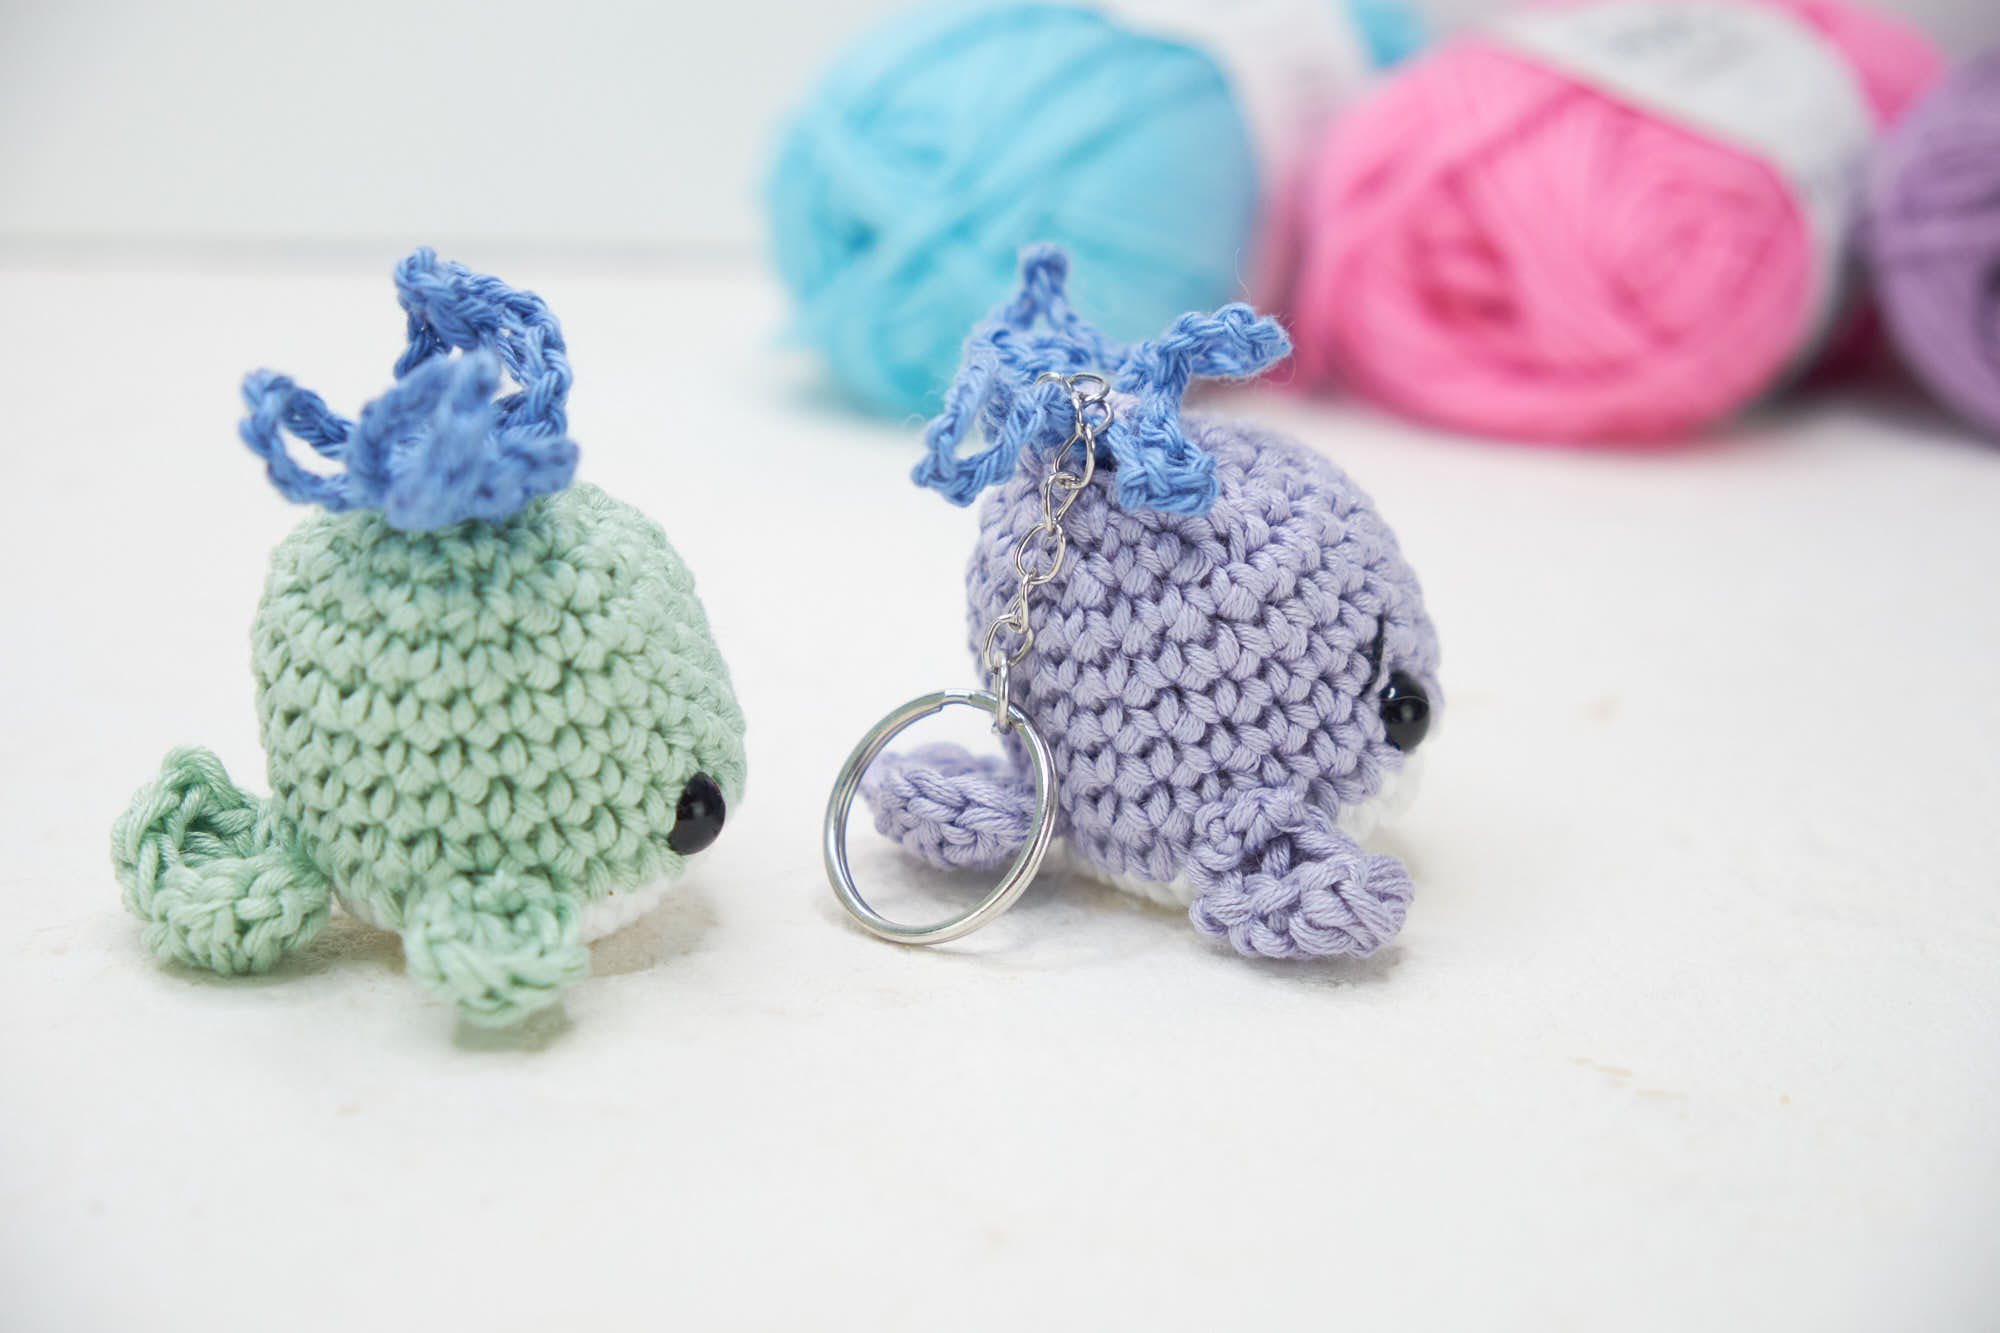
Assembly
Sew on the side fins on rows 5-6. See pictures Sew on the tail fin on the back on the middle on rows 5-6
Weave in ends. Sew on the keychain the last round if you want to add that.
Hold the keychain with one hand and sew it on with the other. Sew back and forth making sure it is fast and secure.
Wilbur der Wal - Deutsche Anleitung

Abkürzungen
Lfm – Luftmasche(n)
fM – Feste Masche(n)
KM – Kettmasche(n)
M – Masche(n)
hStb – Halbes Stäbchen
Stb – Stäbchen
Abnehmen – 1 fM abn (2 feste Maschen werden zusammengehäkelt)
Rnd – Runde
MR – Magischer Ring
Stb – Stäbchen
hStb – halbes Stäbchen
Zun – zunehmen (2 feste Maschen in eine häkeln)
Materialien
Wolle: Jedes Baumwollgarn, 100% Wolle oder eine Mischung mit von Acryl ist geeignet. Ich habe Drops Muskat benutzt. 2 Farben (weiß und lila). Reste von schwarz für Augenbrauen/Wimpern
Etwa blaue oder weiße Wolle für die Wasserfontäne.
Häkelnadel 3,5
Füllwatte
Schere
Wollnadel
Schlüsselanhänger
Informationen über diese Anleitung
Der Wal wird in Spiralrunden gehäkelt. Benutze einen Maschenmarker und setze ihn am Anfang von jeder Runde. Der Wal besteht aus 4 Teilen: dem Körper, den Seitenflossen und der Hinterflosse. Der Wal hat auch eine Wasserfontäne. Diese kann mit weißer oder schwarzer Wolle gehäkelt werden.
Niveau: Einfach Große: Circa 5,5 cm lang.
Körper
In weiß:
Rnd 1: 6 fM in einen magischen Ring = 6 fM
Rnd 2: 1 fM zun x 6 = 12 fM
Rnd 3: (1 fM, 1 fM zun) x 6 = 18 fM
Rnd 4: (2 fM, 1 fM zun) x 6 = 24 fM
Farbe wechseln (lila oder sonstige)
Rnd 5- 10: 1 fM in jede M (6 Runden) = 24 fM
Befestige die Sicherheitsaugen zwischen den Runden 5 – 6 mit 4 oder 5 fM Abstand. Augenbrauen oder Wimpern draufsticken.
Rnd 11: (2 fM, 1 fM abn) x 6 = 18 fM
Mit Füllwatte befüllen.
Rnd 12 (2 fM, 1 fM abn) x 6 = 12 fM
Rnd 13: 1 fM abn x 6 = 6 fM
KM in die erste fM und beenden.
Lass das Loch offen für die Wasserfontäne.
Wasserfontäne
Blaue oder weiße Wolle befestigen
*15 LfM anschlagen, KM in den Ring, 10 LfM, KM in den Ring*. Wiederhole von *-* 2-mal. 10 LfM, KM in den Ring und faden befestigen (soll 5 KM schleifen haben).
Seitenflossen
In Reihen häkeln.
2 Stück machen.
In lila
Reihe 1: 5 LfM anschlagen. 1 Stb in die 2. LfM von der Nadel und in die nächsten 2. 1 hStb in die letzte LfM. Faden abschneiden Lass ihn länger zum befestigen.
Schwanzflosse
In lila
Einen Magischen Ring machen.
In den Ring häkeln: 2 LfM, 5 Stb, 1 km, 2 LfM,5 Stb. Faden abschneiden und befestigen.
Zusammennähen
Die Seitenflossen an den Seiten befestigen, zwischen den Reihen 5-6. Die Schwanzflosse hinter in die Mitte befestigen. Wenn gewünscht ist, einen Schlüsselanhänger befestigen, oben, wo die Wasserfontäne ist. Mehrmals hin und her nähen damit es richtig fest ist.