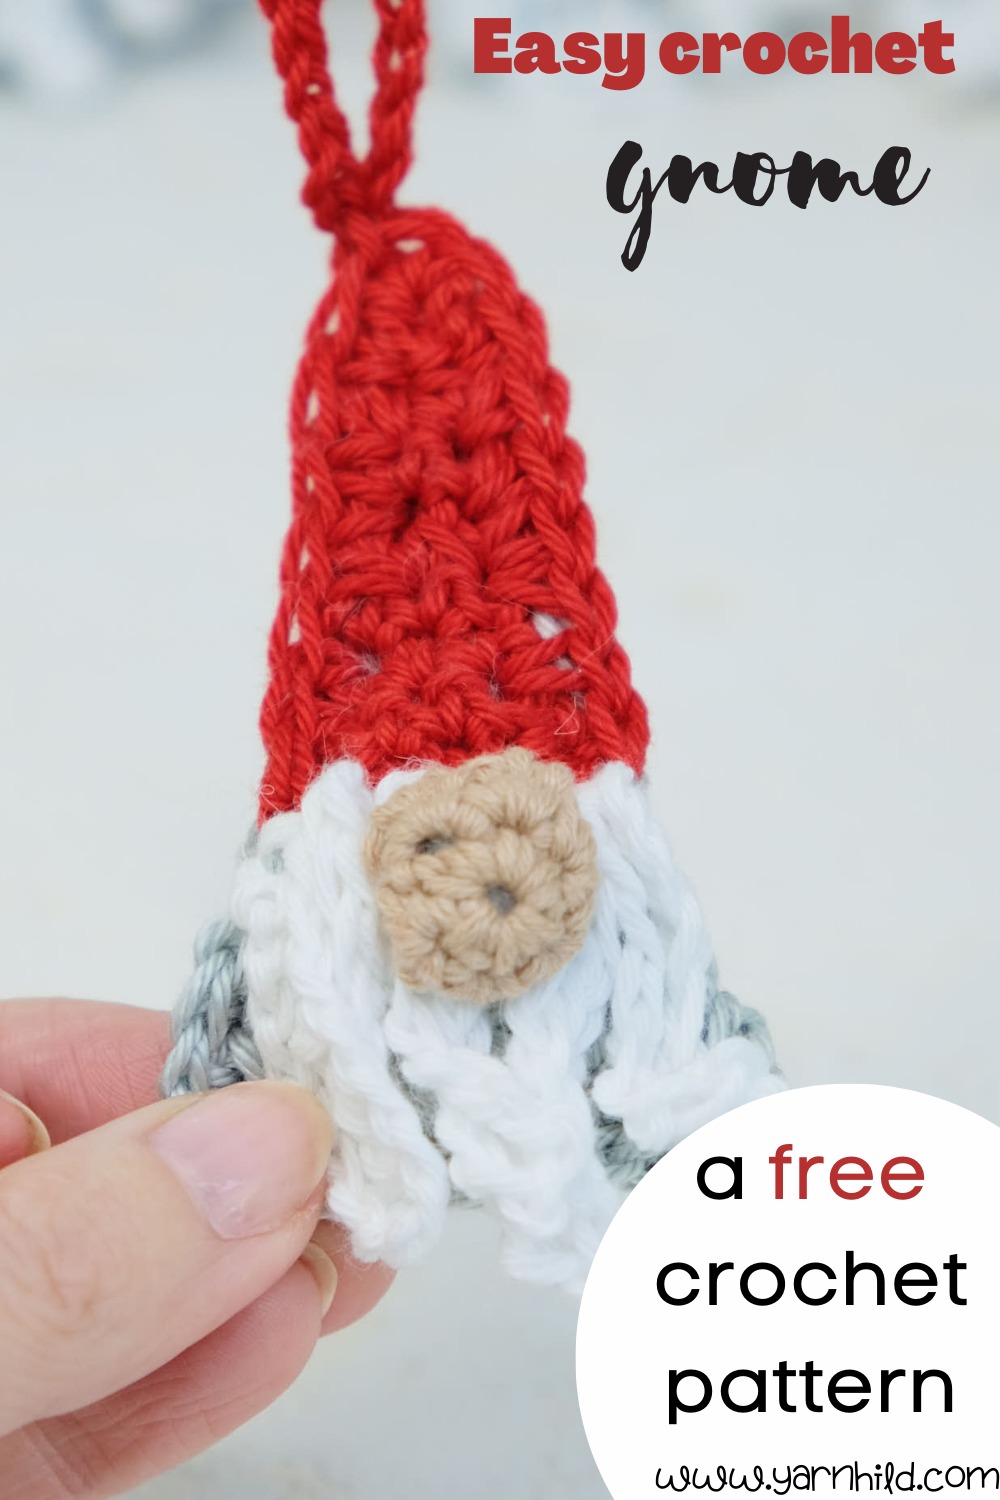
Crochet mini gnome - a free crochet pattern
Today we are excited to share the pattern for this little crochet mini gnome! I love crochet patterns that are easy and quick to make, and I love making gnomes! So this is why there needs to be a new gnome pattern this year too!
If you been following this blog, you might have seen the gnomes from the last two years as well.
You can:

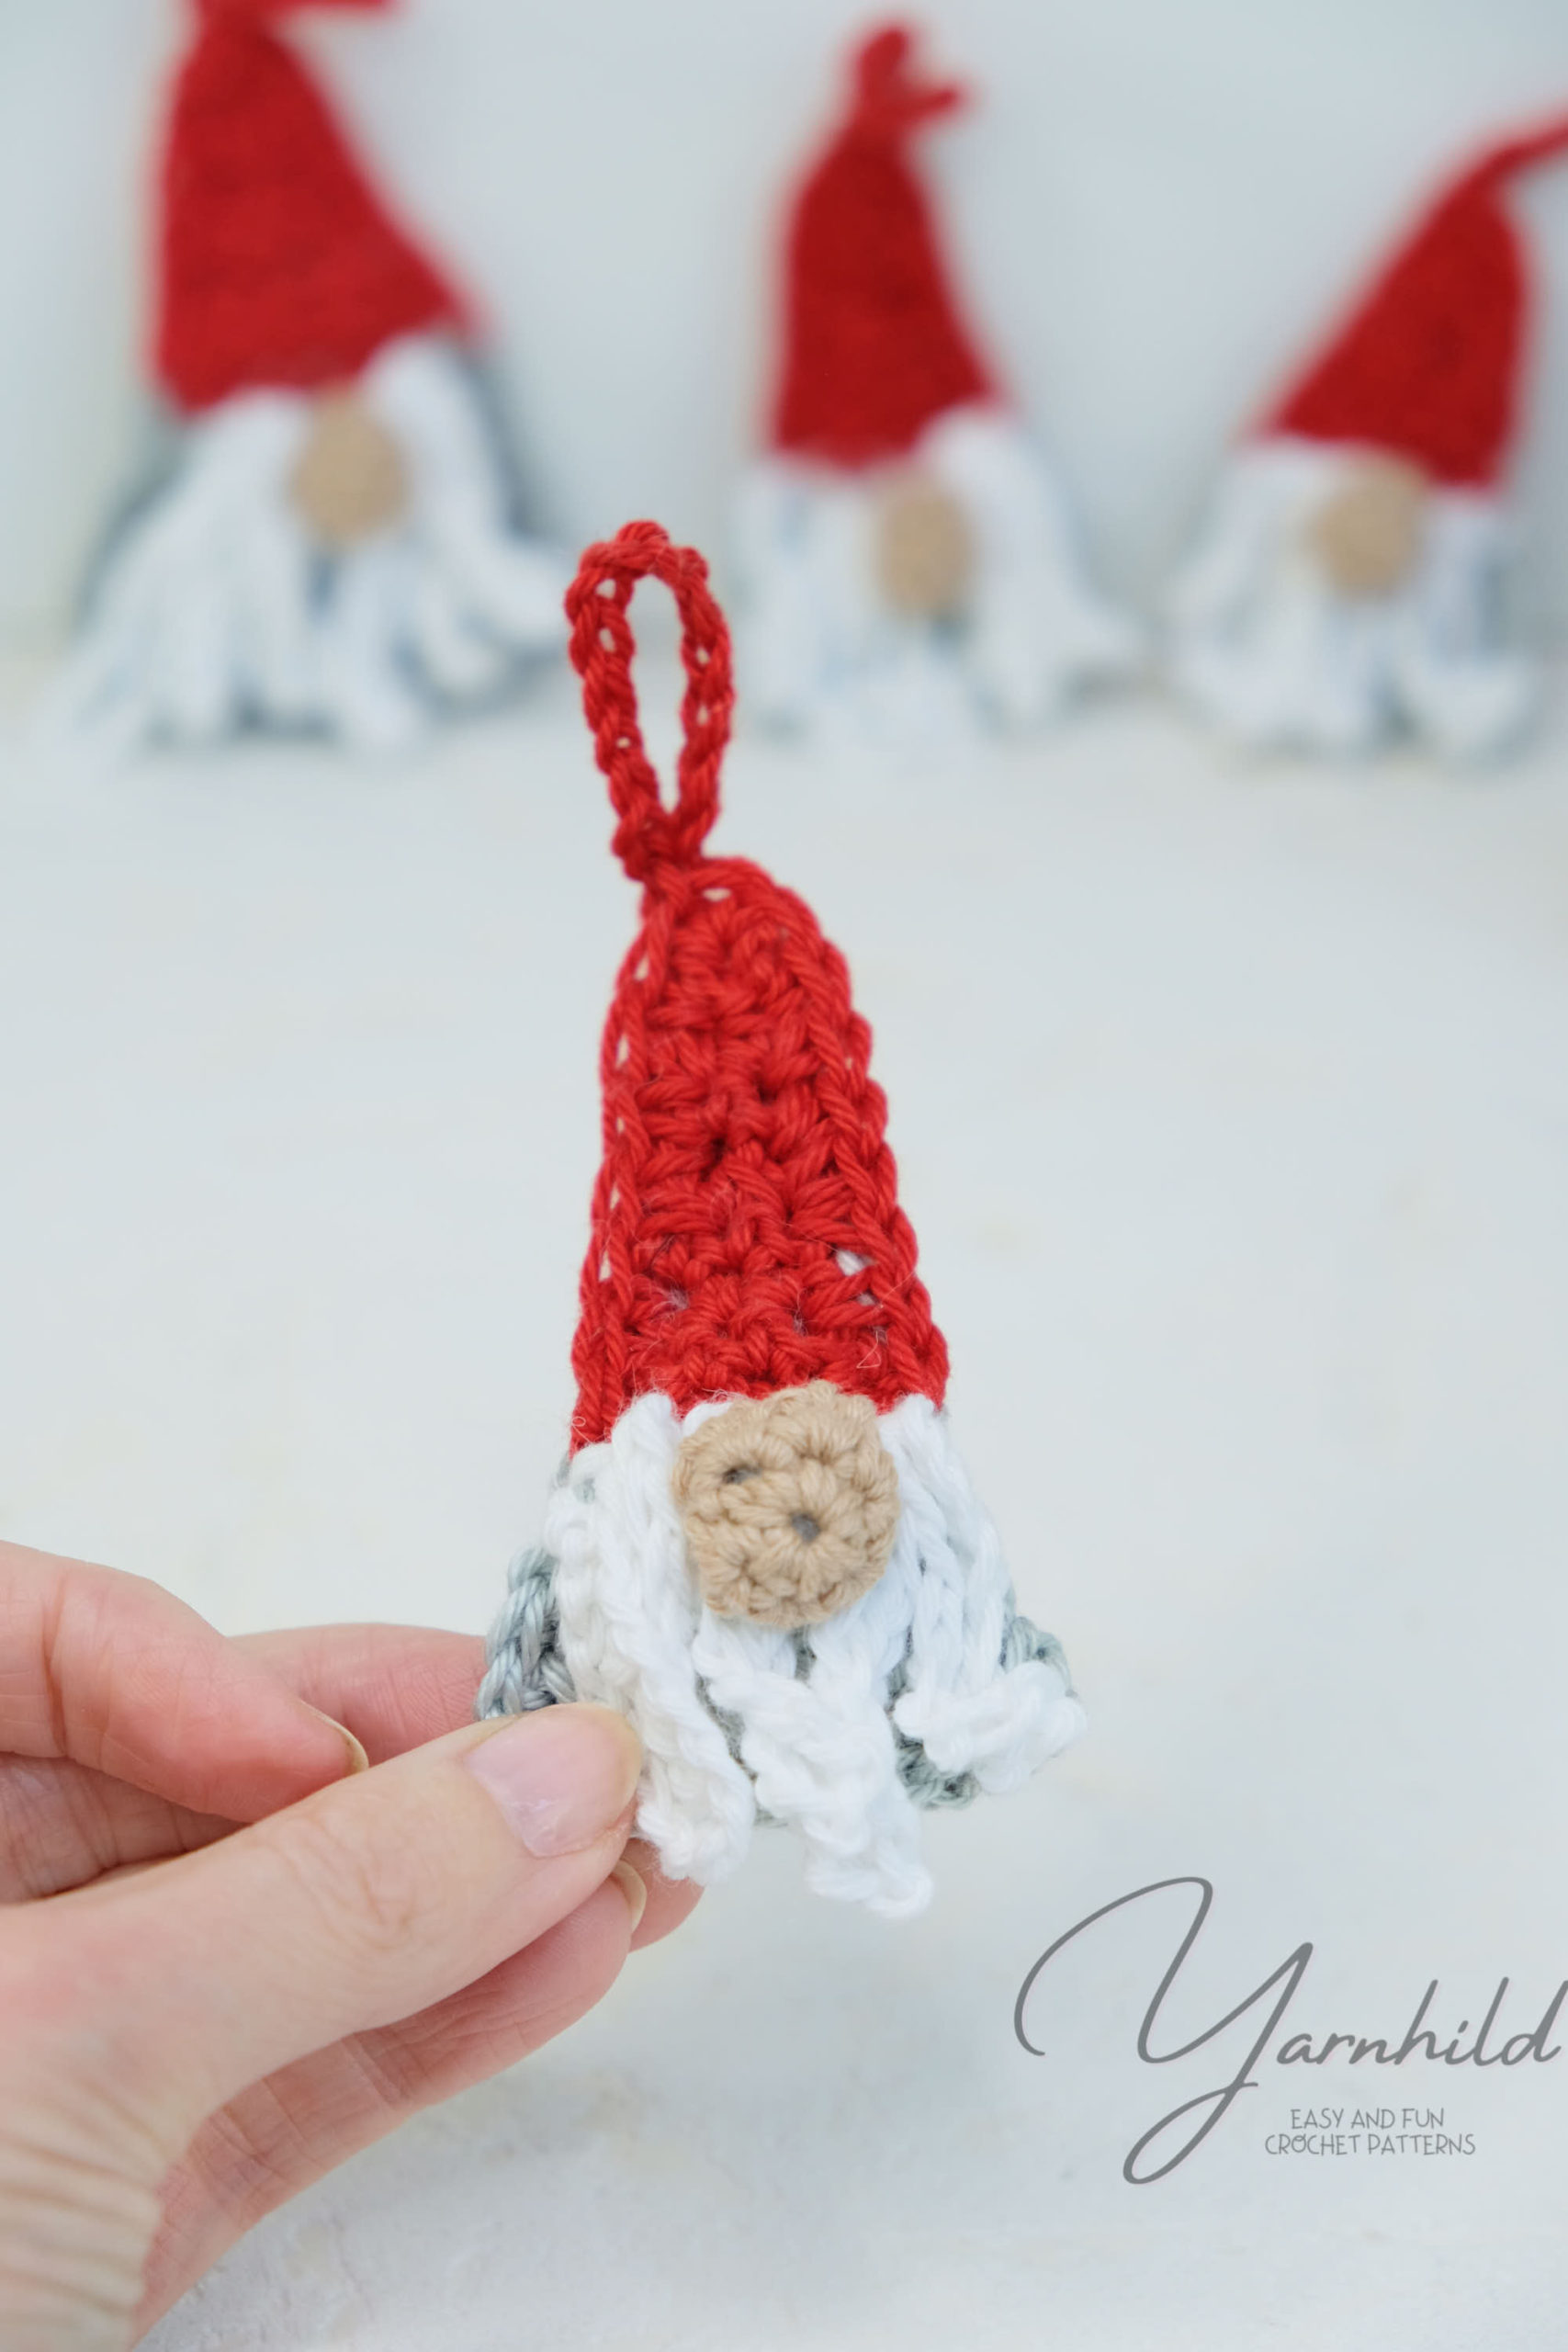
Last year, when I shared another mini gnome pattern you where warned that these guys multiply. This warning does also apply this year 🙂

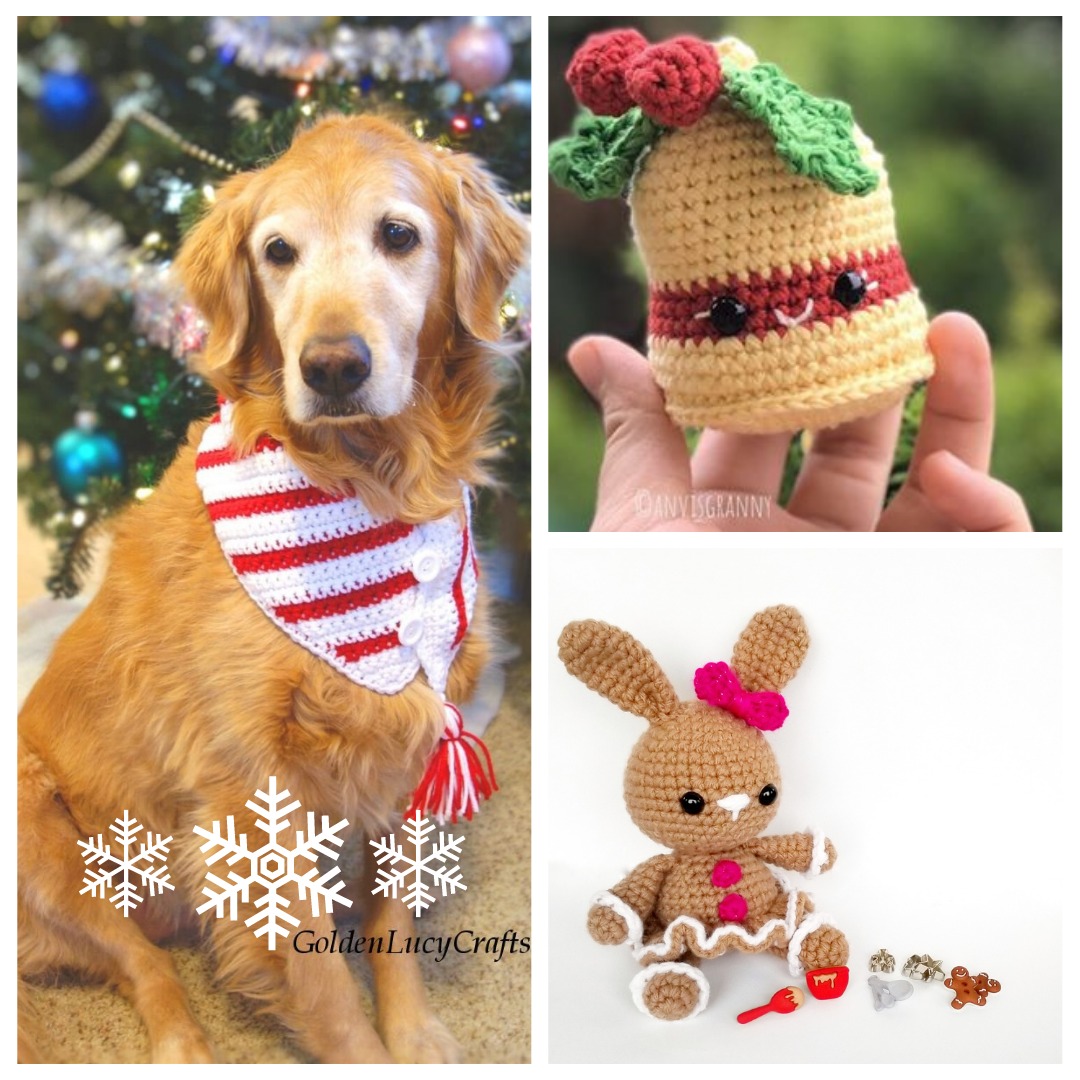
Other Christmas patterns
I made 4 crochet mini gnomes and I'll hang them on my Christmas tree in December. They'll go great together with these Christmas tree ornaments from last year.
Also, here is an adorable Christmas gingerbread house that you can make as well.
This crochet mini gnome is flat. You simply make 2 panels and crochet them together. Add some variations by choosing different colors. You can also make some bigger gnomes by choosing a thicker yarn and bigger hook.
I sometimes include affiliate links in my blog posts. That means that I earn a small commission if you purchase a product that I recommend, on no extra costs on your behalf. Thank you for your support!
Materials
You only need some leftover this one mini gnome. I made mine with sports weight yarn and a 3 mm crochet hook. But as I mentioned earlier, just choose a different hook and yarn to impact the size.
My gnome is about 7 cm and I made a bigger one that is 9 cm.
Video tutorial
Here are 2 video tutorials for the gnome, one in German and one in English. There is a new video almost every week, so don't forget to subscribe to our channel.
English tutorial
[ytplayer id=9240]
German tutorial
[ytplayer id=9242]
More gnomes
Here are the gnomes from 2019 and 2018. Make them too, and you can make a gnome village!

Check out the big gnome is a much bigger gnome, and great as a doorstopper or for decoration.

Be sure to subscribe to our newsletter and you'll get notified when there is a new pattern on the blog.
Mini crochet gnome - a free crochet pattern
This pattern is the intellectual property of Yarnhild. The pattern must not be altered, translated, copied, or republished without approval. You are welcome to sell the items that you have made from my patterns, but please be sure to give me credit for the pattern that you sell online. For private use only, no commercial use. 2020 – Yarnhild ©

How to crochet a mini gnome
Abbreviations – US terms
Ch–chain
R–row
St–stitch
Sc–single crochet
Sc dec–single crochet decrease
Sc inc–single crochet increase,
two single crochet in one
stitch
Mr–Magic ring
BLO –back loop only
Rnd – Round
Materials
Crochet hook 3.0 mm
Sports weight yarn in grey, red, white, and beige.
Tapestry needle
Yarn used in this pattern: Schachenmayr Catania. Only small amounts of yarn needed in each color.
About the pattern
The gnome is made in rows. Two separate pieces are crocheted, then placed on each other and crocheted together.
The nose is made separately. The beard is crocheted on the body.
For the 2 panels of the body, there is a small difference in row 5. The 5. row is being crocheted in the back loop only on one of the panels. This is where the beard is being attached.
To make a bigger/smaller gnome use different yarn and hook.
Notes
Body
In grey yarn and red. Start with grey.
Make 2 panels. Note; there is a small adjustment on row 5
R1: Ch 10, 1 sc in the 2nd ch from the hook and in the next 8. Ch 1, turn
(9 sc)
R2: sc dec, 5 sc, sc dec. Ch 1, turn (7 sc)
R3: sc dec, 3 sc, sc dec. Ch 1, turn. (5 sc)
R4: 5 sc
Change to red and cut the grey yarn.
Crochet row 5 in the back loop only on the second panel. (BLO). Crochet through both loops like normal on the first panel.
R5: 5 sc in BLO
Crochet through both loops like normal.
R6: sc dec, 1 sc, sc dec. Ch 1, turn. (3 sc)
R7-8: 3 sc. Ch 1, turn.
R9: sc dec, 1 sc. Ch 1, turn. (2 sc)
R10-11: 2 sc. Ch 1, turn.
R12: sc dec. Ch 1, turn. (1 sc)
Fasten off and weave in the ends.
Put the panels aside and continue.
Nose
Worked in continuous rounds.
In beige yarn.
Rnd 1: 6 sc in a mr (6 sc)
Rnd 2: sc inc x 6 (12 sc)
Rnd 3: sc dec x 6 (6 sc)
Add a little stuffing and sew the hole closed. Leave a tail for attaching.
Assembly
Lay the body panels on each other and crochet them together.
The remaining loops of R5 of the have to face out. Crochet the panels together 1 single crochet in each row. Put two single crochet in each corner. When you get to the top of the hat; ch 15, sl st in the first ch (If you want to hang up your gnome).
Use red yarn on the red part and change to grey for the grey part of the body
Remember to add stuffing before closing. Stuff lightly, not too firmly. Sl st in the first st and fasten off. Weave in ends.
Beard
Attach white yarn on the remaining loops of round 5. See pictures below.
Ch 15, sl st in the same st. *Sl st in next st, ch 15, st st in the same st* Repeat from *-* 3 more times. Fasten off. Leave a tail and use this one to “gather the beard” Simply sew back and forth on the upper part of the beard to make a nice shape.
Sew on the nose between rows 4-5.

One Comment
Comments are closed.