Edward Frostbite - Free crochet snowman pattern
I am excited to share this amigurumi snowman pattern with you! I hope you love it as much as I do!
- Find the ad-free version on Etsy.
- Add it to your Ravelry queue.
- Save it for later on Pinterest!
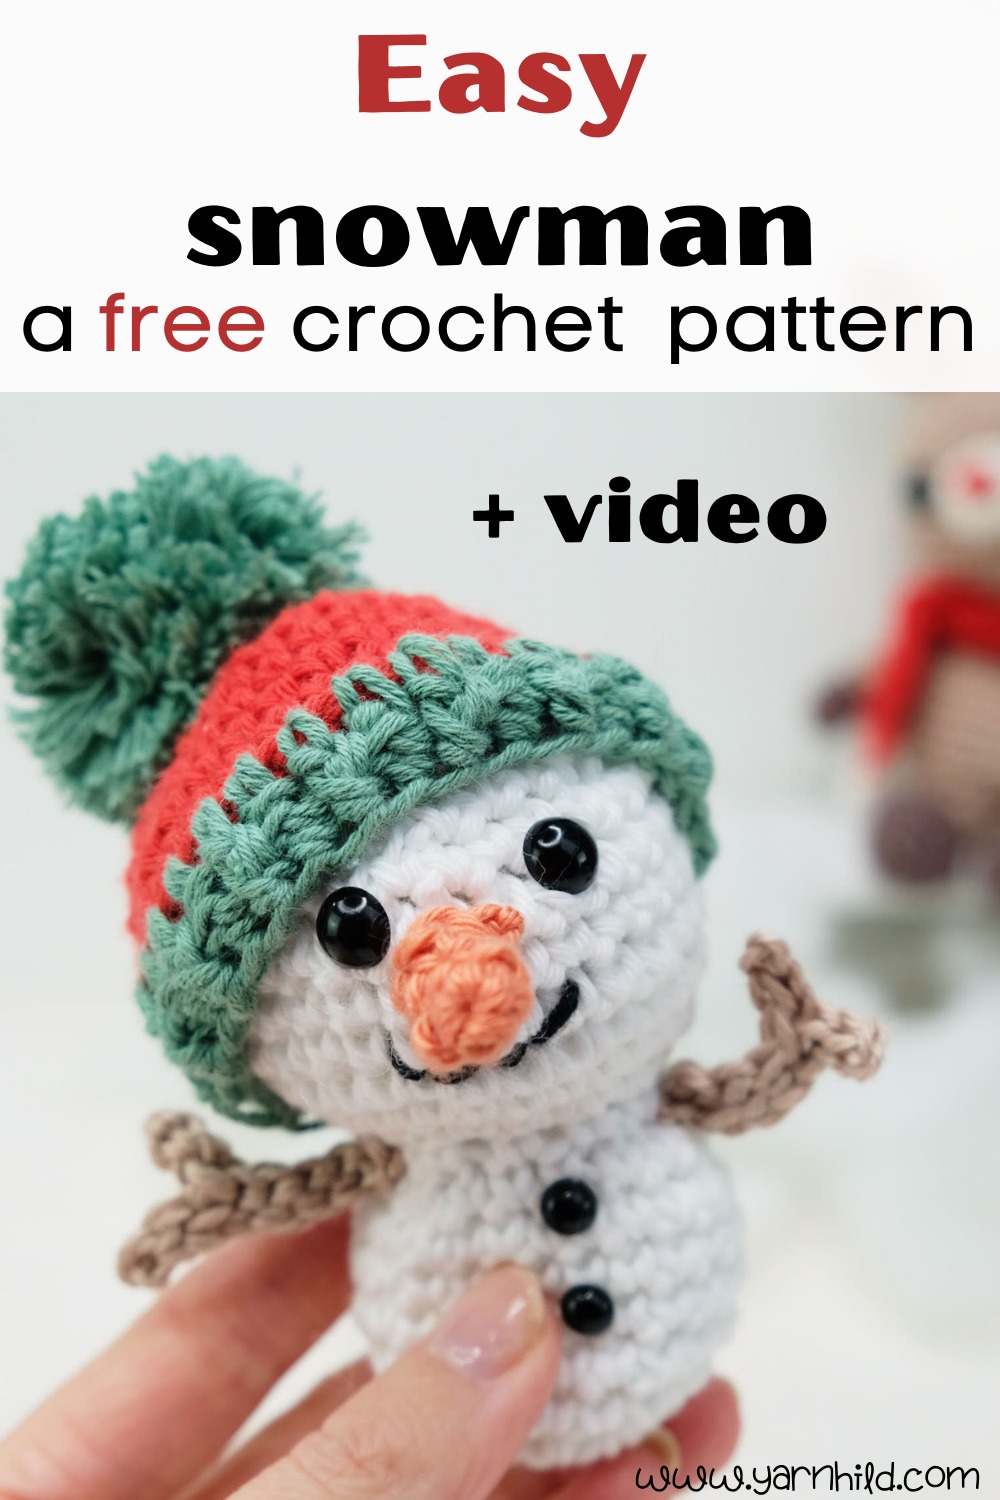
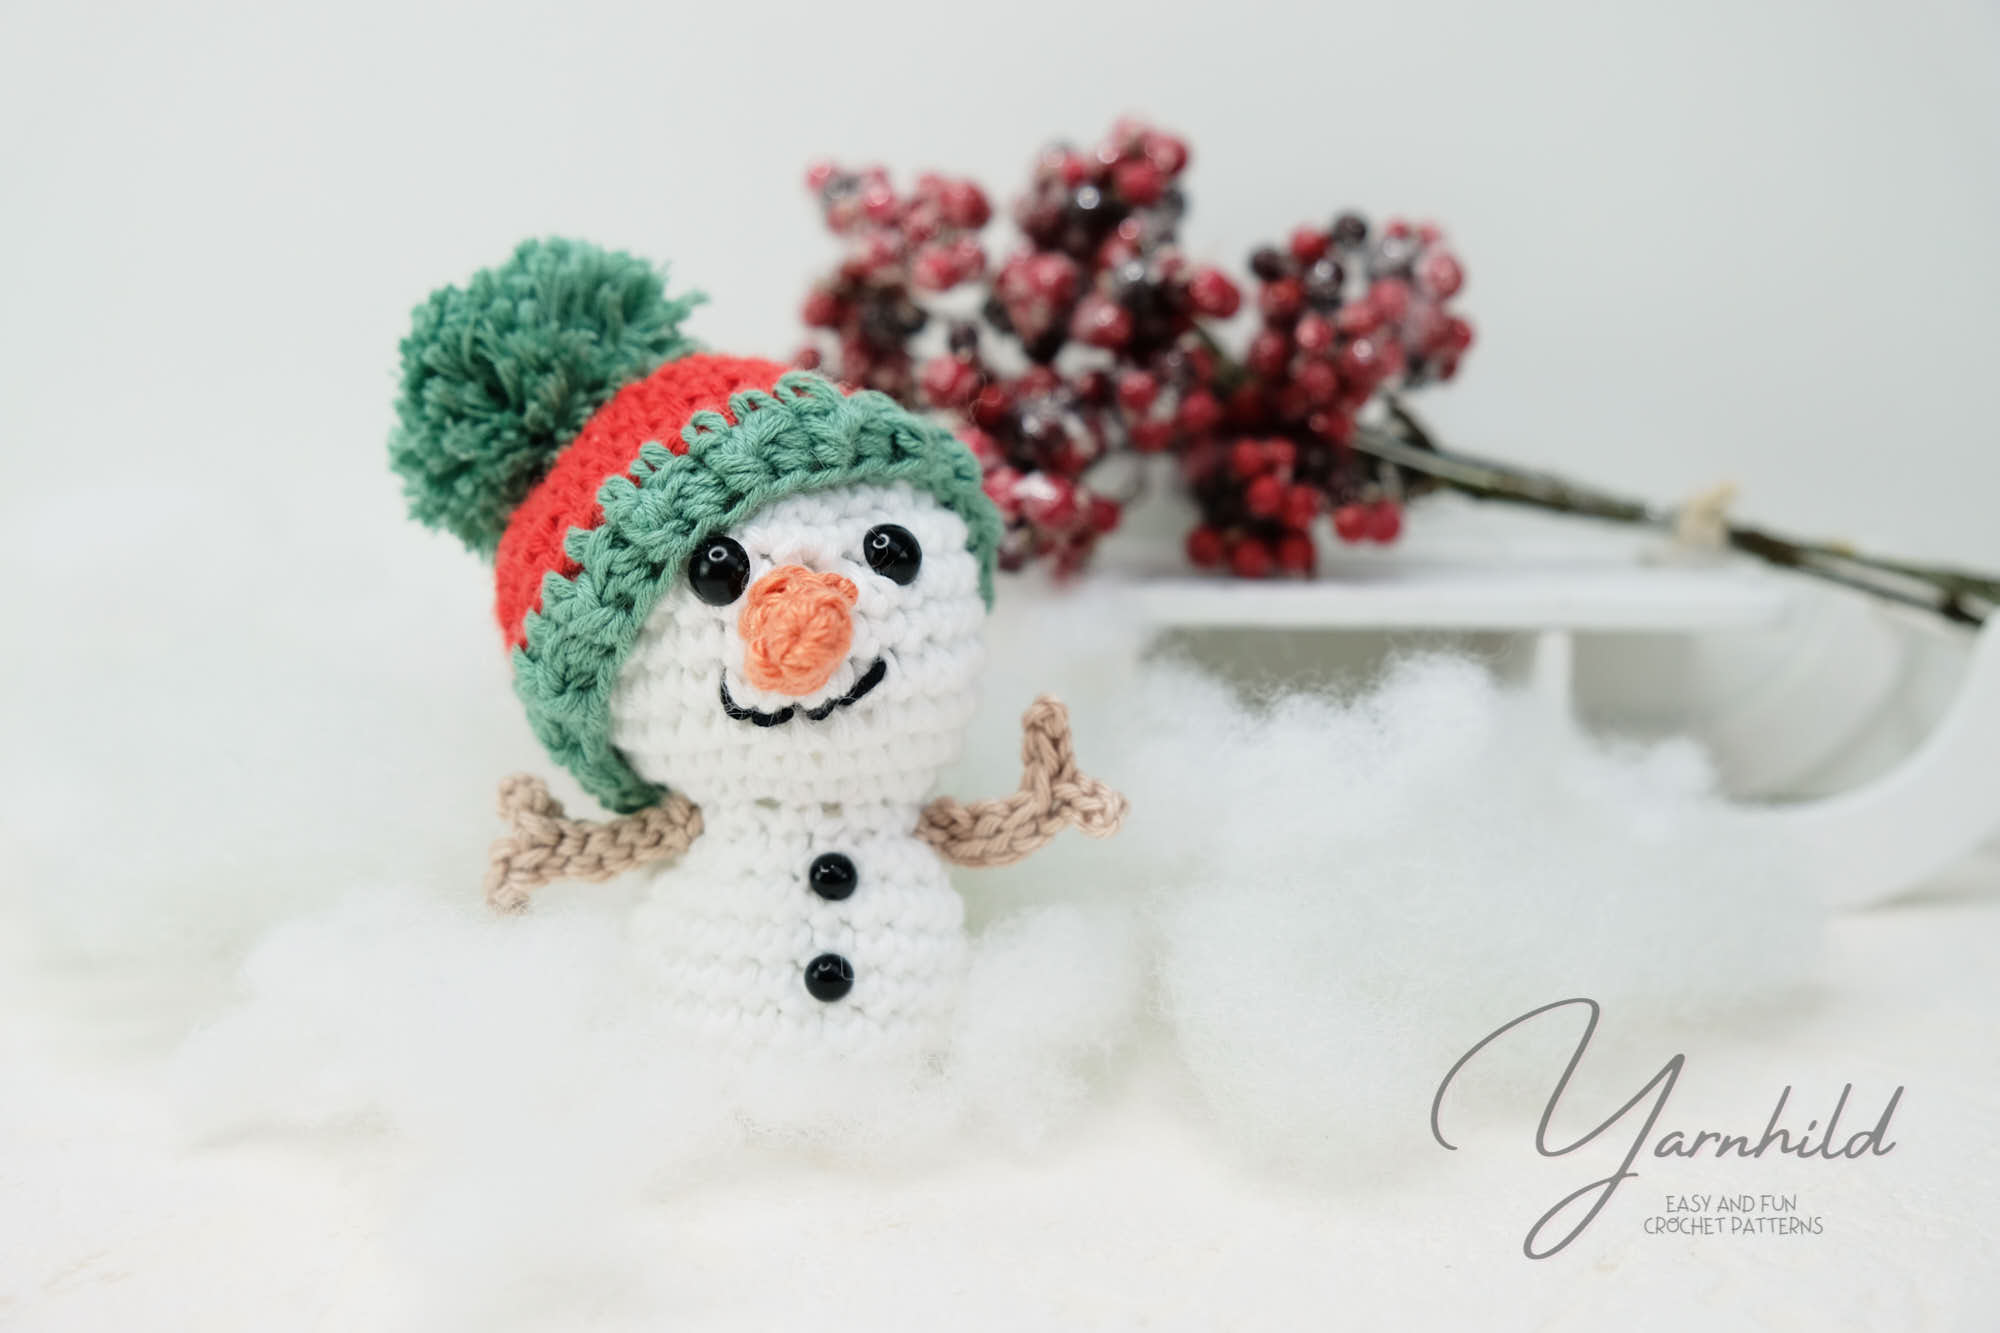
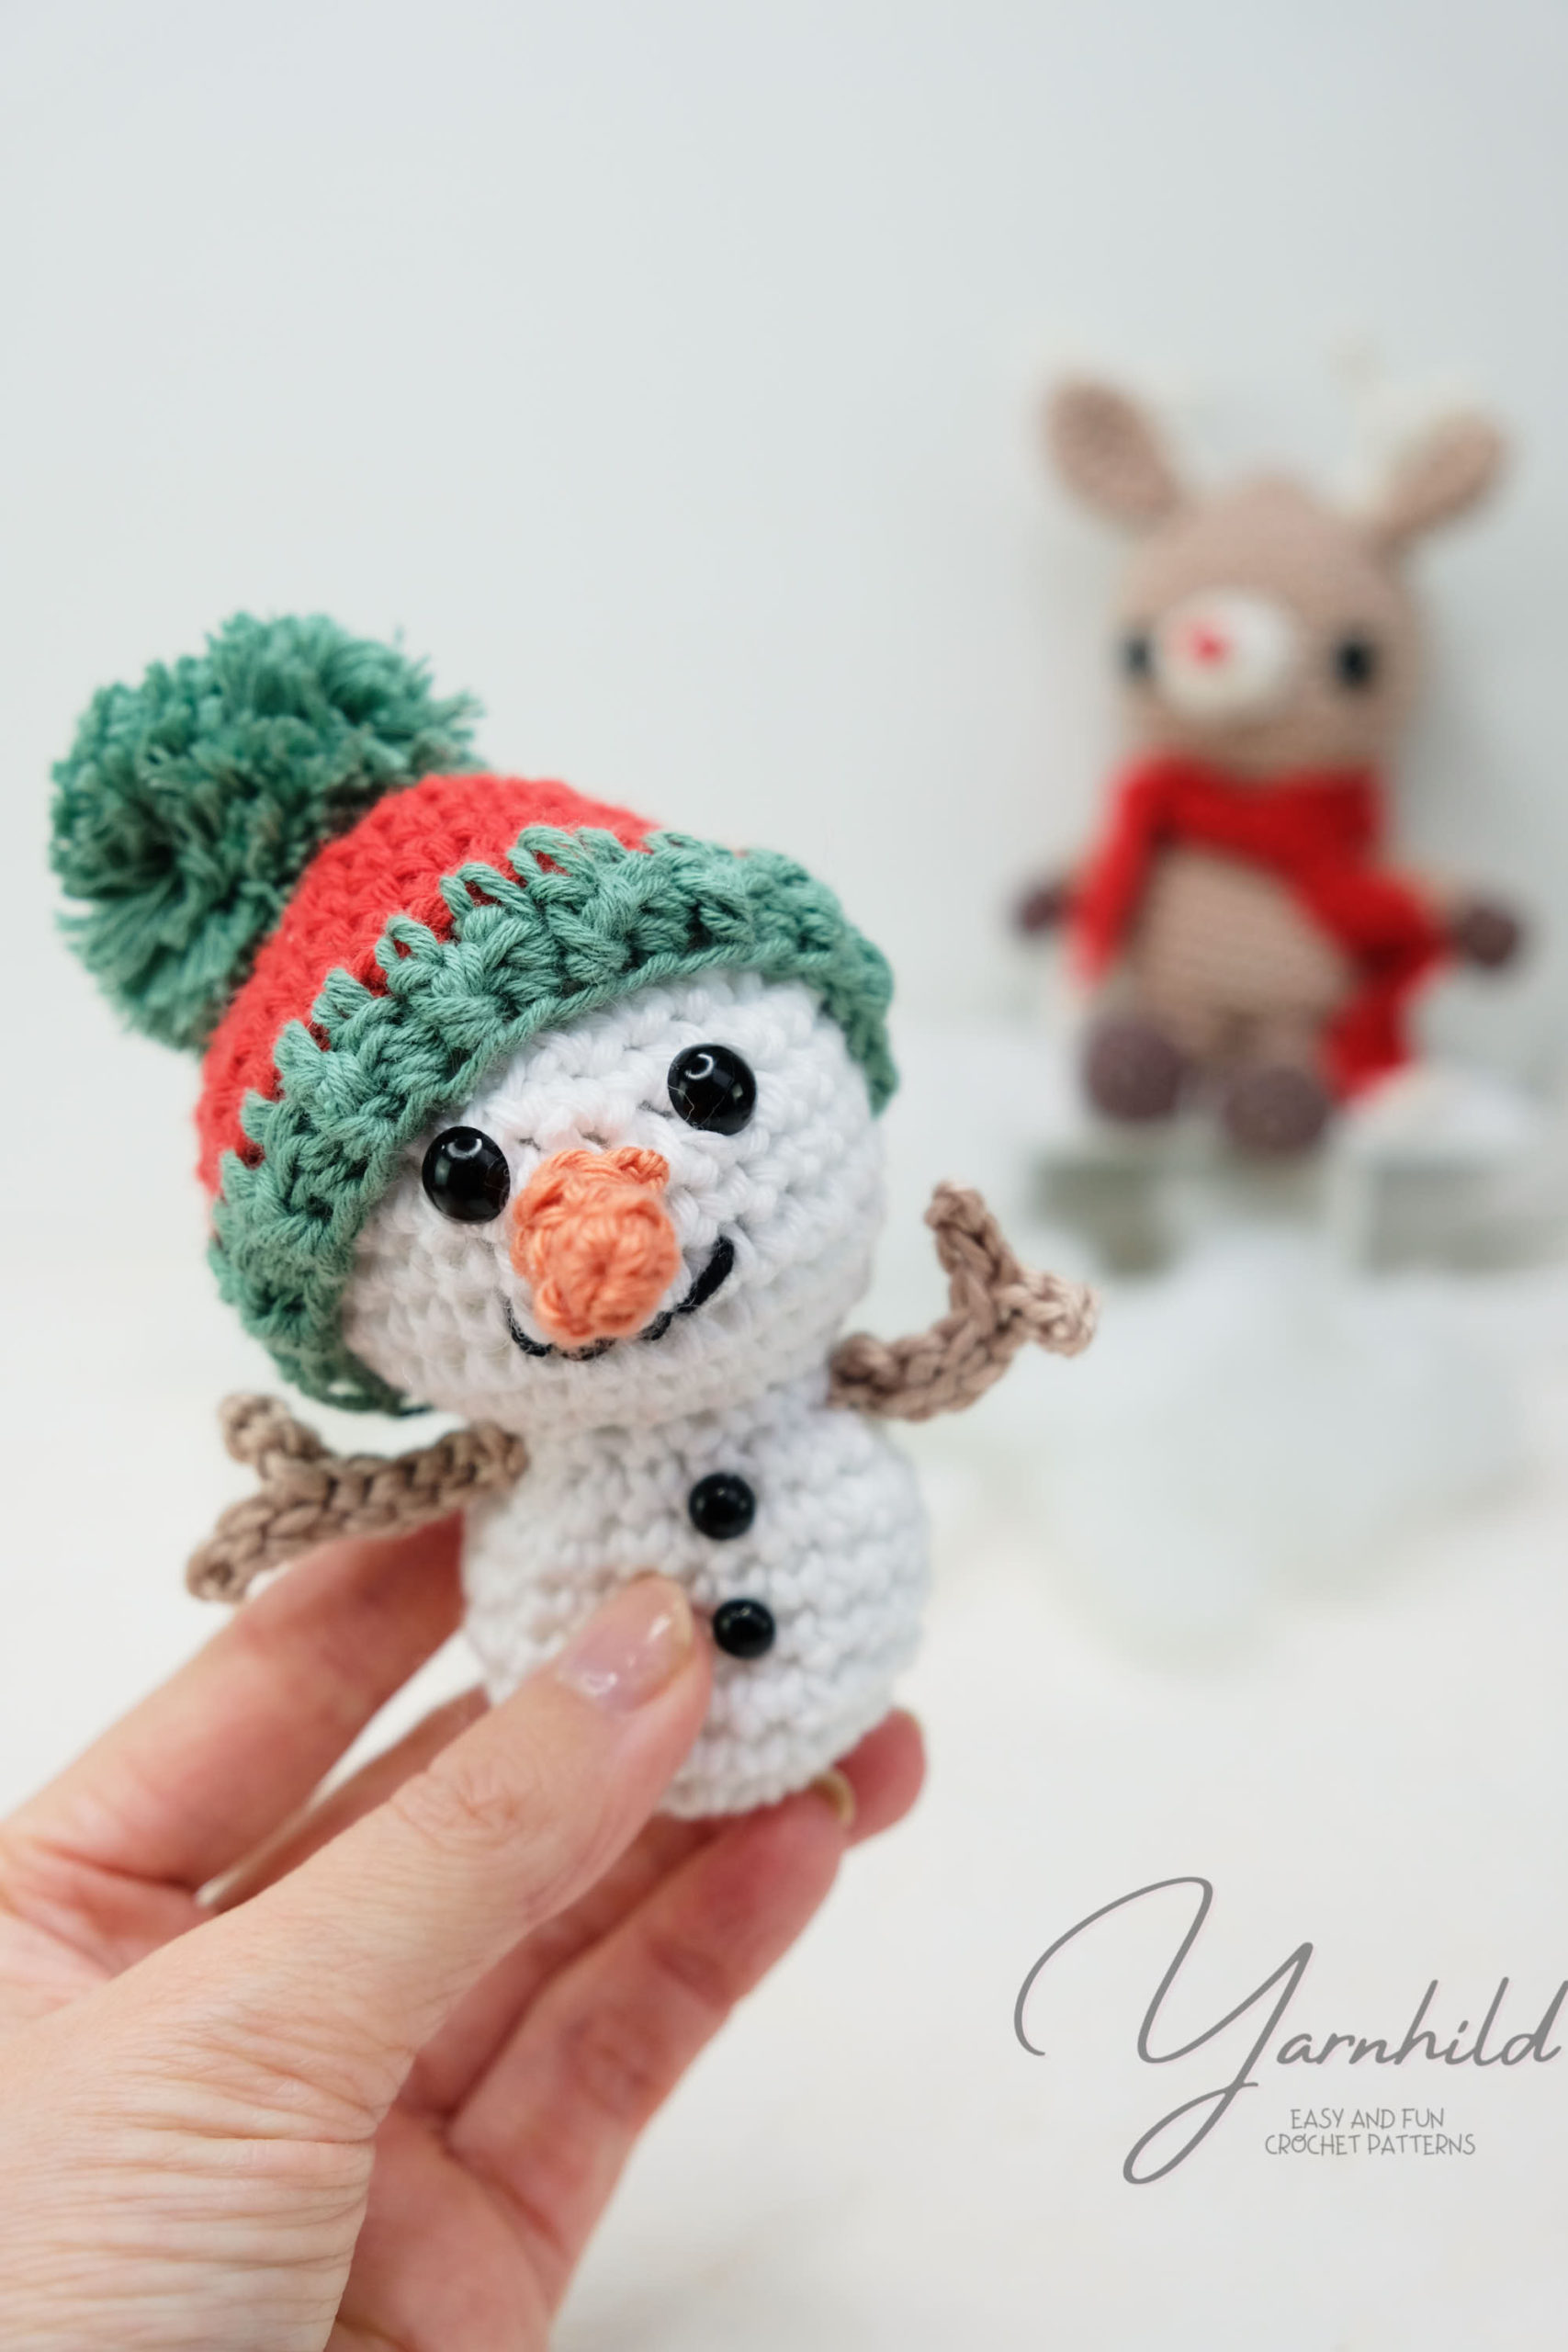
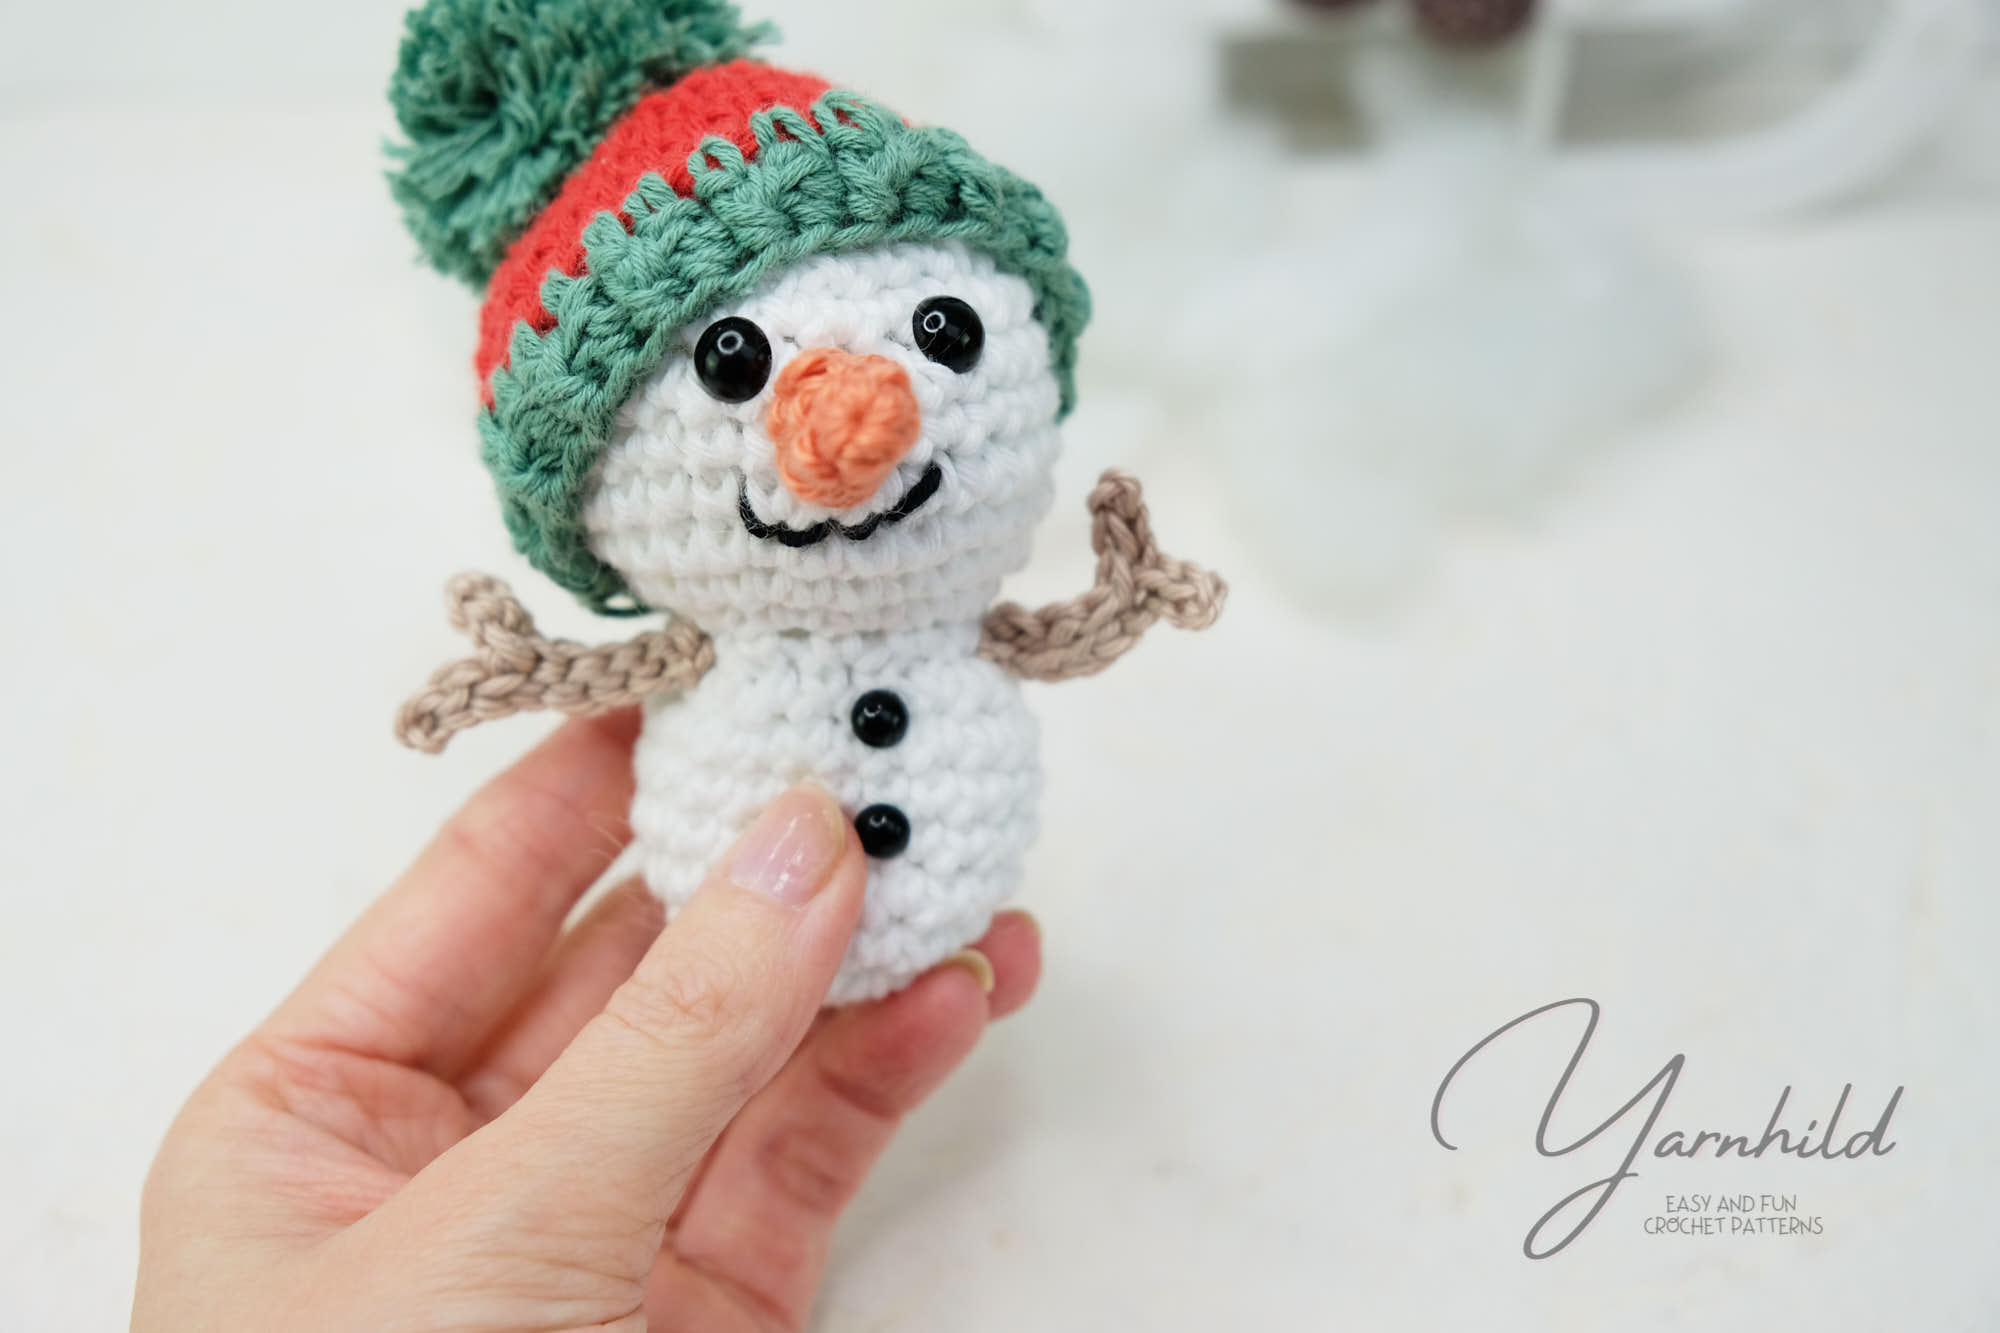
I named this little snowman Edward Frostbite! It's such a funny name! He will look good as an ornament snowman, or as a decoration. This would also make a great toy for kids, and I am sure this cute snowman can put a smile on their faces.
A friendly little guy that you can make for Christmas. If you have been following my work, you know that I like quick and easy patterns, and this is one of them! I stitched up this amigurumi snowman in less than 30 minutes.
I sometimes include affiliate links in my blog posts. That means that I earn a small commission if you purchase a product that I recommend, at no extra costs on your behalf. Thank you for your support!
Materials
You only need small amounts of yarn and a 3 mm crochet hook. I used sports weight yarn and my snowman is about 8 cm tall. I used safety eyes (8mm) for the eyes and 6 mm as buttons for the body.
The pompom is made with a pompom maker and I love this handy tool! It makes the pompoms more fluffy, I find!
Also, you are gonna need some filling materials and yarn in the color of your choice.
Share your work with us!
I love seeing pictures of your versions! You can share on Instagram or join our crochet club on Facebook. If you aren't on social media, just send an email! yarnhild@info.com
Video tutorial for the amigurumi snowman Edward Frostbite
Here are two video tutorials, one in English and one in German. Follow these to get some extra tips and tricks! If you love video tutorials, be sure to subscribe and hit that like button!
[ytplayer id=9337]
[ytplayer id=9339]
Looking for more Christmas patterns?
There are quite a few on this blog! You can use the search bar and check them out!
Amigurumi snowman - a free crochet pattern
This pattern is the intellectual property of Yarnhild. The pattern must not be altered, translated, copied, or republished without approval. You are welcome to sell the items that you have made from my patterns, but please be sure to give me credit for the pattern that you sell online. For private use only, no commercial use. 2020 – Yarnhild ©

Amigurumi snowman
Abbreviations – US terms
Ch–chain
R–round
St–stitch
Sc–single crochet
Sc dec–single crochet decrease
Sc inc–single crochet increase,
two single crochet in one
stitch
Mr –Magic ring
Sl st. – Sl st
Fphdc – front post half double
crochet
Bphdc – back post half double
crochet
hdc –half double crochet
Materials
-Crochet hook 3.0 mm
-Sports weight yarn
Colors: white, green, red, orange, and brown.
Only small amounts needed. The main color is white, 15 g of yarn needed.
-Tapestry needle
-8 mm safety eyes
-Stitch marker
-Filling materials
-Two small buttons for the body
About the pattern
All parts of the snowman are made in continuous rounds using a 3 mm crochet hook. Use a stitch marker and move it up as you go. The head and body are made in one piece and the rest separately. The body is made bottom-up. Stuff the body and head firmly.
To make a bigger/smaller snowman use different yarn and hooks.
Extra help. Back Post half double crochet
Insert the hook from the back to the front of the post and work around the post of the stitch. Complete as normal.
Front Post half double crochet
Front post: Insert the hook from the front to the back and work around the post of the stitch. Complete as normal
Finished size: 8 cm
Skill level: Advanced beginner
Instructions
Body
In white.
R 1: 6 sc in a mr (6 sc)
R 2: sc inc x 6 (12 sc)
R 3: (1 sc, sc inc) x 6 (18 sc)
R4: (2 sc, sc inc) x 6 (24 sc)
R 5 -8: 1 sc in every st (24 sc)
R 9: (2 sc, sc dec) x 6 (18 sc)
R 10: (1 sc, sc dec) x 6 (12 sc)
R 11: 2 sc in every st (24 sc)
R 12: (3 sc, sc inc) x 6 (30 sc)
R 13-17: 1 sc in every st (30 sc)
R 18: (3 sc, sc dec) x 6 (24 sc)
R 19: (2 sc, sc dec) x 6 (18 sc)
Fasten safety eyes between rounds
16 and 17, 3-4 stitches apart. Add stuffing.
R 20: (1 sc, sc dec) x 6 (12 sc)
Finish stuffing
R21: sc dec 6 times (6 sc)
Sl st in the first st and fasten off. Weave in ends.
Hat
In green and red. Start with red.
R 1: 6 sc in a mr (6 sc)
R 2: sc inc x 6 (12 sc)
R 3: (1 sc, sc inc) x 6 (18 sc)
R 4: (2 sc, sc inc) x 6 (24 sc)
R 5-8. 1 sc in each st (24 sc)
Change to green
R 9: 1 hdc in each st (24 hdc)
R 10: 1 FPhdc in the next, 1 BPhdc in the next. Repeat all around. Join with an sl st to first st and fasten off.
Use some green yarn and make a little pompom for the hat.
Carrot nose
In orange.
R 1: 4 sc in a mr (4 sc)
R 2-3: 1 sc in each st (4 sc)
R 4: (1 sc, sc inc) x 2 (6 sc)
Sl st in the first st and fasten off. Leave a long tail for fastening.
Arms
In brown. Make 2
Ch 6, sl st 5 times. This will be the “base” part. * Ch 3, sl st 3 times (including one time into the base) *. Repeat *-* one more time. Sl st 4 times into the base again to make it more stable.
Assembly
Sew on the arms on round 10. Sew on the carrot under the eyes. Sew on a little mouth under the carrot. Sew on the two little buttons on the lower part of the body (rounds 5 and 7). Sew on the pompom on the hat.
If you want to hang up your snowman in the Christmas tree you can sew on the hat to the head. Make a chain with slip stitches and join it to a round. Fasten off and weave in all ends.


One Comment
Comments are closed.