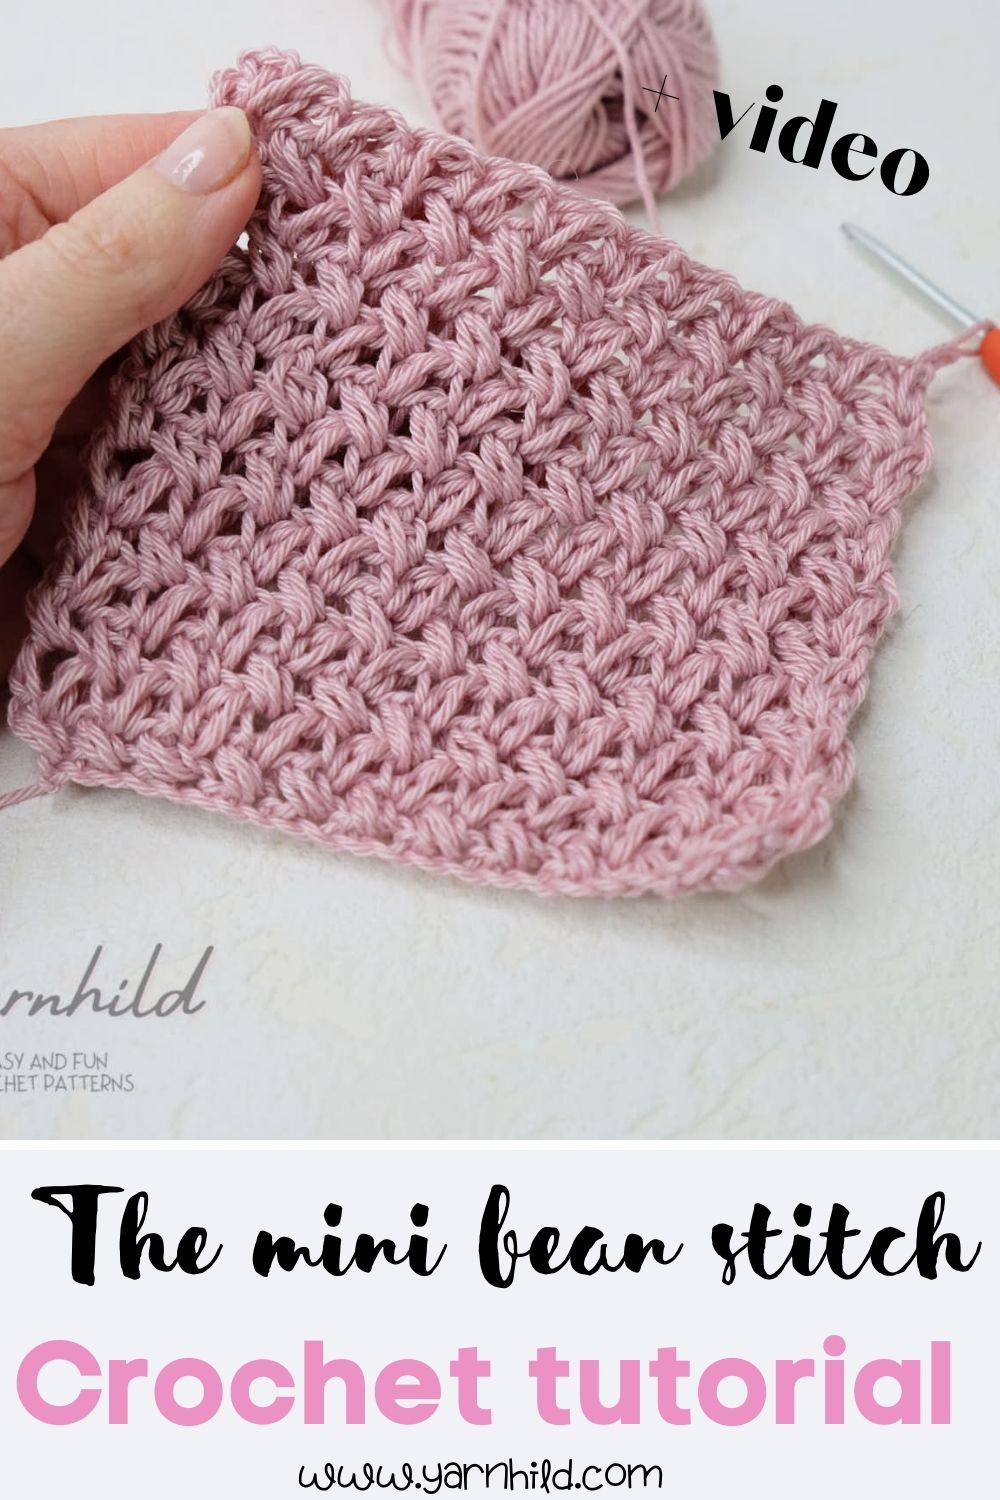
How to crochet the mini bean stitch
Today I want to show you how to crochet the pretty and easy stitch, the mini bean stitch. Also known as the Elisabeth stitch. It has a nice texture and the mini bean stitch is so easy to learn! We have included a written tutorial, plus a video, so keep scrolling!
Pin this for later on Pinterest!
Don't you just love a good stitch that is easy and quick to work up? I do, and since I discovered it, it might be one of my favorites!
I sometimes include affiliate links in my blog posts. That means that I earn a small commission if you purchase a product that I recommend, at no extra costs on your behalf. Thank you for your support!
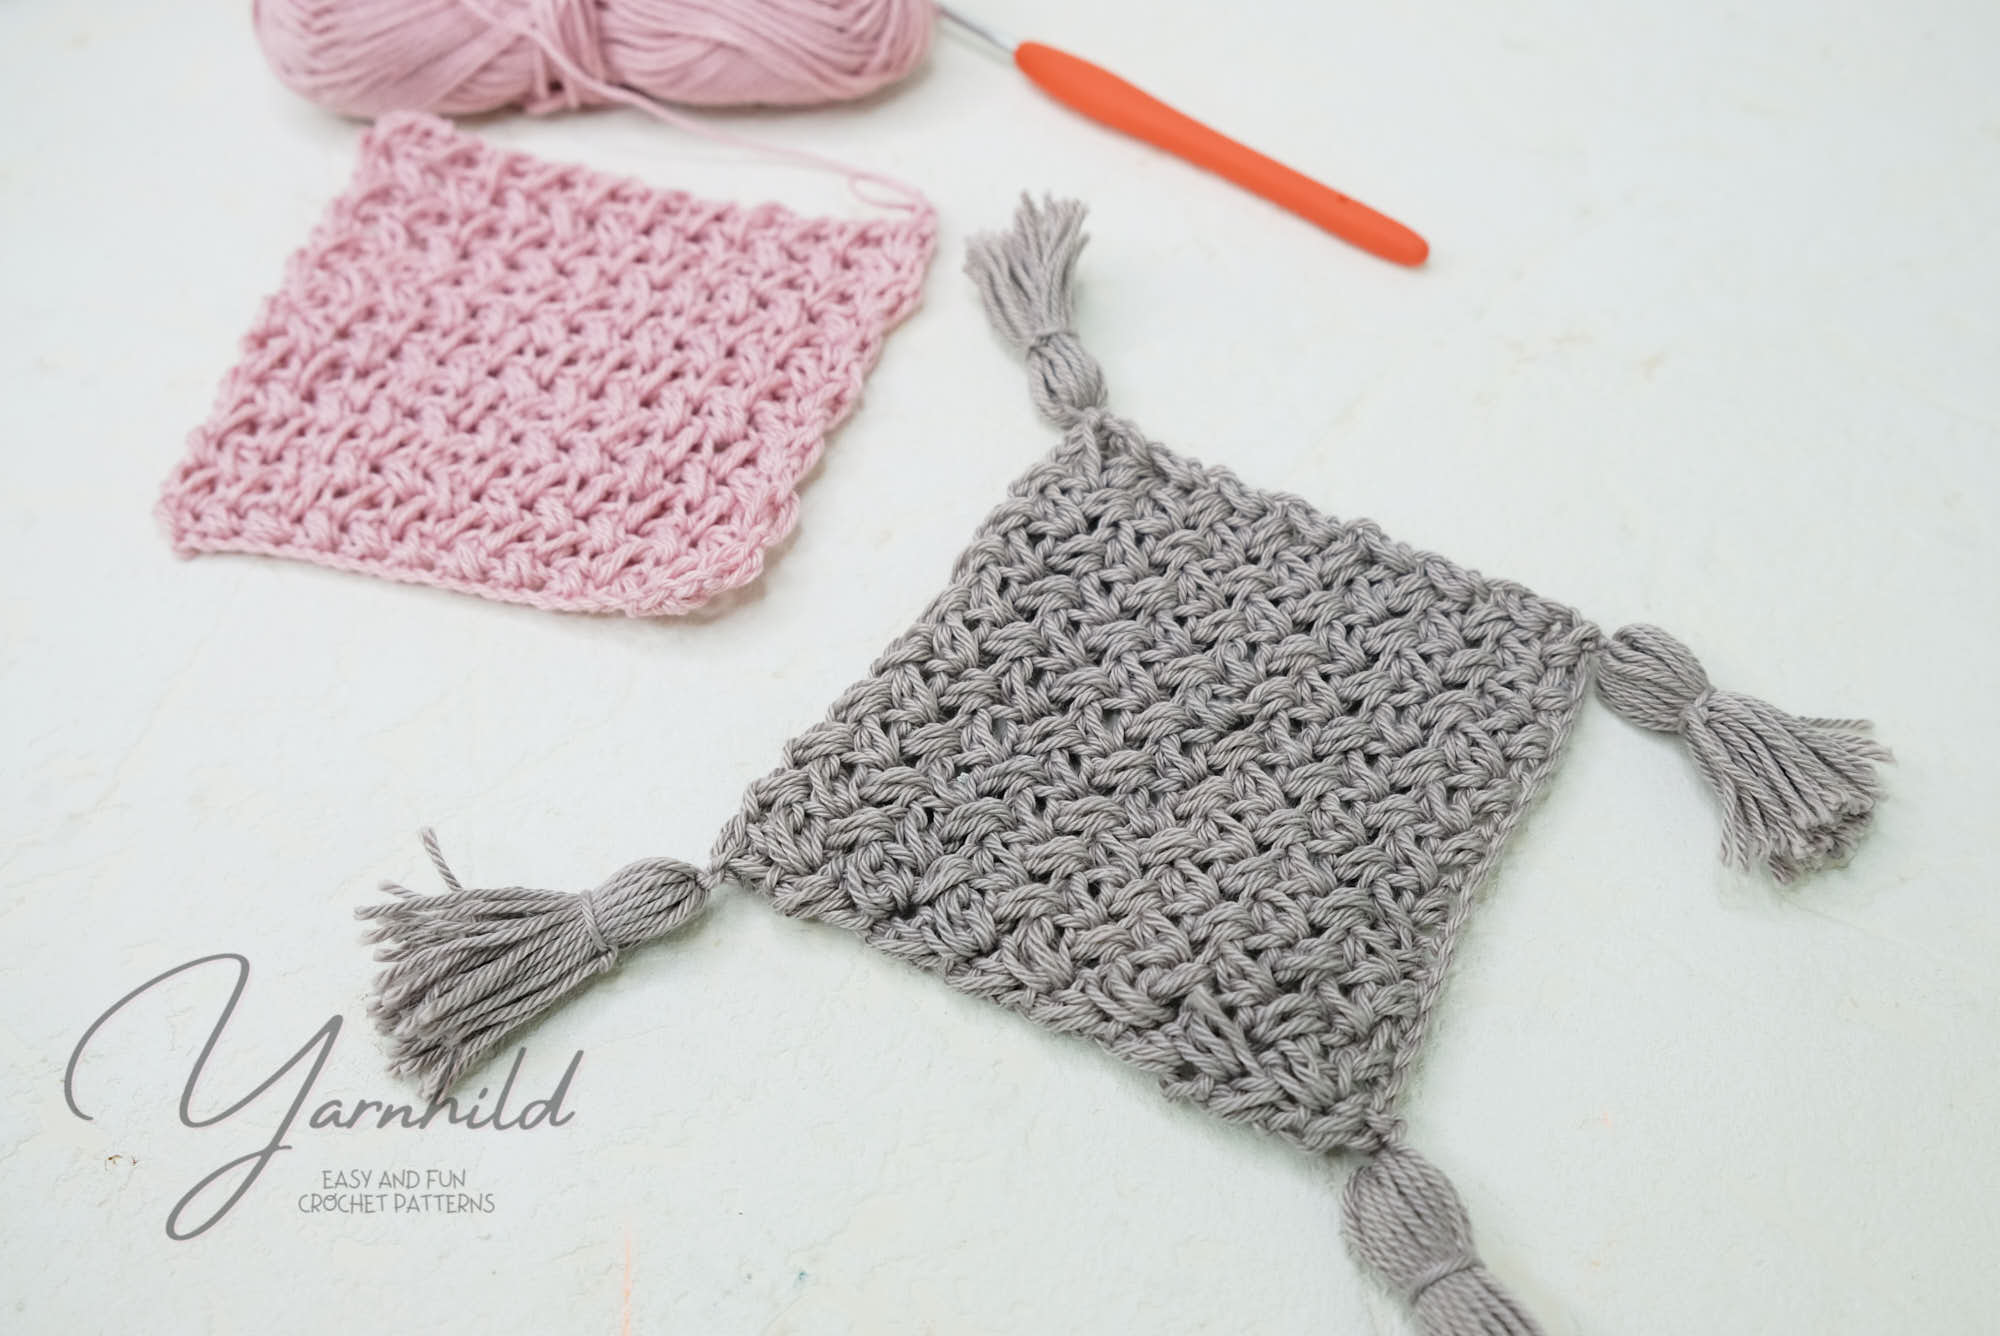
Make a mug rug!
When making swatches it is nice to turn them into something useful. Why not make a mug rug? Watch the video below and see how you can make a little mug rug! You can add tassels or fringes on yours to add a little bohemian style to them!
Isn't this stitch pretty? The texture on this stitches and you can make so many pretty things with this one.
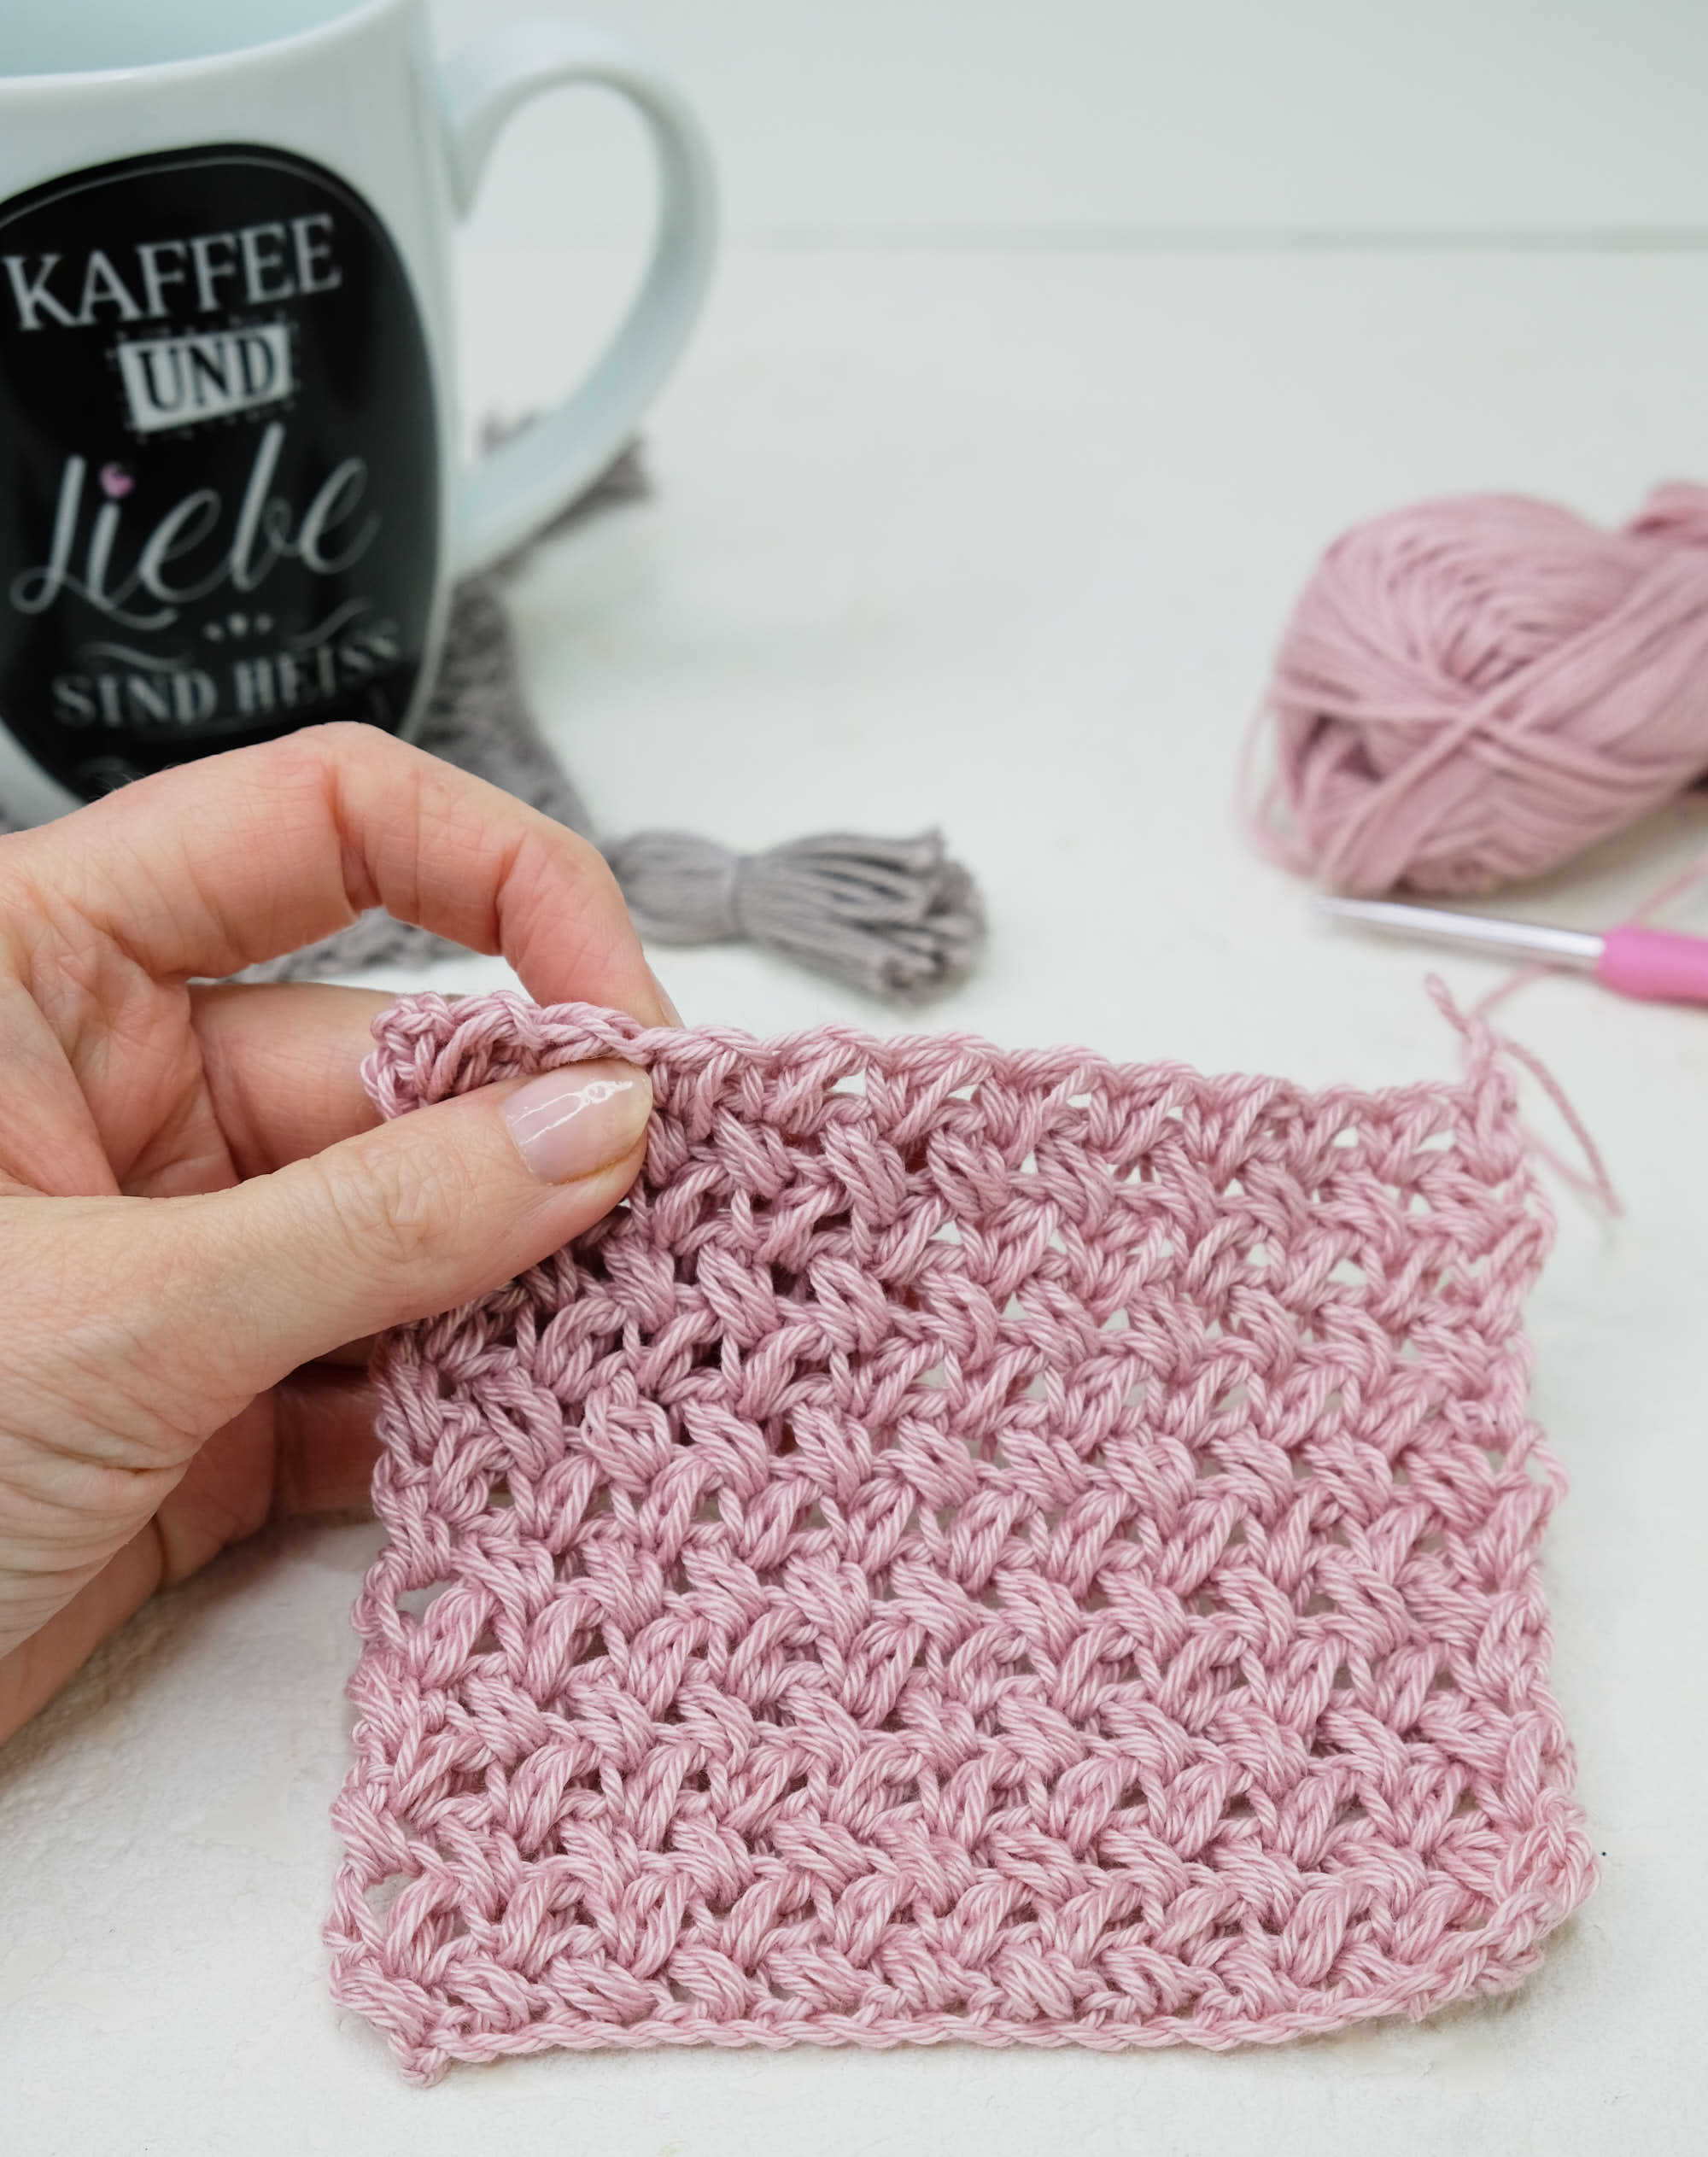
This is a very easy and pretty stitch pattern that you can include in many different projects. On the top of my head, I am thinking pillowcase, hat, blanket, and scarfs.
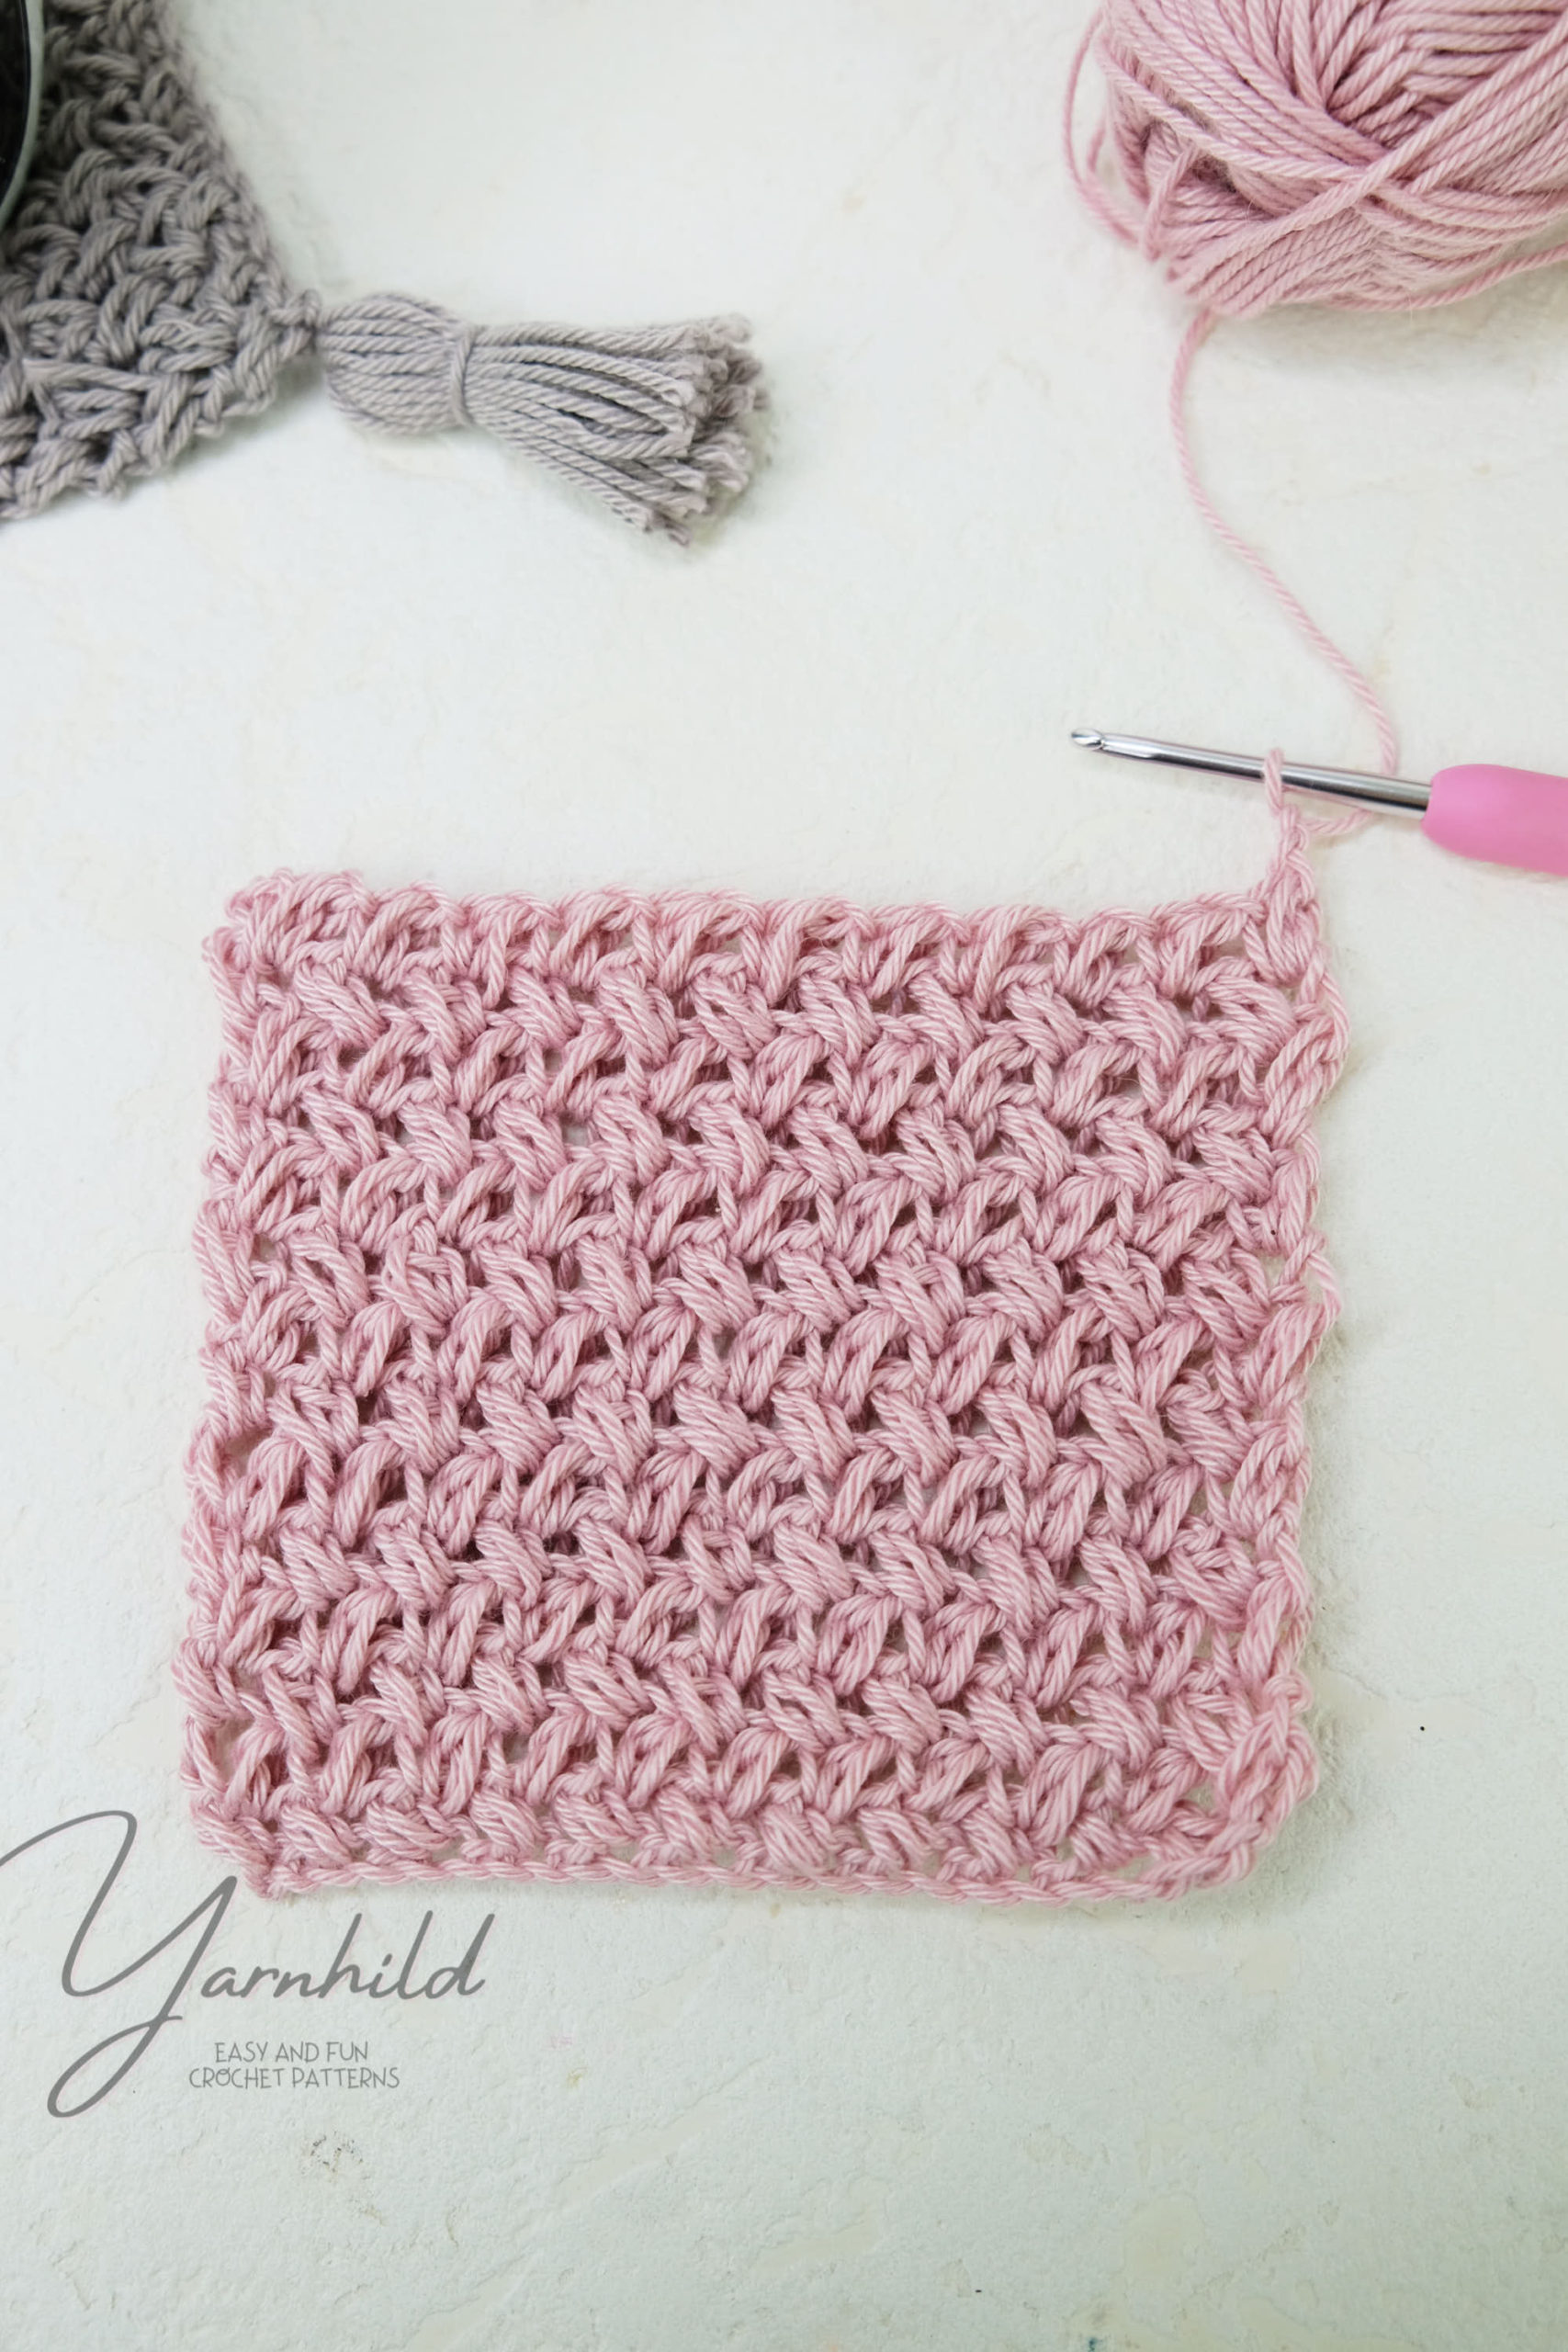
This would also make a pretty dishcloth, or do like I did, make a little mug rug! Or if you want to work on a bigger project, make a blanket!
The yarn
if you want to make a mug rug, you can use fingering yarn or just any yarns scraps that you have available at home.
If you are looking for crochet hooks, WeCrochet has them on sale now! You can get the Clover Amour crochet hook set for only $41,63 (January 2021)

How to crochet the mini bean stitch
You can also scroll down for the video tutorial on how to make this pretty stitch pattern.
Scroll down for the written instructions. I also recommend you to watch the video tutorial for more detailed instructions.
Video tutorial
Check out the video and don't forget to subscribe to our channel! We make videos every week with lots of tips and tricks, patterns and more!
[ytplayer id=9507]
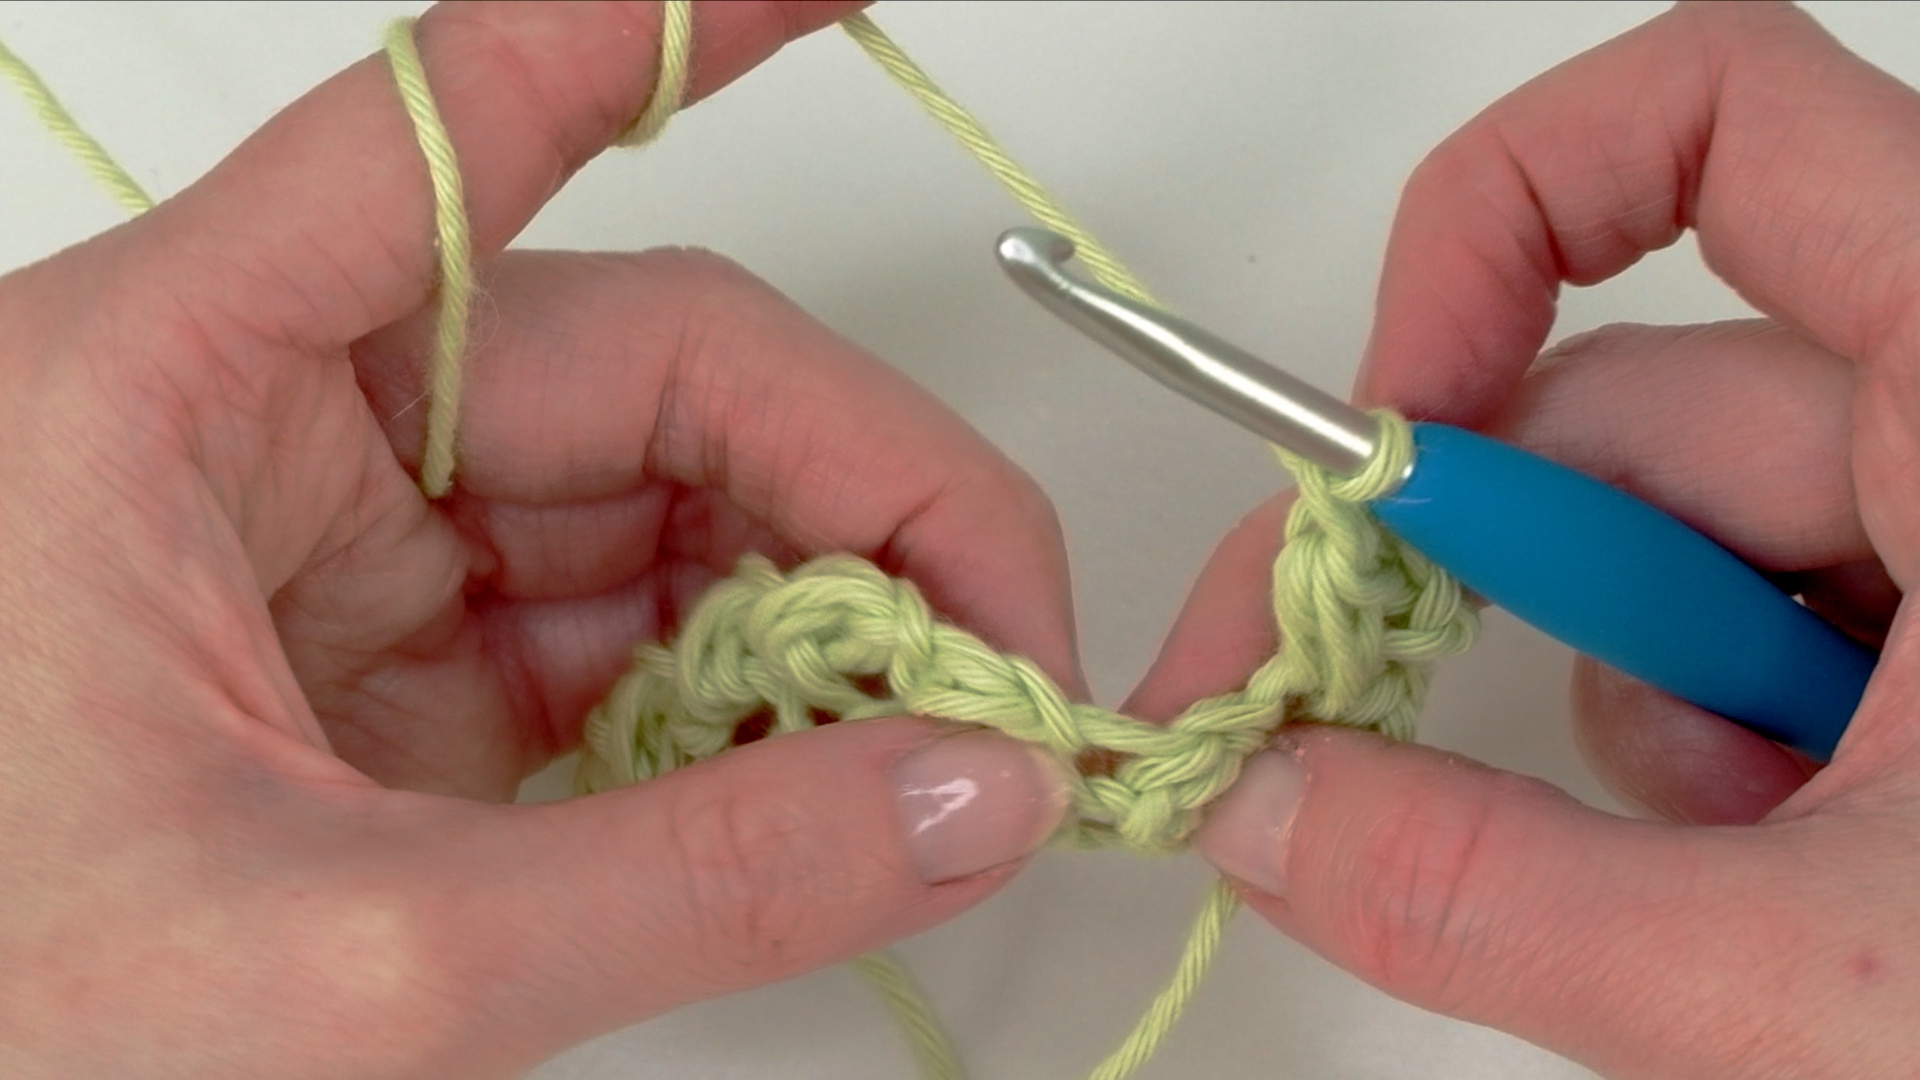
Written tutorial - Mini bean stitch
You are going to need a hook, yarn, scissors, and a tapestry needle and you are ready to go!
Abbrivations:
- hdc - half double crochet
- *-* - Repeat from start to end of row.
- Yo - Yarn over.
Row 1: Make a chain in a multiple of 2 + 4 for the foundation chain.
Insert the hook in the 4th chain from the hook and pull up a loop. Yo and insert the hook in the same stitch and pull up a loop.Now you have four loops on the hook. Yao and pull through all four loops.
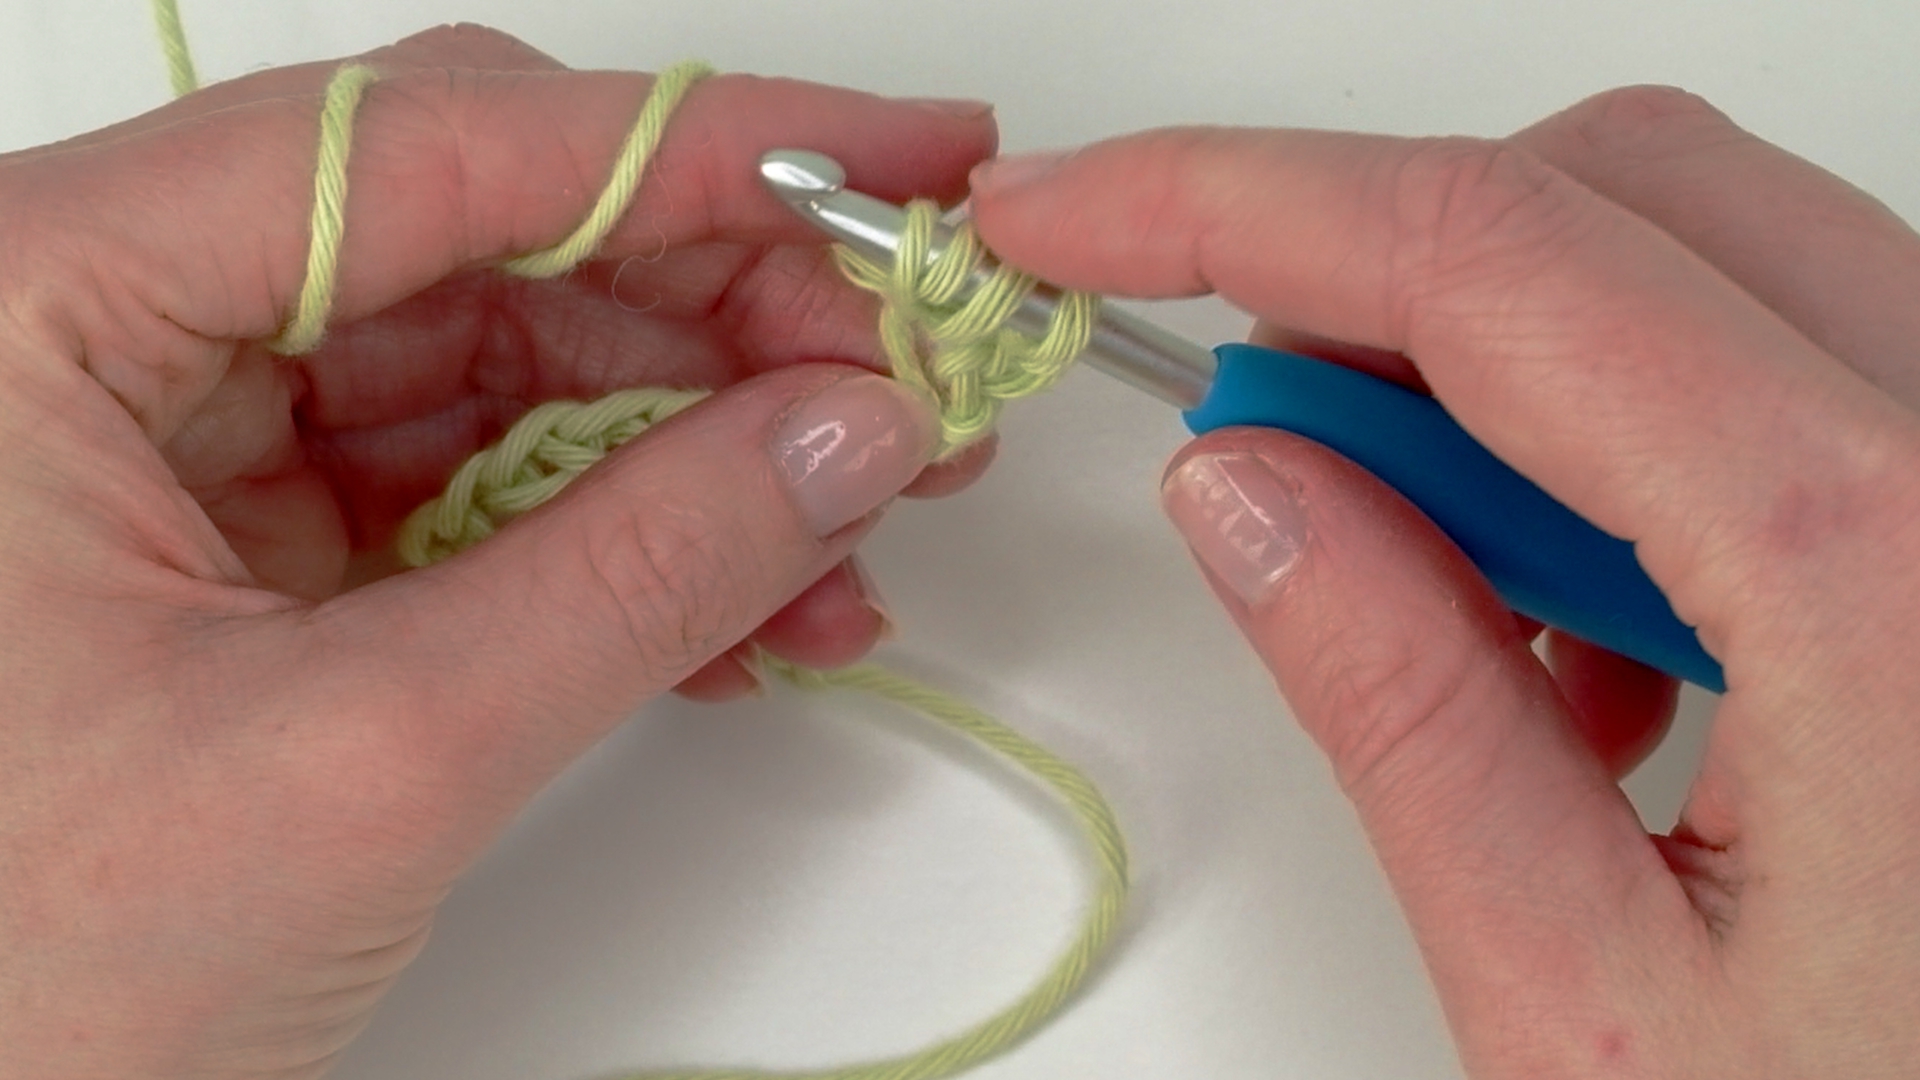
*Chain 1. skip one. Insert the hook in the next chain and pull up a loop. Yo and insert the hook in the same stitch and pull up a loop. Four loops on the hook. Yo and pull through all four loops. * Repeat from *-* until the end of the row. 1 hdc in the last stitch.
Row 2: Chain 3. *Insert the hook in the space below the chain 3 and pull up a loop. Yo and insert the hook in the same stitch and pull up a loop. Four loops on the hook. Yo and pull through all four loops. Chain 1, skip 1.
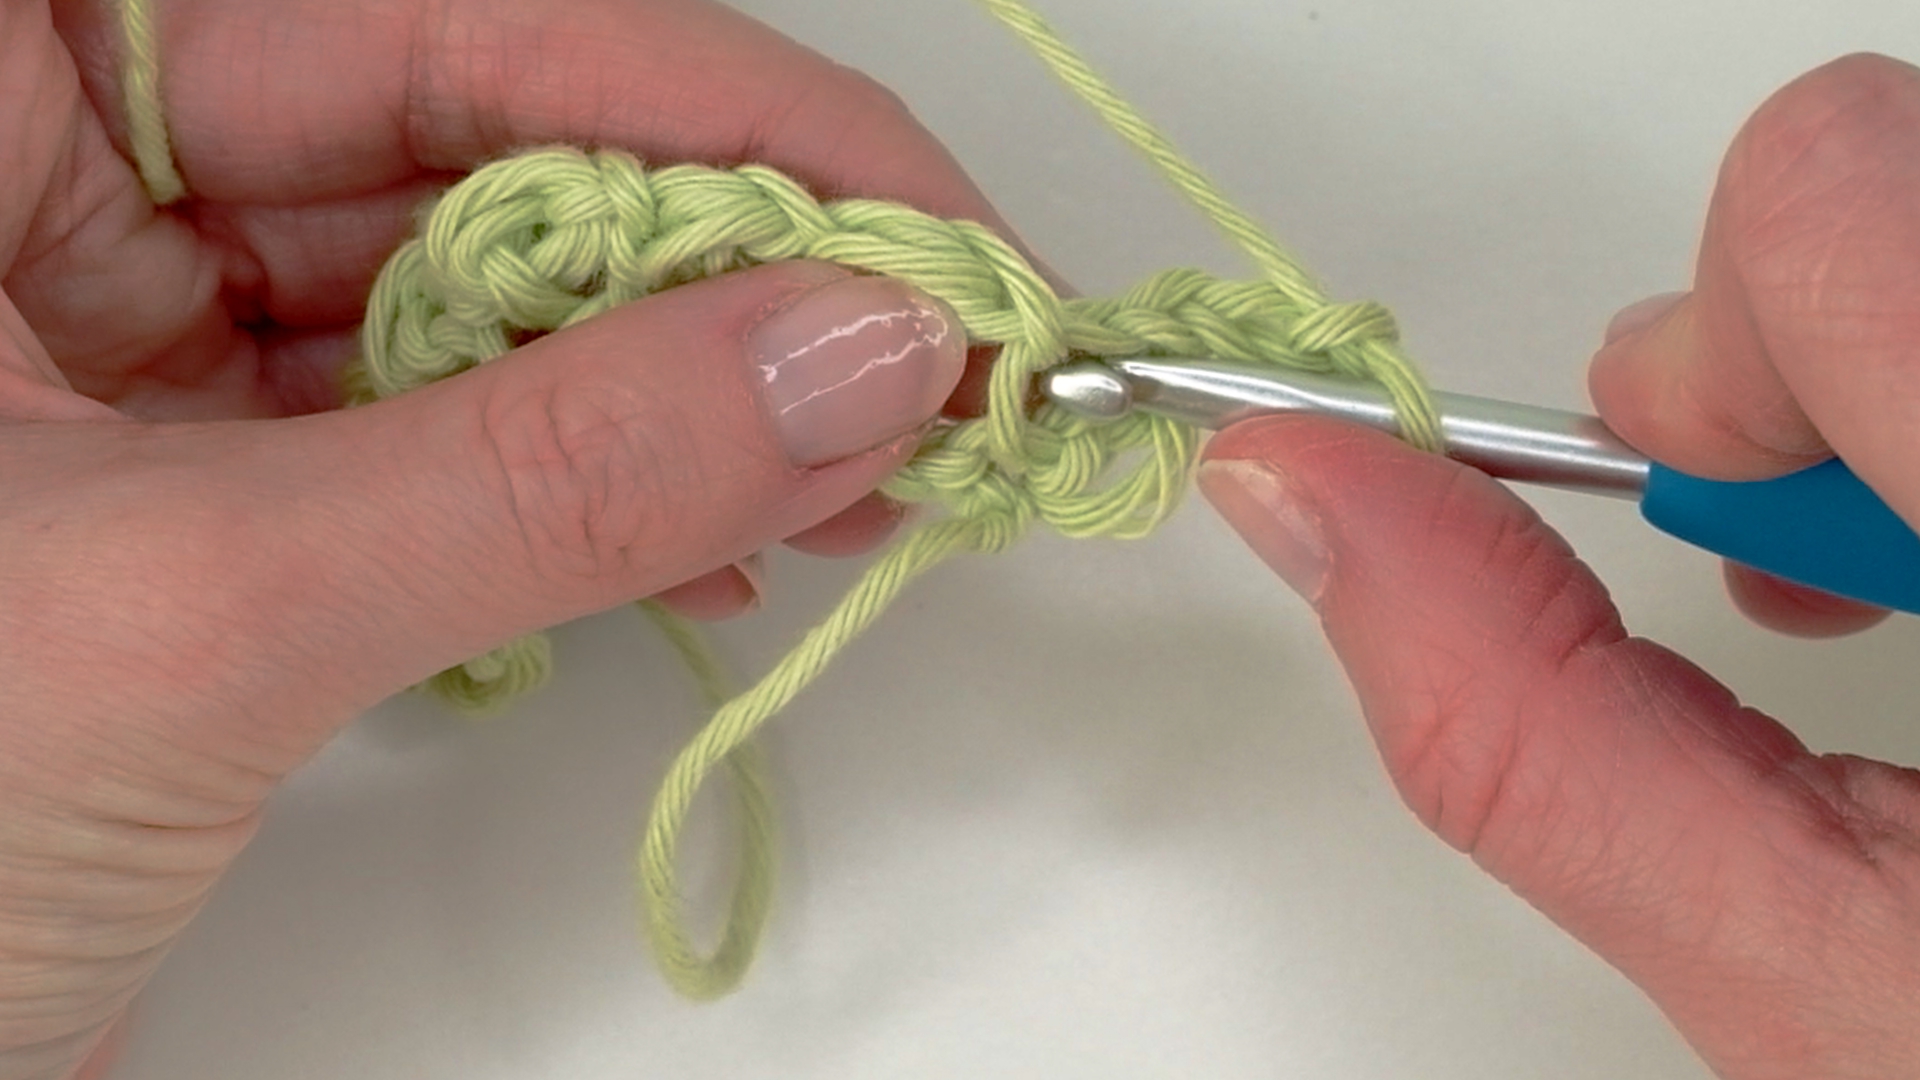
Insert the hook in the gap from the previous row. There are two gaps, and you want to go into the first one. Repeat: *Insert the hook in the space below the chain 3 and pull up a loop.
Yo and insert the hook in the same stitch and pull up a loop. Four loops on the hook. Yo and pull through all four loops. Chain 1, skip 1*. Repeat from *-* until the end of the row. 1 hdc in the last stitch.
When you get to the last stitch, inter the hook before the chain 3. Insert the hook in the space and pull up a look. Yo and insert the hook in the same space and pull up a loop. Yo and pull through all loops. Chain 3 and turn.
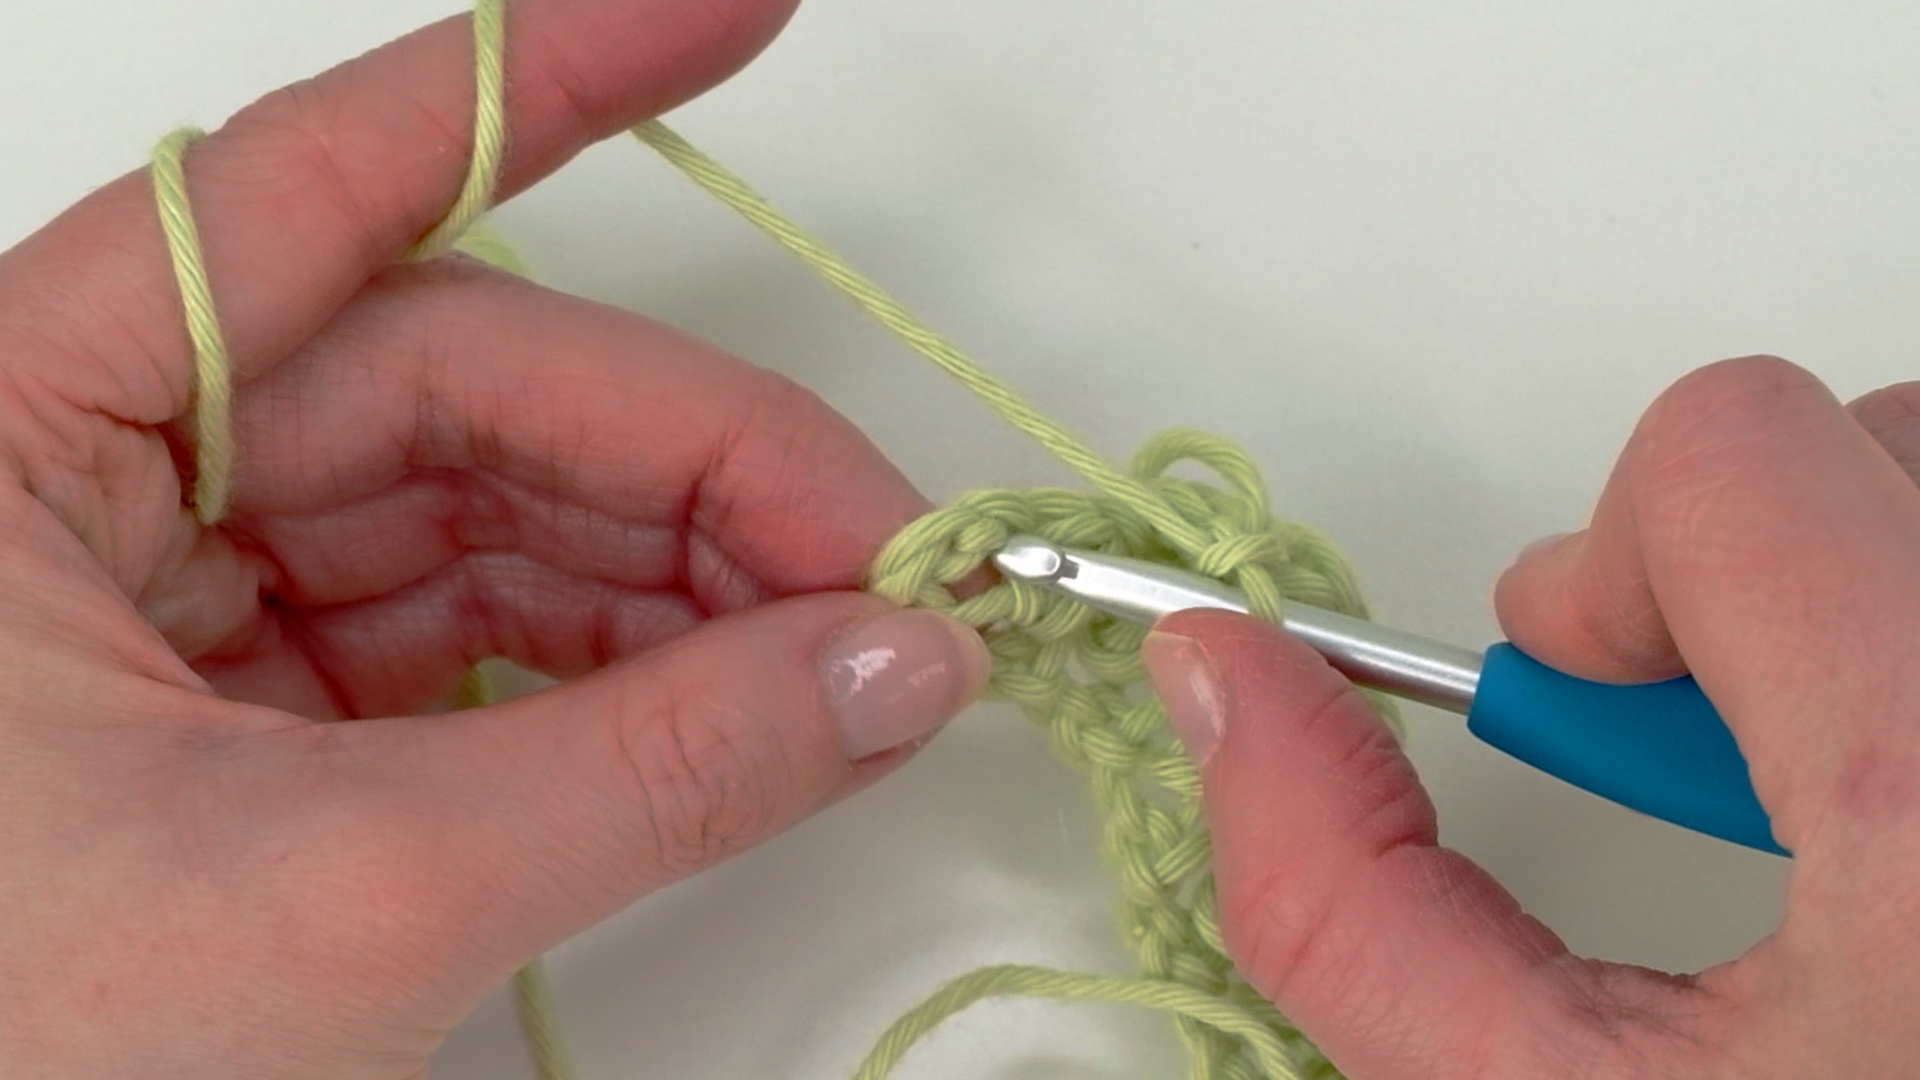
Repeat row 2 until desired size.
That's it! I hope you like this tutorial!
Feel free to ask if you have any quiestions.