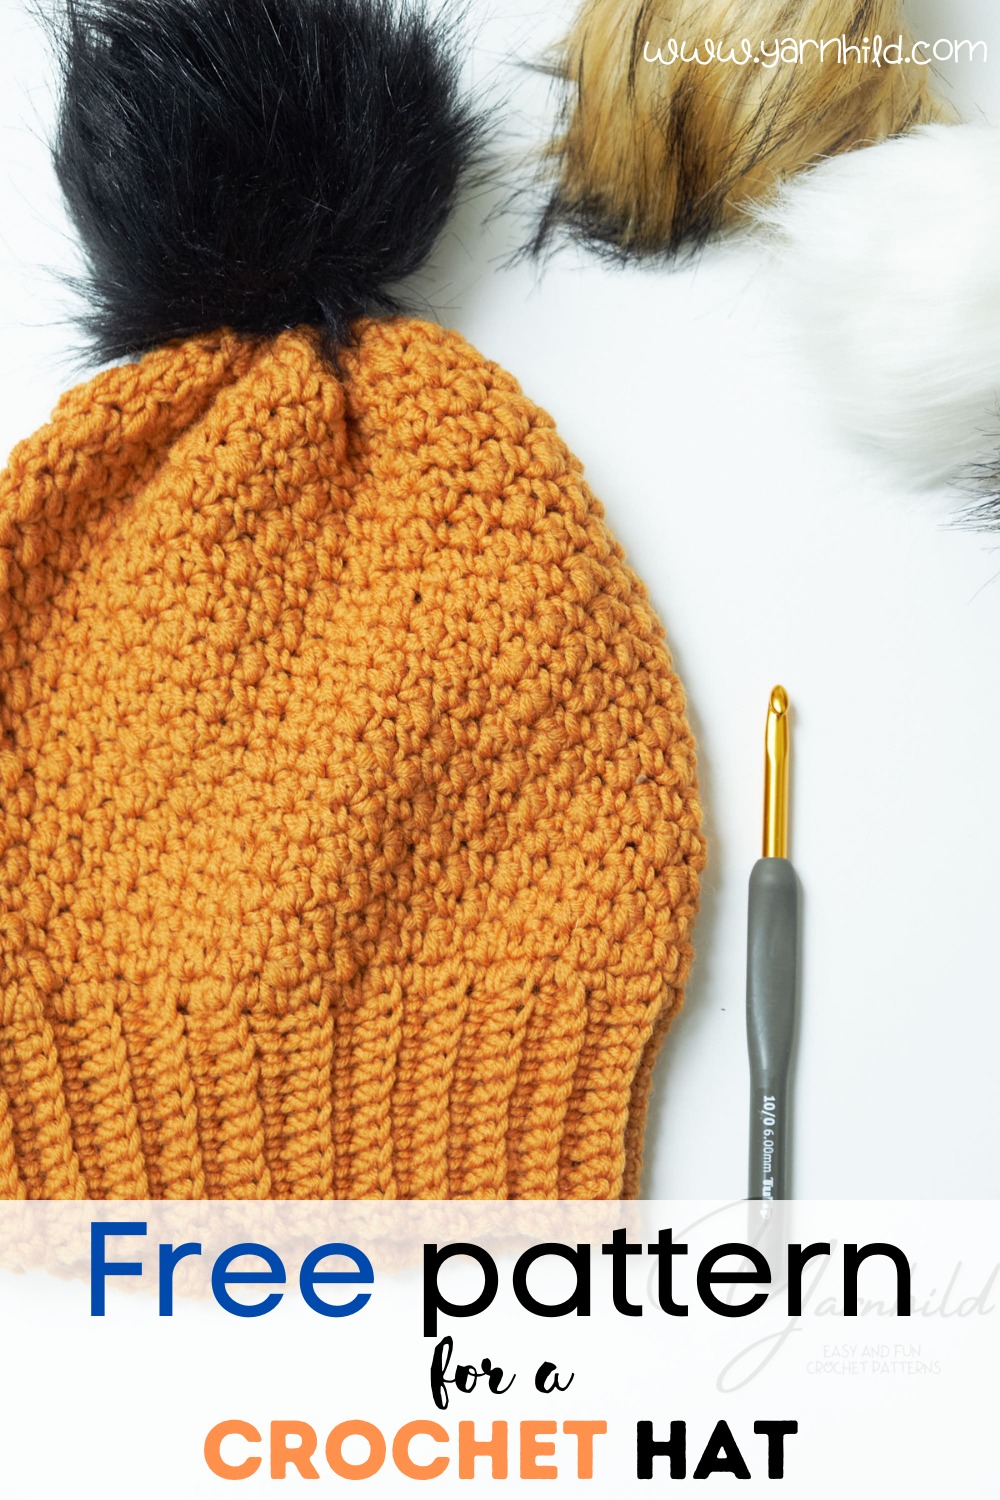
How to crochet an easy hat - a free pattern
Are you looking for a quick and pretty hat for the fall and winter? Here is a free crochet pattern for a cute hat!
This pattern is easy to follow and you can adjust the size by making the ribbing longer or shorter in the beginning. There are just a few things you need to consider and I wrote them all in the pattern. Also, there is a video showing how to make this easy crochet hat.
Pin this for later on Pinterest.
Printables
Scroll down for the FREE crochet hat pattern, or purchase the inexpensive PDF on Etsy or Ravelry. Thank you for your support!
Yarn and materials
(Affiliate links coming towards you!)
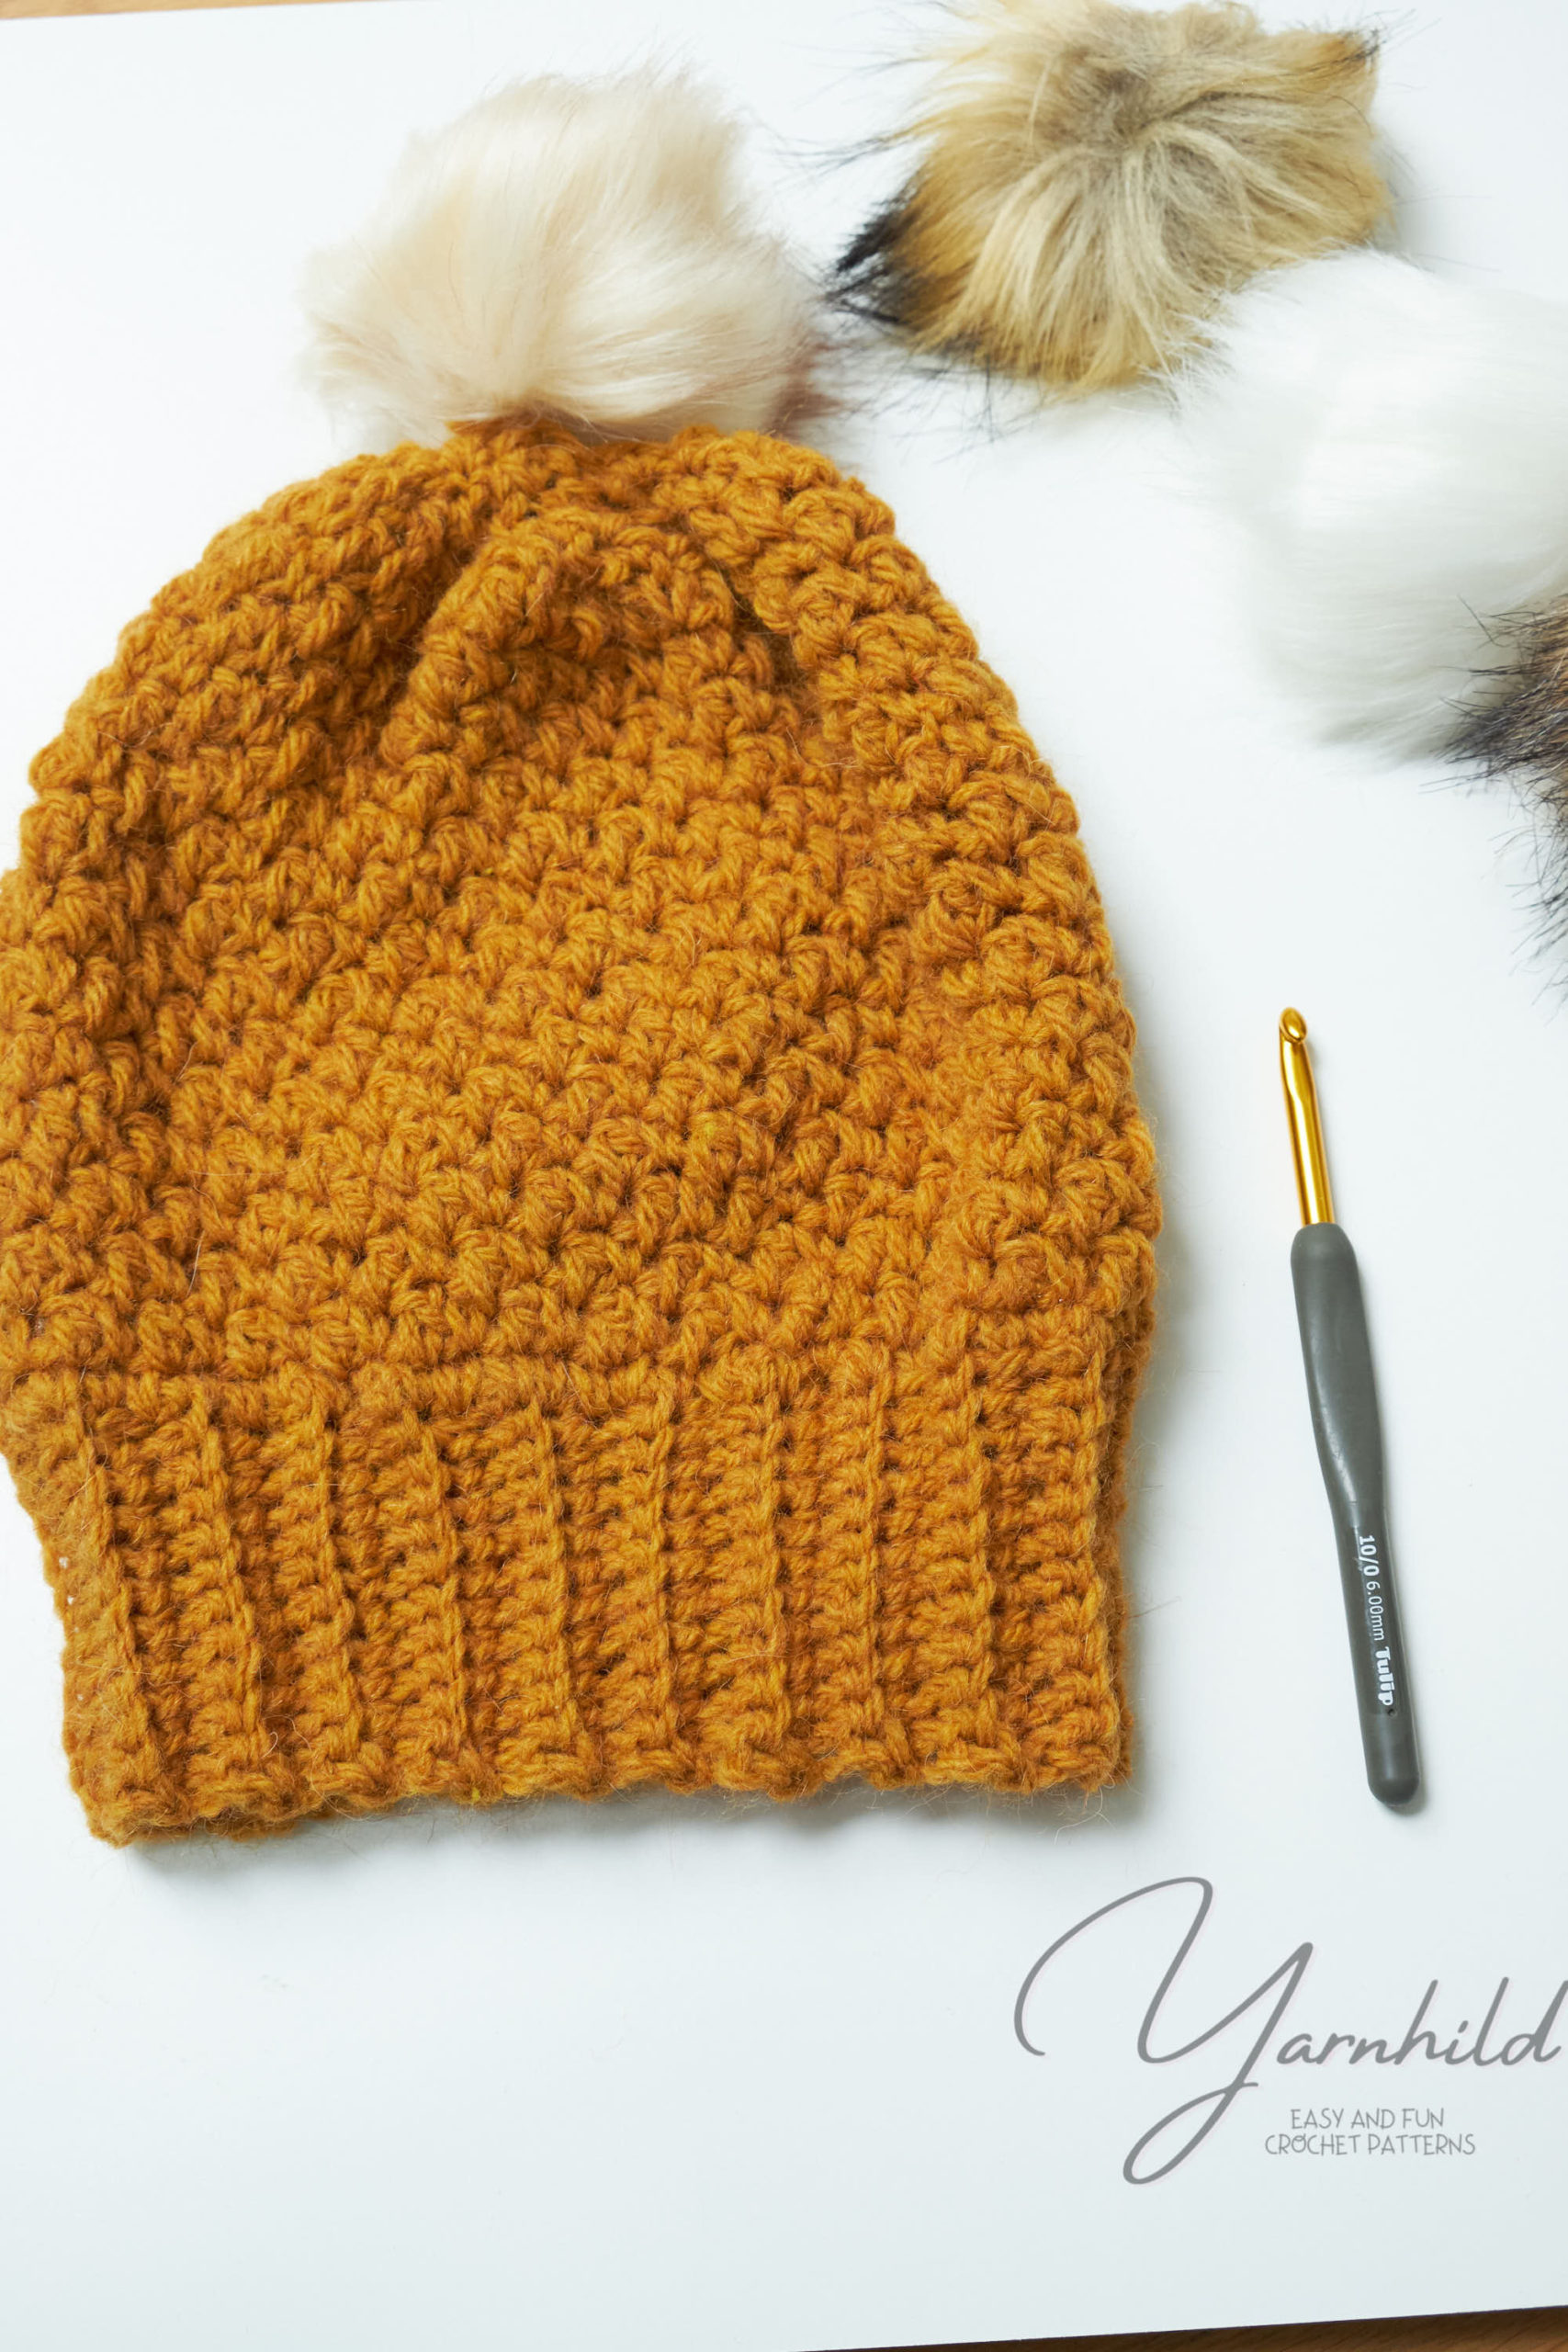
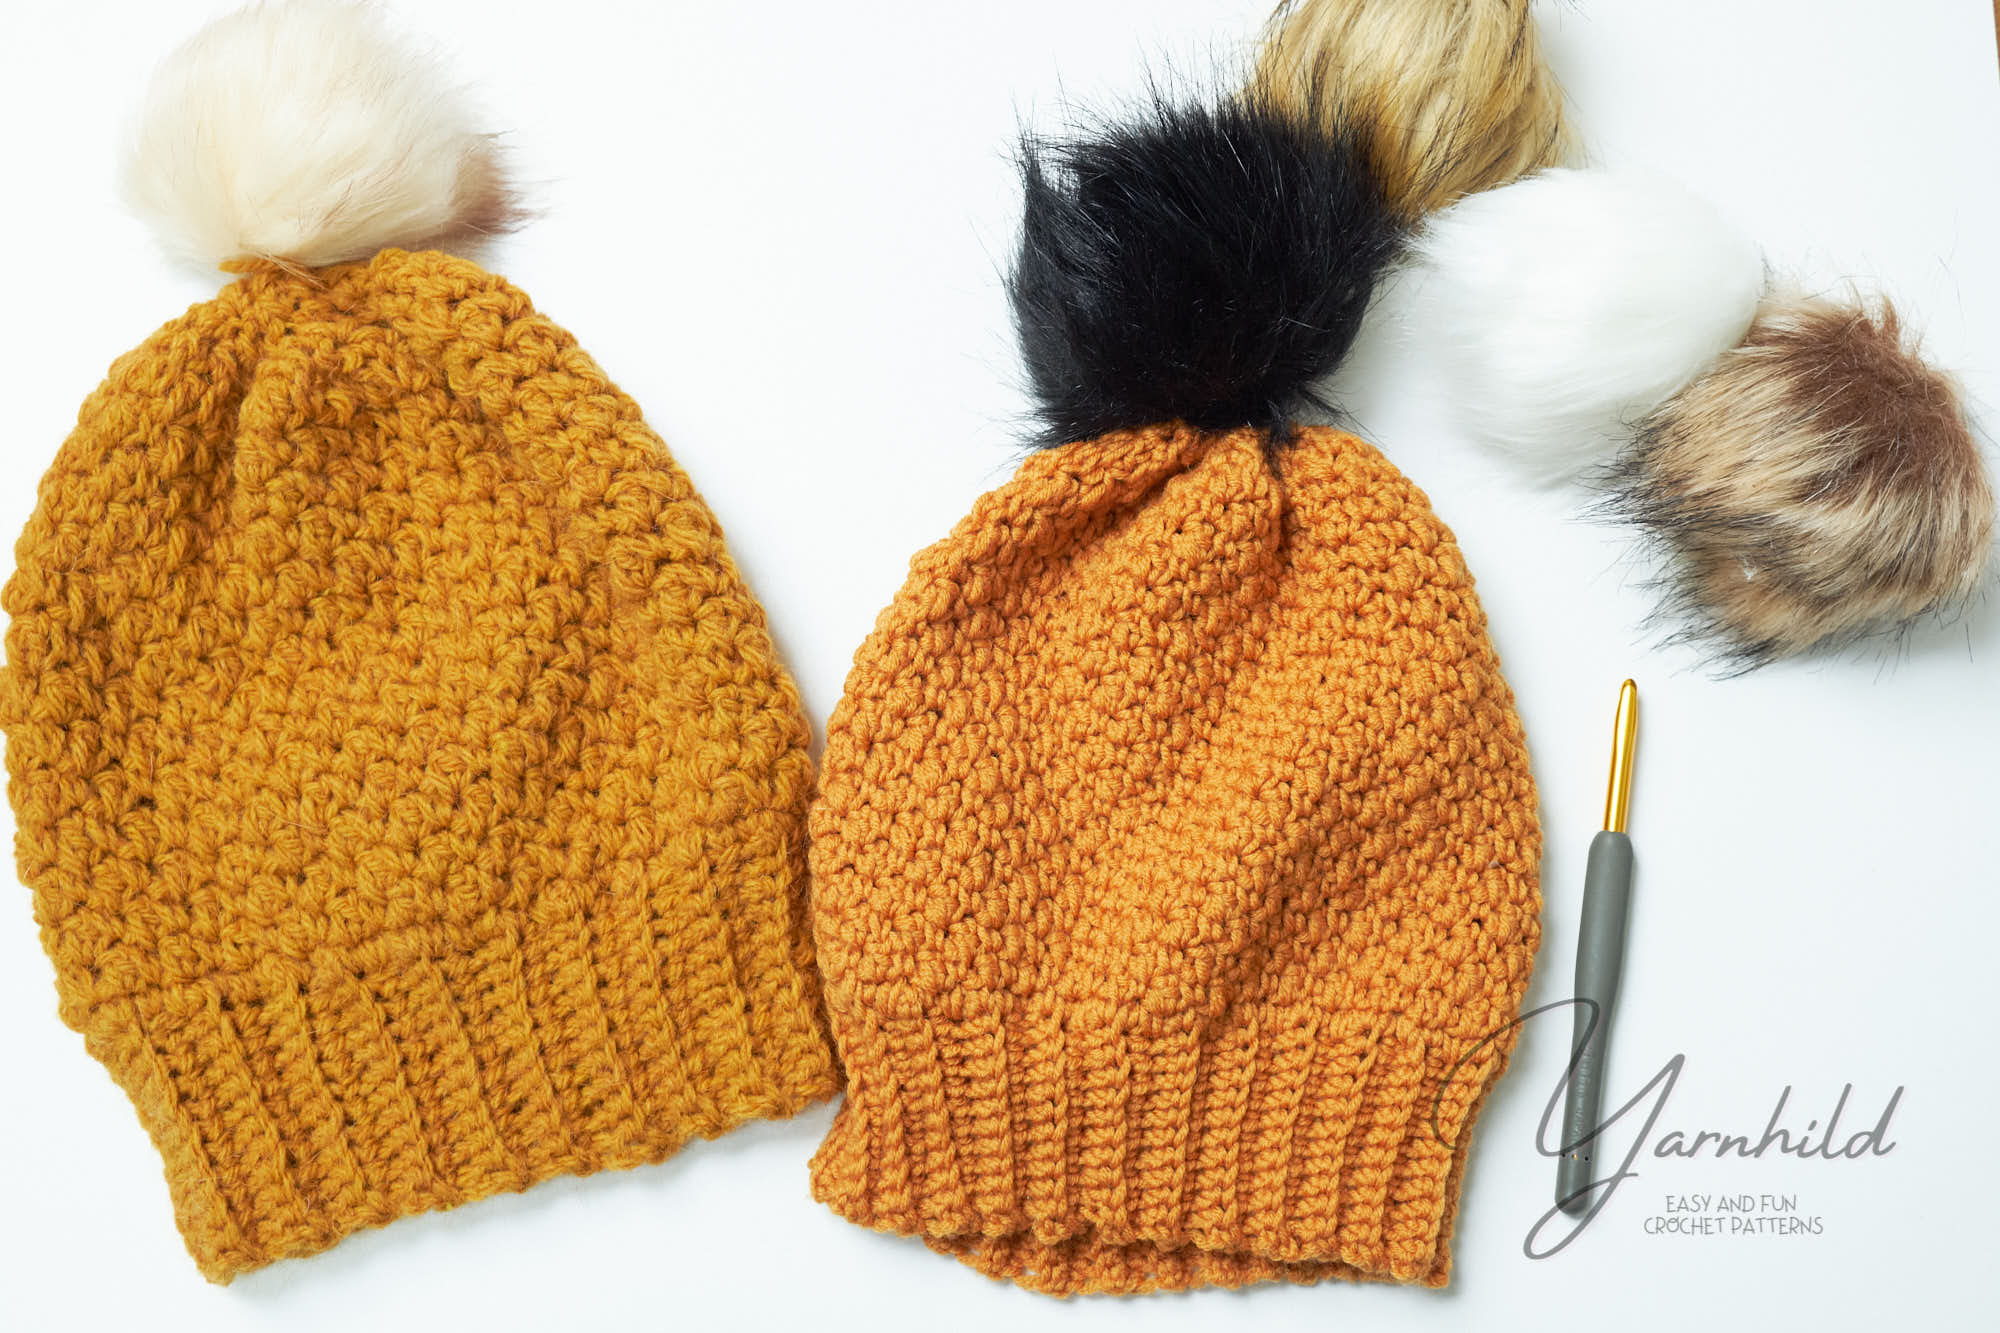
You can use any worsted or Aran weight yarn for this pattern. I used an alpaca yarn for the one with the withe pompom, and one worsted lightweight yarn for the other hat.
I added some faux fur pompom that I found here. The quality is great and they are easy to fasten too! However, you can make a pompom of your leftover yarn too!
For the ribbing, I used a 5 mm crochet hook, and then I switched to a 6 mm crochet hook. I am using hooks from Tulip. These are great hooks, and I can truly recommend them.
Video pattern
If you are a beginner, I highly suggest that you watch the video too! Here I demonstrate how to make this cute hat. We have a German and an English version.
Click here to subscribe to our channel. There are new crochet videos every week!
Other free patterns you need to check out
Make a nice wrap to go with your hat. You can use matching colors to make it fit. Here is a popular free pattern for a beautiful shawl to keep you warm.
English hat pattern
[ytplayer id=9144]German hat pattern
[ytplayer id=9146]Show us your work!
Share a picture with us on Instagram of your hat! Use the hashtag #Yarnhild. Also, there is a group on Facebook that you can join.
Never miss a pattern
Sign up for our newsletter so you'll never miss a pattern! We never spam and we'll send you an email when there is a new pattern available. Usually one mail a week.
Free crochet hat pattern - The Seed Stitch beanie
This pattern is the intellectual property of Yarnhild. The pattern must not be altered, translated, copied, or republished without approval. You are welcome to sell the items that you have made from my patterns, but please be sure to give me credit for the pattern that you sell online. For private use only, no commercial use. 2020 – Yarnhild

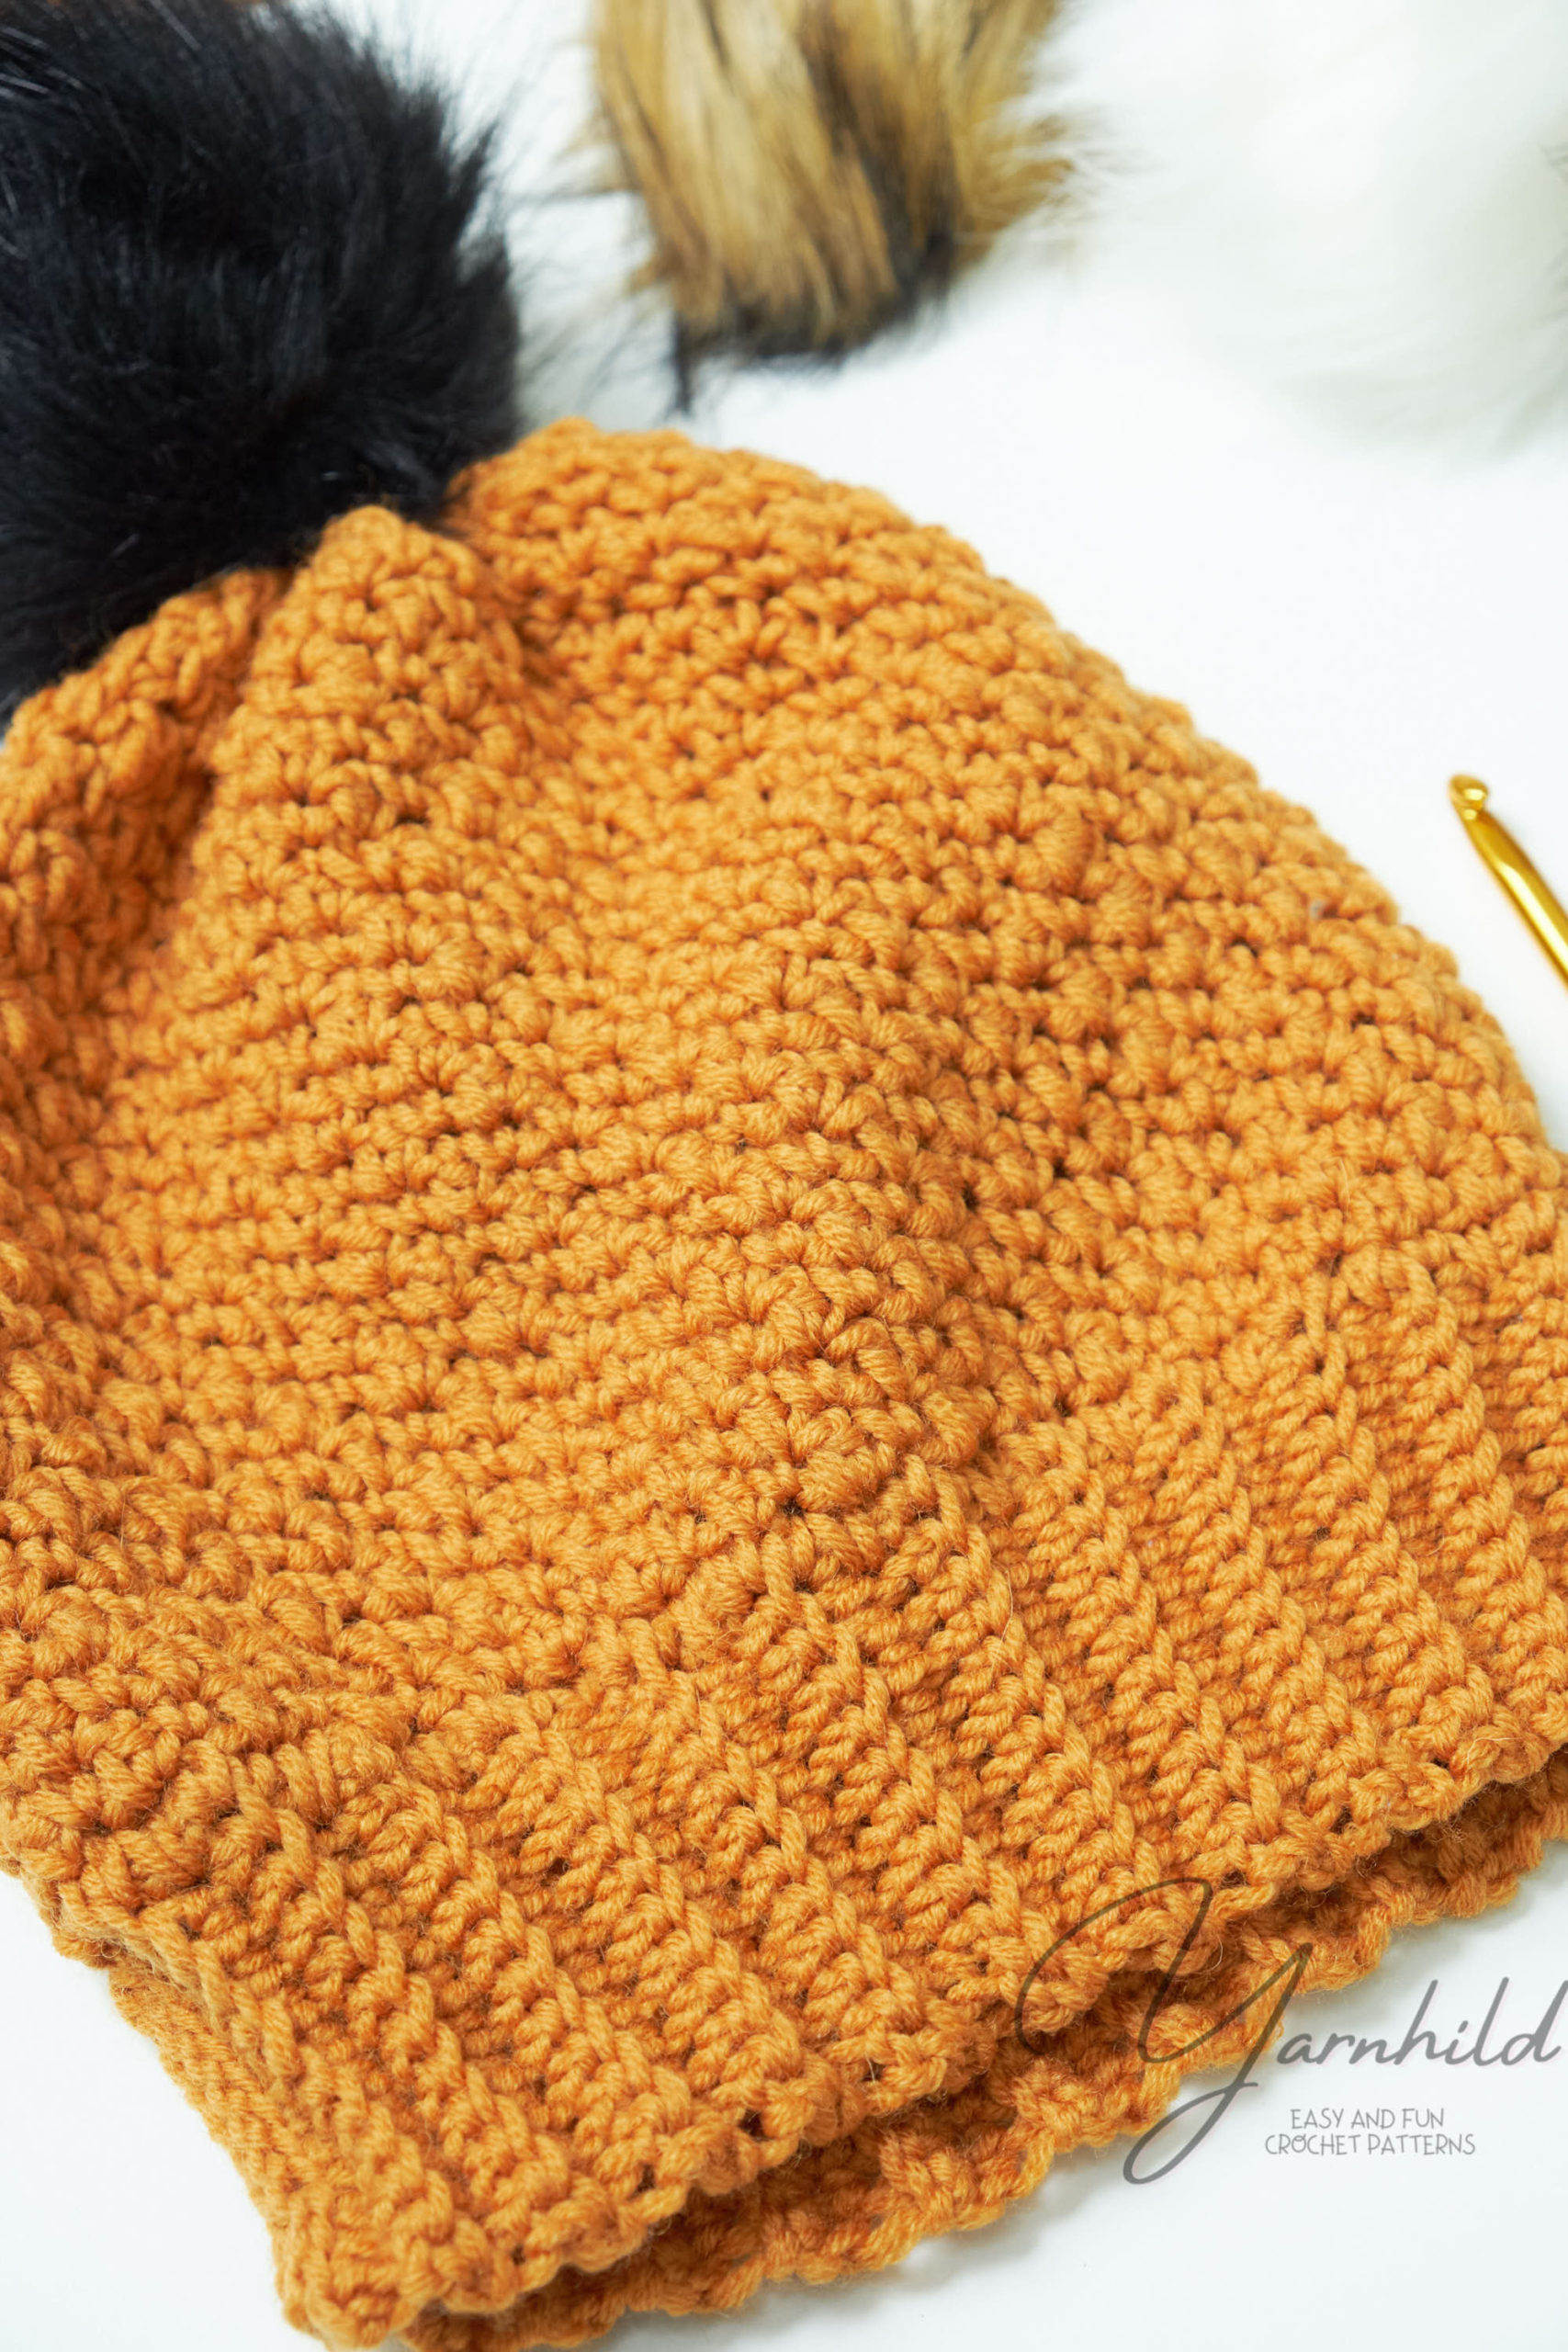
The Seed Stitch hat
Abbreviations – US terms
Ch-chain
R–round
St–stitch
Sl st–slip stitch
Sc–single crochet
Sc dec–single crochet decrease
Sc inc–single crochet increase, 2 single crochet in one stitch
Mr–Magic ring
BLO –back loop only
Materials
-Crochet hook 5.0 mm and 6 mm
-Medium worsted weight yarn
-Tapestry needle
-Optional 1 pompom.
-Yarn used in this pattern: Soft Alpaca from Rico design 50 g = 125 m
For a 21 inch size 1 skein was enough for a small beanie.
Instructions
Ribbing
Using a 5 mm crochet hook
Row1: Ch 13, turn, 1 sc in the 2nc ch from the hook and in the next 11 chains = 12 sc
(for a higher, shorter ribbing add more or fewer chains)
Row 2-42: 1 sc in the BLO, ch 1 turn = 12 sc
Do not fasten off.
Fold the piece and lie so that the short side lies on each other. After the last row, join short ends together using a sl st in back loops. Do not break yarn, continue to the body of the hat.
Change to a 6 mm crochet hook.
Main part
Rnd 1: Sc around the body of the hat. Placing 1 stitch in each row = 42 sc
(if you have a shorter, longer ribbing, just make sure that you end with a multiple of 2.
Rnd 2: Ch 2 (counts as 1 sc through the entire pattern). * 1 dc in the next st, 1 sc in next st * Repeat from *-* around. 1 dc in the last st Join with a sl st in the first st. = 42 sts
Rnd 3: Ch 3 (counts as 1 dc through the entire pattern). * 1 sc in the next st, 1 dc in the next st* Repeat from *-* around. 1 sc in the last st. Join with a sl st in the first st. = 42 sts
Rnd 4-14. Repeat rounds 2-3 until the body part is about 16 cm 6.2 inches or longer.
Rnd 15: Ch 1, Sc2tog starting in the same st as ch 1. Sc2tog around. Join to top of 1st st with sl st.=
Rnd 16-17. Repeat round 15.
Sew the hole closed and fasten off. Weave in ends.


Such a pretty hat! and yes, Tulip are some of the best hooks! 🙂