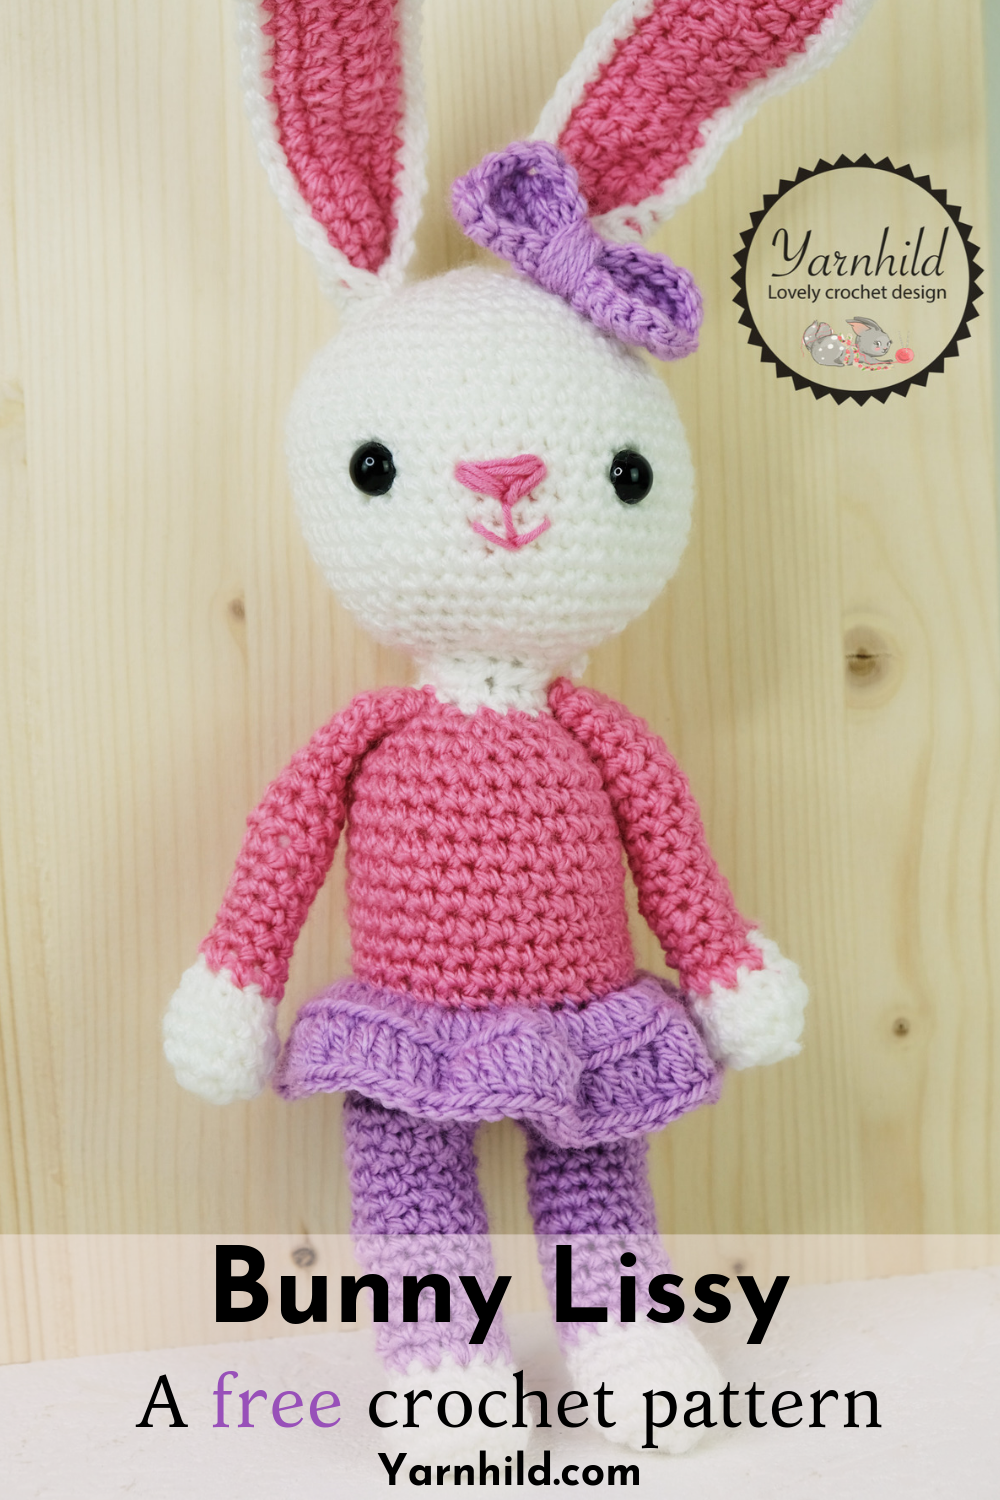
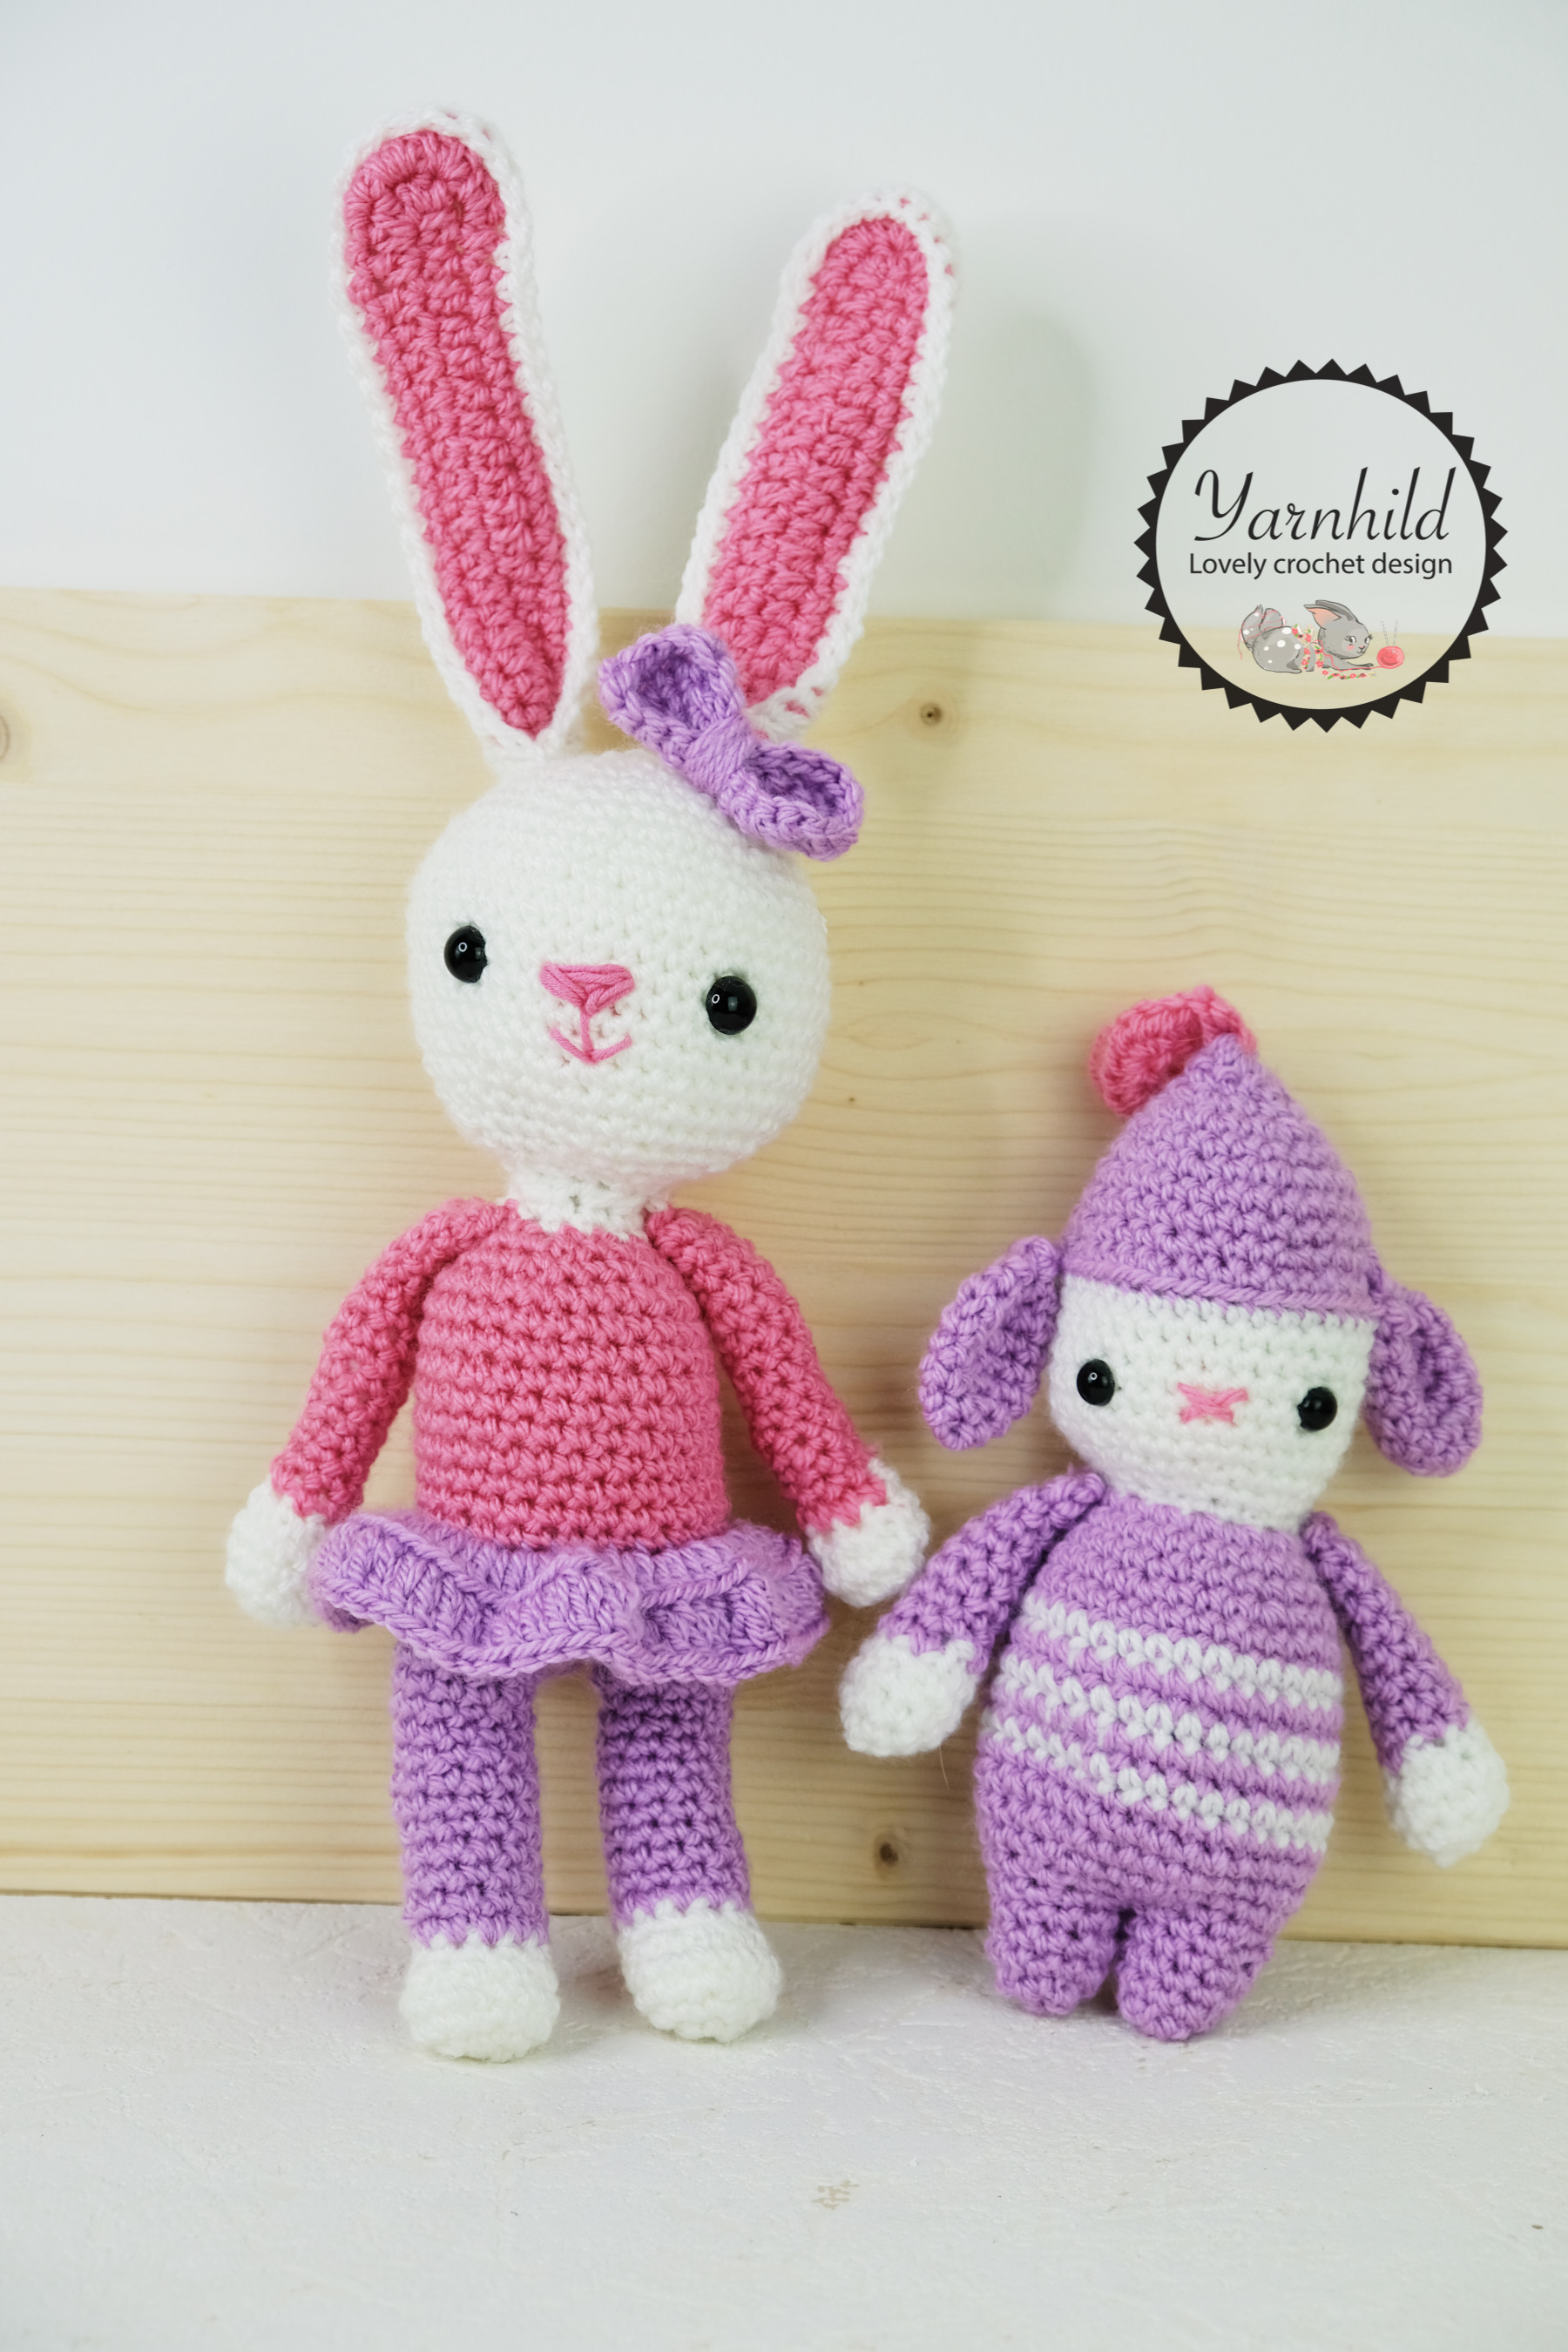
Party animals - vol 2 - Bunny Lissy
Hi! The second part of the party animals series is ready, and this time crochet bunny Lissy is entering the stage!

I have to say, I really like how she turned out! She was super fun to make too, and I hope that you will love the pattern as well!
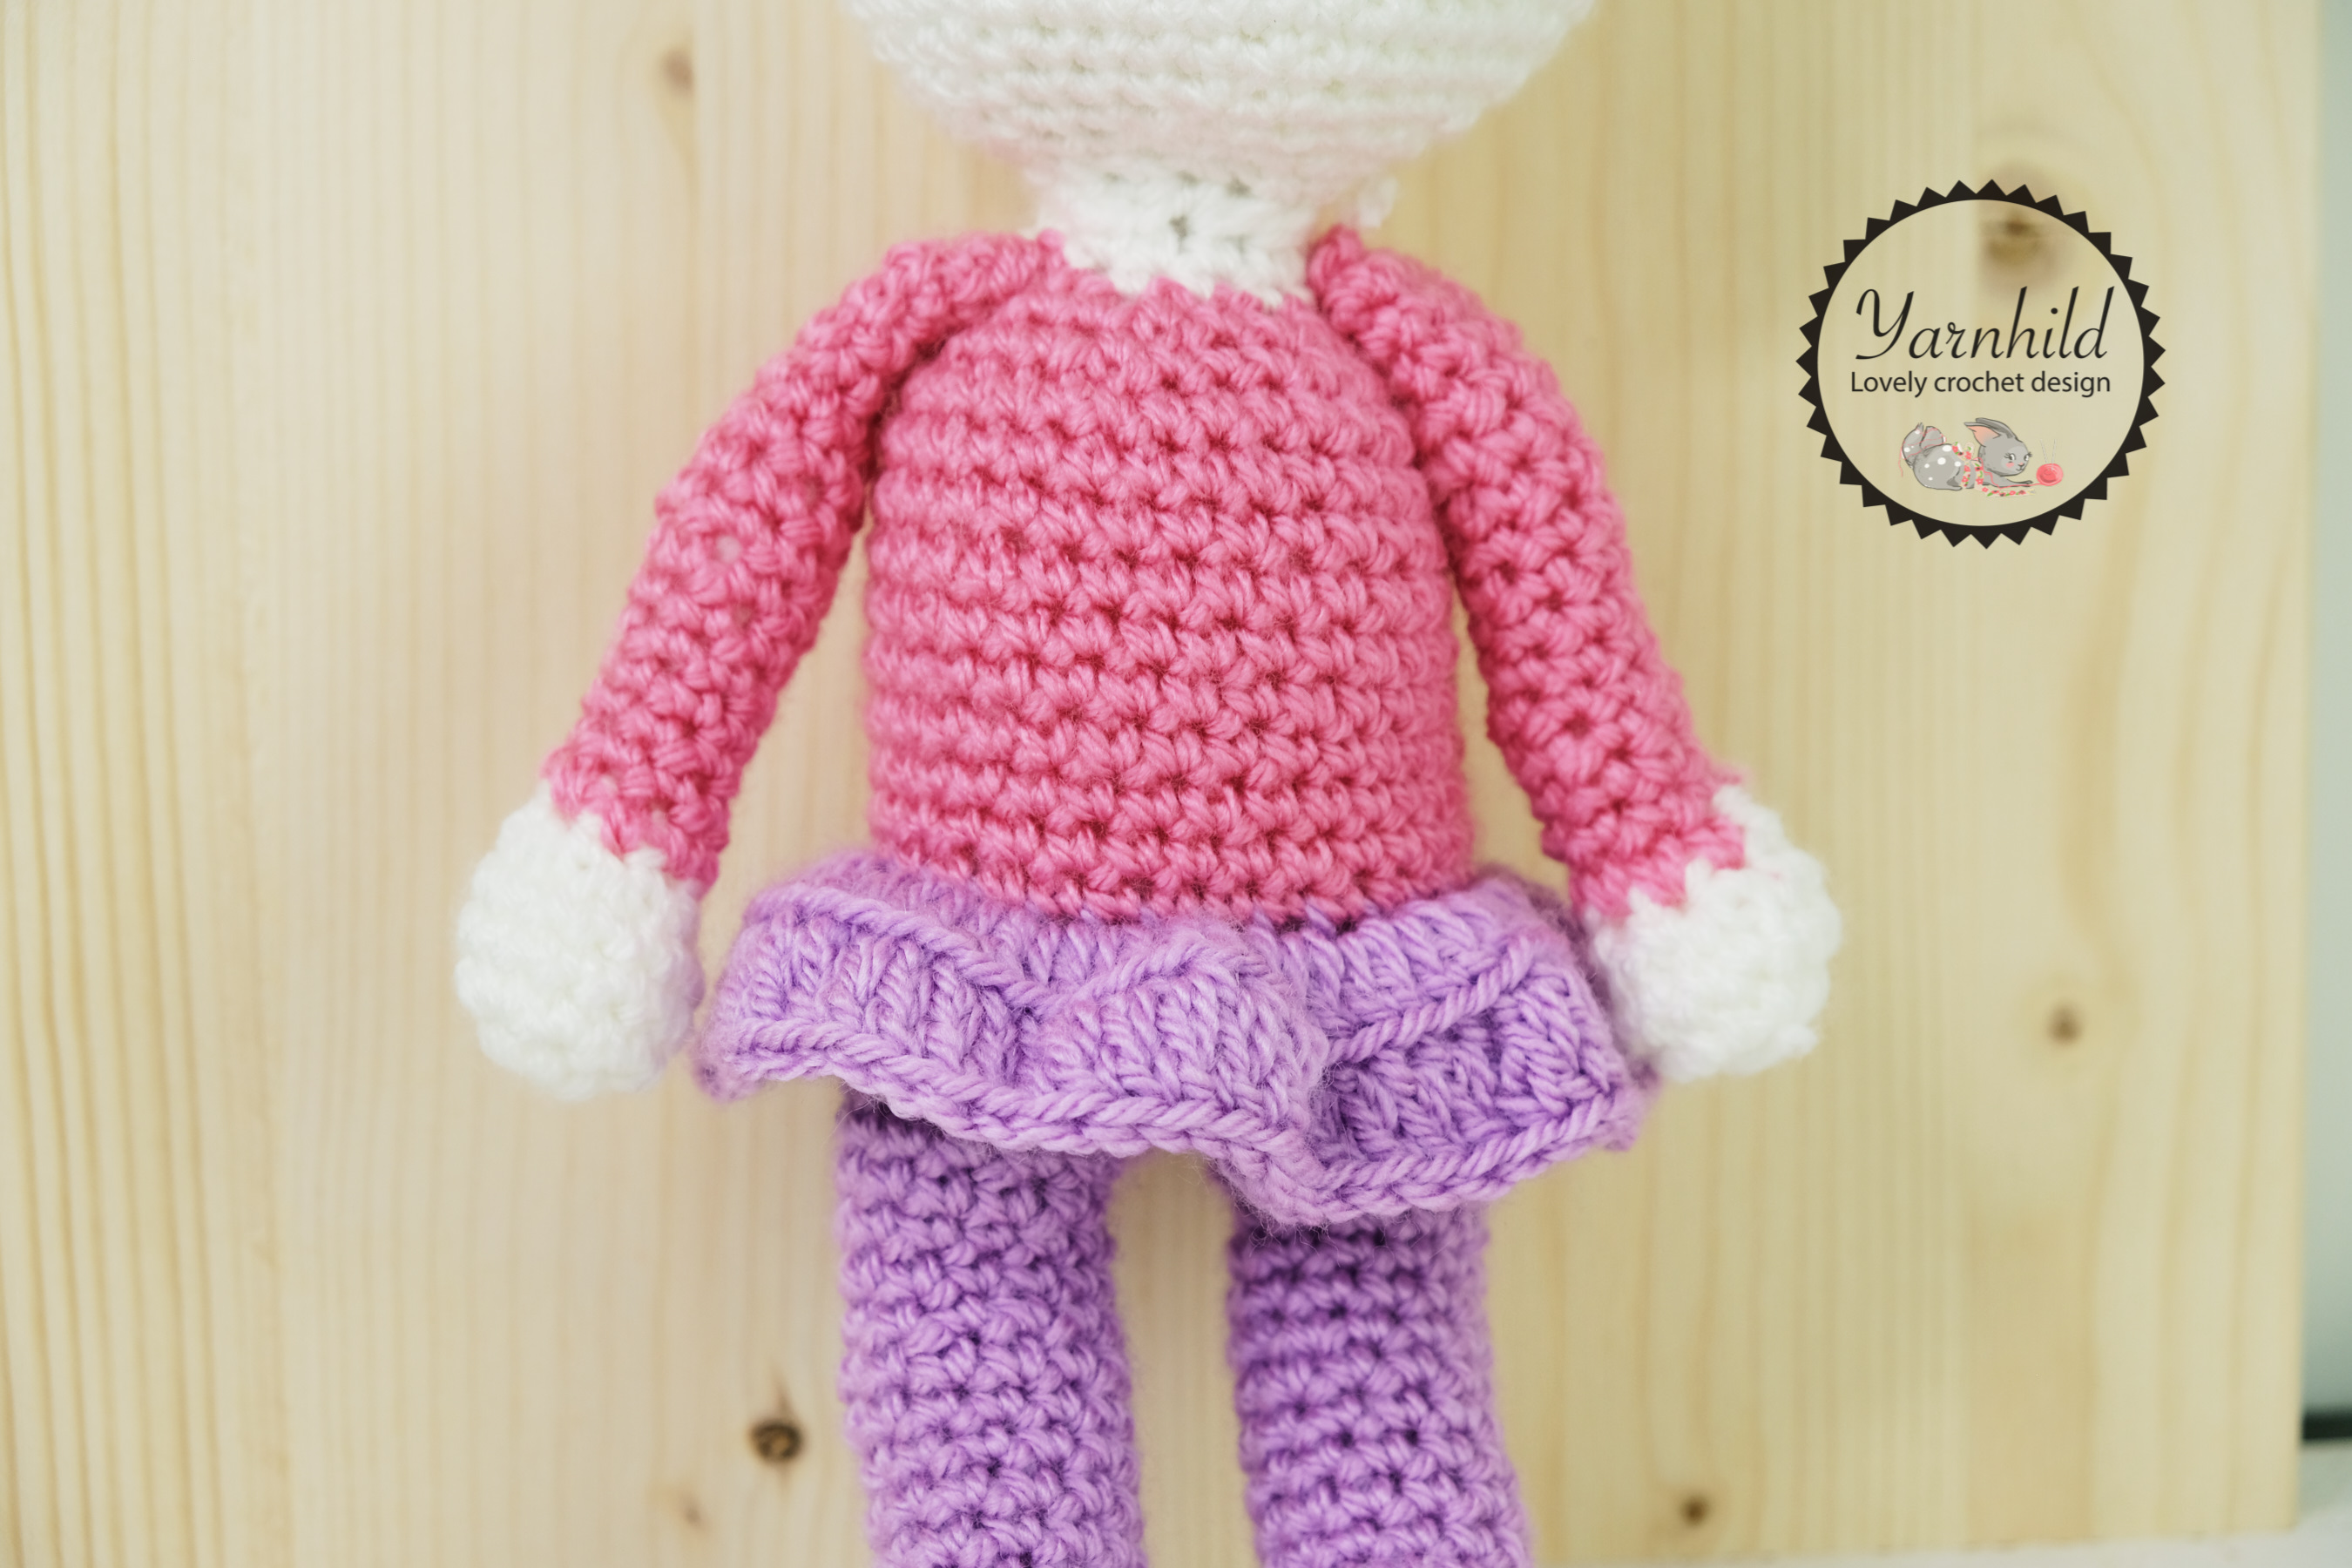
The feet and body are made in one part, starting with the feet. Her head, arms and ears are made separately. She also has a skirt that is being crocheted on the body.
If you have missed part one, check out party animal Haakon!
Disclaimer: This blogpost contains affiliate links. Read more about it here.
Crochet bunny Lissy is a little different from my designs since the body is made in one piece. If you have been following this blog and my work, you know that I usually made all limbs separately. However, I like this better! It looks great and there is less sewing involved.
Crochet bunny Lissy and the real bunny Lissy
If you are following me on Instagram, you might have seen my bunnies! I have four of them! They are called Vicky, Teddy, Angie, and Lissy. Short for Victoria, Theodor, Angelica and Elisabeth:) (I am pretty happy with those names).
They are the sweetest bunnies and Lissy is the the grey one sitting next to Angie. She is the shy one, and the first six months I could hardly pet her. Teddy and Vicky (grey and red bunnies) are very cuddly. Angie loves to dig holes and isn't so fond of human contact, she is sweet but also a little sassy. Lissy is the reserved one. She eventually came over her shyness towards me, and now I am her favourite human!
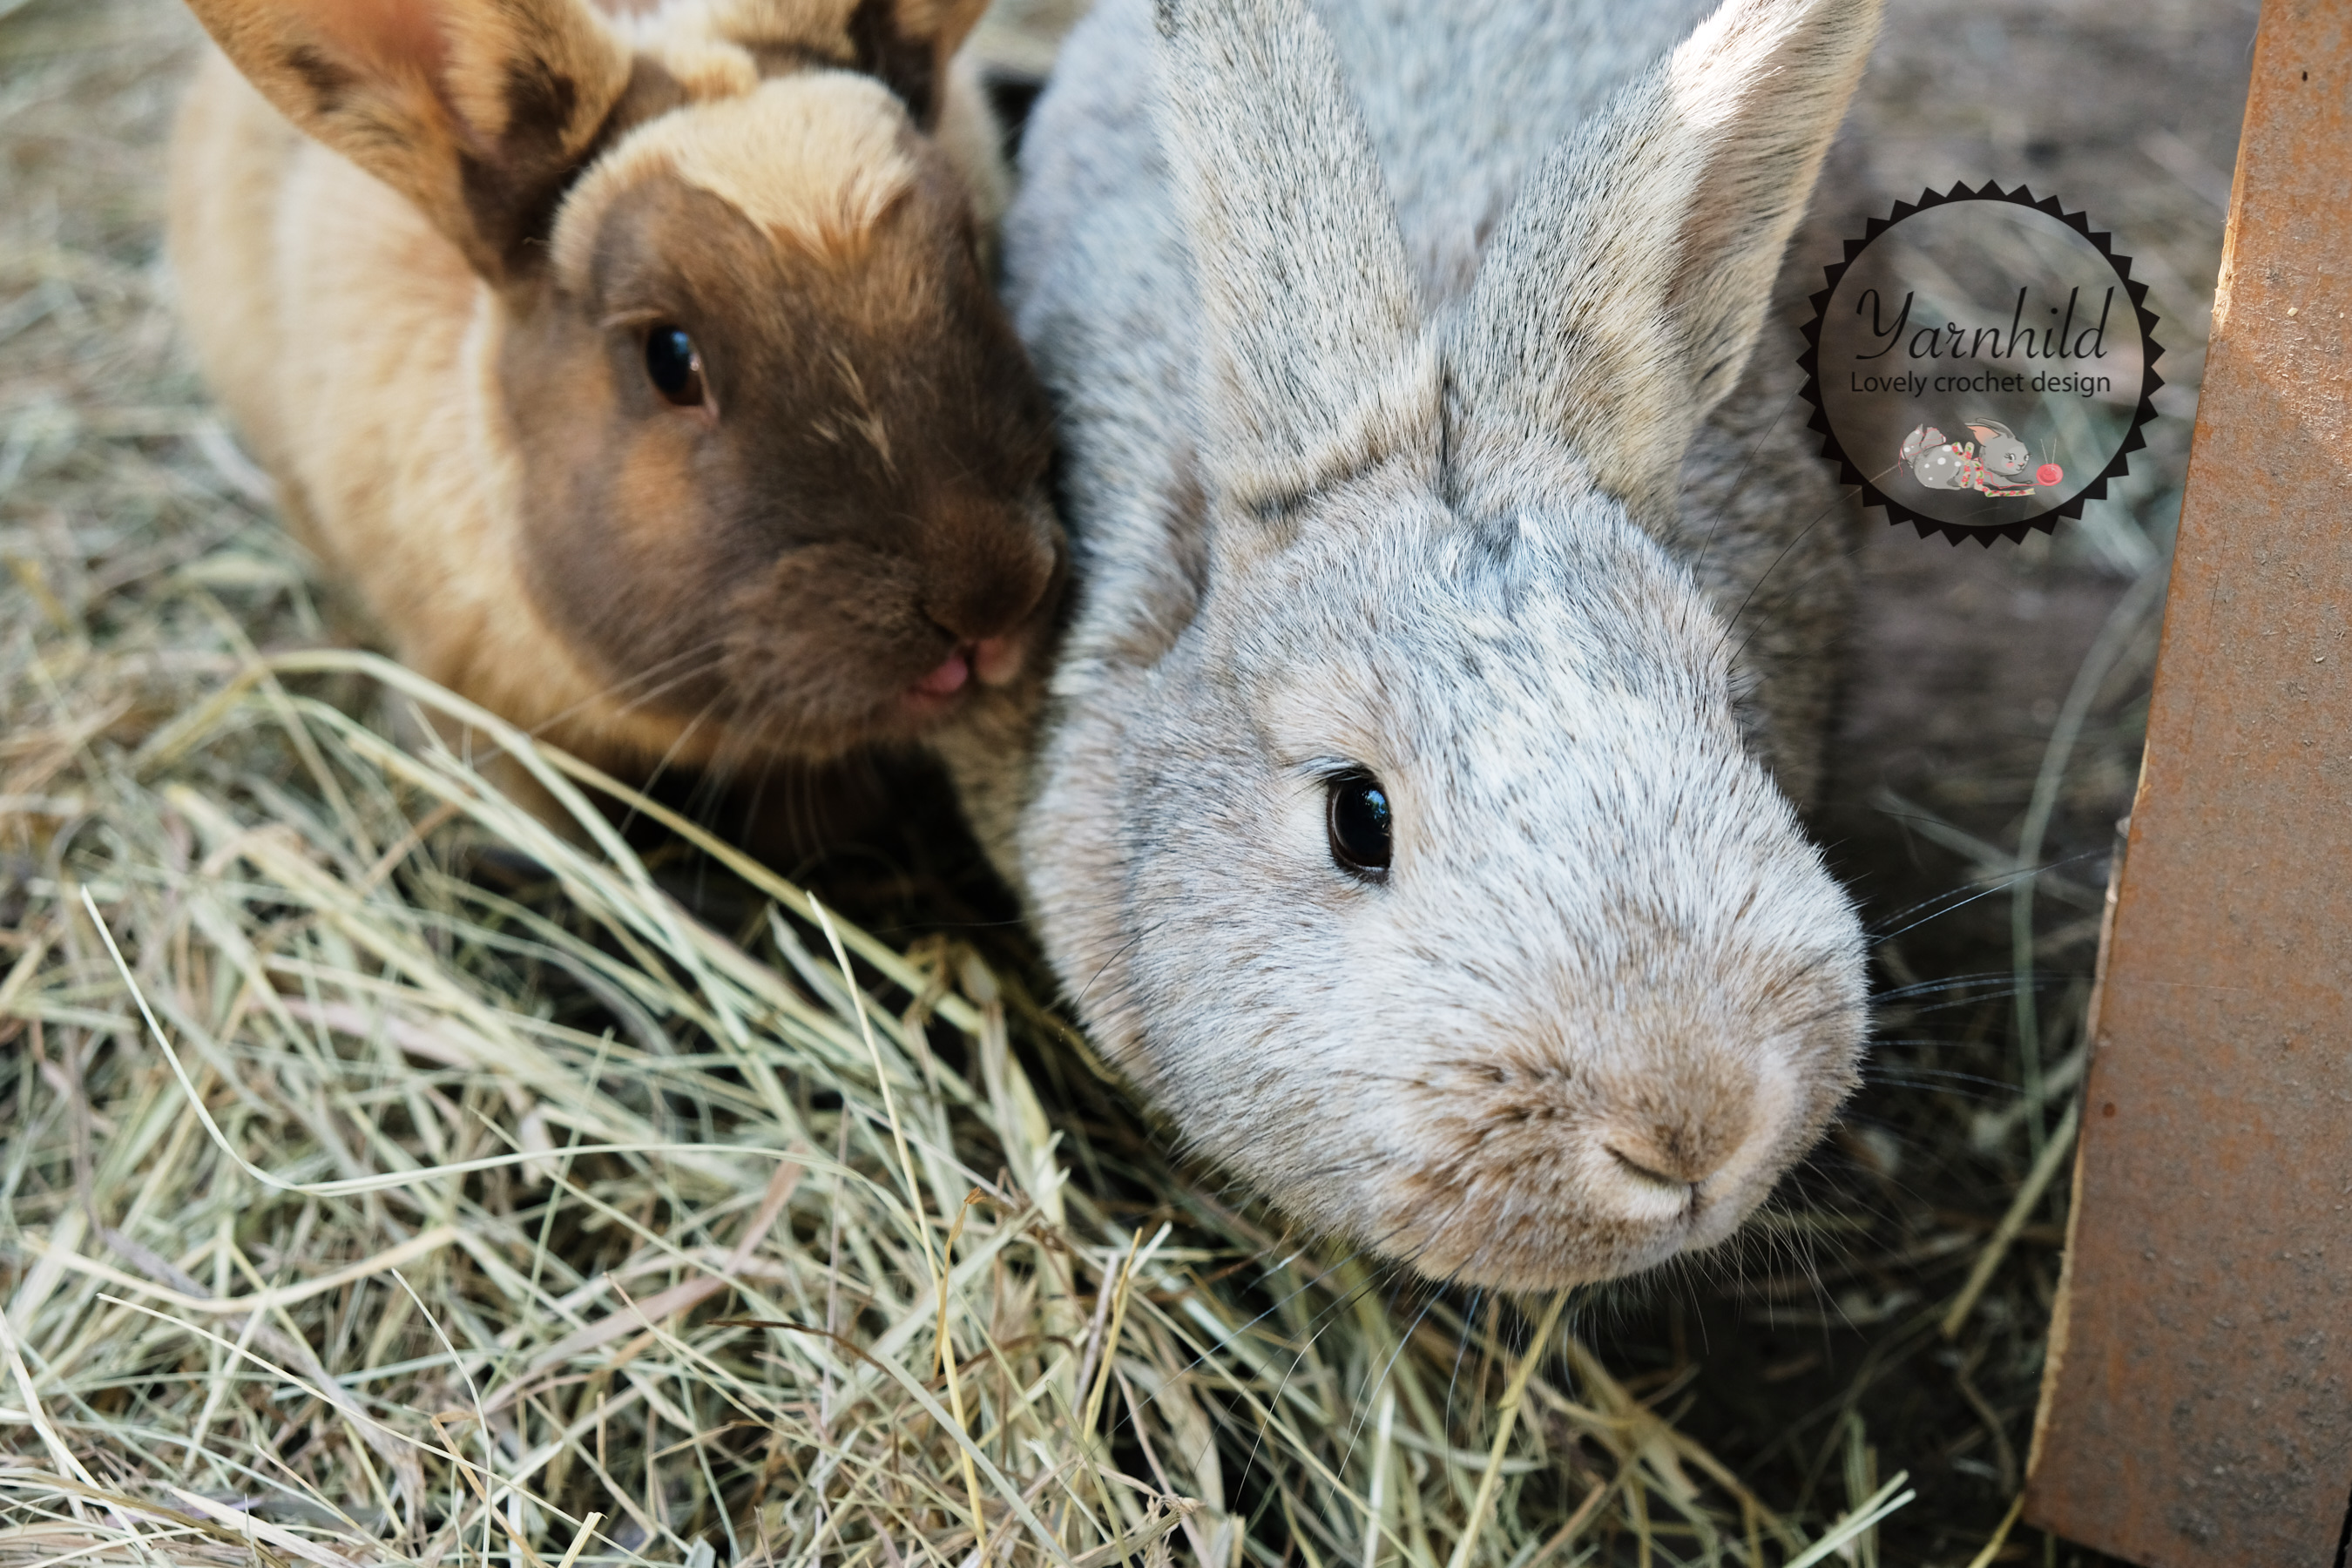
It's so funny to see all these different personalities. They love a treat, especially carrots! Now in the summer I go and collect fresh herbs from the fields for them. They love that!
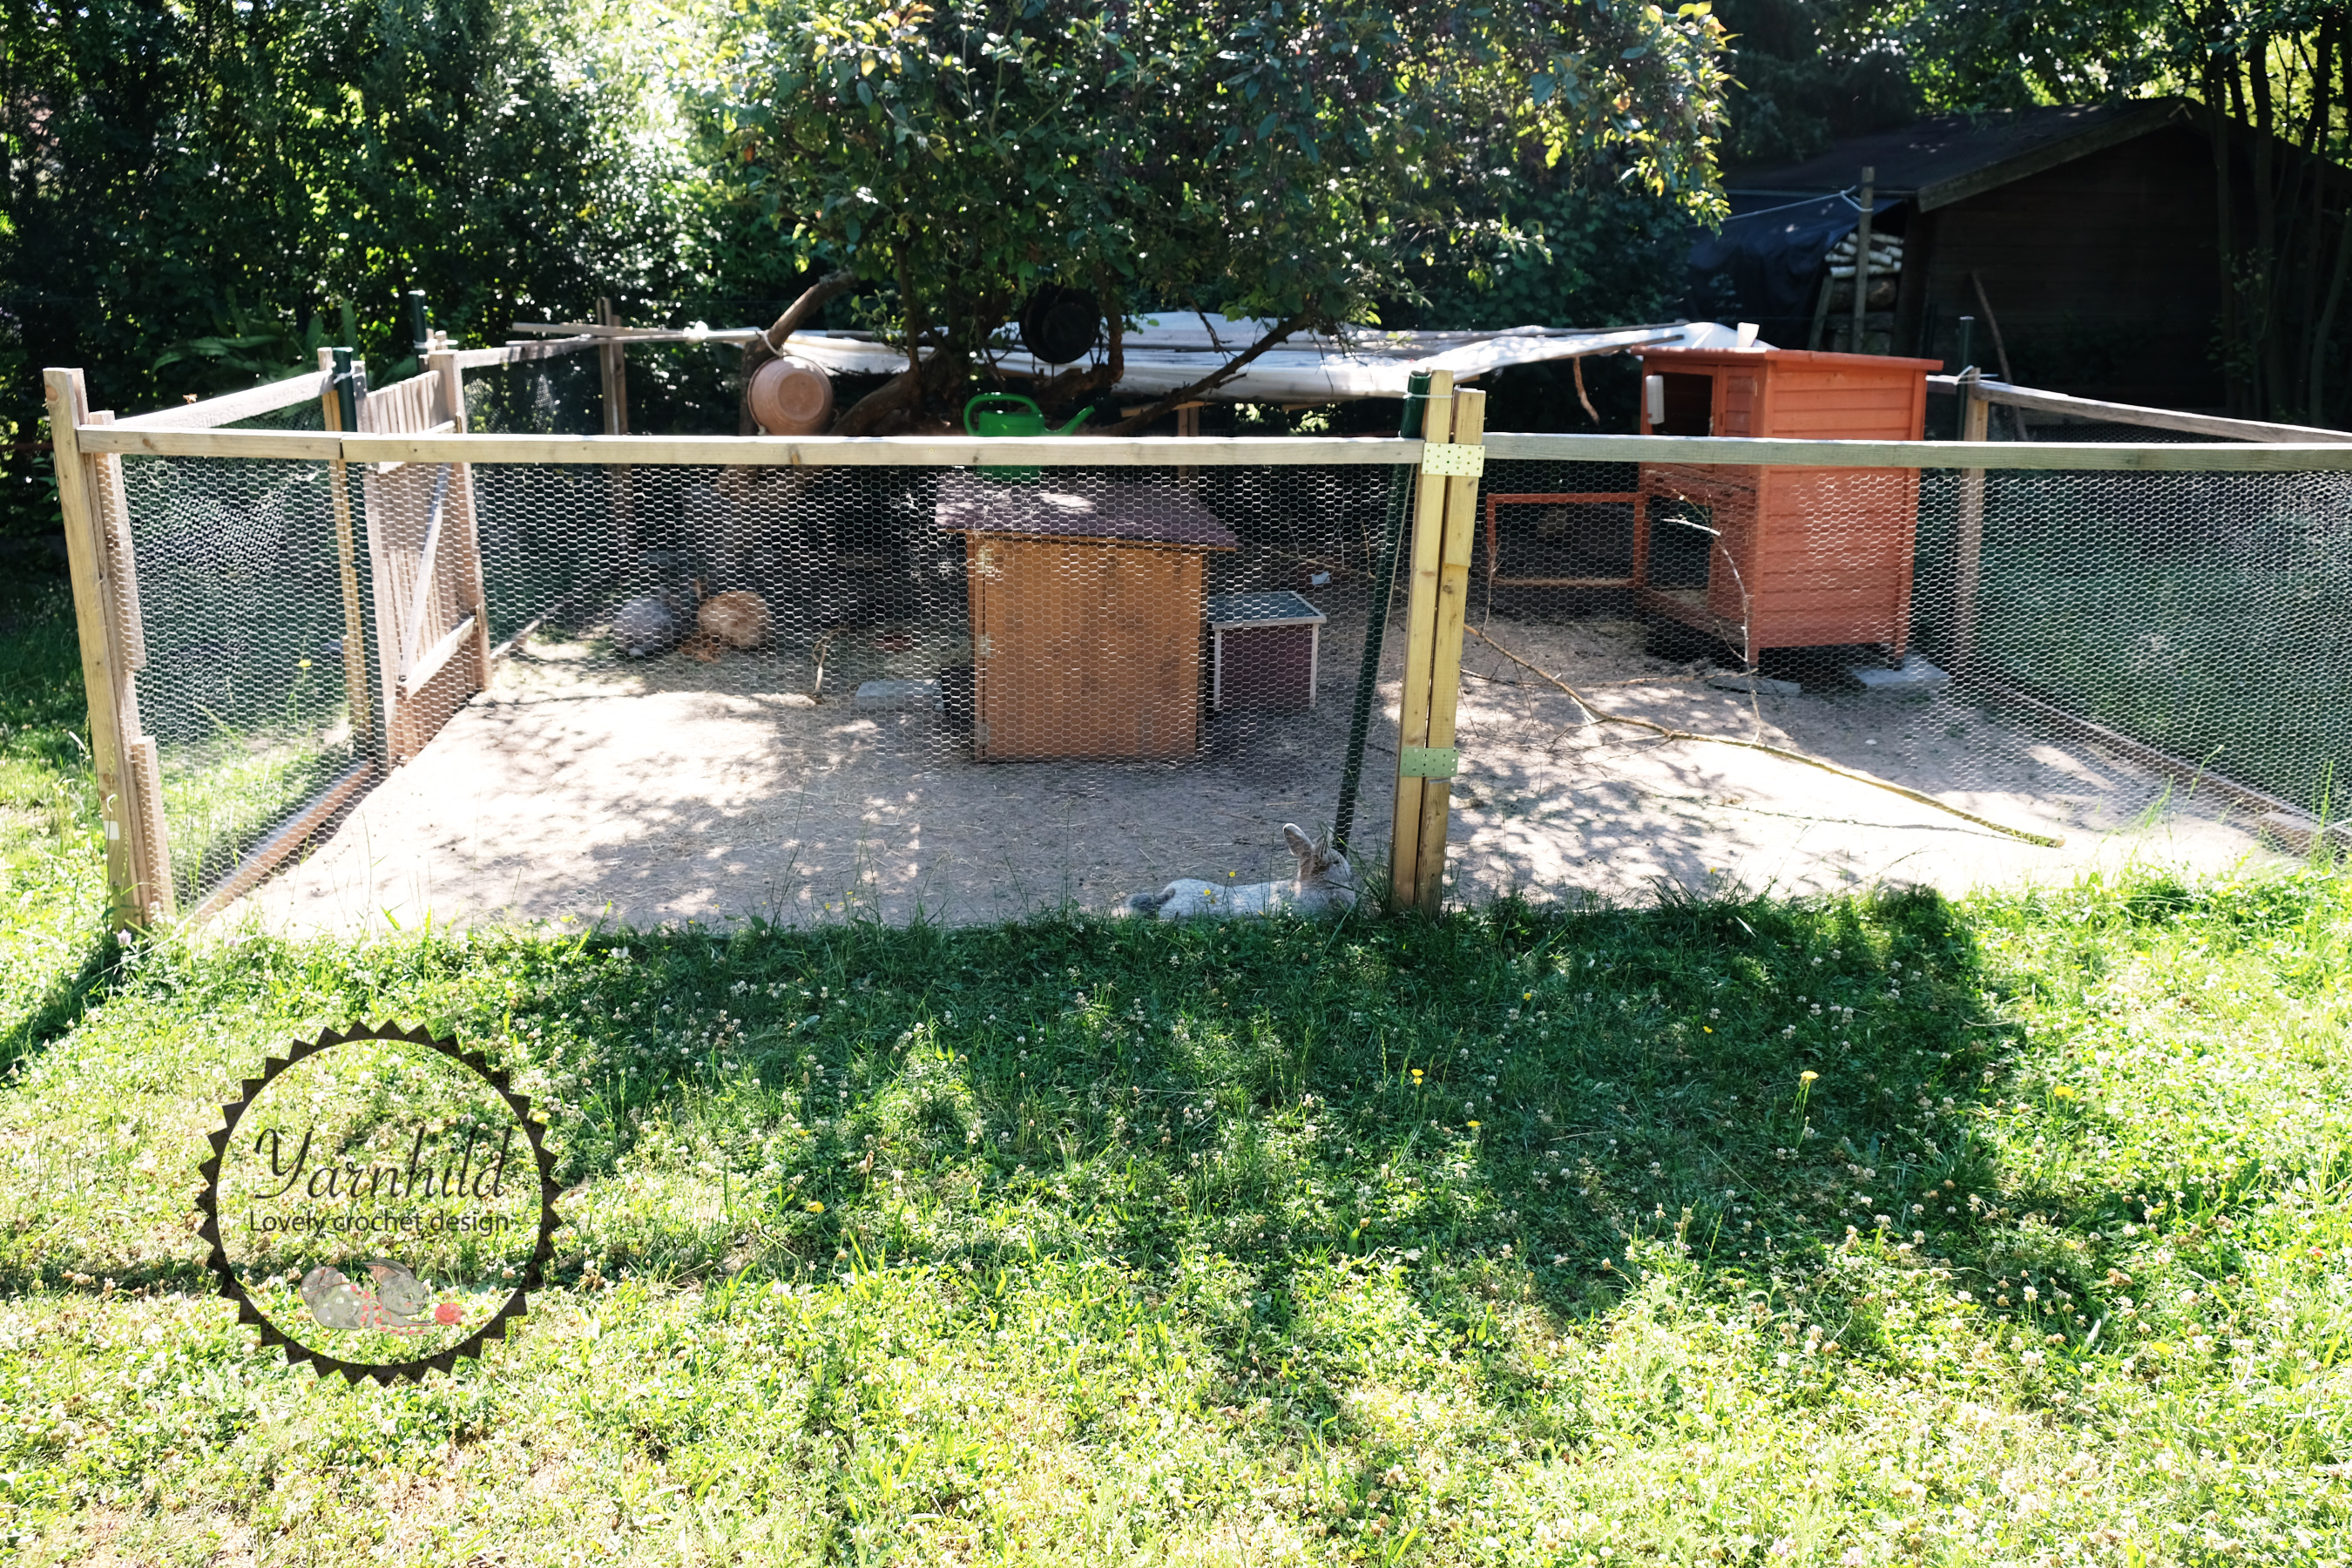
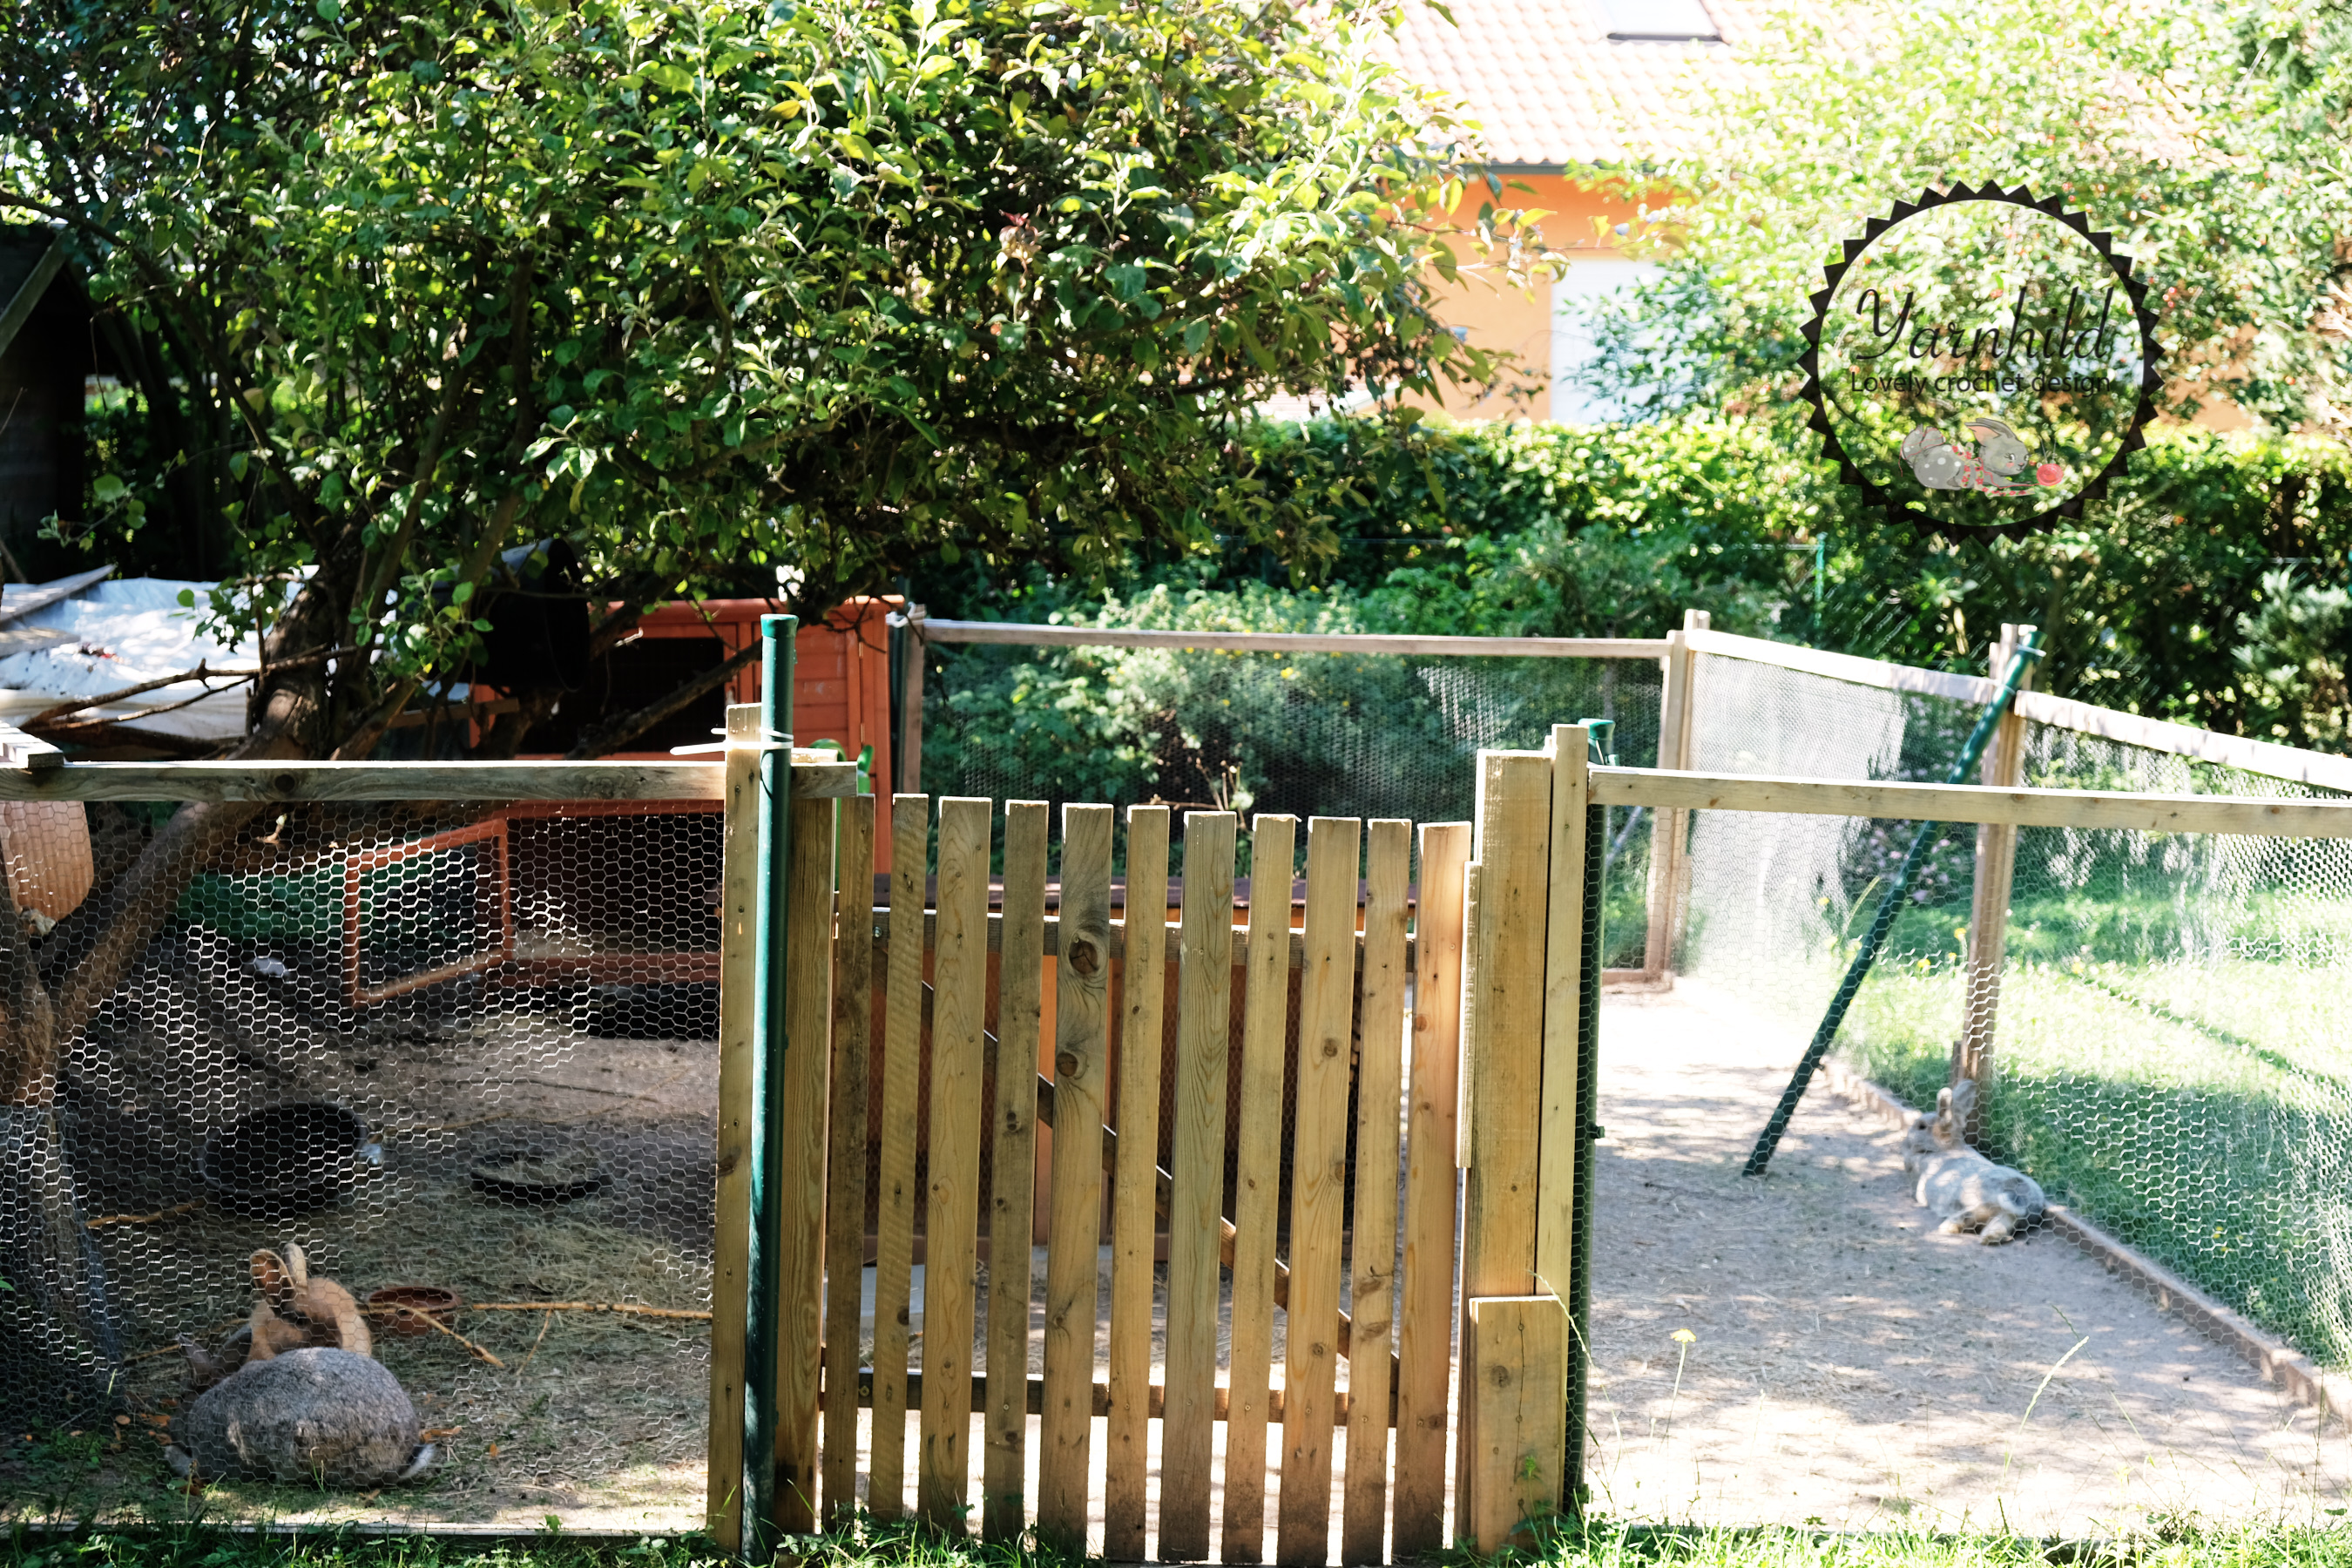
Anyway, I just wanted to show you my bunnies. They live in a huge space and they are outside all year. However, we do take them in the garage is there is really cold in the winter. But they are developing a thick fur in the winter and so far, and no bunny has gotten sick. They live a good life, I think!
Back to the pattern - The yarn
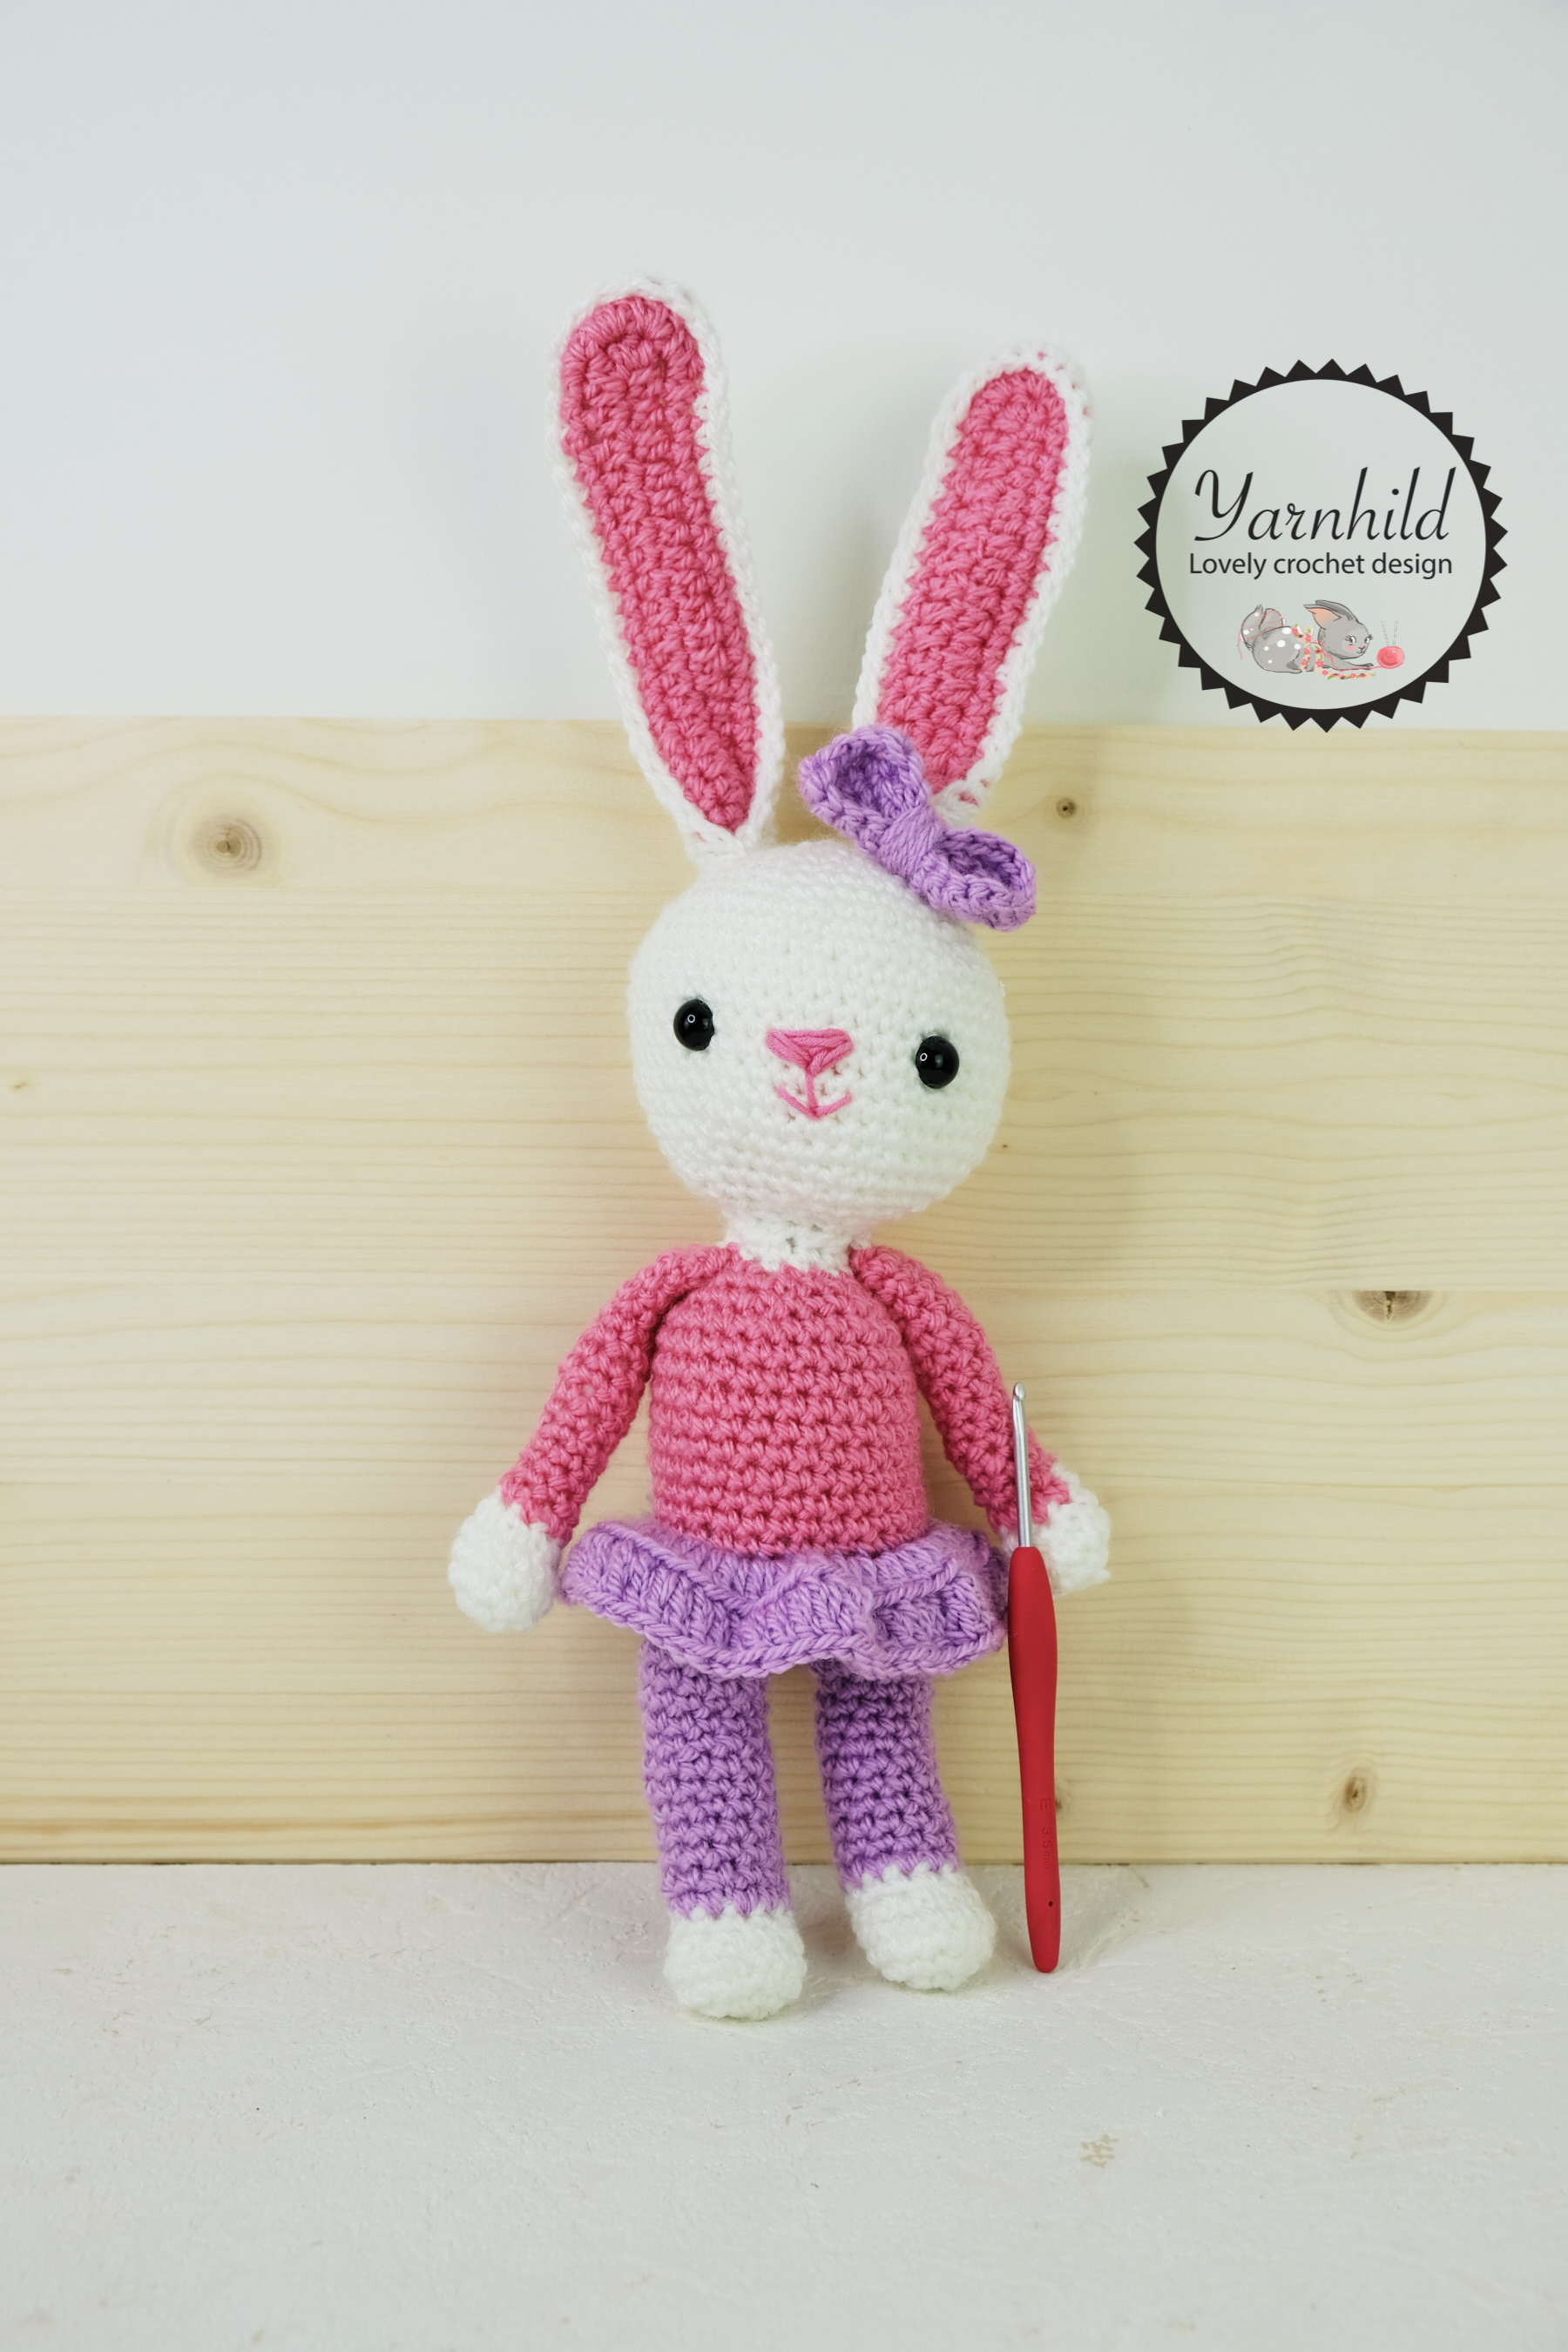
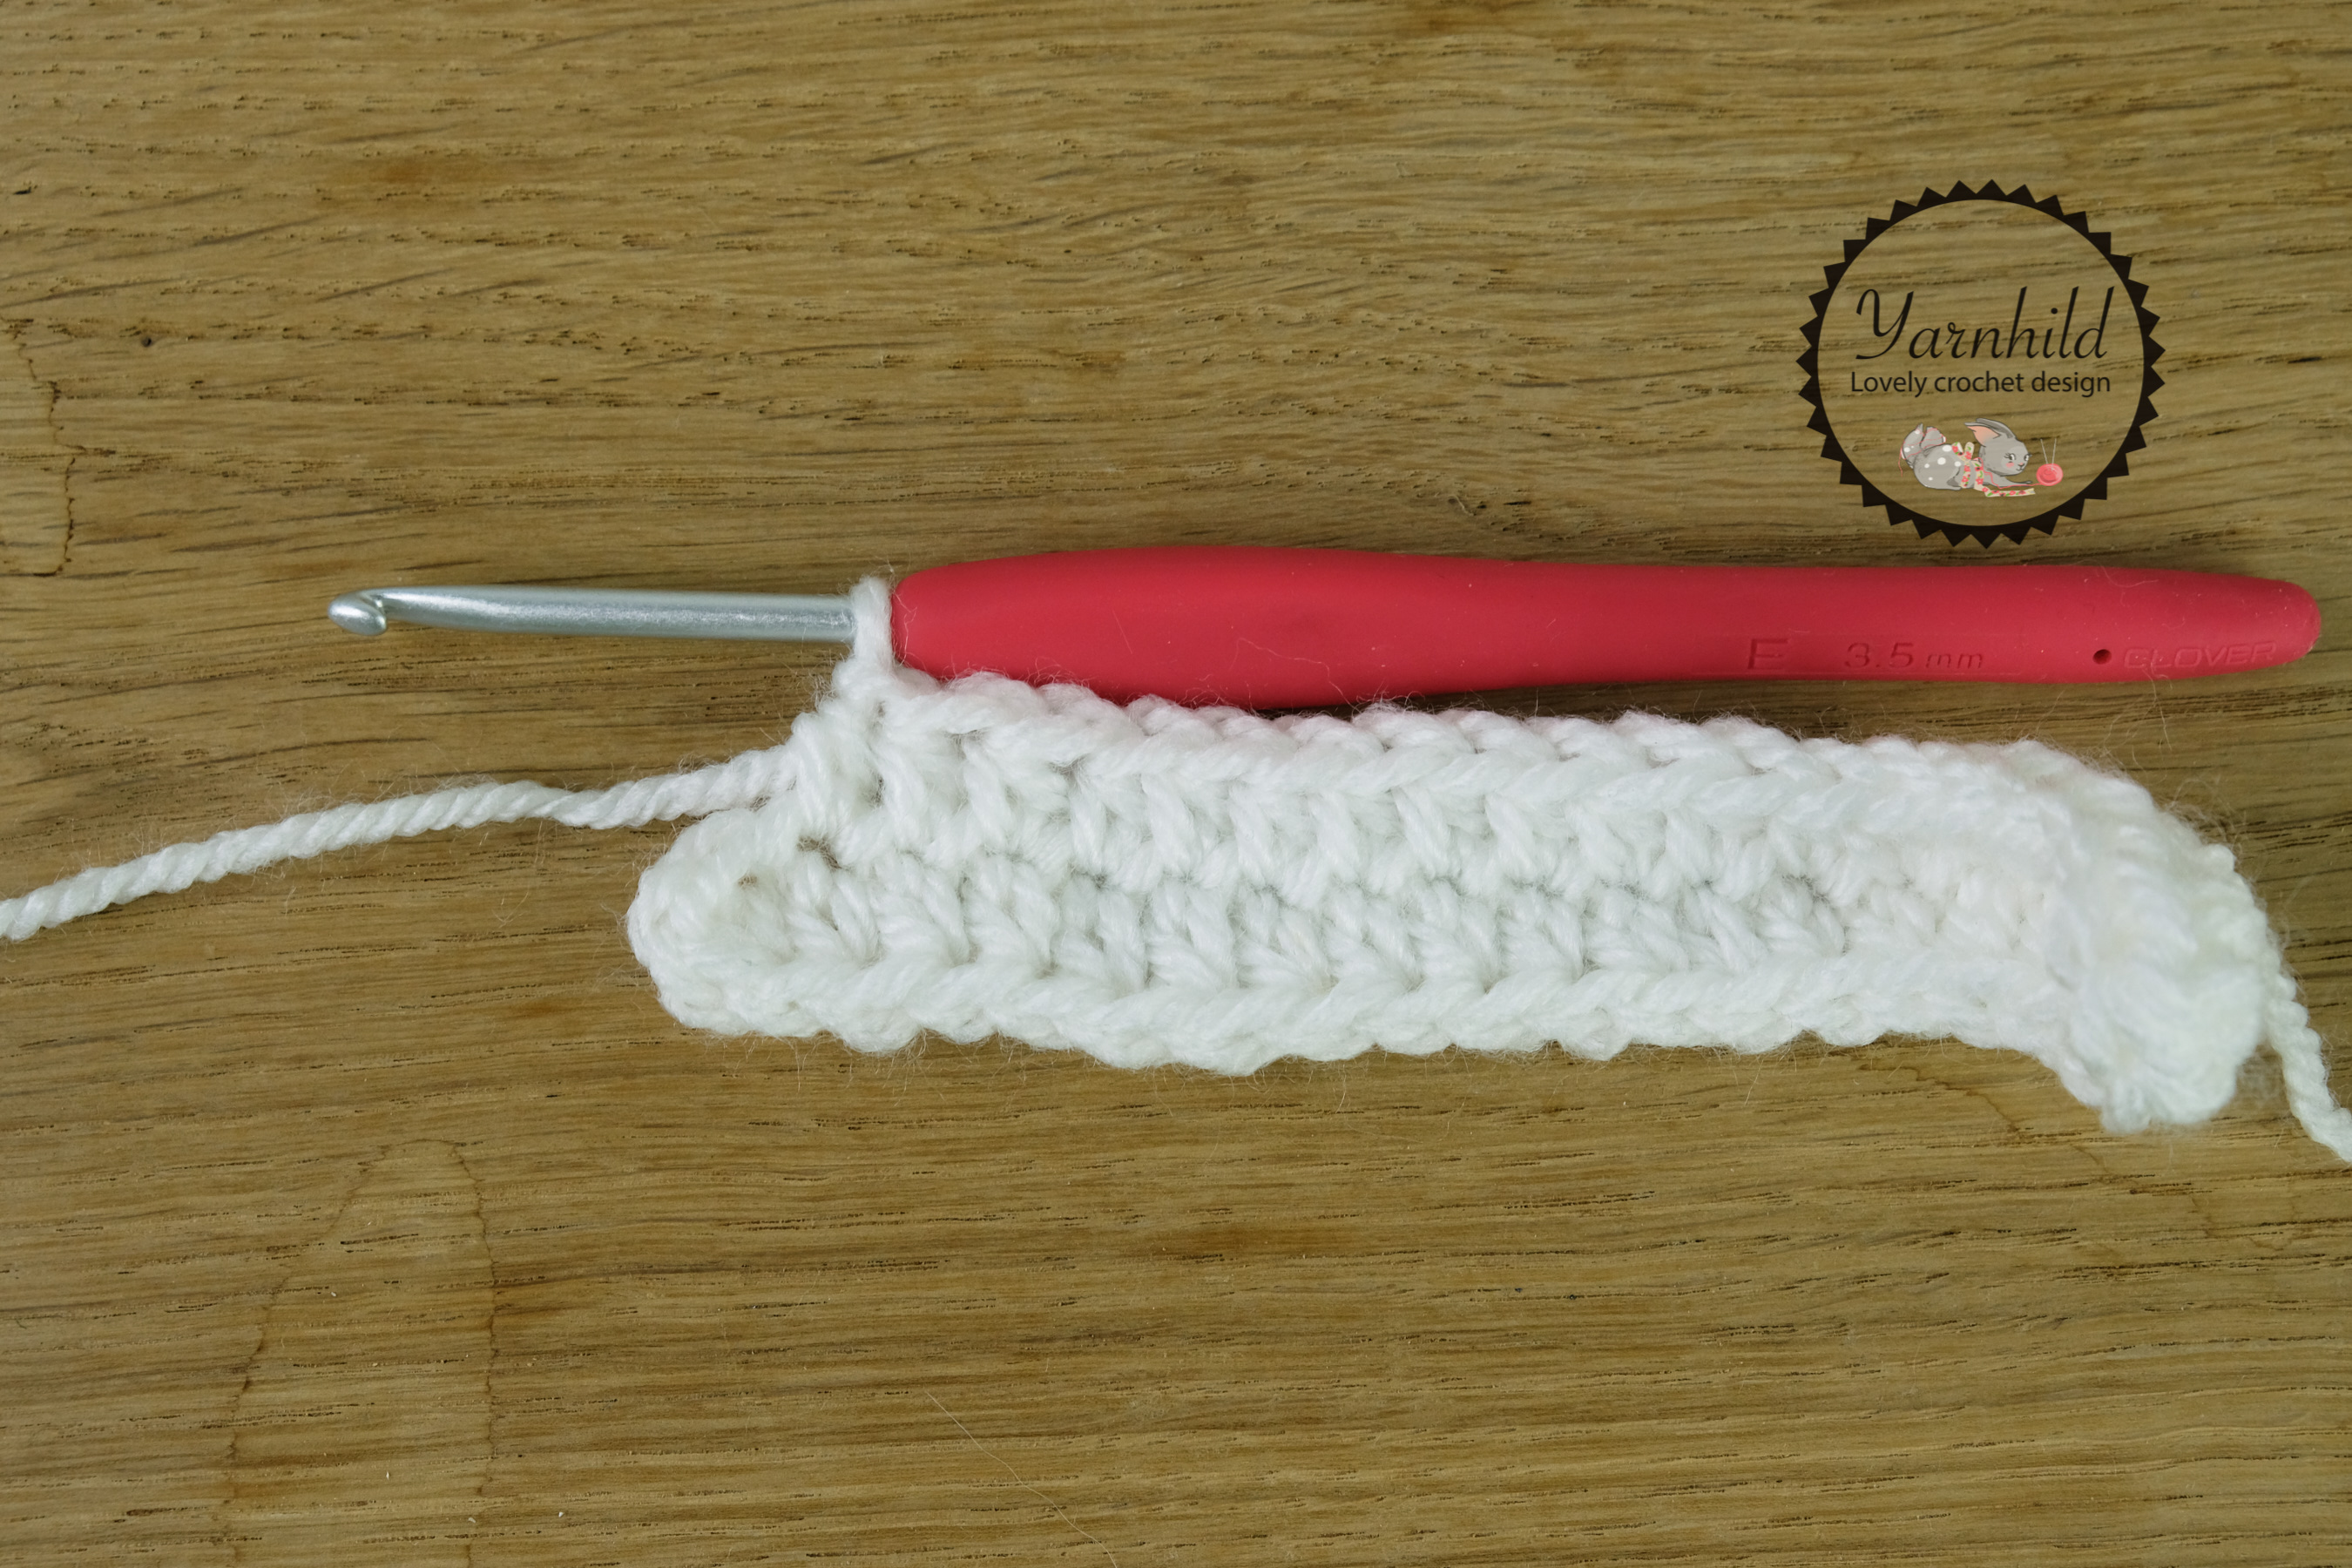
Sorry, got a little side-tracked here. Crochet bunny Lissy is like my real bunny Lissy, a big girl! Without ears she is 27 cm/ 10,5 "! With the ears, she is a whopping 40 cm/16 "! I have used a 3.5 mm/US size 6 crochet hook and Simply Aran from Paintbox yarns.
The yarn works great with amigurumi. Also, I have been testing a different stuffing. OMG, I didn't know that there was such a huge difference! I bought a huge bag from Amazon the other day. This fibrefill is soooo soft! It also fill out my amigurumi in a great m way, leaving to bulks. I really recommend this!
Newsletter
Here is the link to the newsletter and whenever I have a new pattern here, I'll send you an e-mail. It is free and we never spam. Please subscribe!
Here she is standing next to the hook. She is a big girl! If you want a smaller version, simply use a thinner yarn and a matching hook!
Show us your wip or finished ami!
The thing I love the most about designing crochet patterns is having people making them and sharing the picture or progress pics with me! You can find us on Facebook - Yarnhild crochet club and get to know other crochet addicts!
Add free PDF
You can purchase the add free pdf of crochet bunny Lissy on Etsy or Ravelry. For less than a cup of coffee, you can support my little business additionally! Thank you so much for your support!
Crochet bunny Lissy - A free crochet pattern
This pattern is the intellectual property of Yarnhild. The pattern must not be altered, translated, copied or republished without approval.
You are welcome to sell the items that you have made from my patterns, but please be sure to give me credit for the pattern that you sell online. For private use only, no commercial use. 2019 – Yarnhild ©
Abbreviations used
ch – chain
yo – yarn over
st – stitch
sl st – slip stitch
SC – single crochet
HDC – half double crochet
DC – double crochet
SC INV DEC – insert the hook through the front loop only for the stitches that are being crocheted together, yarn over and pull through both loops
BLO – Back loop only
MR -Magic ring
SC INC – Single crochet increase
Materials used
Yarn Paintbox simply Aran
100g g/3.5 oz = 184 m/201 yd
100% acrylic
Colors white pink and purple.
Filling materials
Stitch marker
Crochet hook 3.5 mm/ E4
Skill level: Advanced beginner
Safety eyes 12 mm
Scissors
Pipe cleaner
About the pattern
The body and feet are made in one piece. The head, ears, and arms are made separately. All parts except the ears are made in continuous rounds. Use a stitch marker to keep track of where you are and move it up as you finish the rounds. After the feet have been made, they are joined and then the body is made.
The skirt is crocheted directly on the body. Feel free to use a smaller hook. Notice that the finished crochet bunny will get smaller.
Skill level: Advanced beginner
Fished size, ears
included: 40 cm/16 inches
Head
In white
R 1: 6 SC in a mr = 6 SC
R 2: SC INC x 6 = 12 SC
R 3: (1 SC, SC INC) x 6 = 18 SC
R 4: (2 SC, SC INC) x 6 = 24 SC
R 5: (3 SC, SC INC) x 6 = 30 SC
R 6: (4 SC, SC INC) x 6 = 36 SC
R 7: (5 SC, SC INC) x 6 = 42 SC
R 8: (6 SC, SC INC) x 6 = 48 SC
R 9- 19: 48 SC (11 rounds)
R 20: (6 SC, INV SC DEC) x 6= 42 SC
R 21: (5 SC, INV SC DEC) x 6= 36 SC
R 22: (4 SC, INV SC DEC) x 6= 30 SC
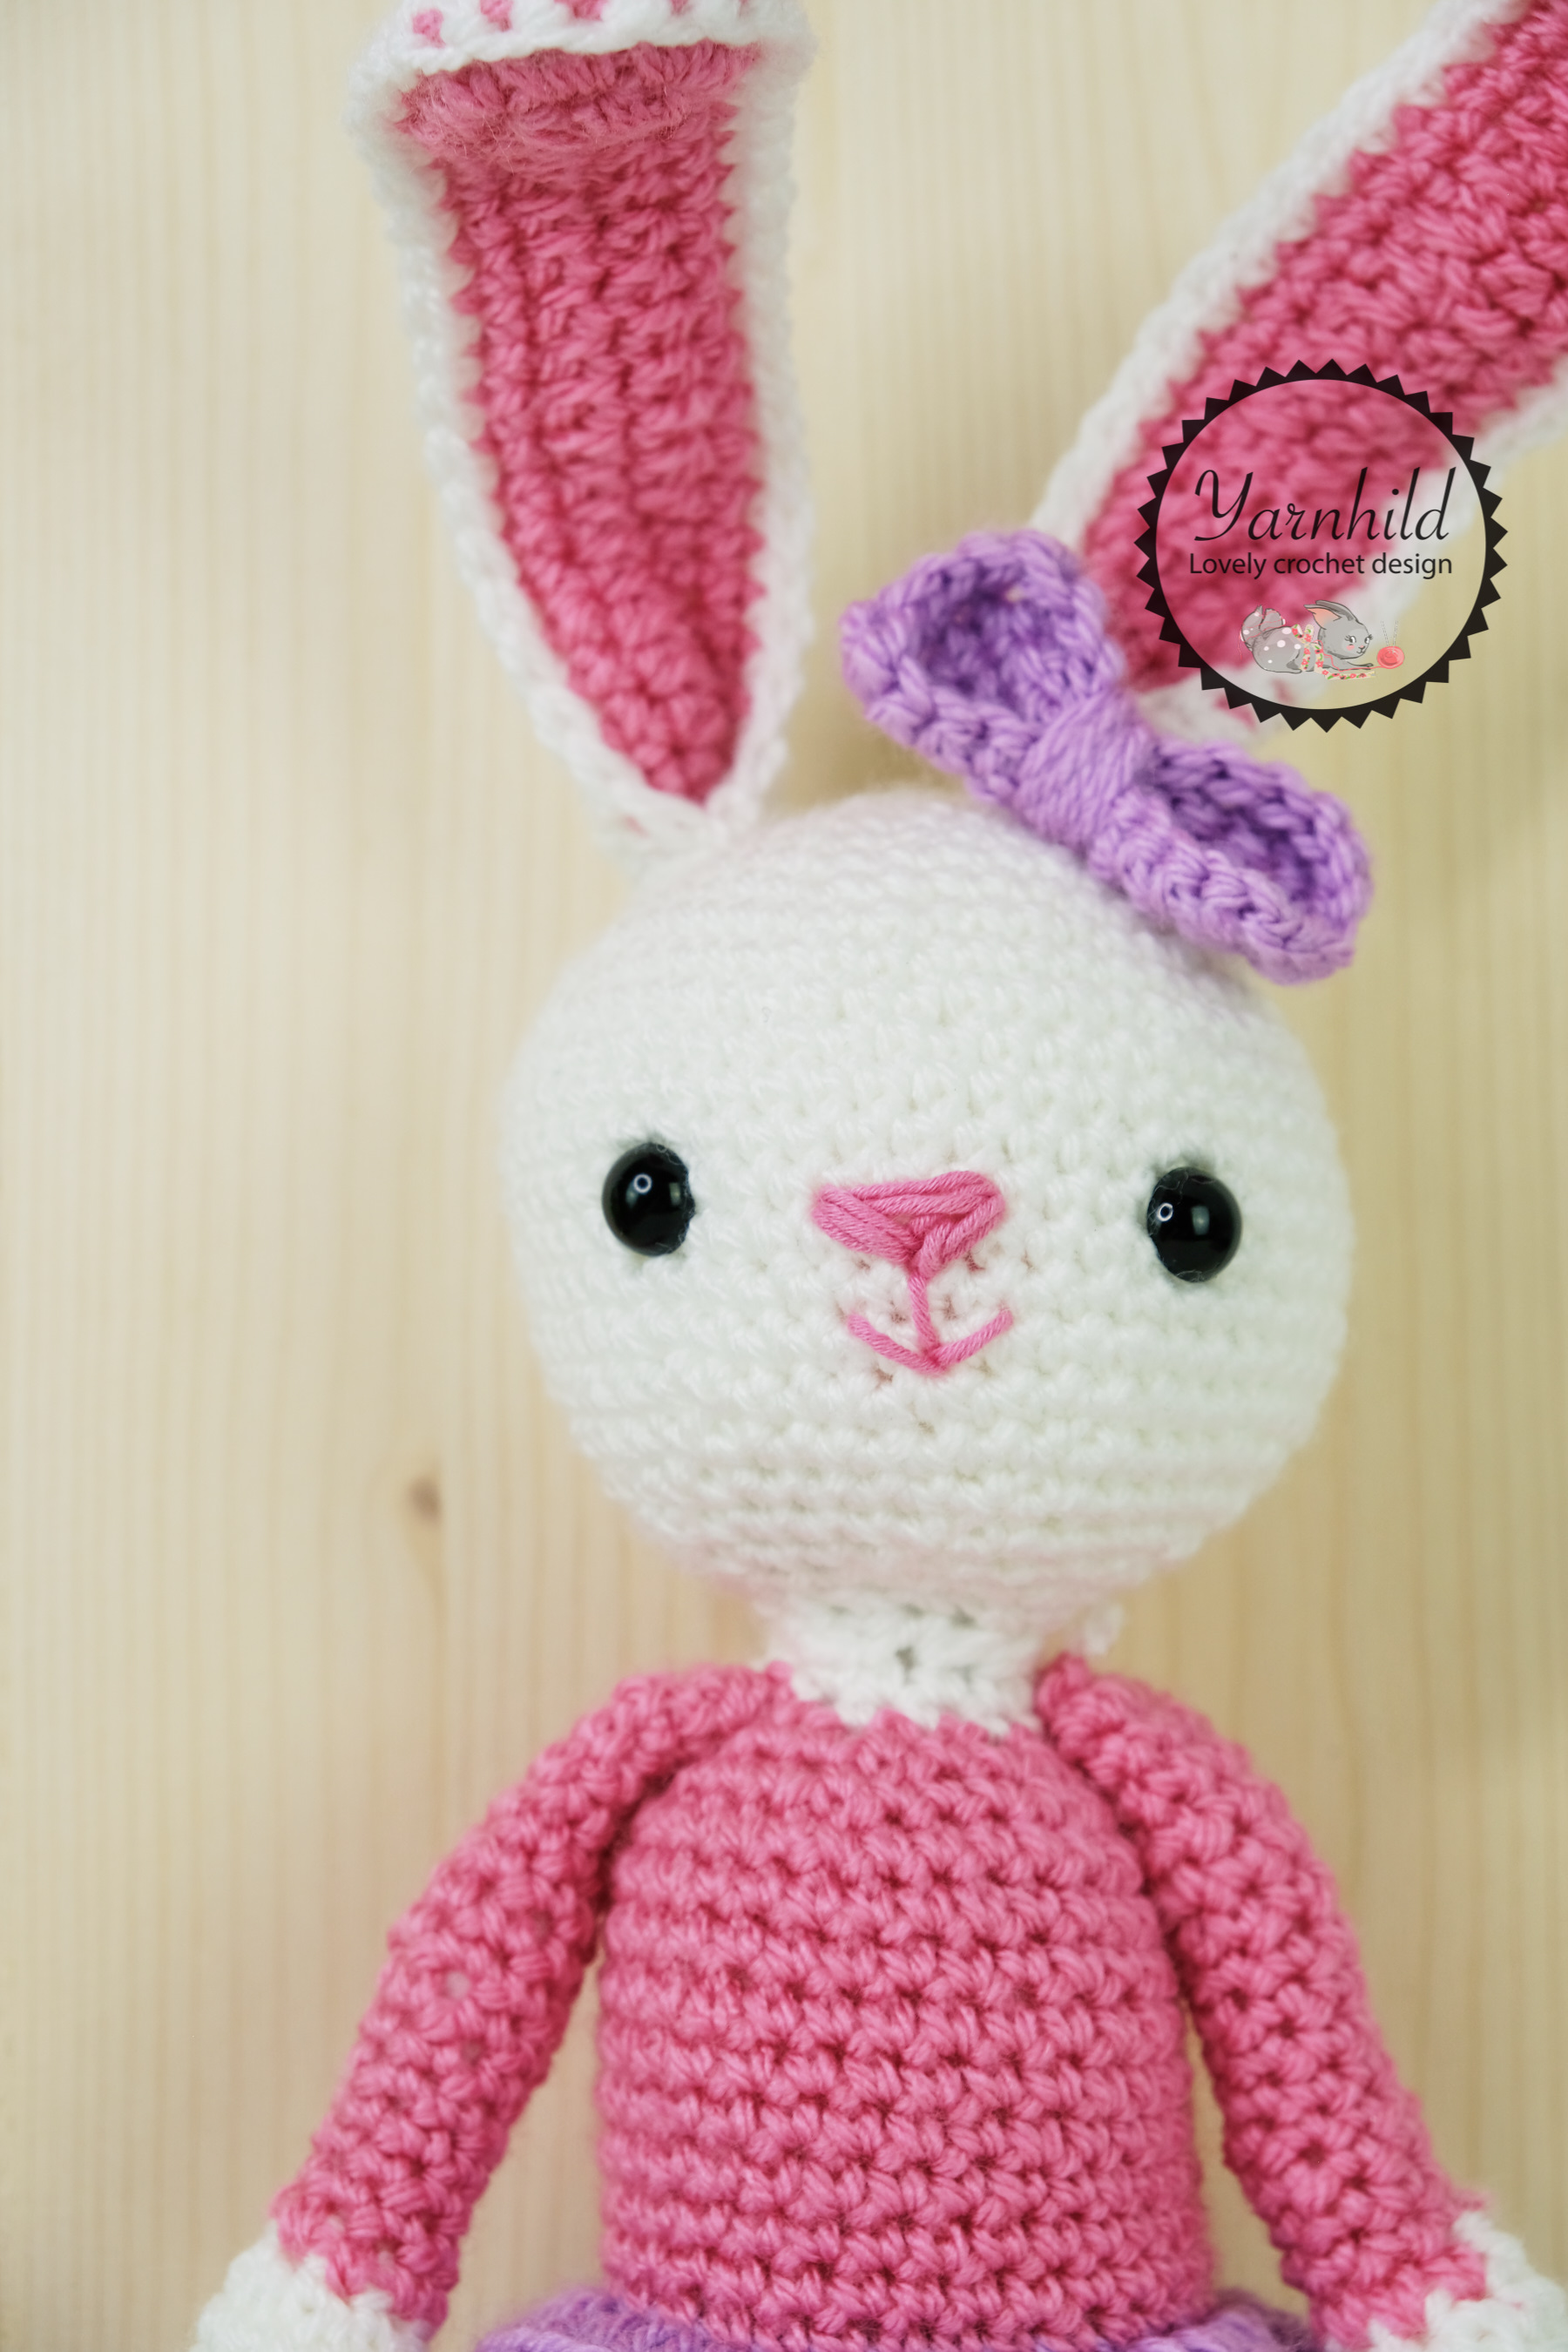
Fasten safety eyes between rows 14 and 15. 9 SC between the eyes. Sew on a nose and mouth in the middle between the eyes. Make a little triangle over (4 SC wide) and fill in the blank with pink yarn. Sew on a mouth.
R 23: (3 SC, INV SC DEC) x 6= 24 SC
Start stuffing. Stuff firmly, but do not over stuff. You do not want to see the stuffing between the sts.
R 24: (2 SC, INV SC DEC) x 6= 18 SC
R 25: (1 SC, INV SC DEC) x 6= 12 SC
Sl st in the first SC and fasten off. Weave in ends.
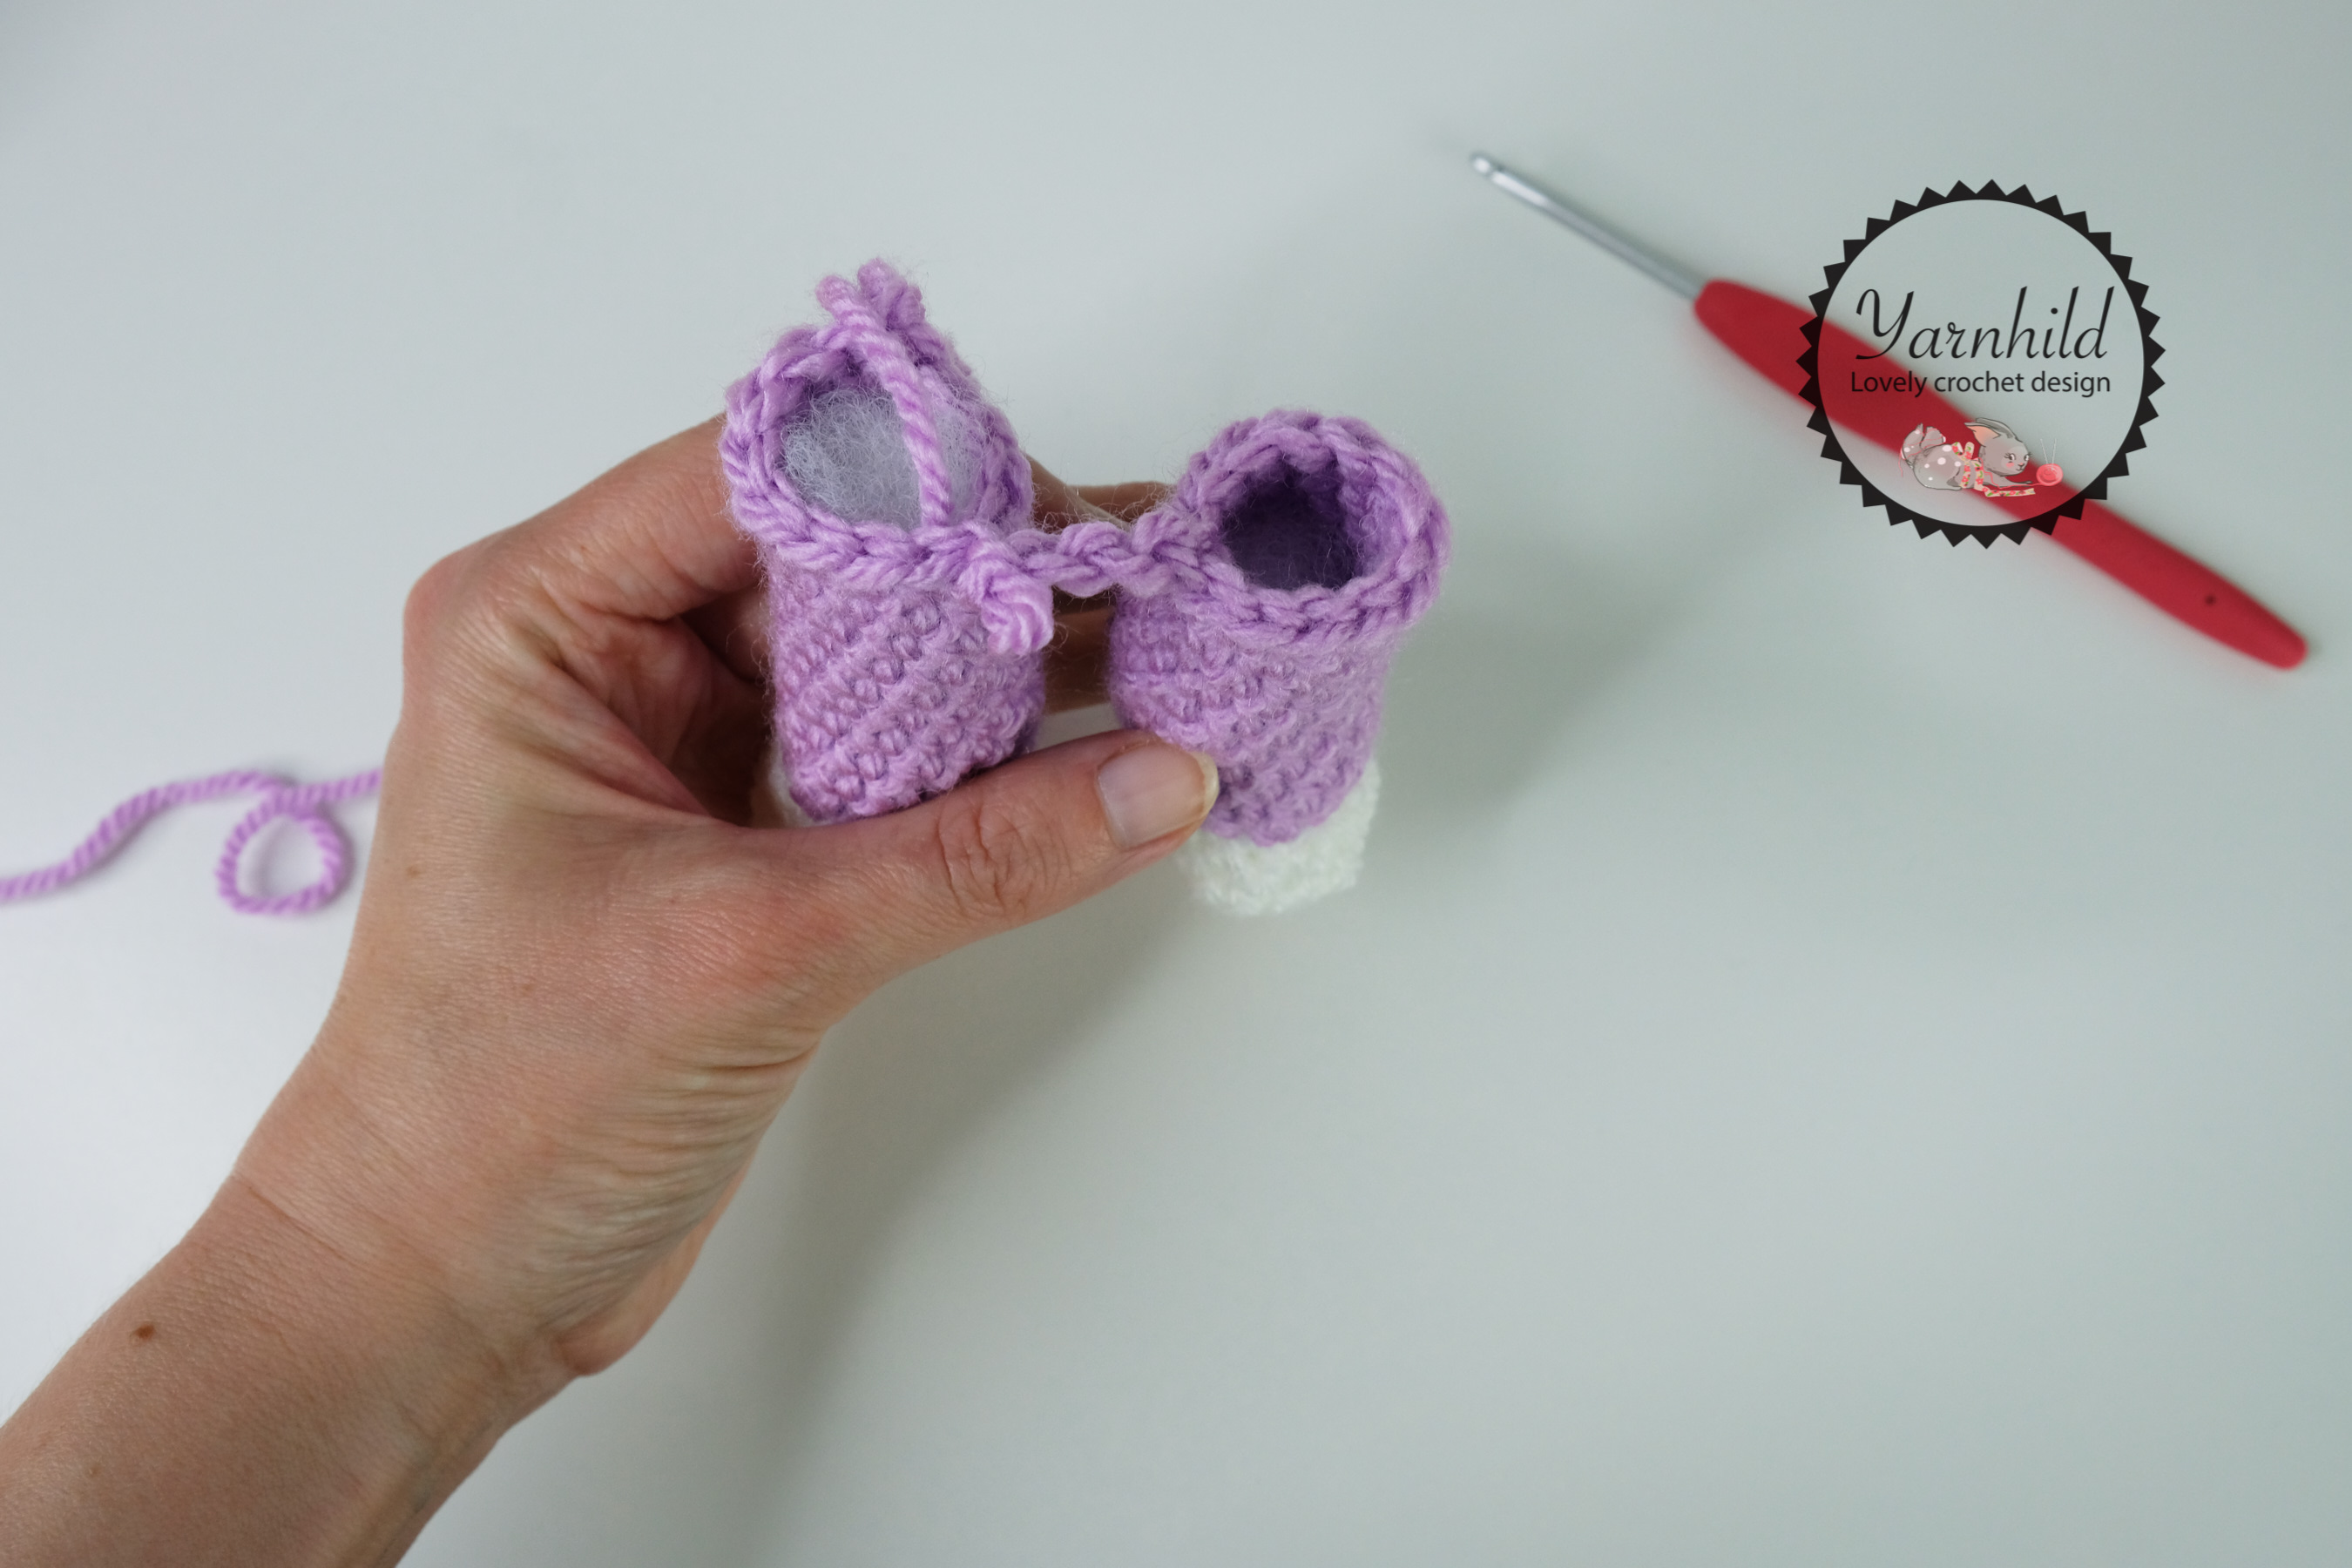
Feet, make 2
Colors white and purple
In white:
R 1: 6 SC in a mr = 6 SC
R 2: Inc x 6 = 12 SC
R 3: (1 SC, SC INC) x 6 = 18 SC
R 4: 18 SC
R 5: INV SC DEC x 6, 6 SC = 12 SC
R 6: 12 SC, change to purple on the last pull through on the last SC for a nice color change.
R 7-16: 12 SC (10 rounds)
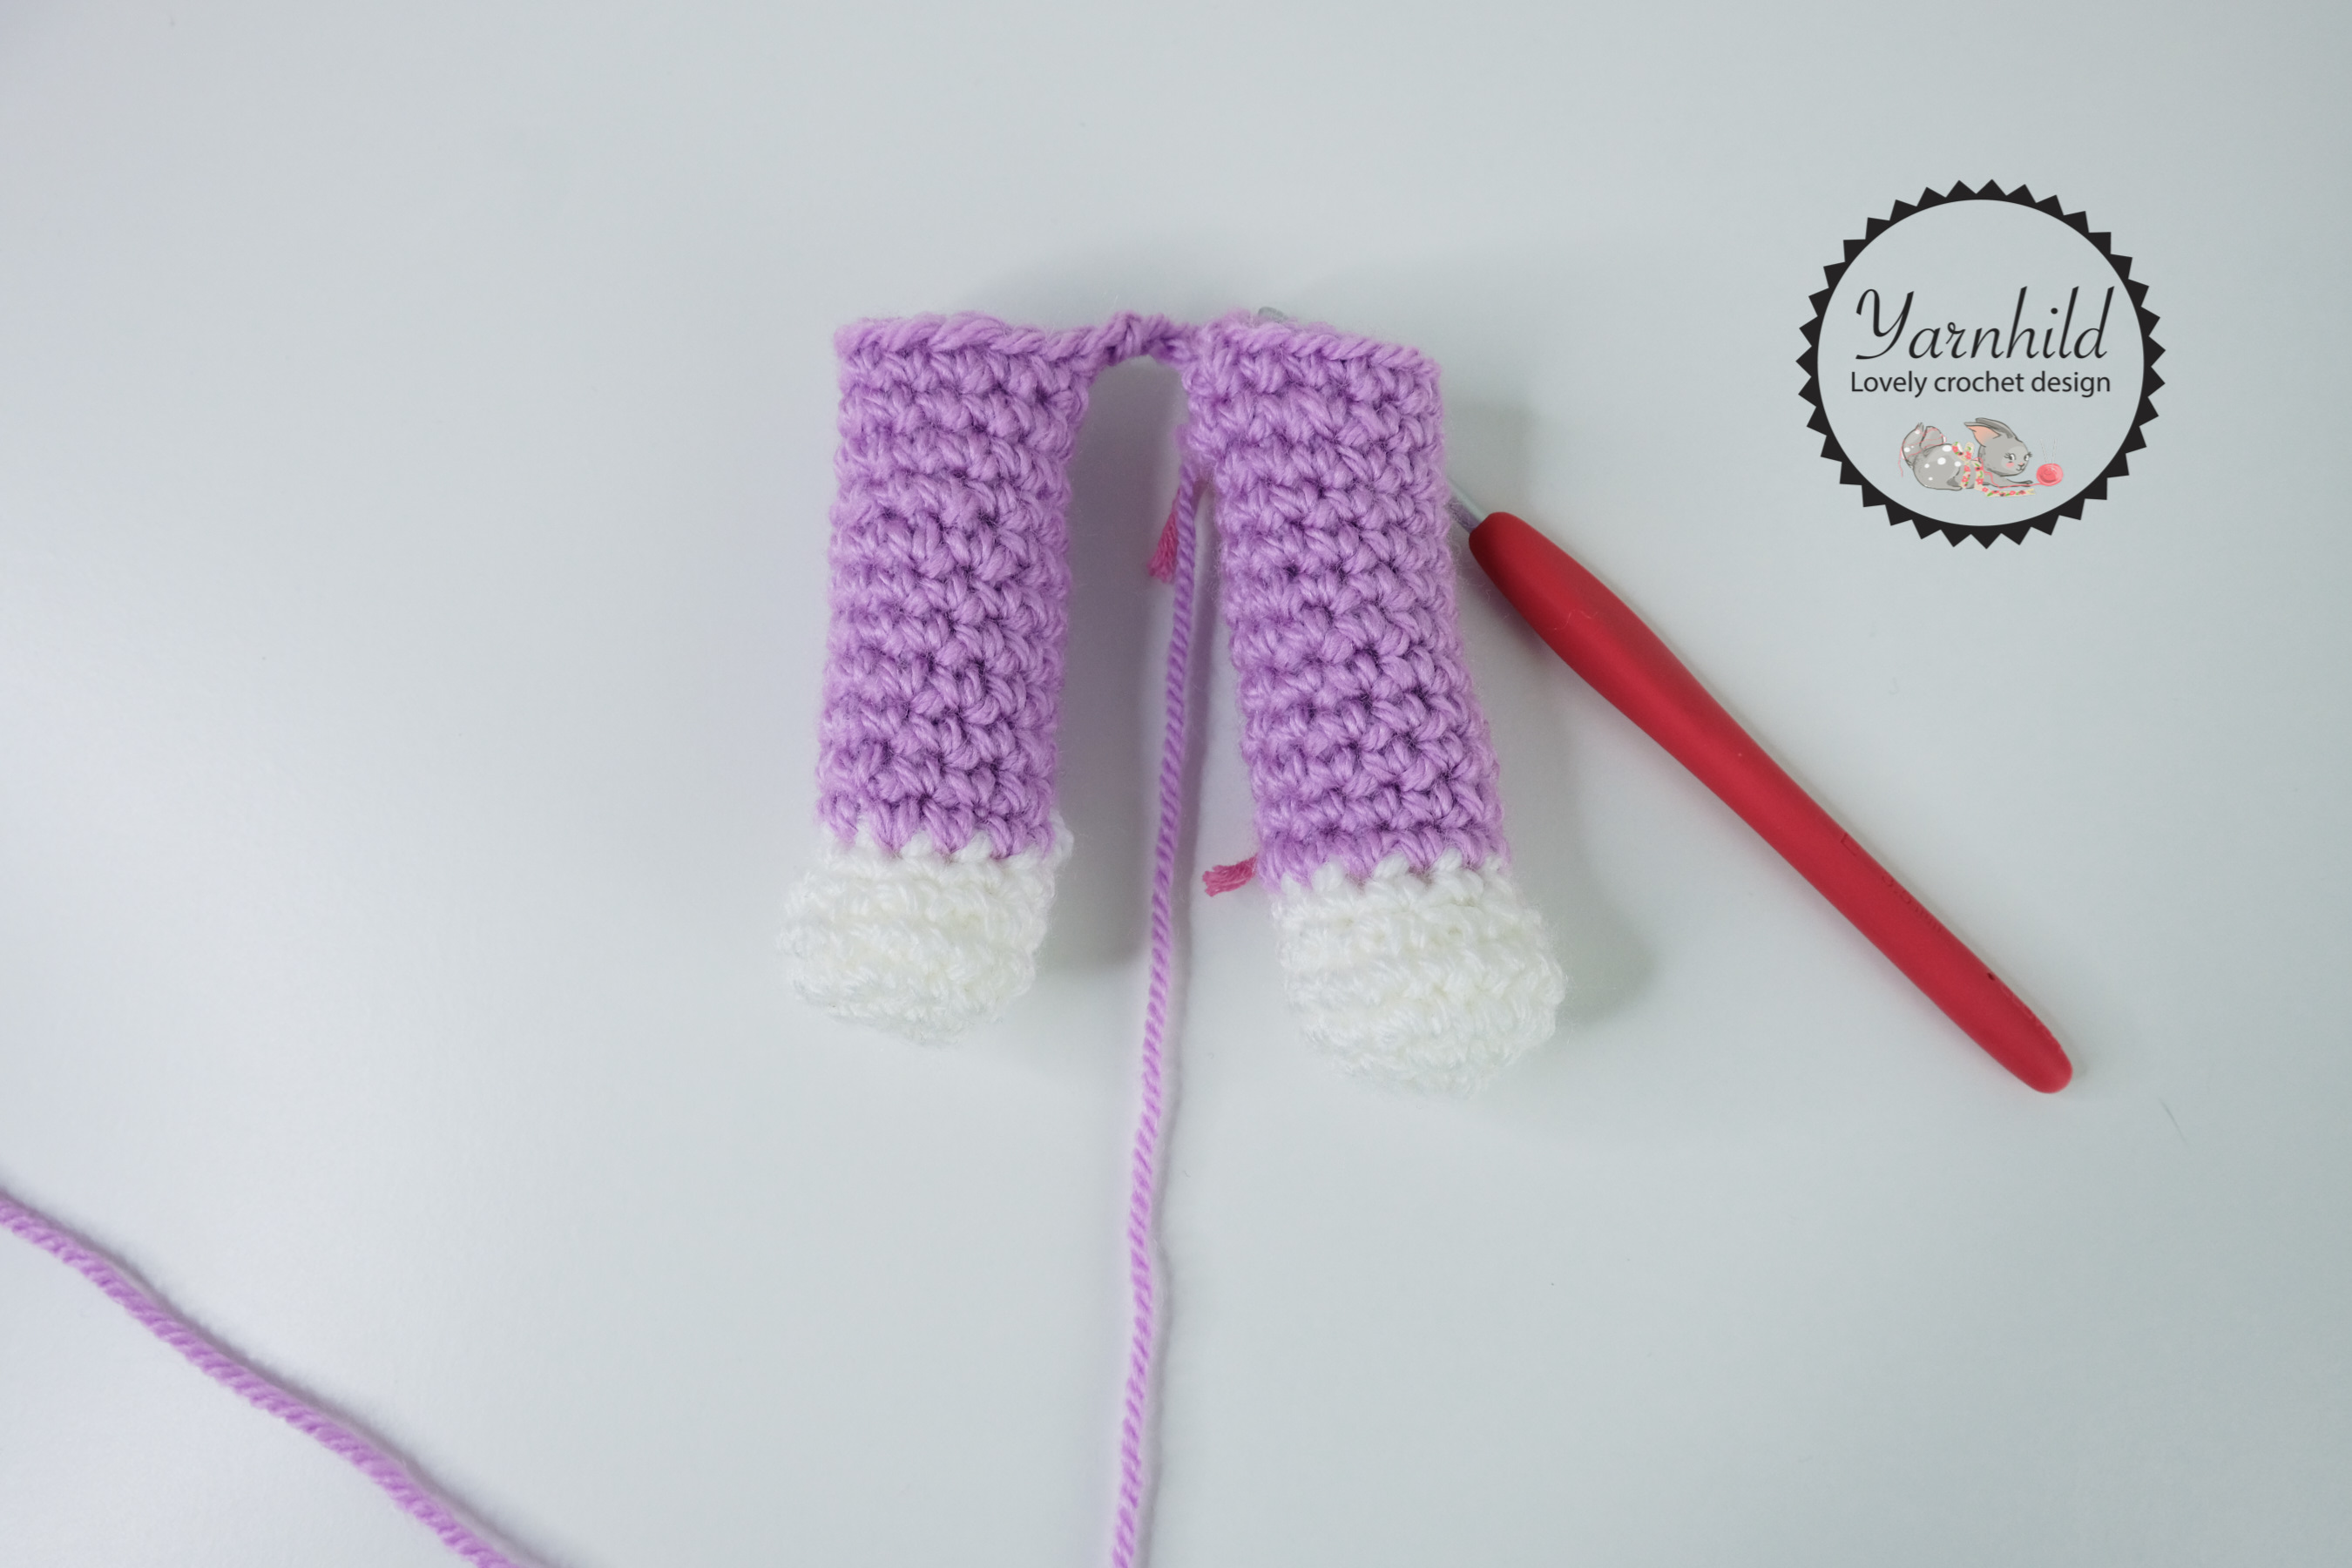
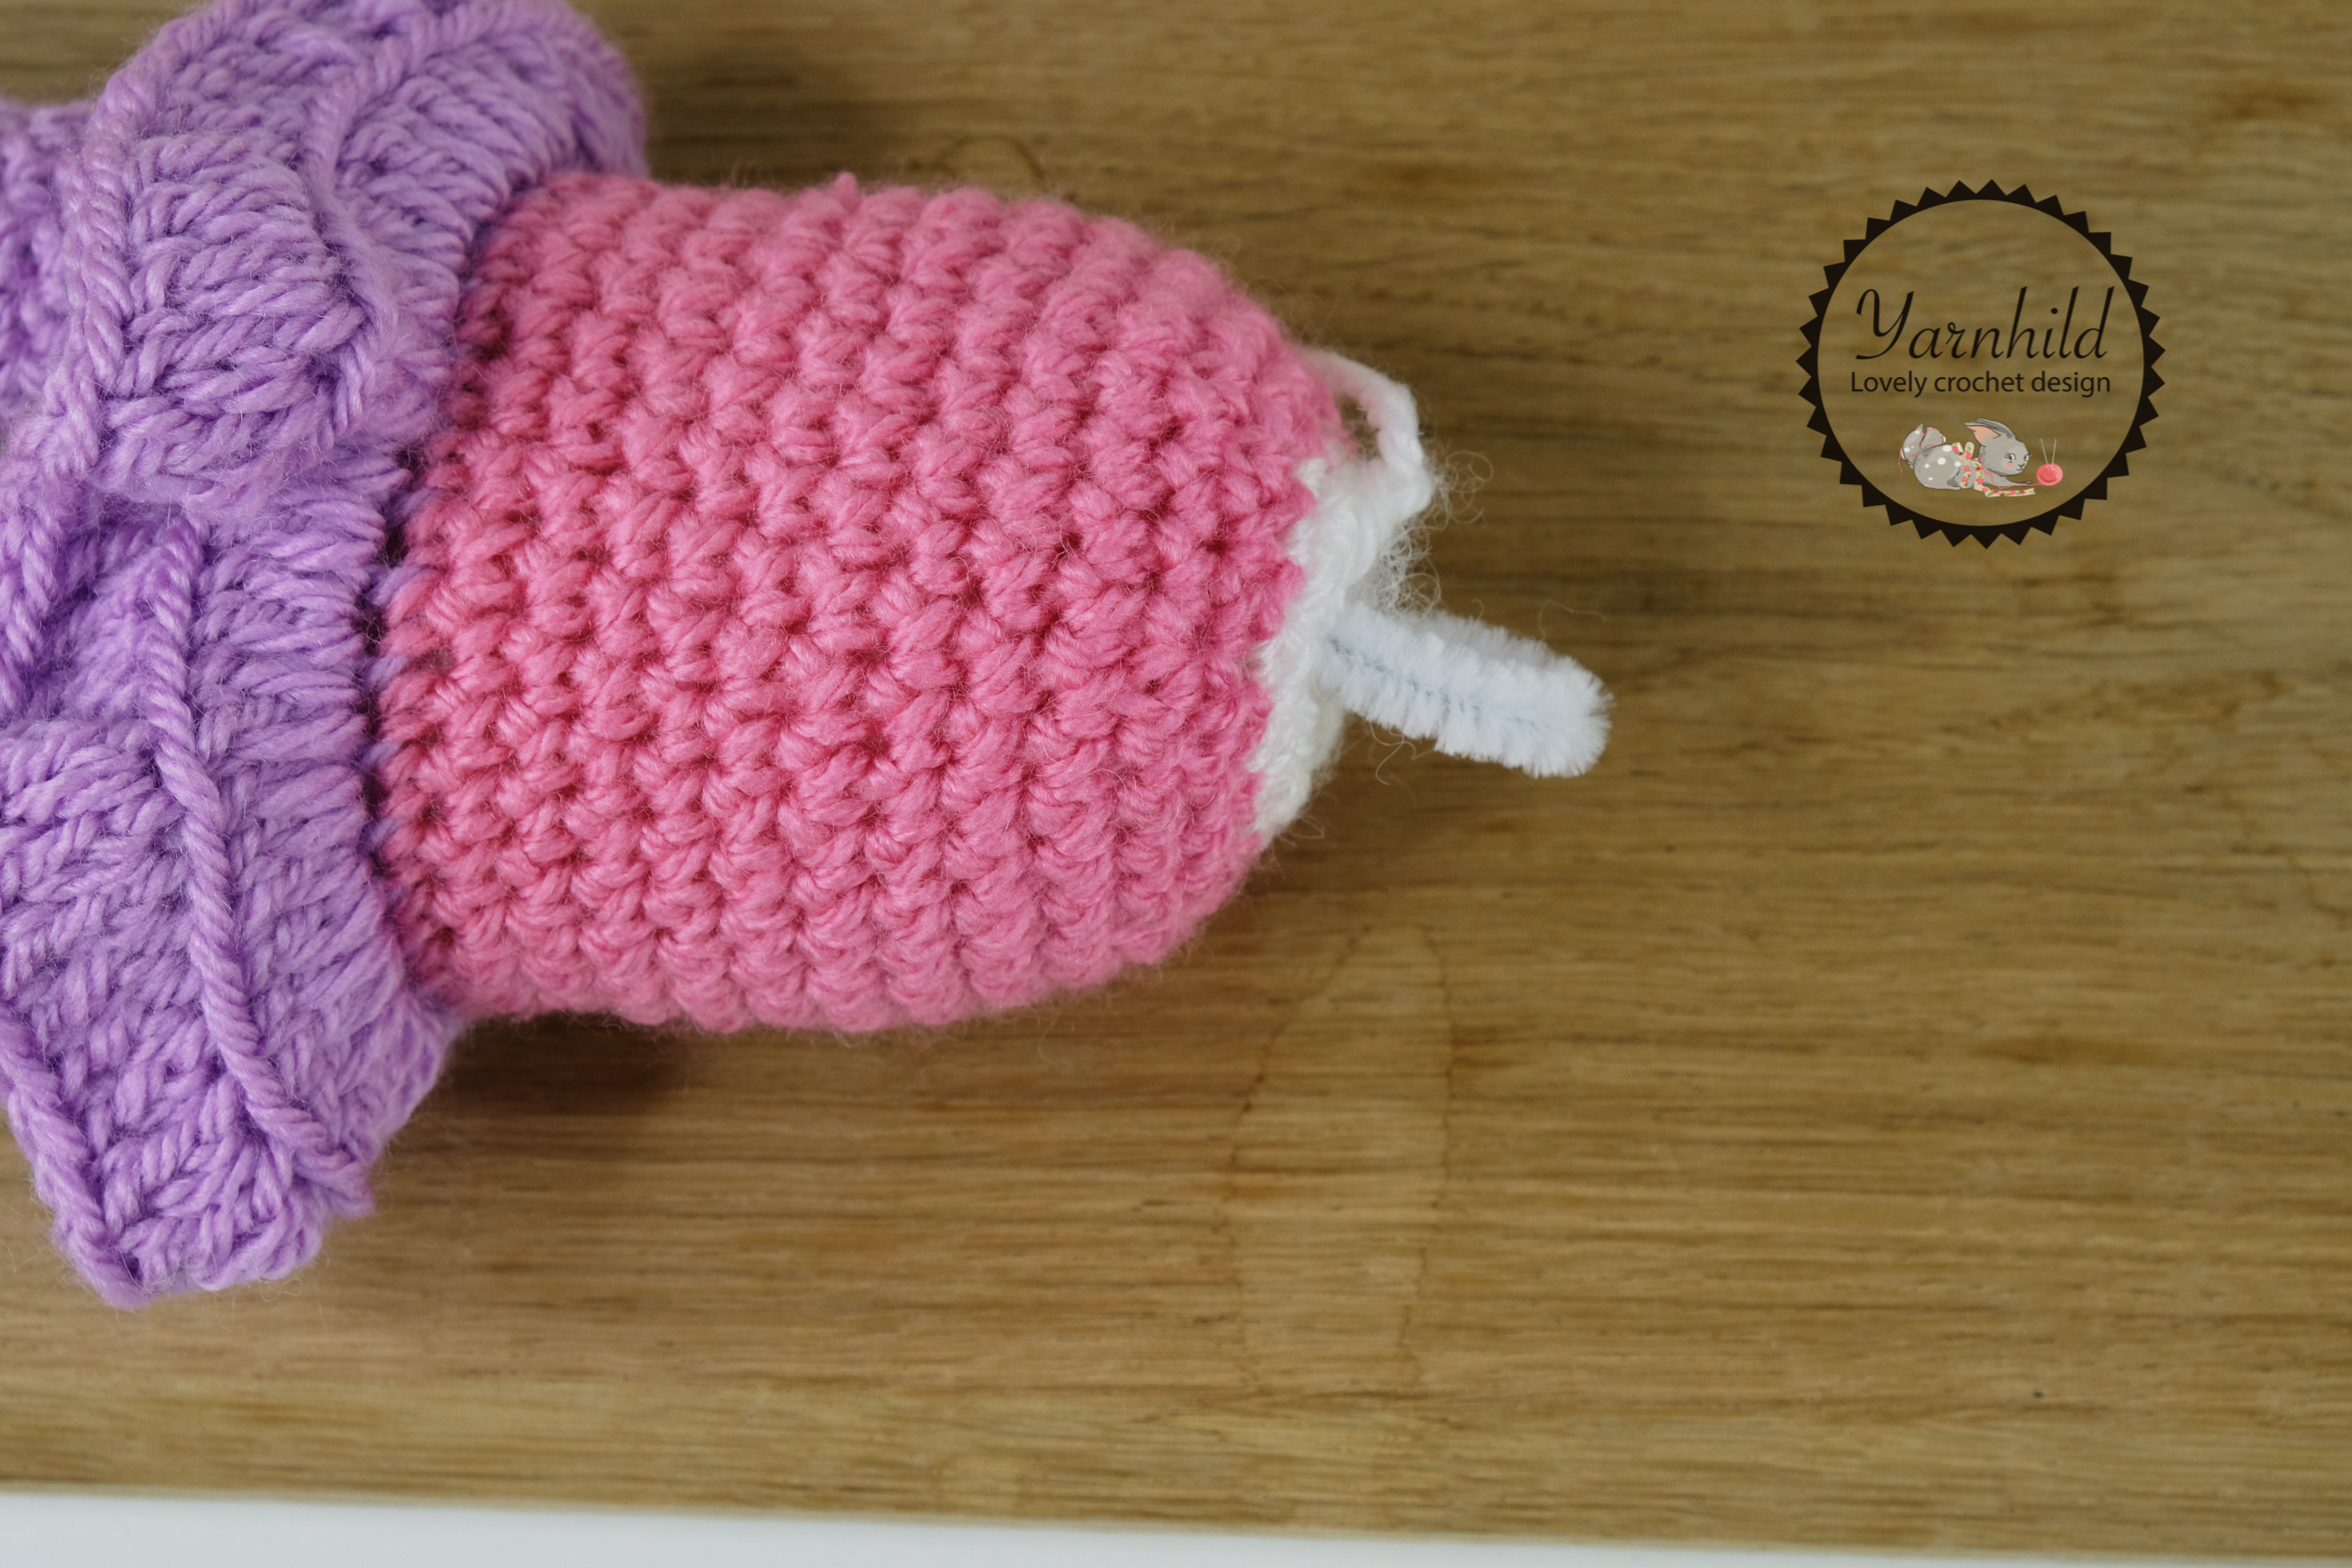
Make the other foot. After completing the second foot don’t fasten off! Continue with 5 SC extra (this will ensure that the seam is on the back side and that the feet are facing in the right direction). See picture below for more details! Stuff the feet
Body
Continue working on the second foot: Chain 3, join the other foot with a slst. SC in the first st and place a stitch marker before the SC. SC around the leg, when you get to the chain 3, SC through one loop. SC around the other leg. SC through the loop on the other side when you get to the 3 chains. Now you should have 30 SC
See extra help section for pictures!
R 1-4: 30 SC
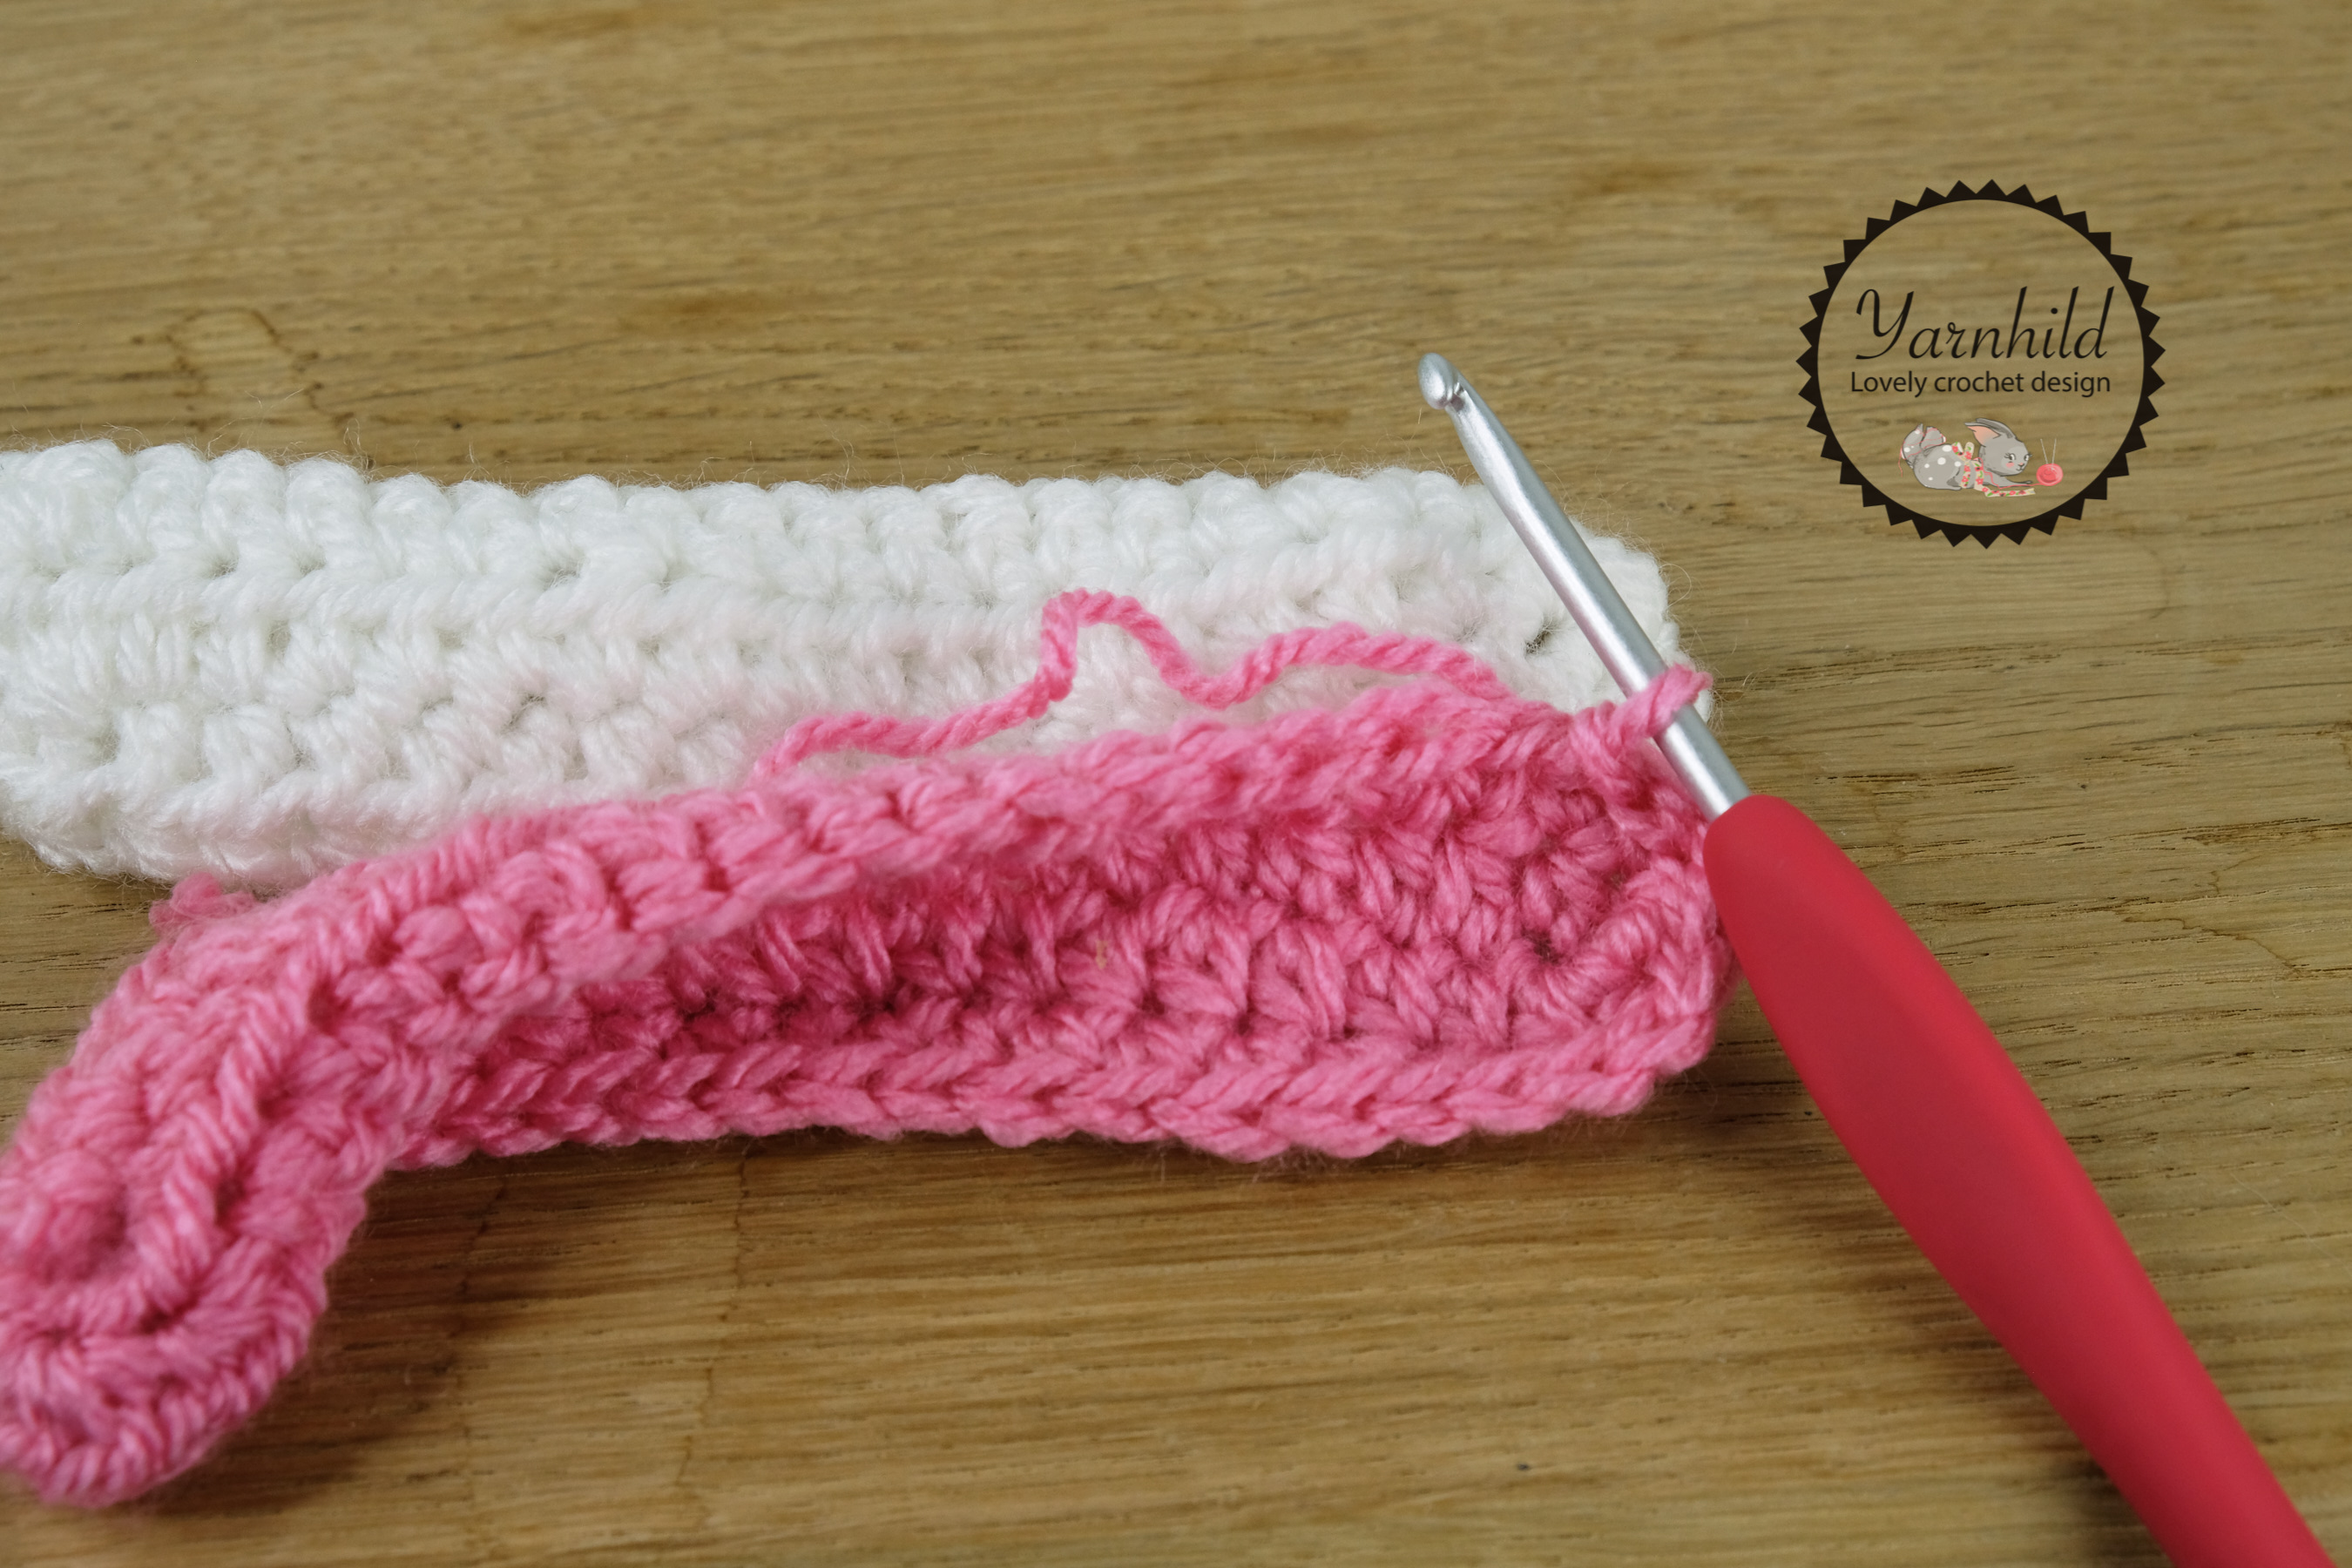
R 5: Change to pink and in BLO 1 SC in each st.
R 6 – 13: 30 SC (8 rounds)
Stuff the body and stuff as you go.
R 14: (3 SC, INV SC DEC) x 6= 24 SC
R 15: (2 SC, INV SC DEC) x 6= 18 SC
Change to white
R 16: (1 SC, INV SC DEC) x 6= 12 SC
Sl st in the first SC and fasten off. Leave a long trail for fastening.
Ears
Make 4 parts, two parts in pink and two parts in white. Start with pink, when you are finished, fasten off and weave in ends. Do not fasten off with the white parts. The ears are worked in continuous rounds.
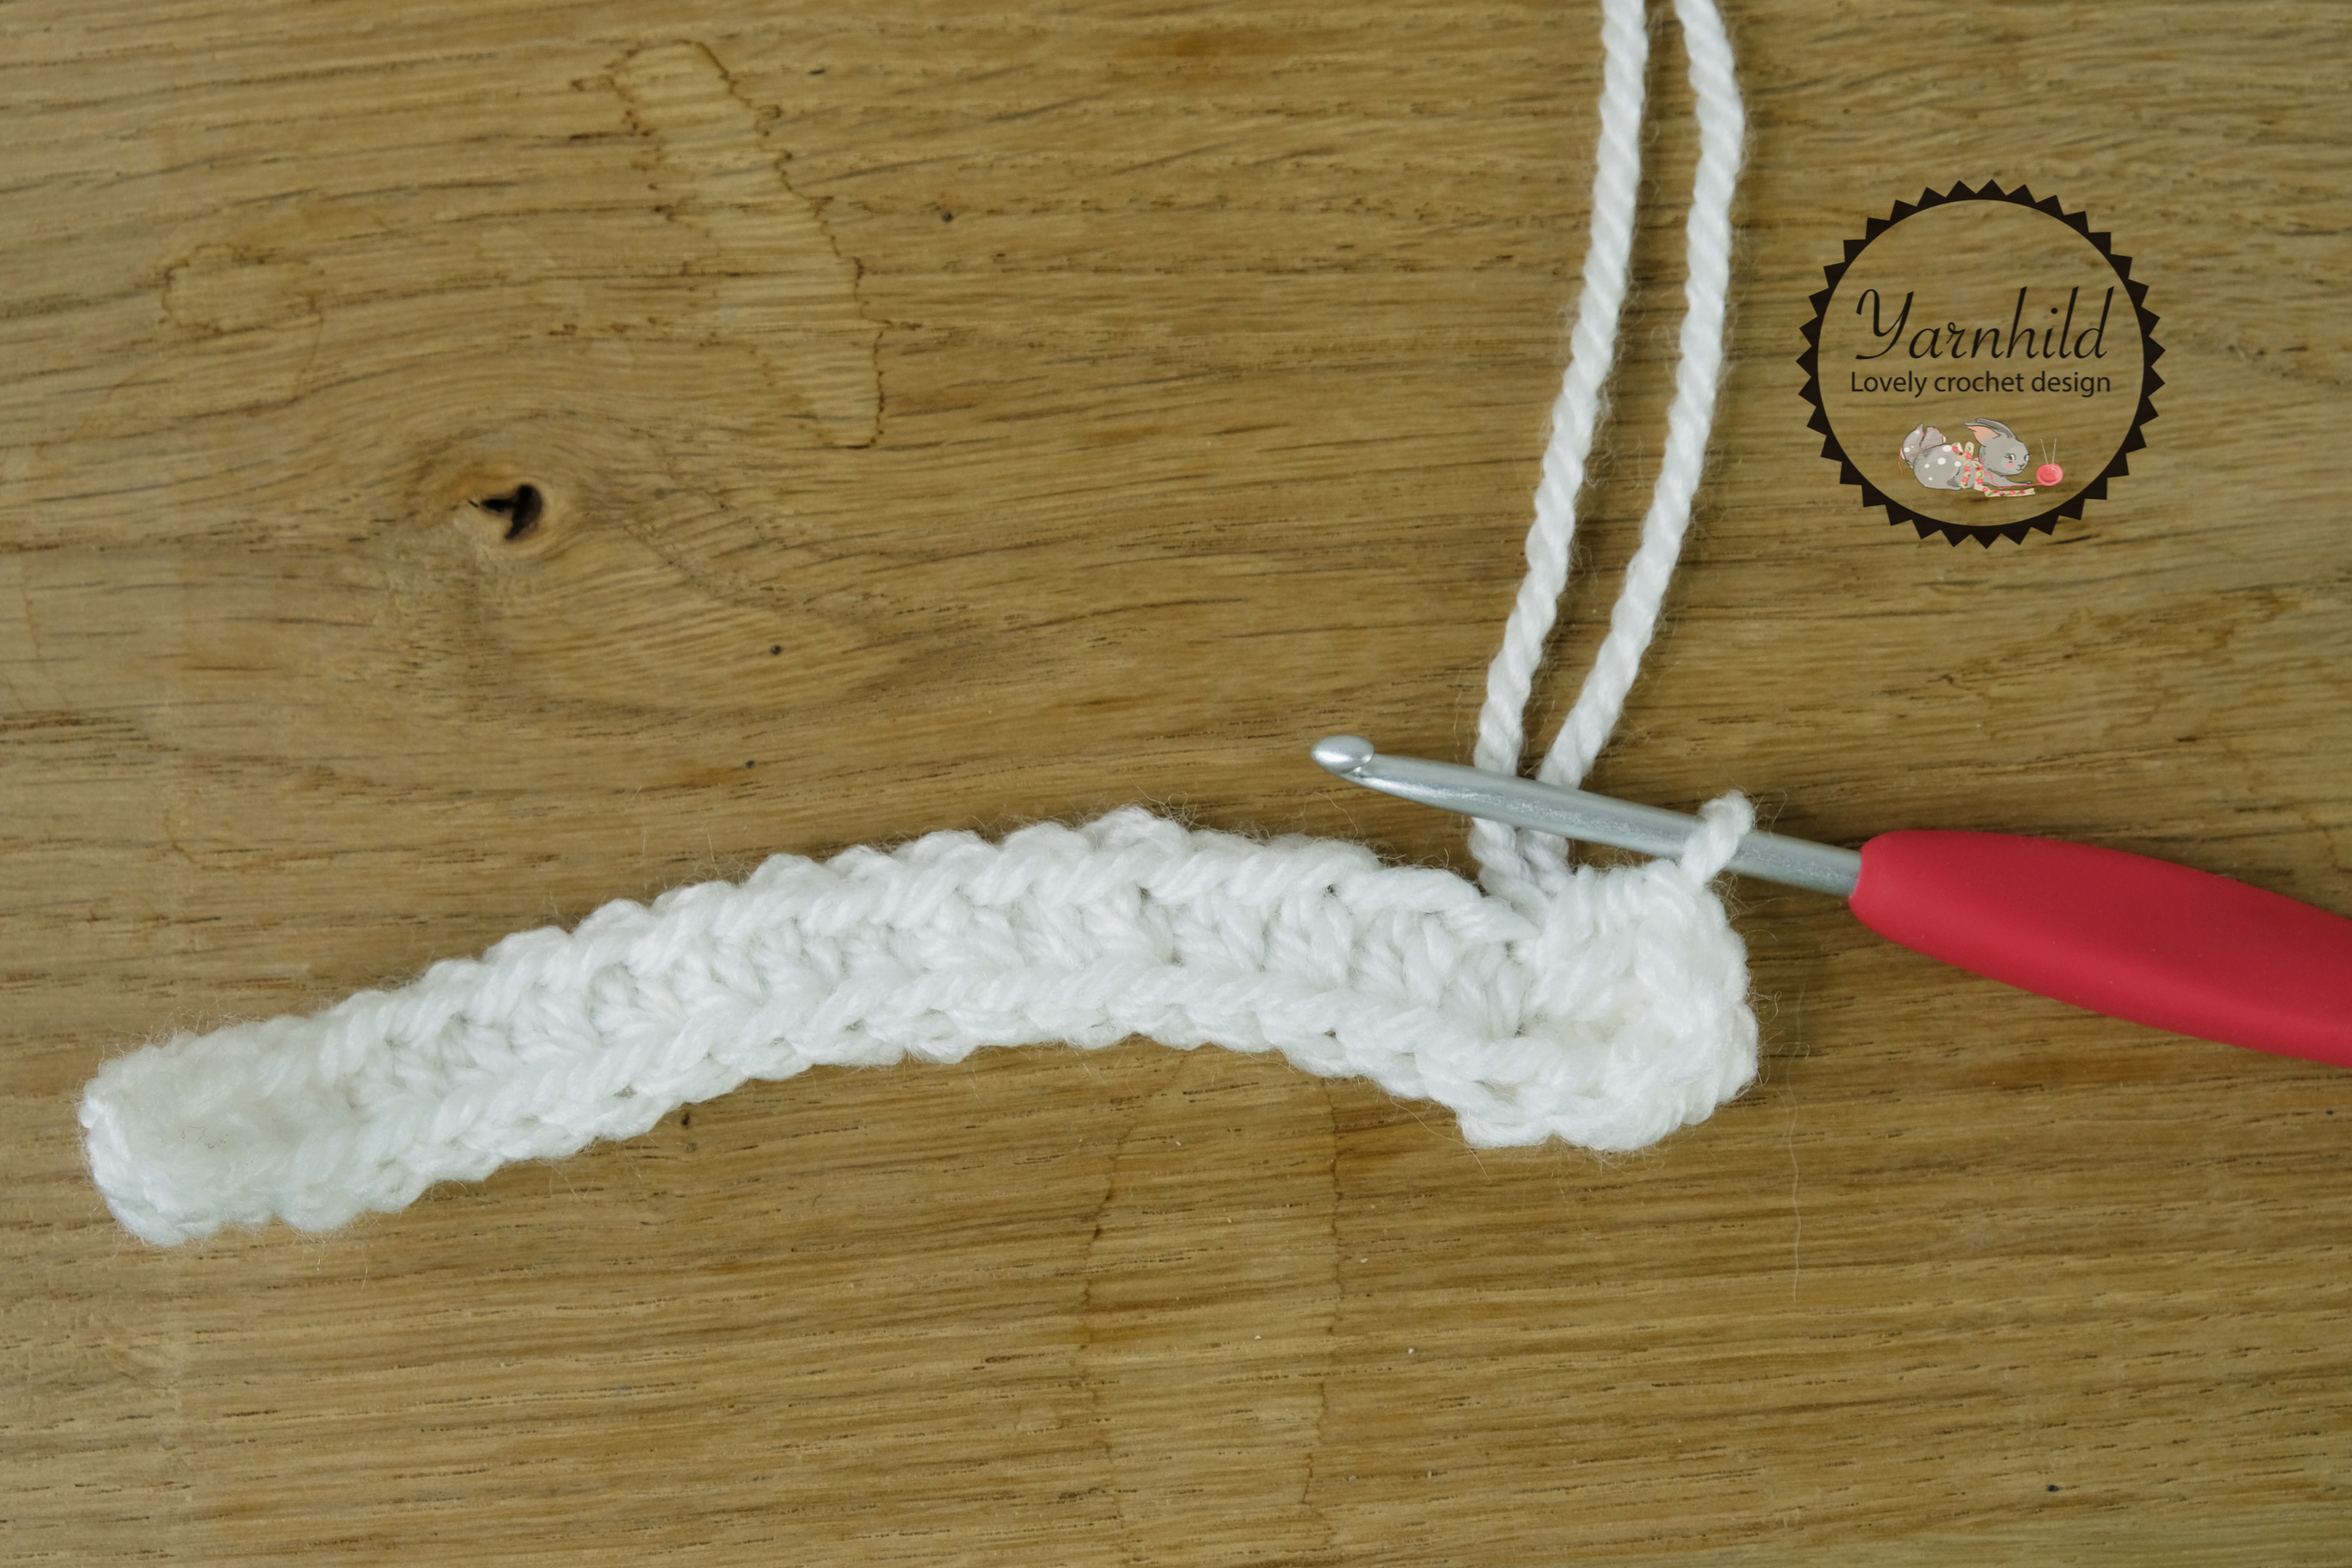
R 1: Chain 20, turn, 1 HDC in the 2nd ch from the hook and in next 17ch, 2 HDC in the last ch. Now work on the opposite side: HDC INC in next st, 16 HDC, HDC INC in last st = 40 HDC
R 2: SC INC in the next st (not in the chains), 17 SC, HDC INC x 4, 17 SC, SC INC = 46 st. Sl st in the first ch. Leave a tail for fastening.
See extra help section for pictures!
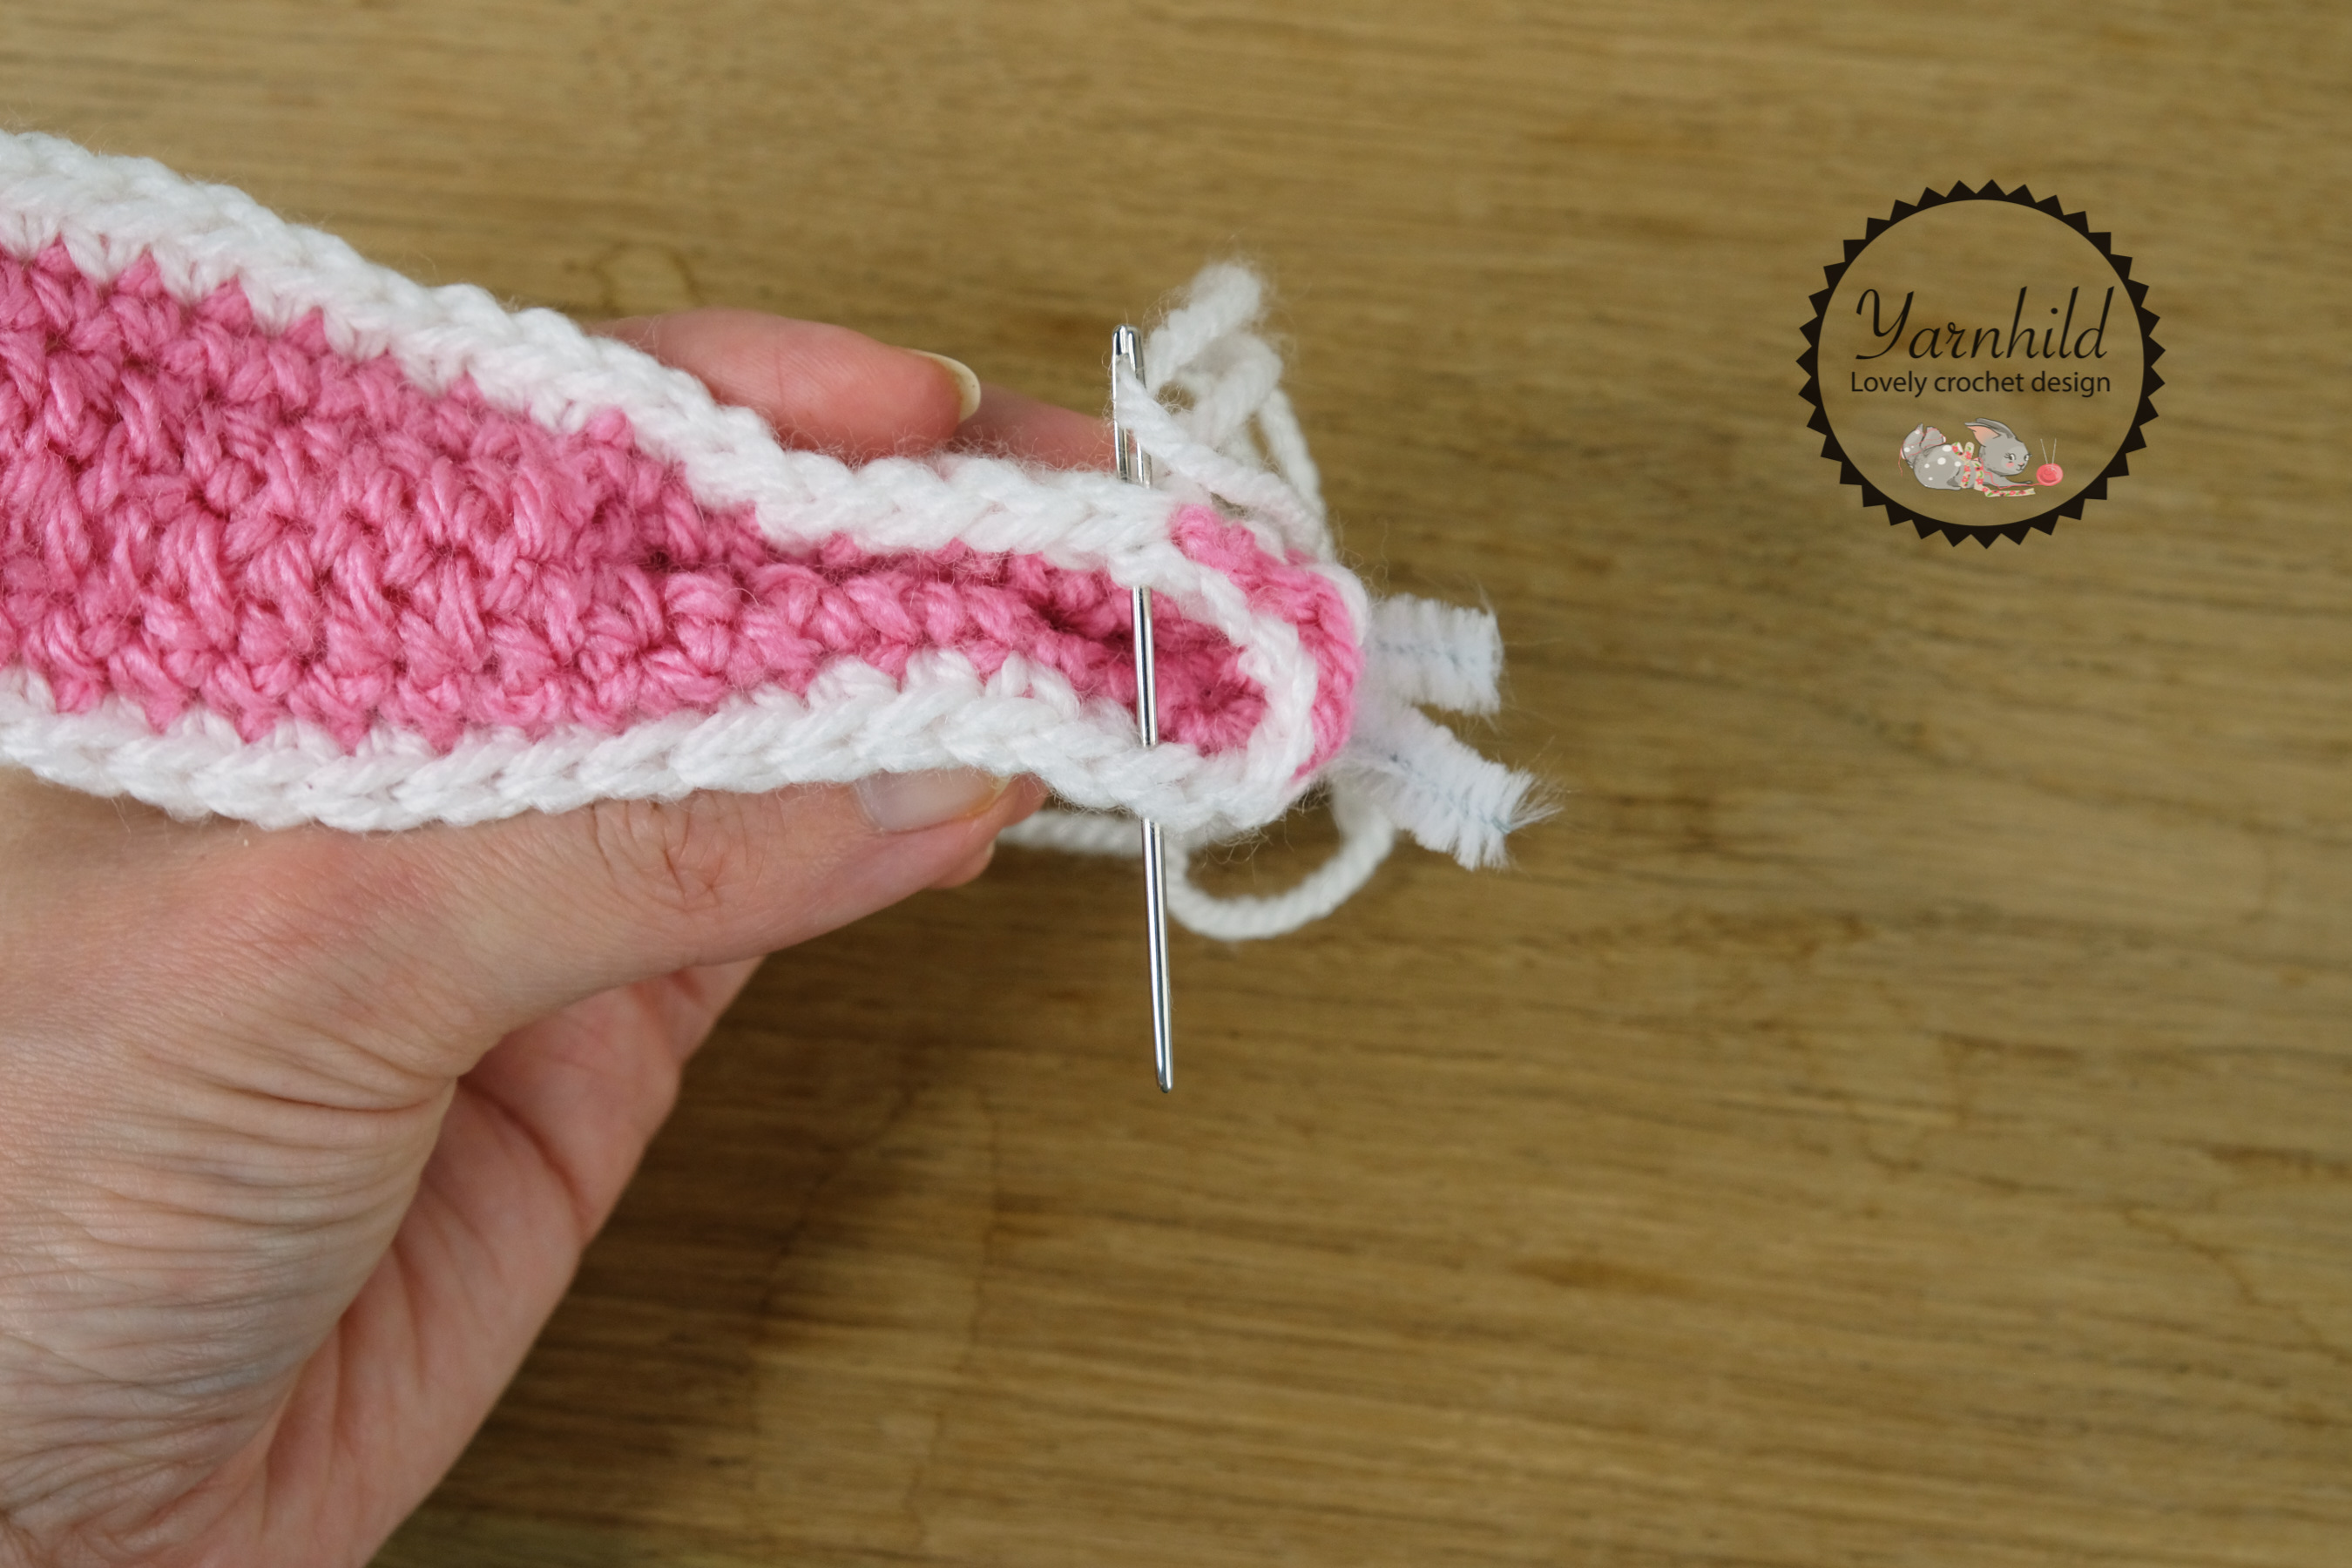
Sl st in the first st. Fasten off. When you get to the white part, don’t fasten off. Lay the pink and white part on top of each other. The pink part being the inner part of the ear. Ch 1, SC through both parts of the ears. Place a pipe cleaner between the layers for extra stability. Make sure that the pointy part of the pipe cleaner is sticking out through the bottom of the ear. Sl st over the pipe cleaner to leave an opening.
Arms
In white
R1: Mr and 7 SC in the ring = 7 SC
R2: SC INC x 7 = 14 SC
R4-5: 14 SC
R5: INV DEC x 7 = 7 SC
Change color to pink or purple
R6 – 19: 7 SC for 14 rounds
Stuff the arms.
Sl st in the first SC, cut the yarn, leave a long strand for fastening
Skirt
See below for pictures!
Pink or purple yarn.
R 1: Turn the body so the back side is facing up and the feet are pointing up. Use the remaining loops from round 5. Fasten yarn, ch 3 (counts as 1 DC), 1 DC in same st and 2 DC in each st. = 60 DC
R 2: 1 DC in each st. = 60 DC
Bow
In purple or pink
R 1: Ch 9, turn, 1 SC in the 2nd ch from the hook and in each ch, ch 1 = 8 SC
R 2-4: 8 SC, ch 1, turn. Repeat for 3 more rows = 8 SC
SC around the bow, put 2 SC in each corner.
Fasten off. Wind some yarn around the middle (about 10 times or more). Leave a tail for fastening. Weave in ends.
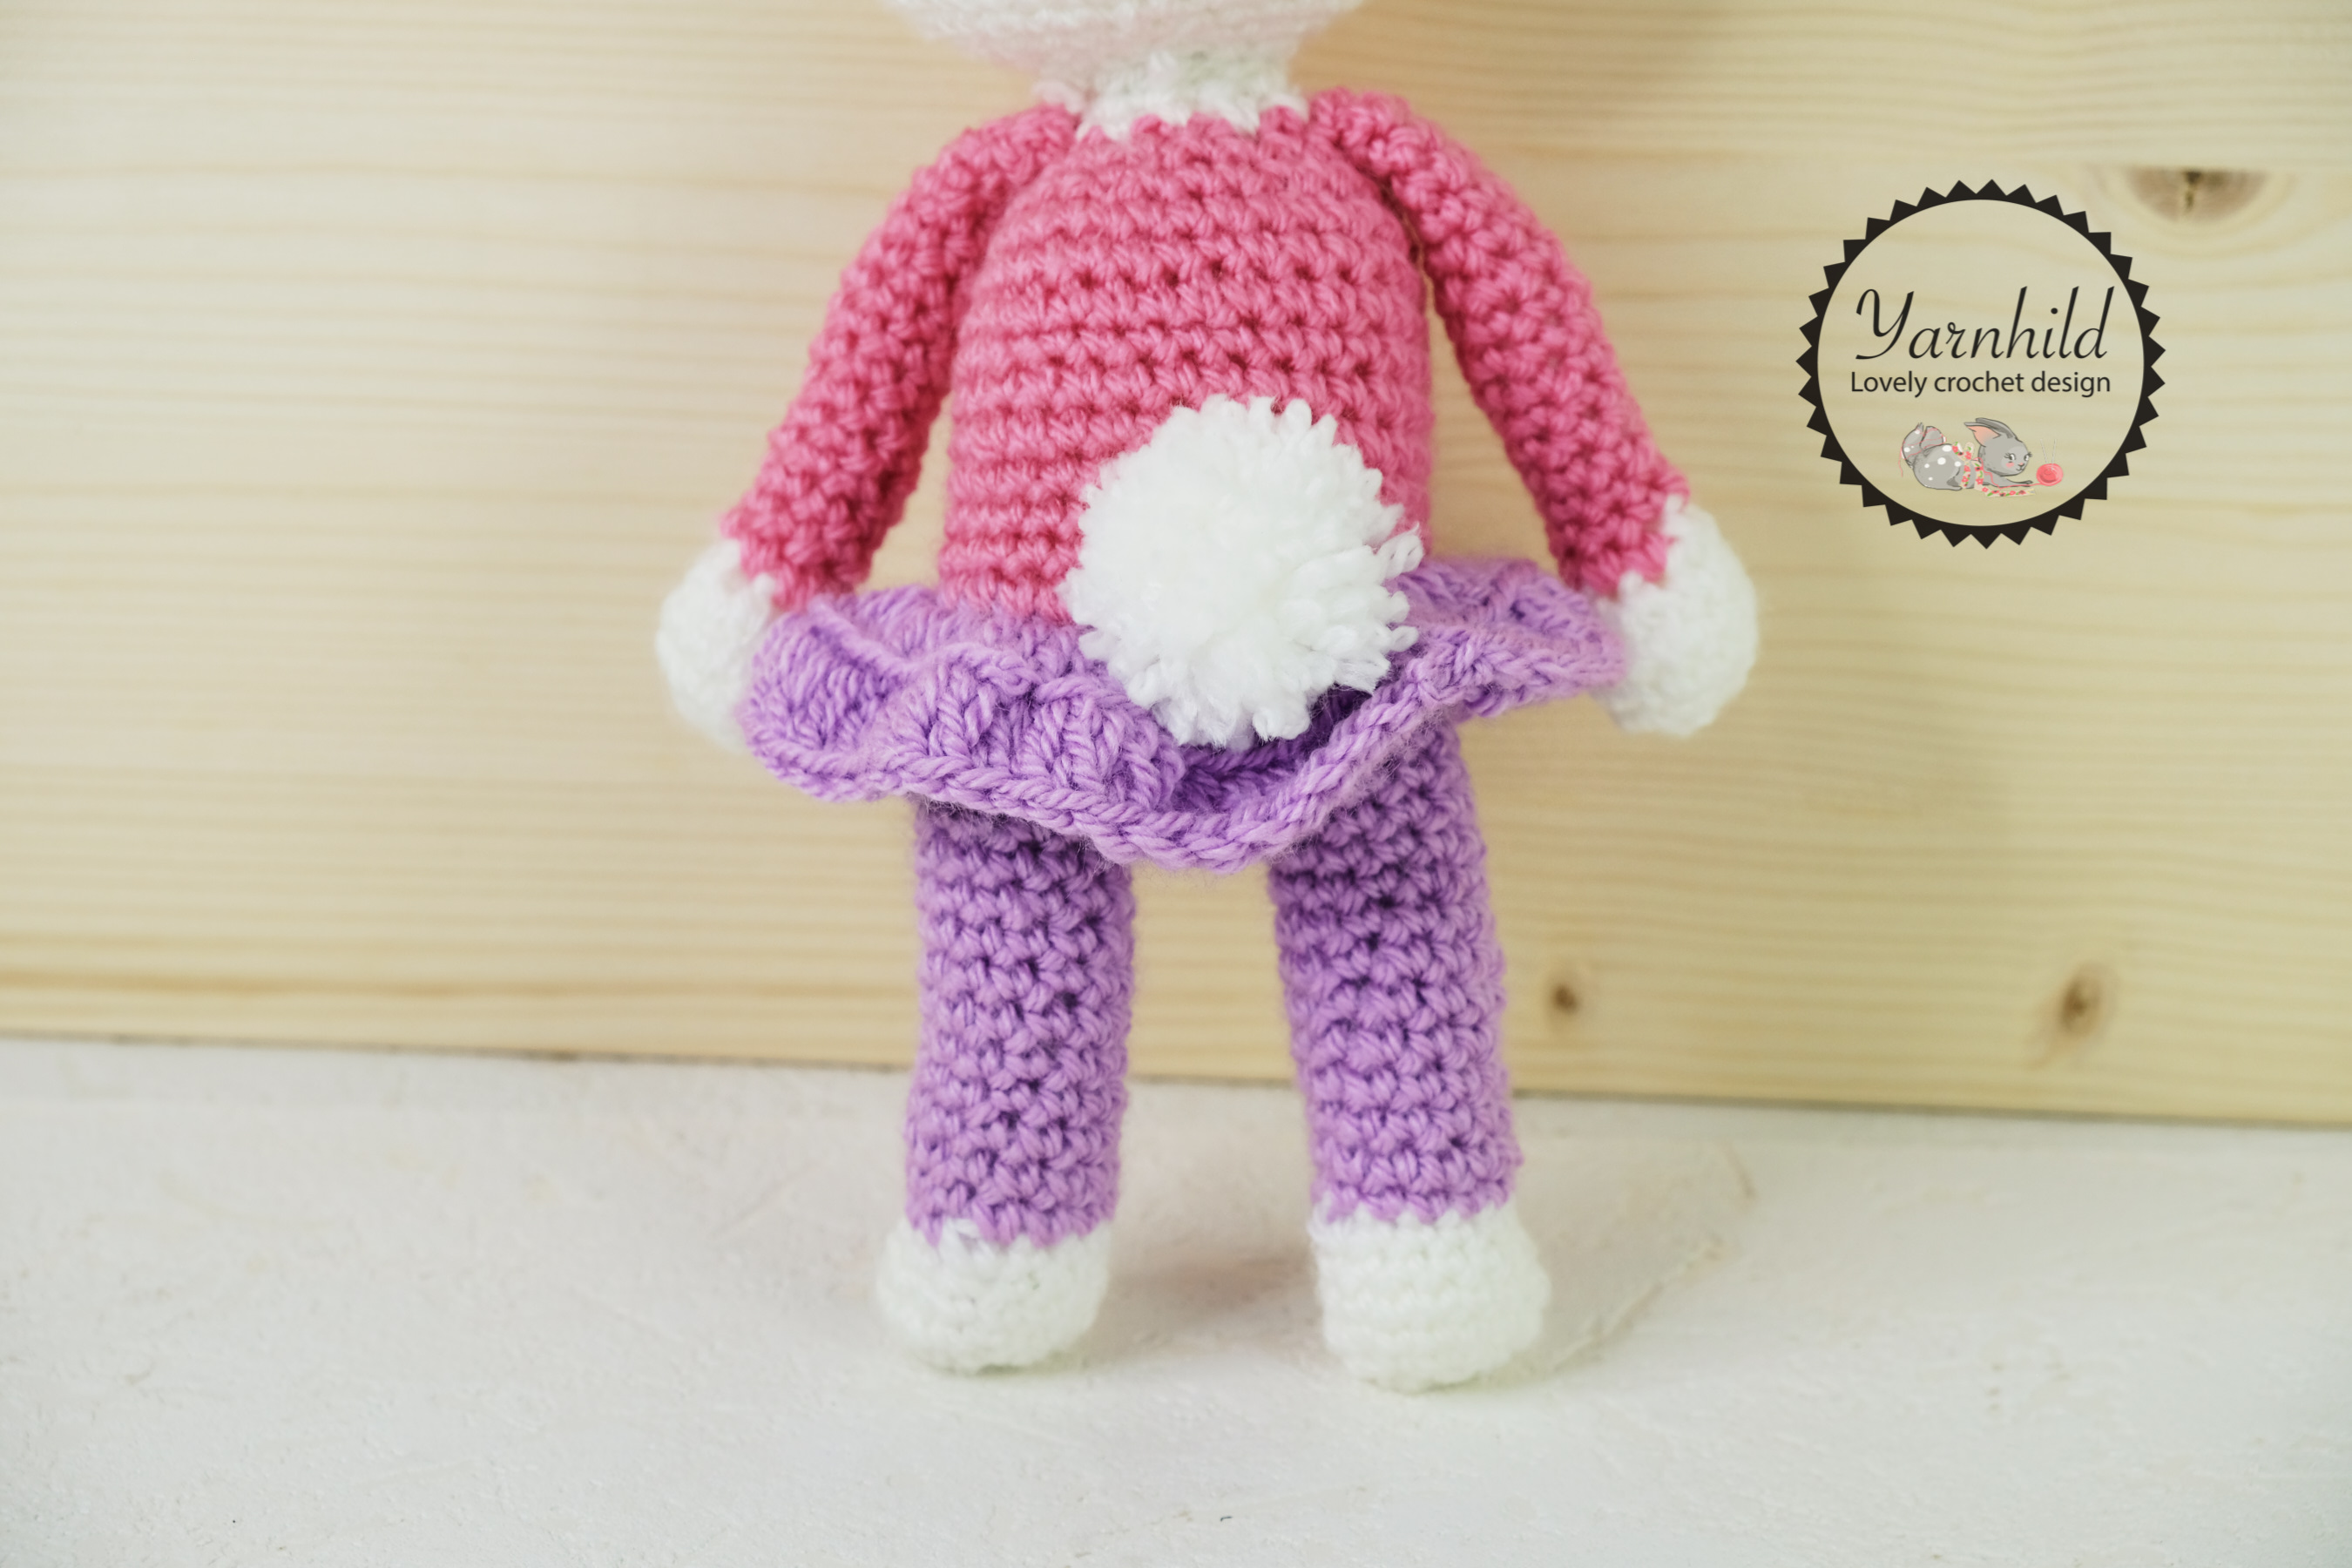
Make a pom-pom for a tail
See pictures below.
Assembly
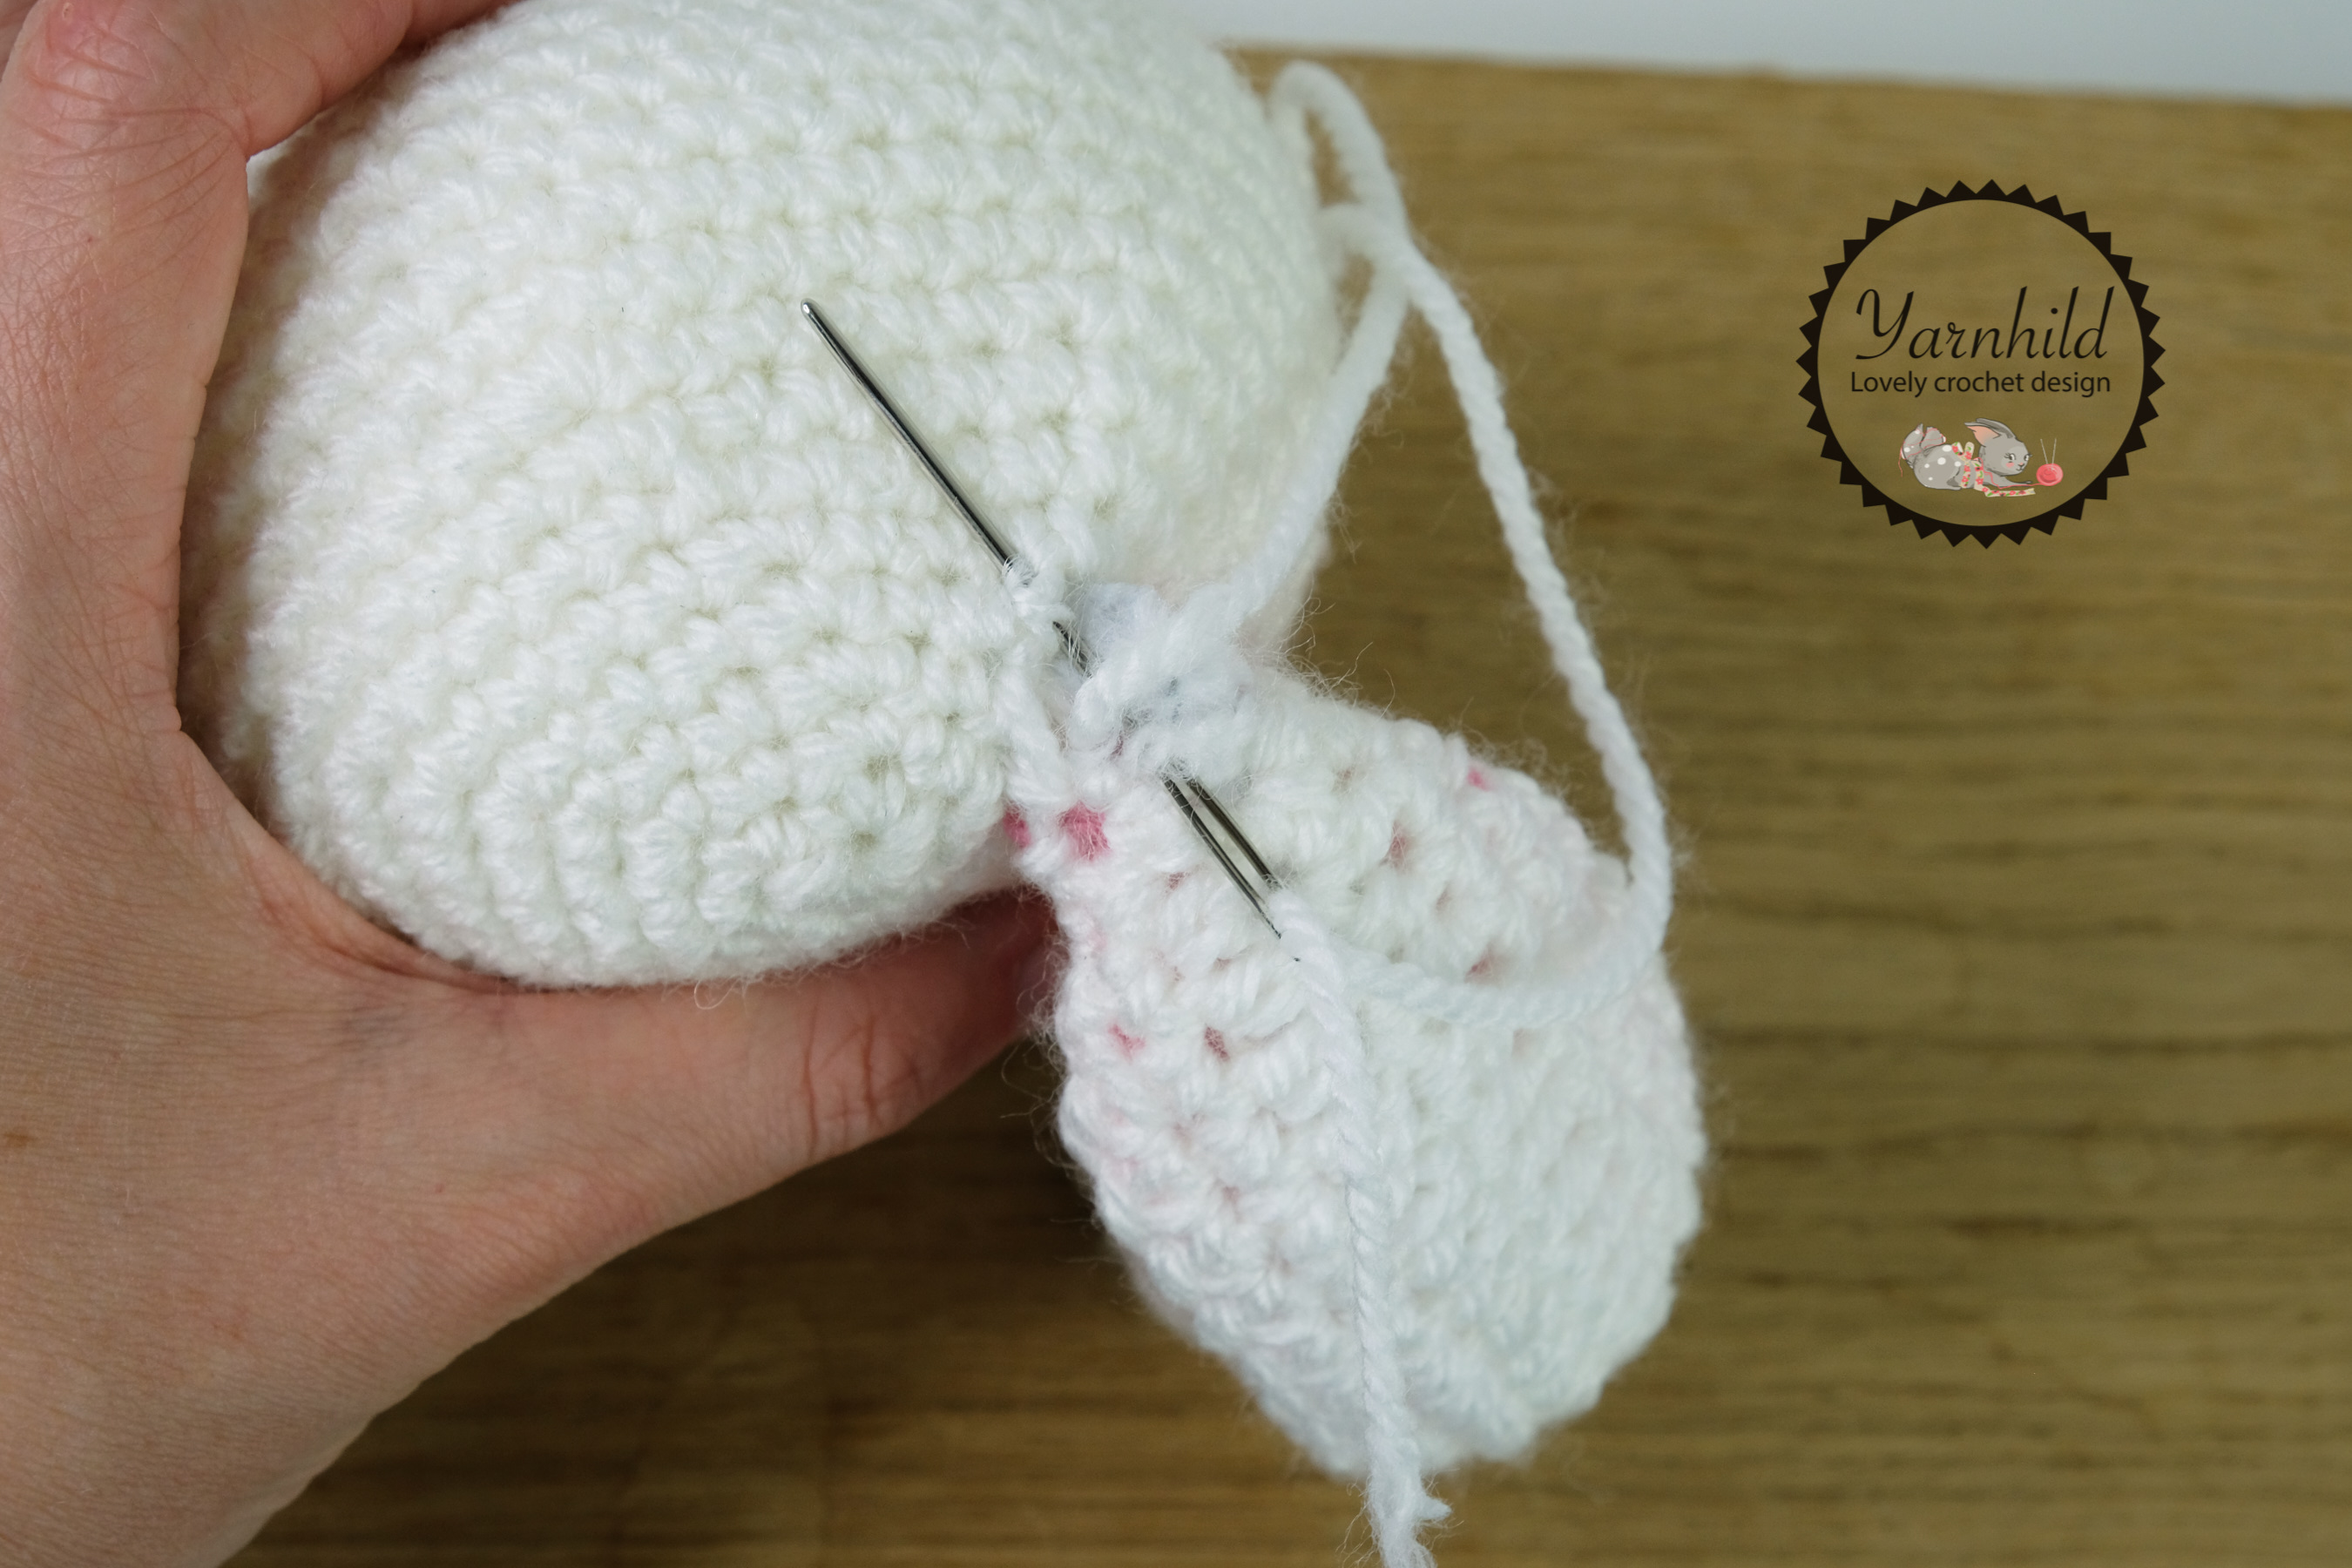
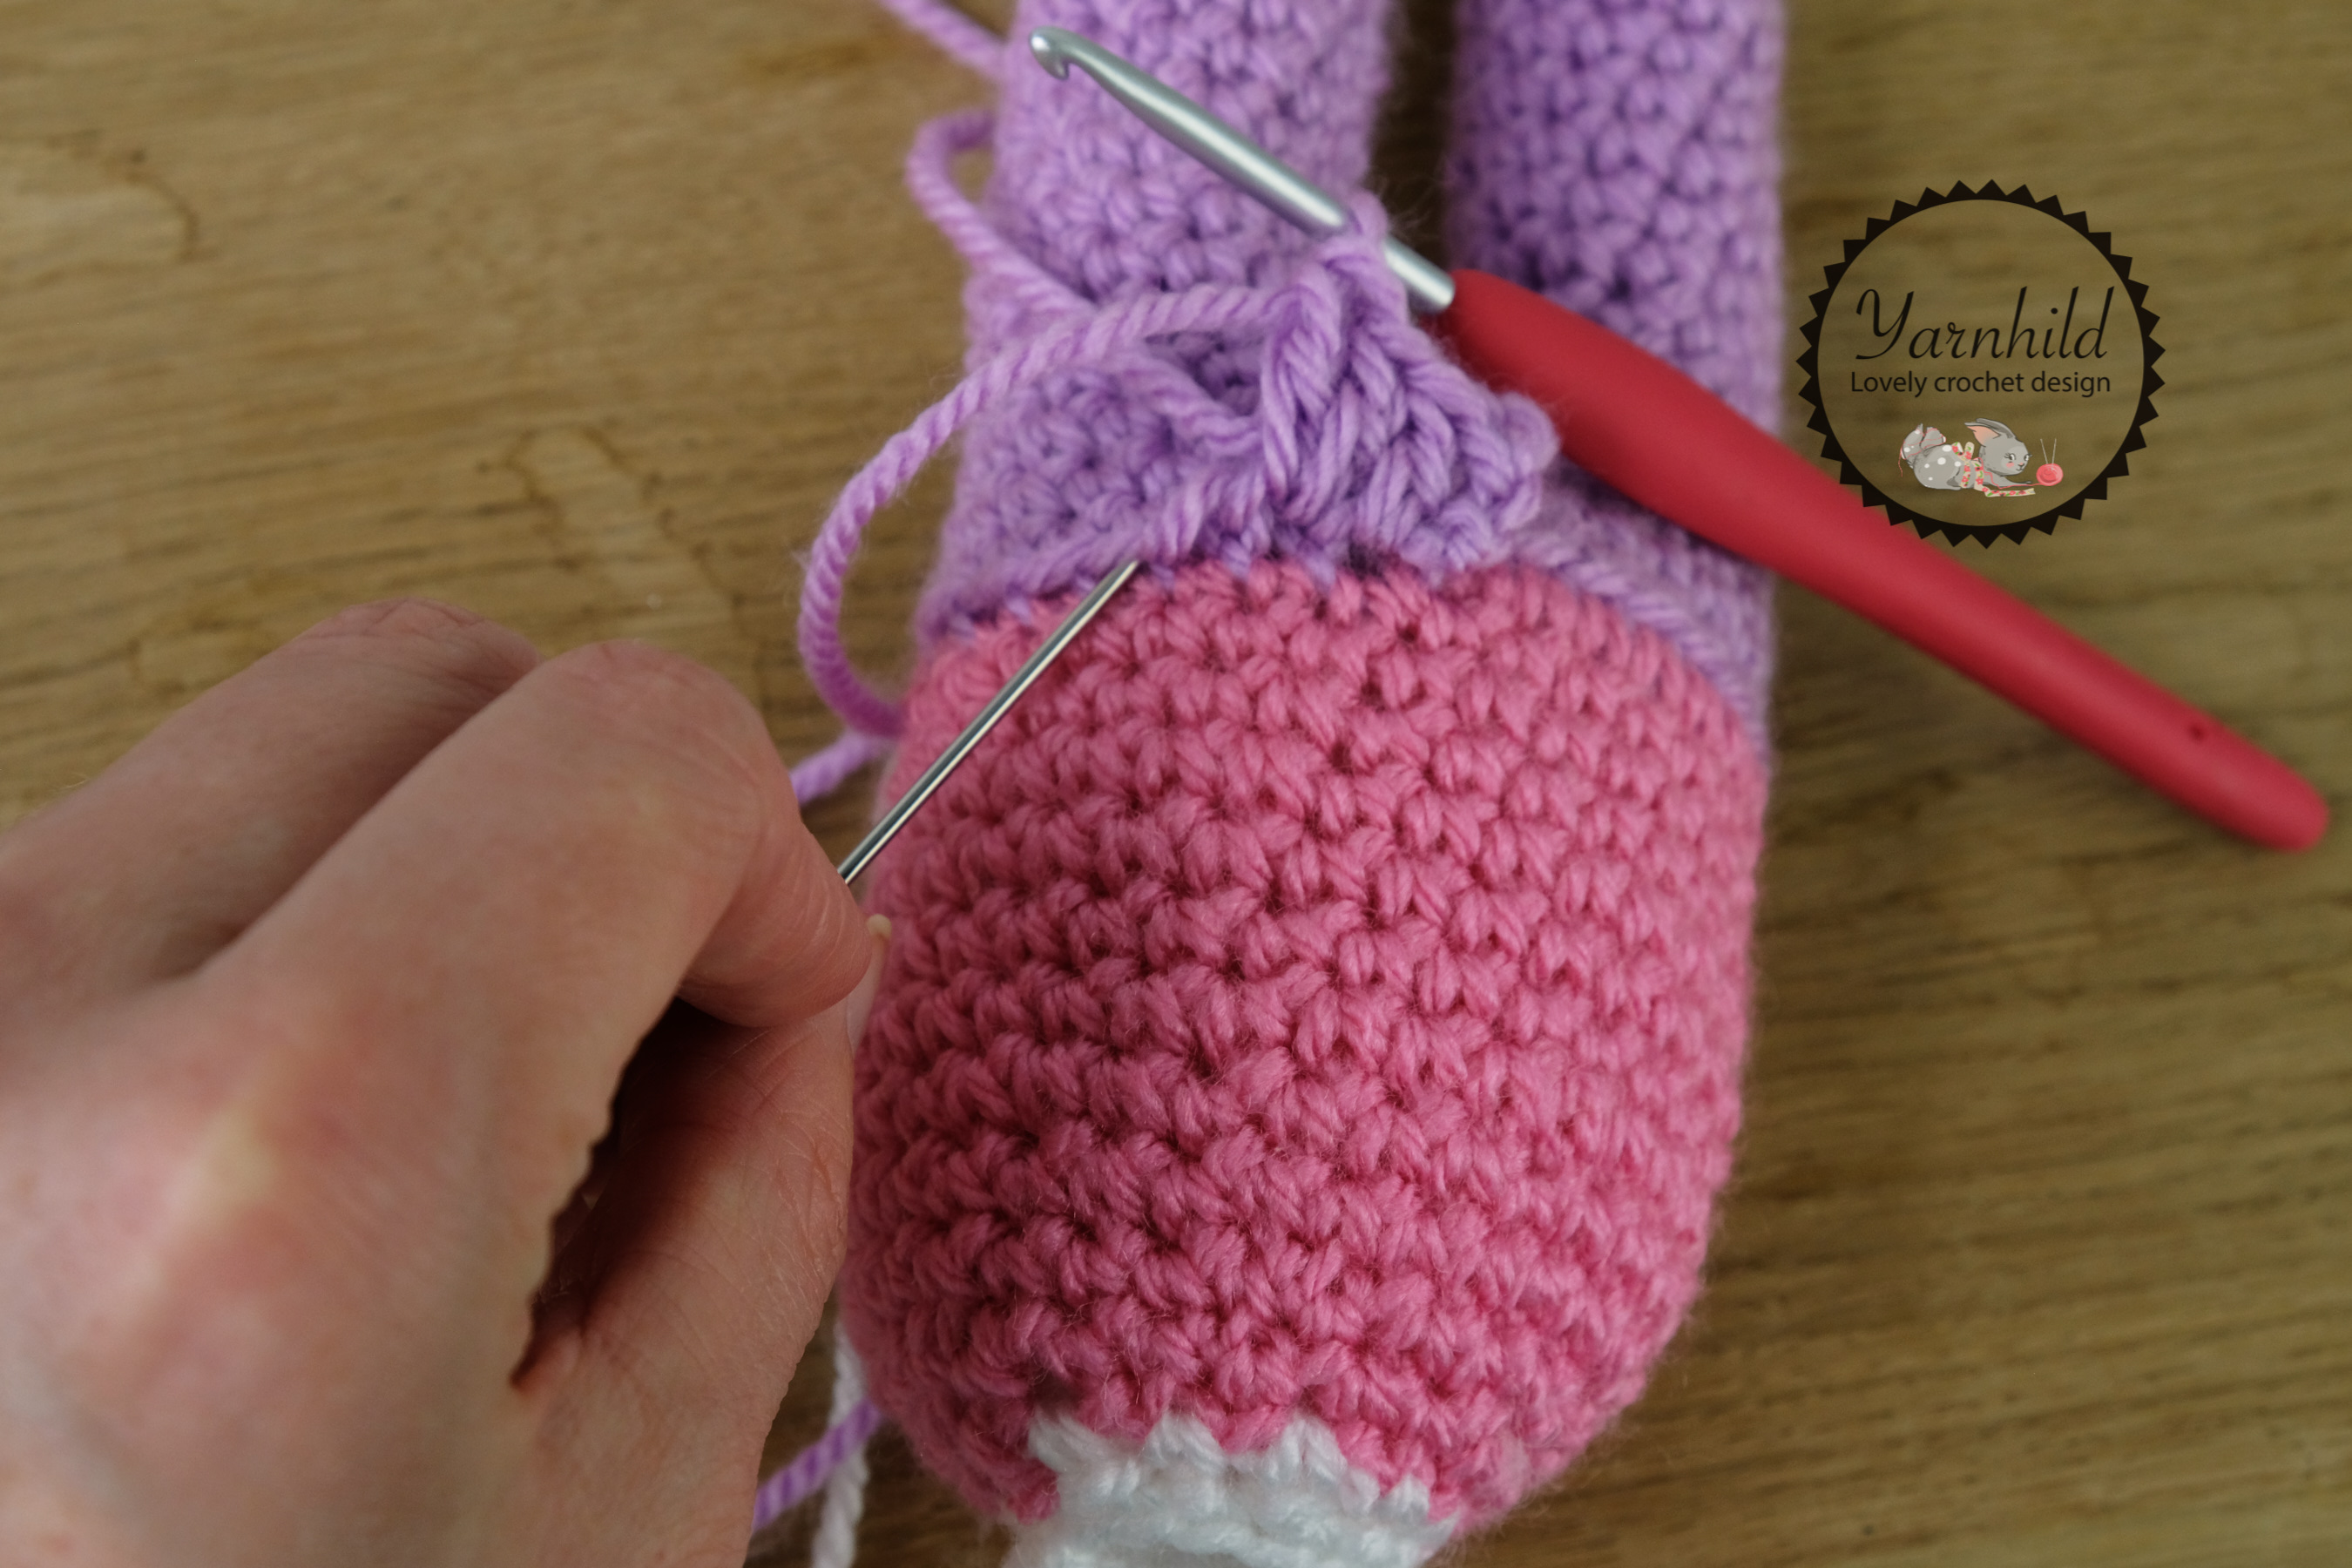
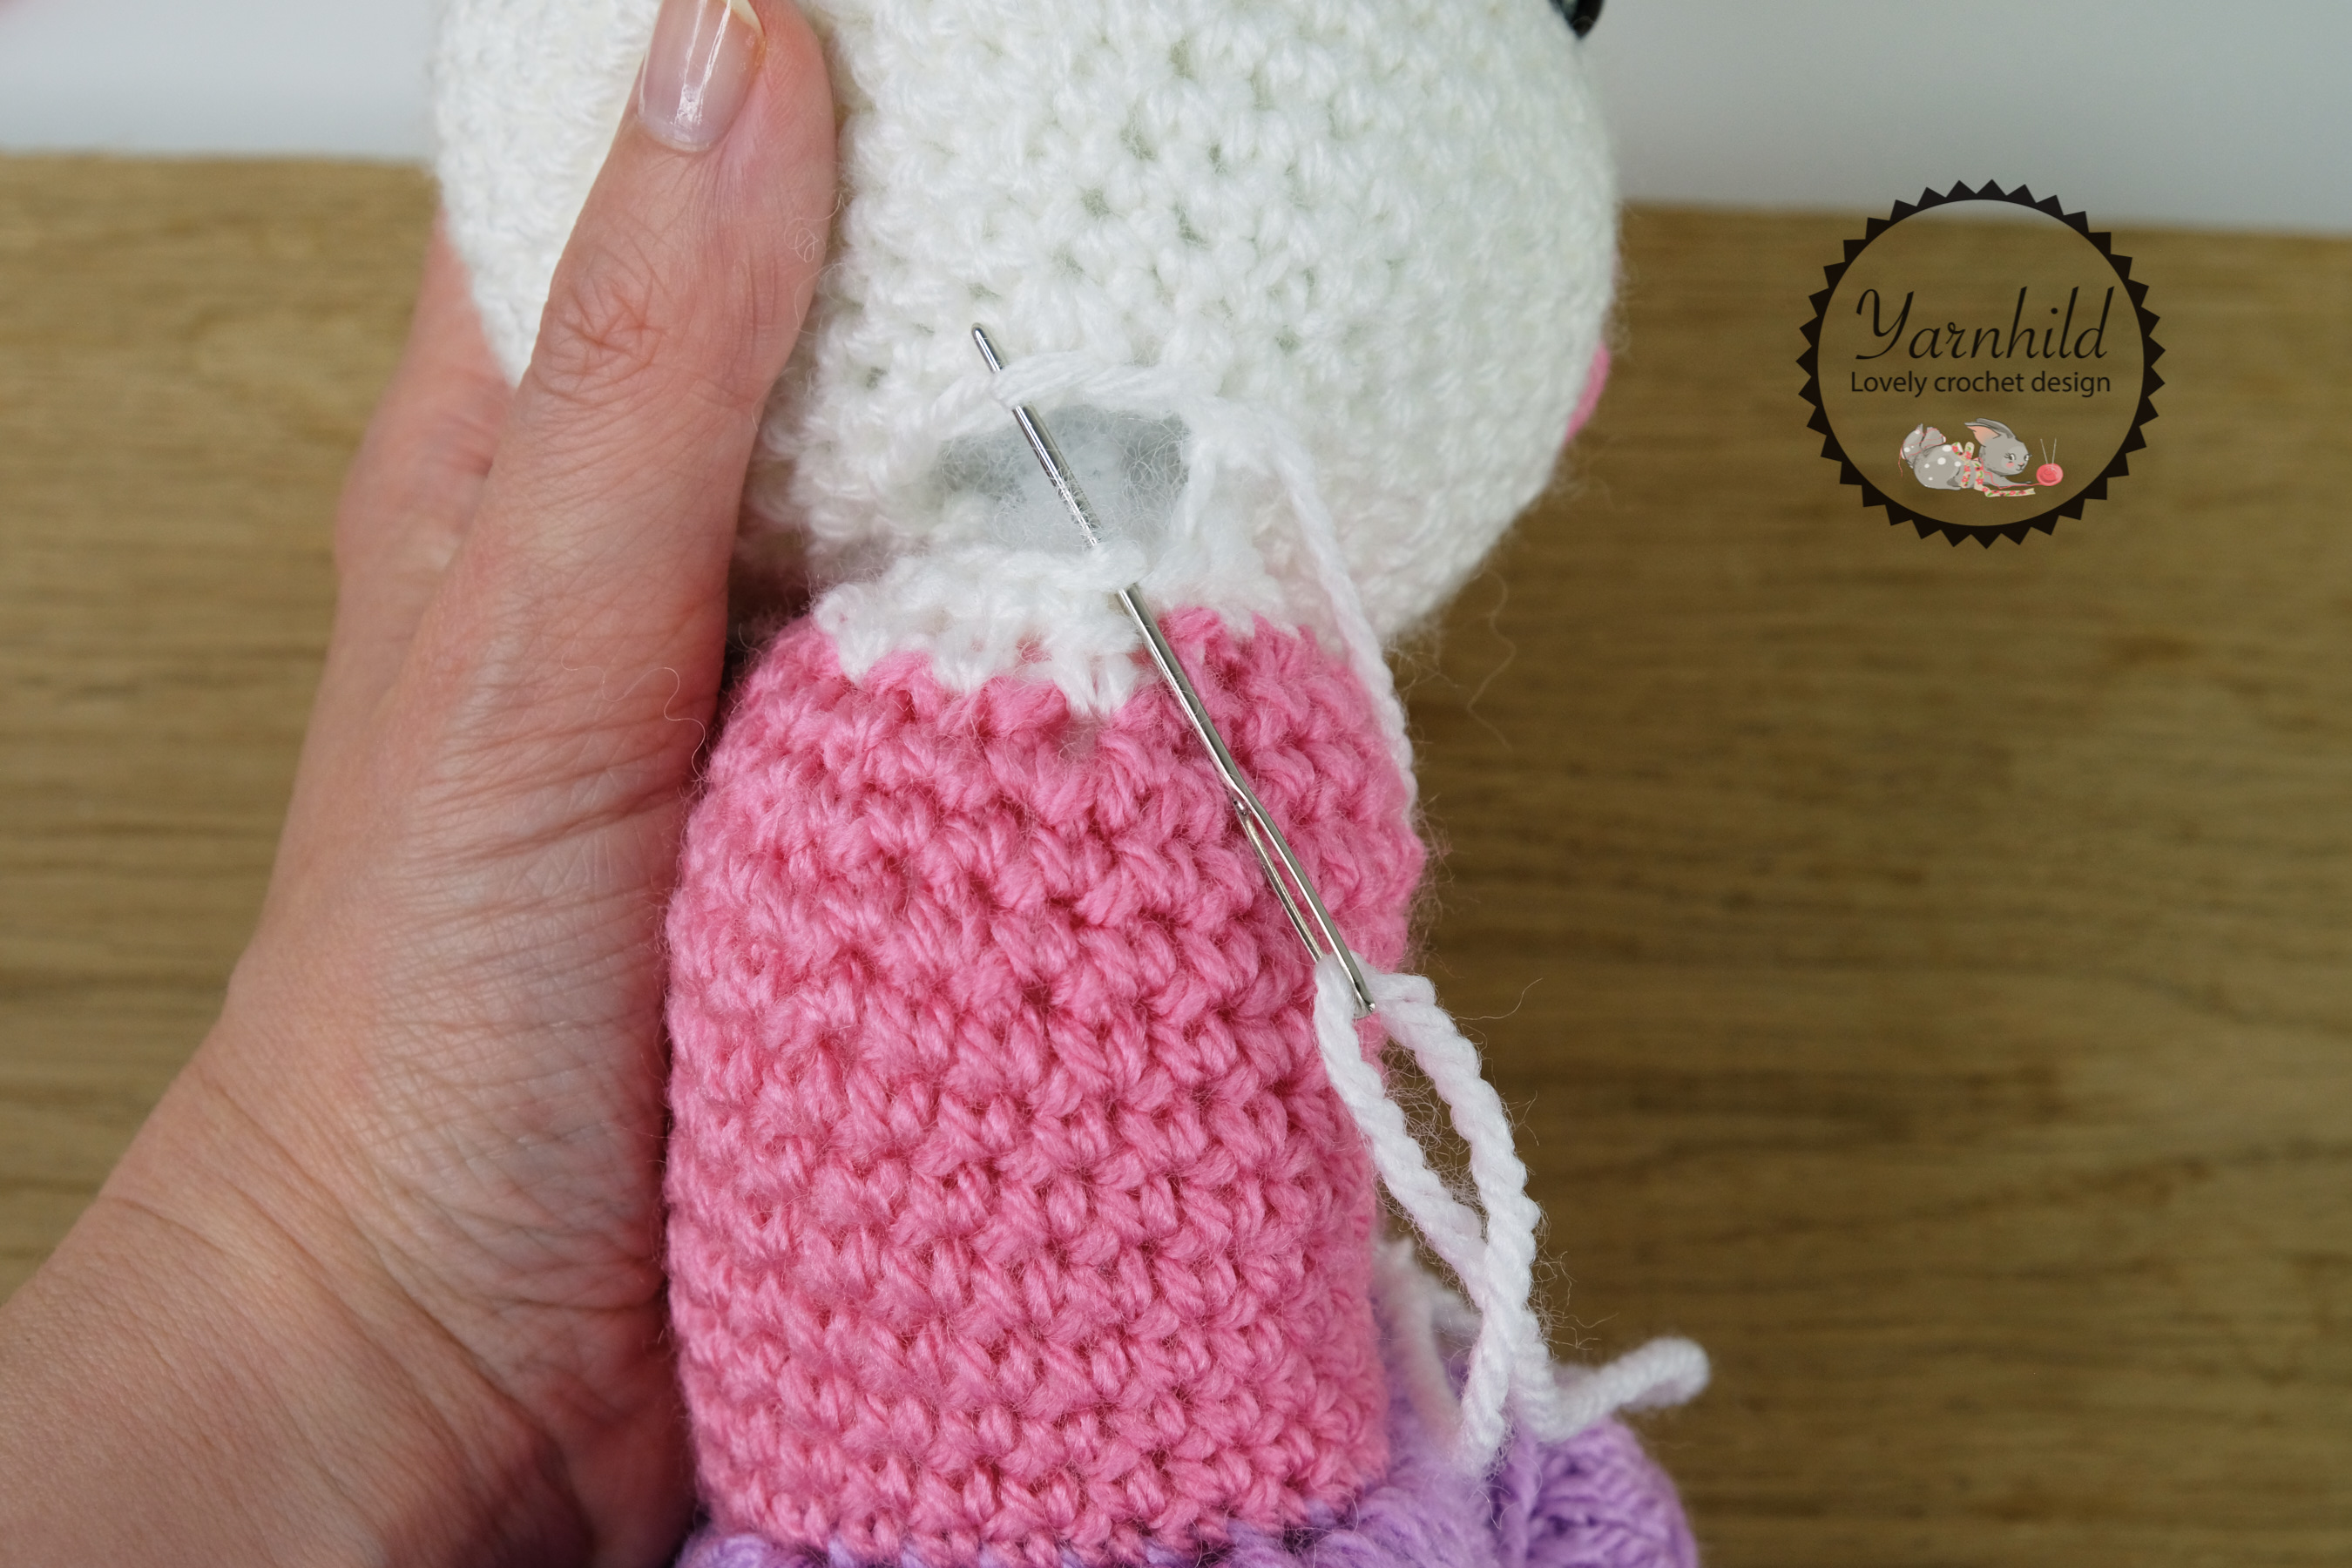
Sew the ears to the head. Sew on the head on the body.
See pictures below! Sew on the bow in front of one ear. Attach the pom-pom on
the back. Sew on arms on between the head and body.
How to attach the legs and make the body
After finishing the second leg, do not fasten off, but crochet 5 more SC. Chain 3 and join the other leg with a sl st.
SC your way around the leg and when you get to the chain 3, SC in each chain until you get to the other leg.
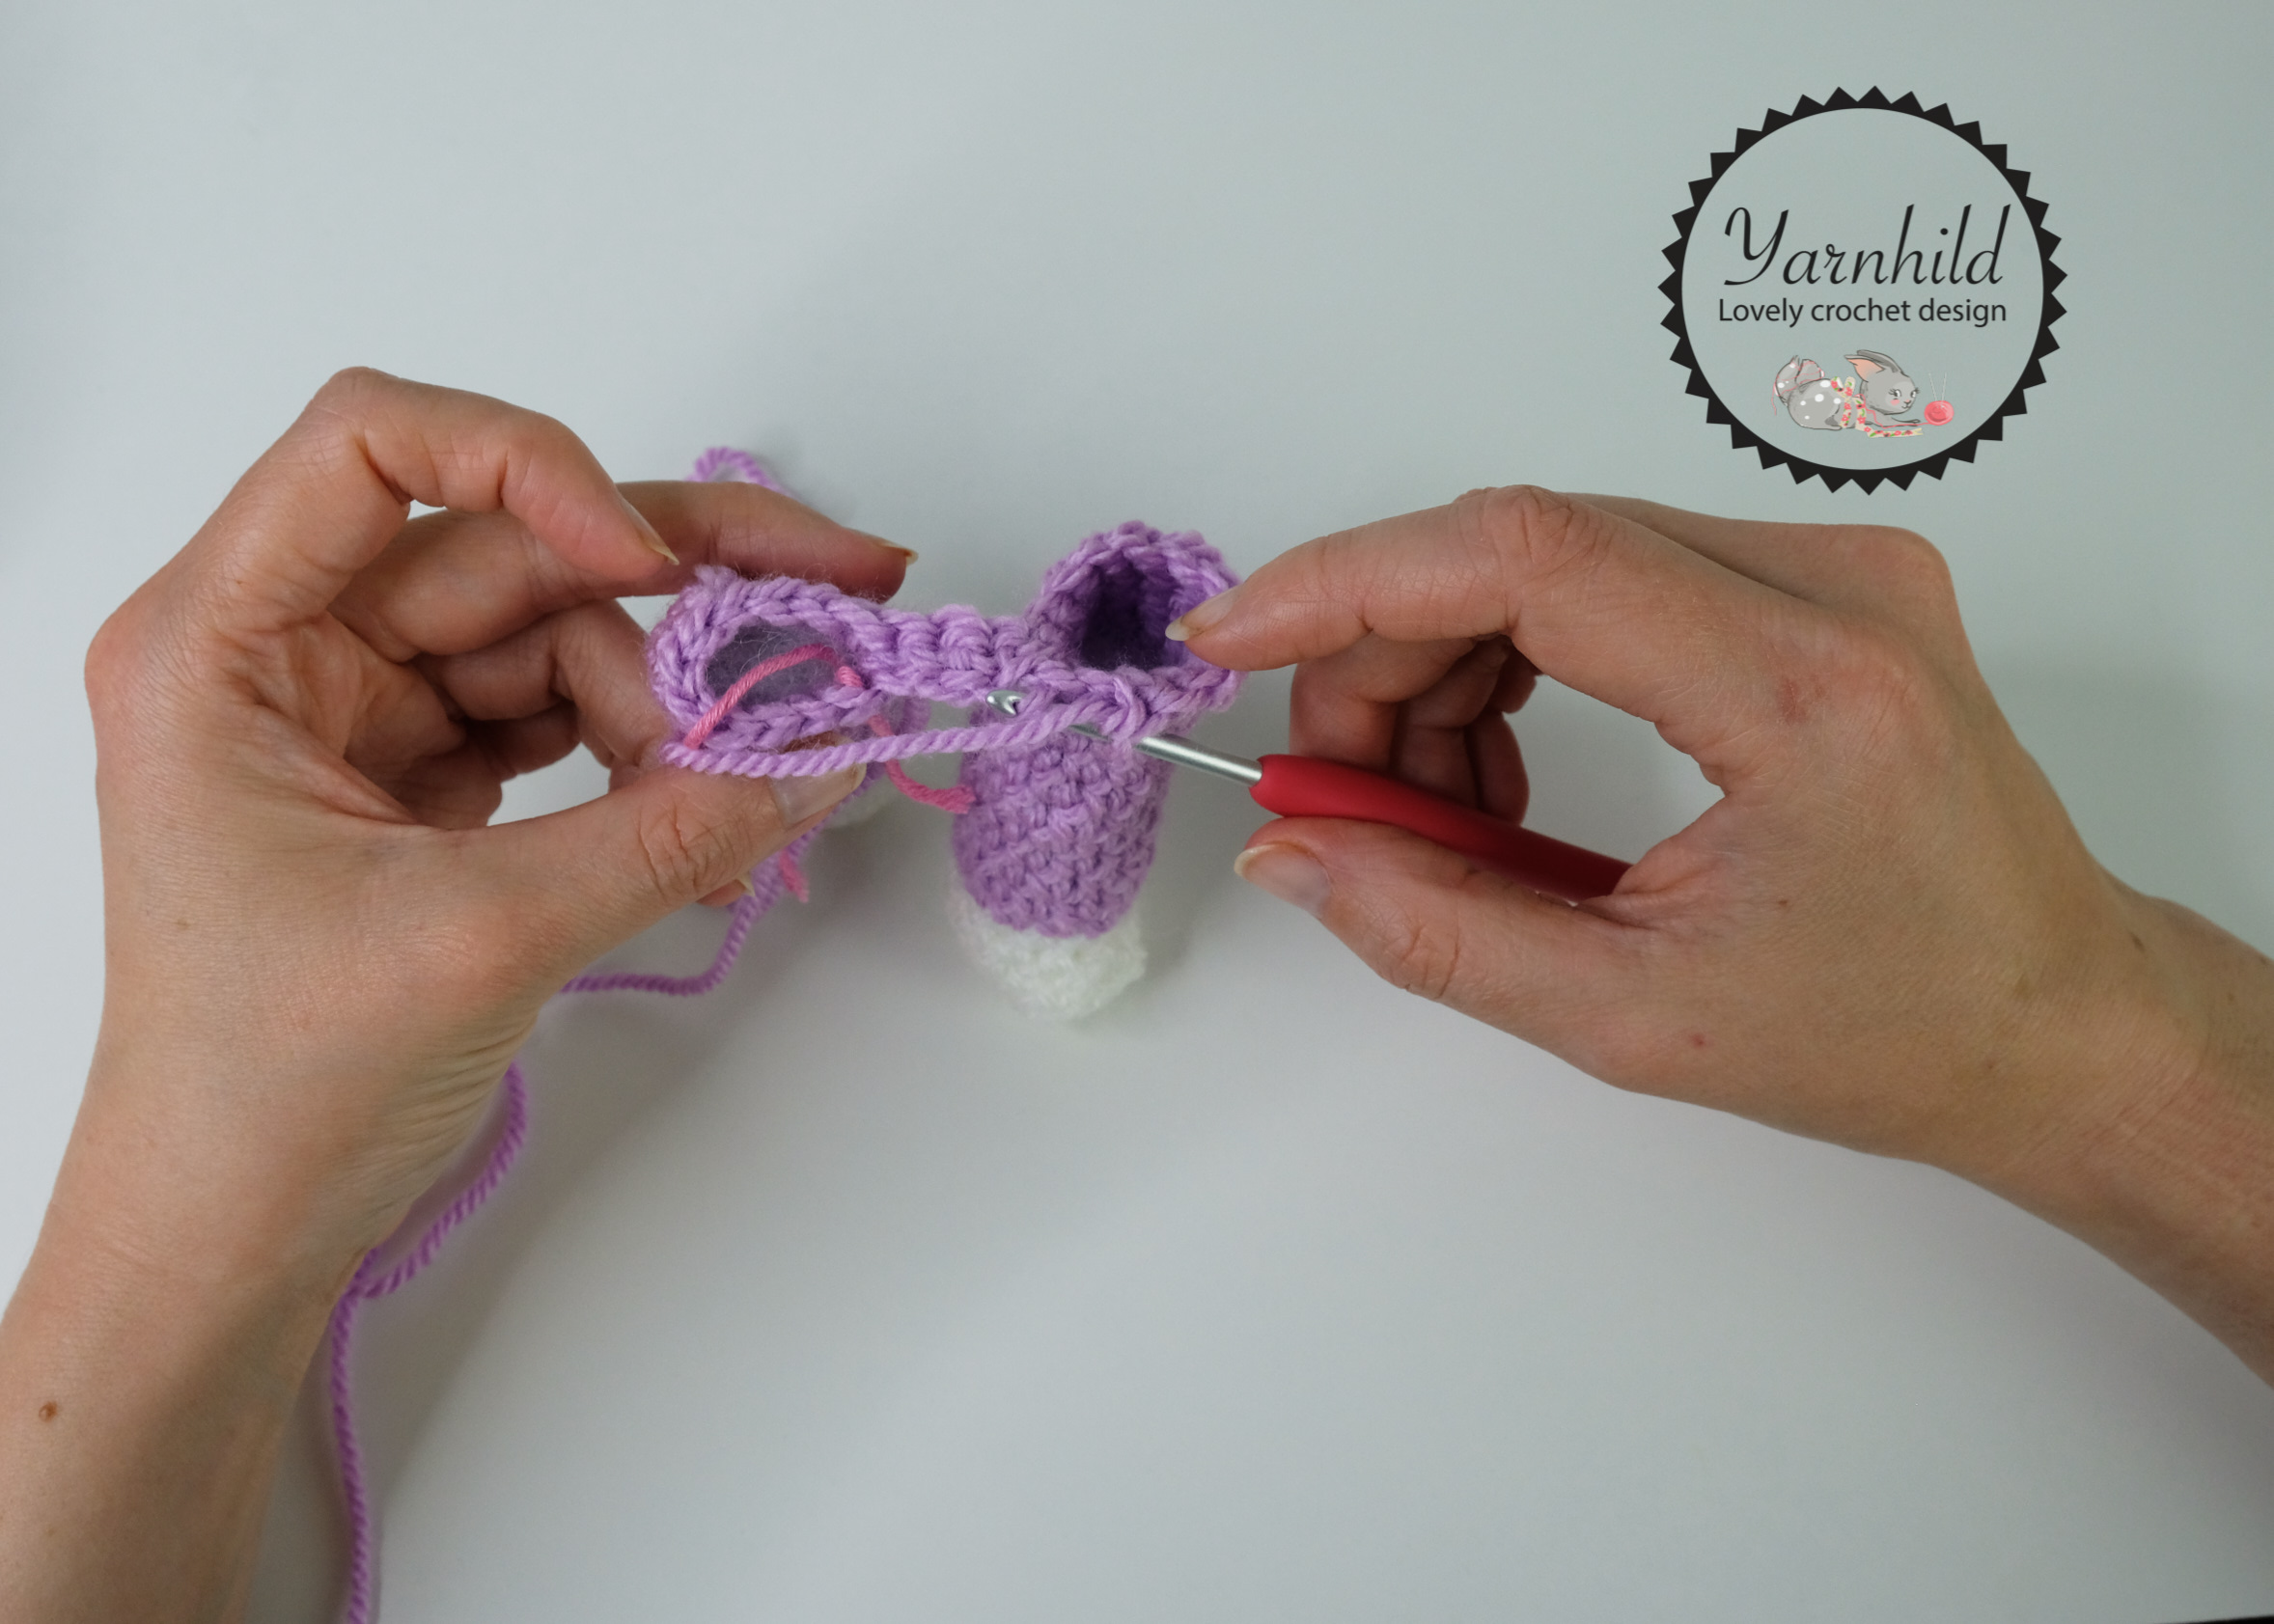
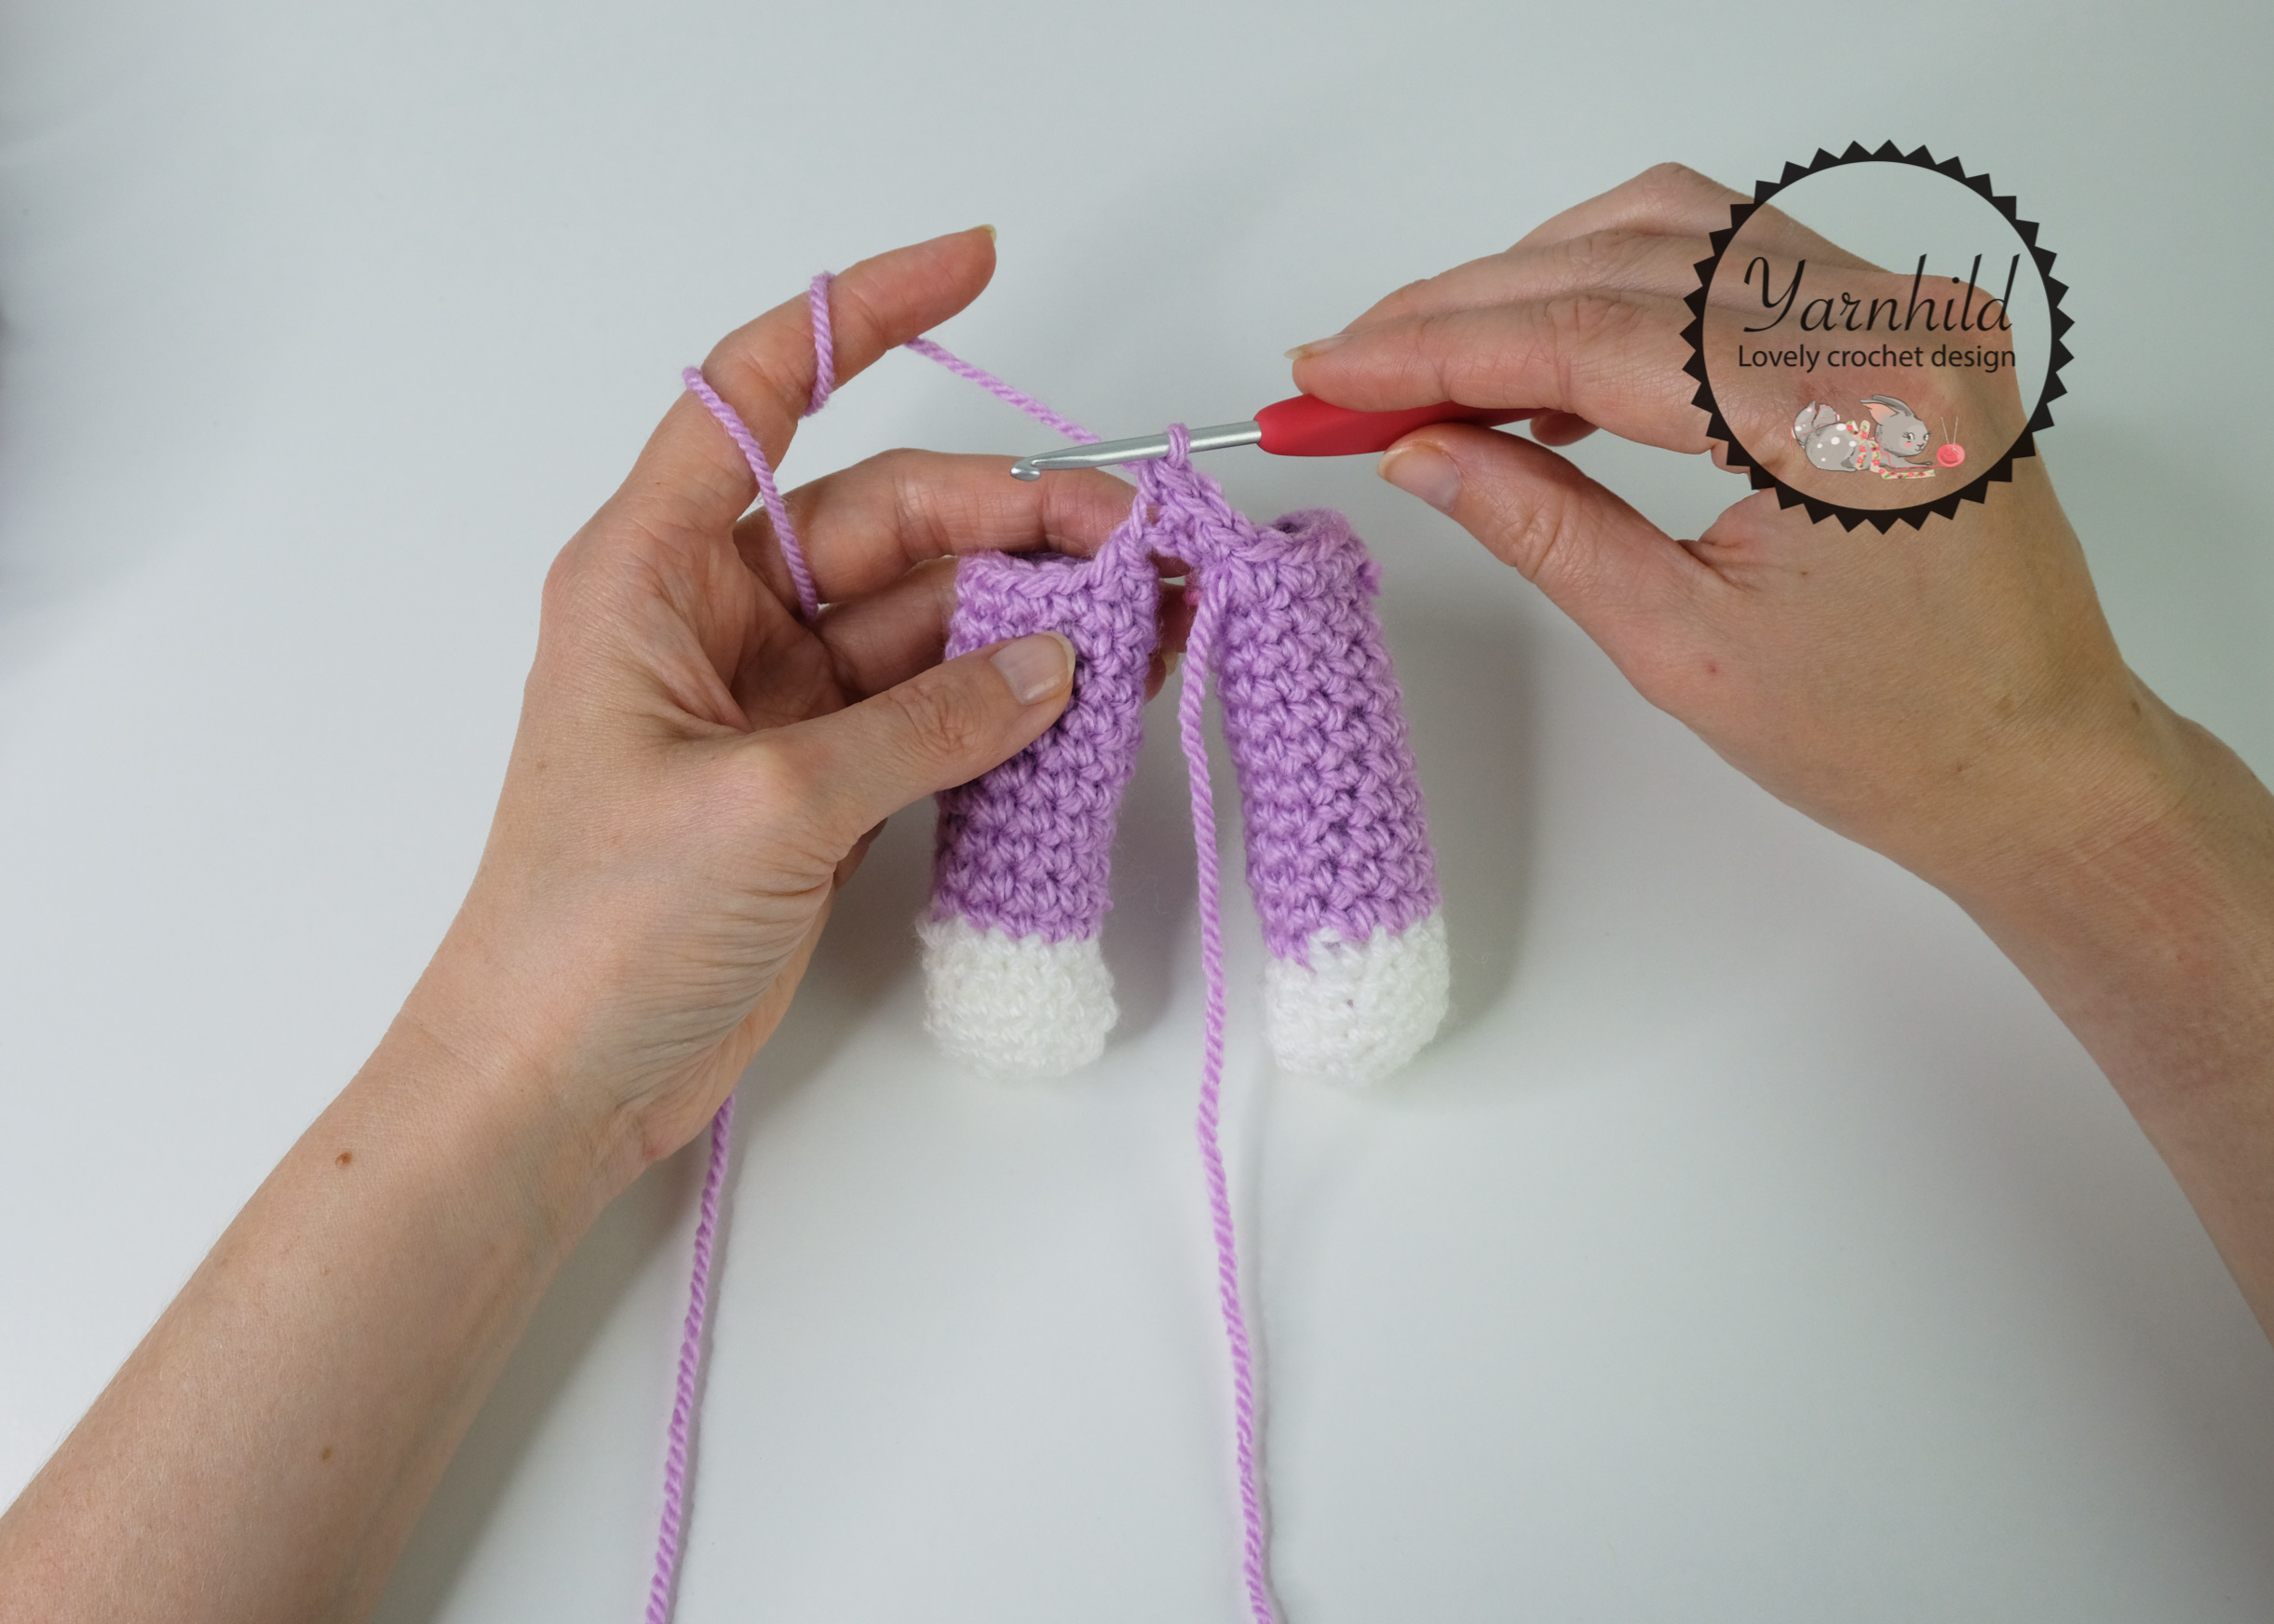
Repeat this on the other side and chains.
How to make the ears
Follow the instructions as written in the pattern for the ears.
First make the chain like normal. Then we are crocheting on the opposite side.
When finished, lay the panels on each other, chain 1 and SC them together.
I used a pipe cleaner to make the ears more stable.
Fold it in half
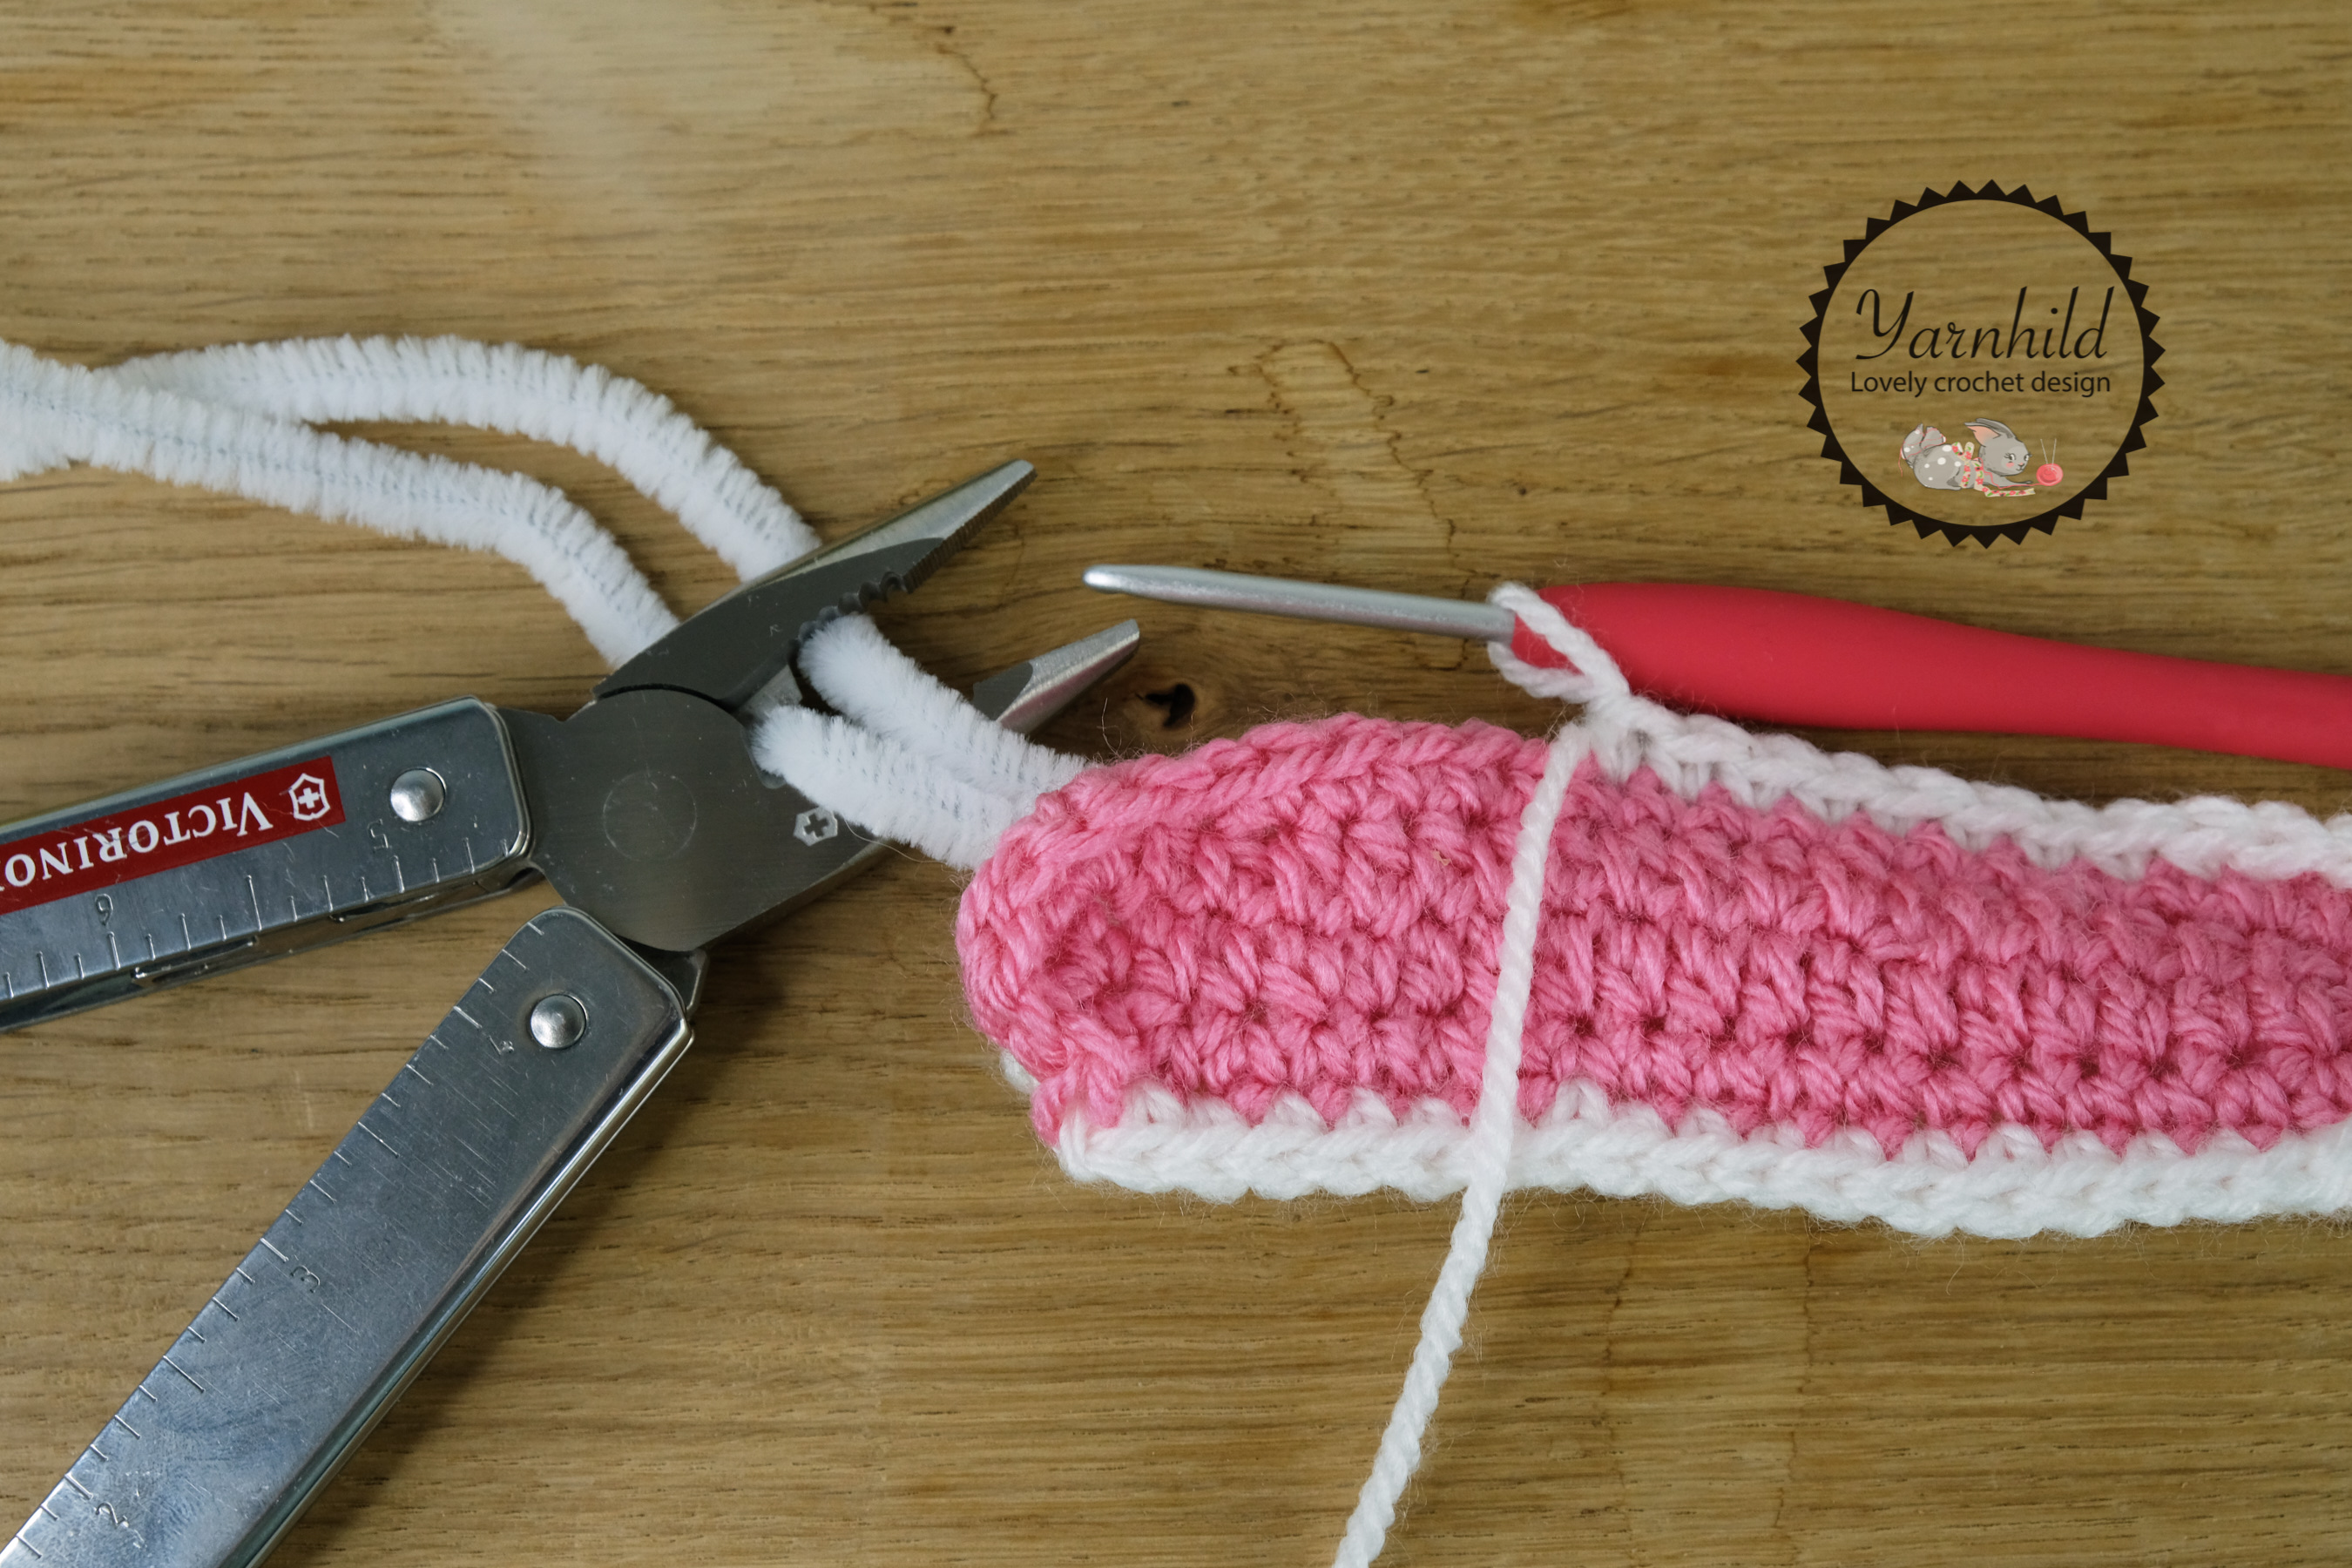
Trim it with a proper tool. Don’t use scissors!
Fasten the ears on the head before attaching the head to the body. Use the pipe cleaner and stick it in the head for extra support.

How to make the skirt
Use the remaining loops from round 5 and crochet into them.
Put a pipe cleaner in the hole of the body. Fold it in half. This is to ensure extra support for the head.
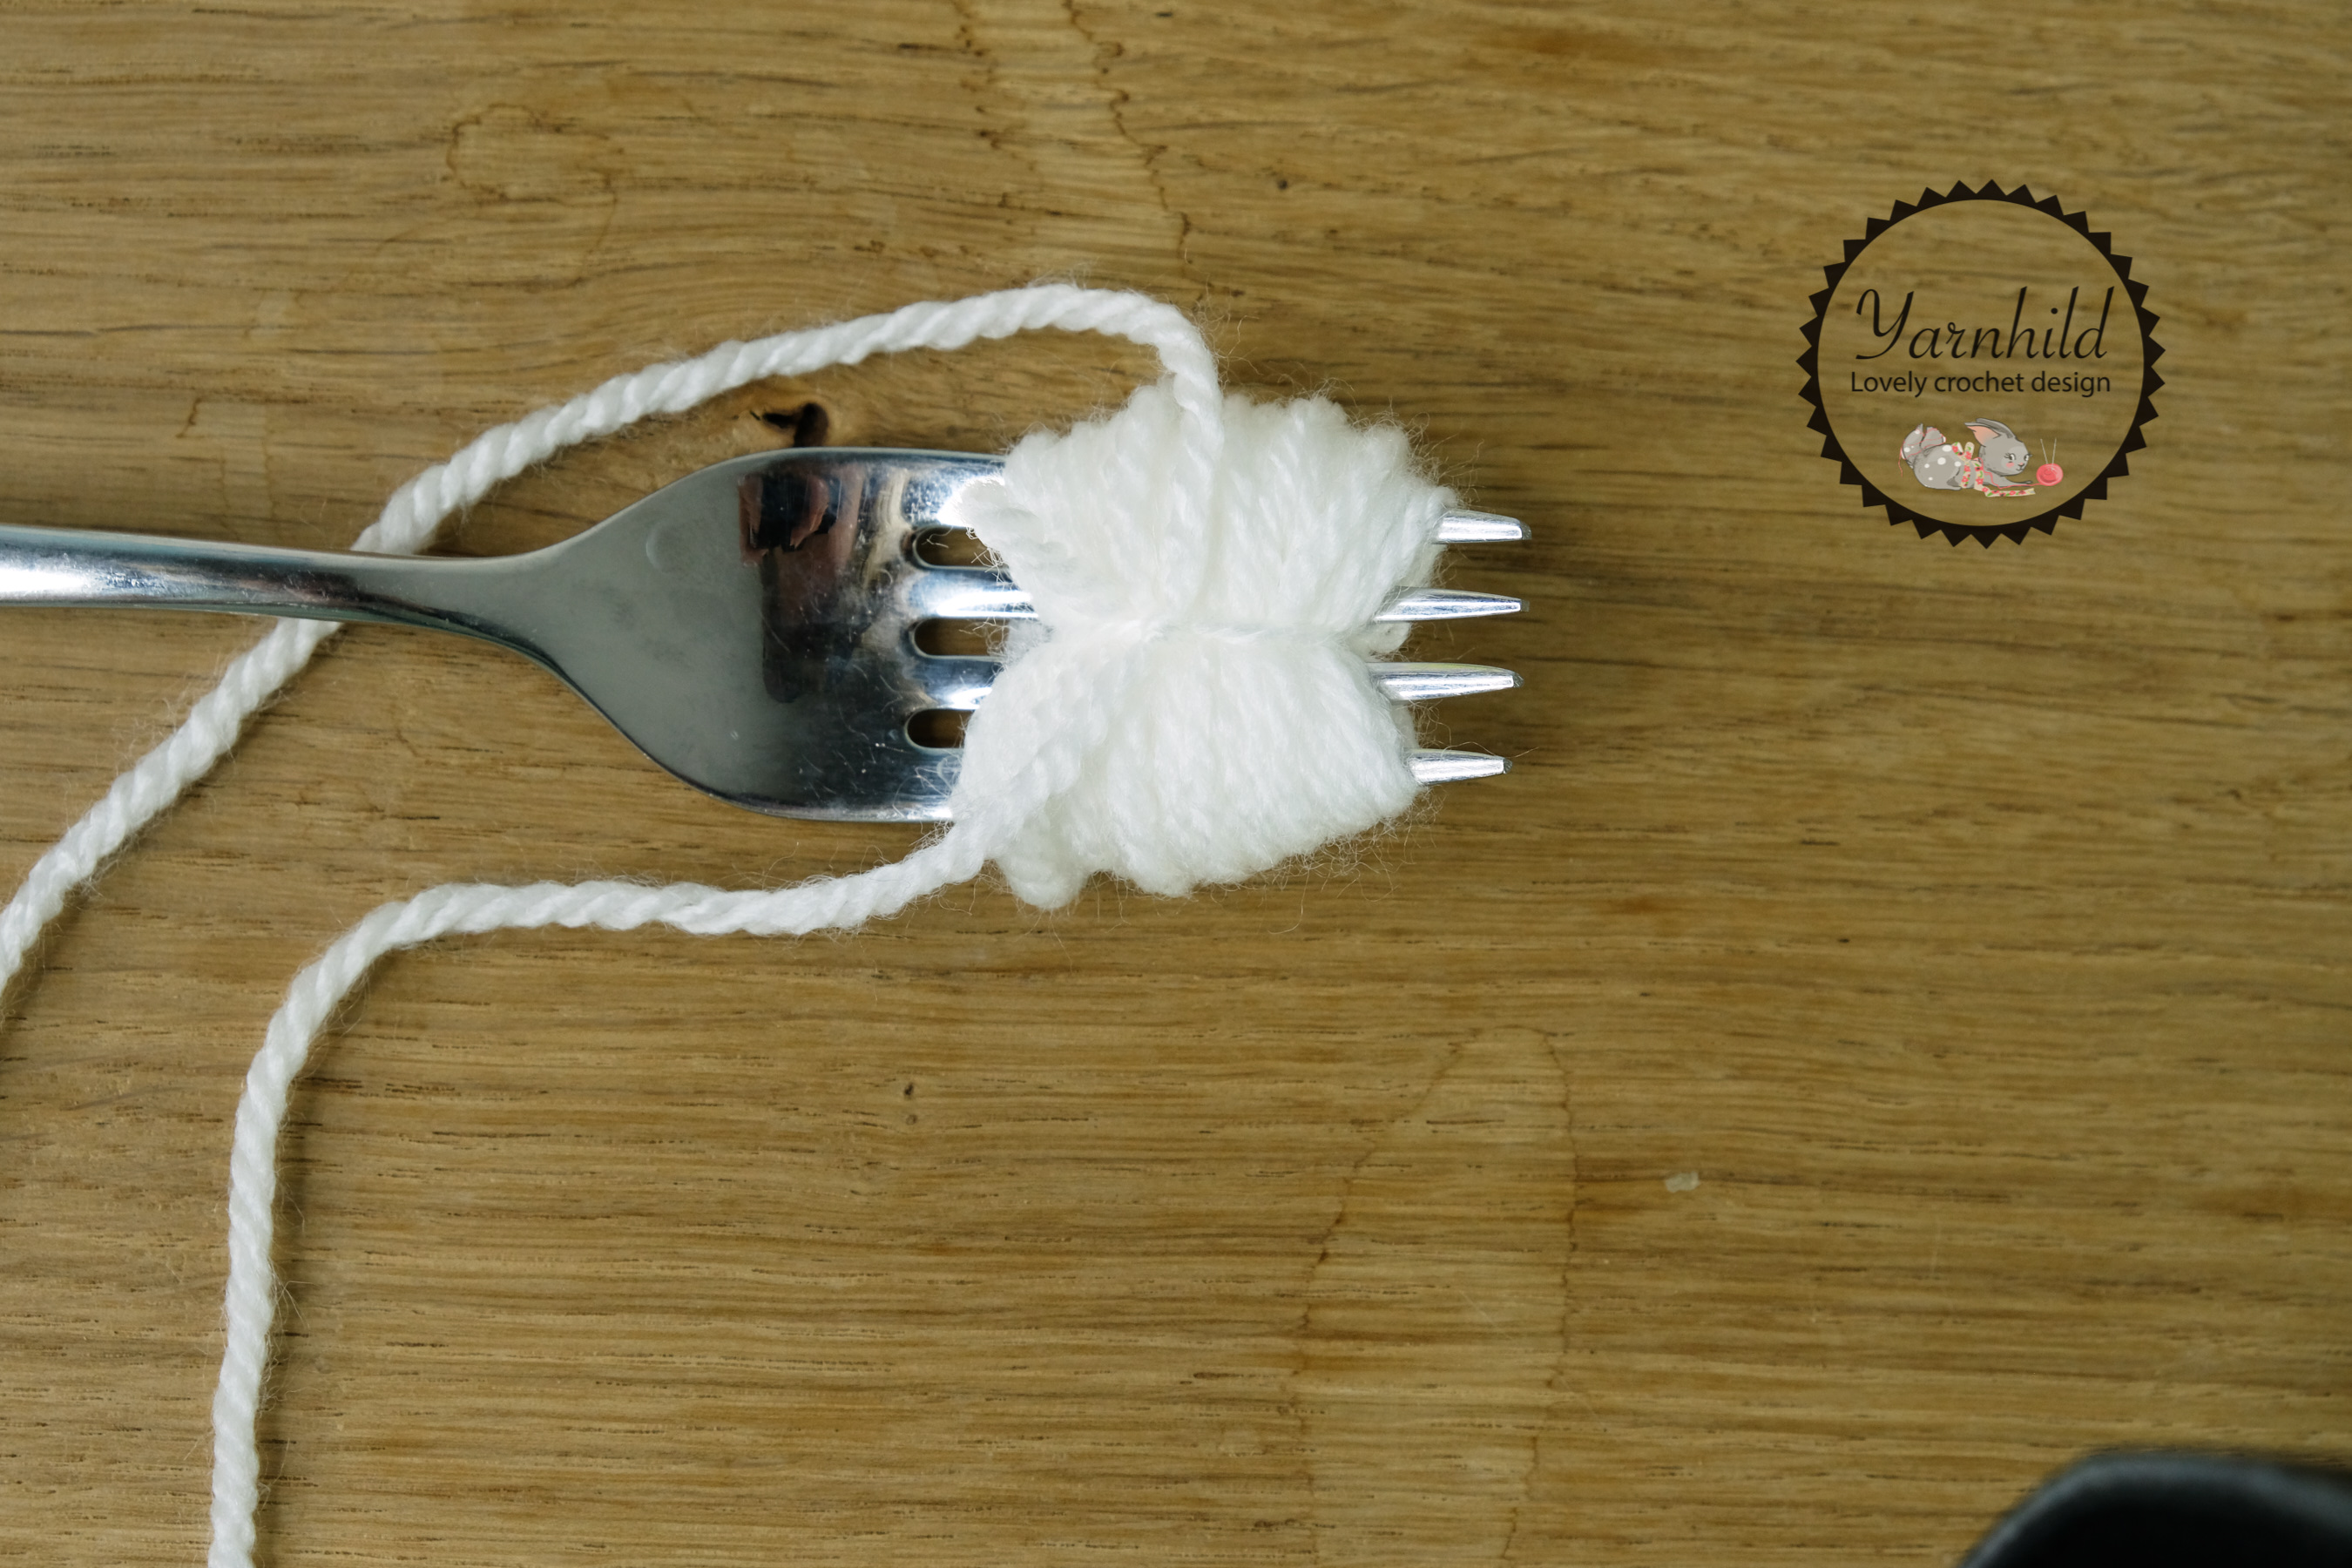
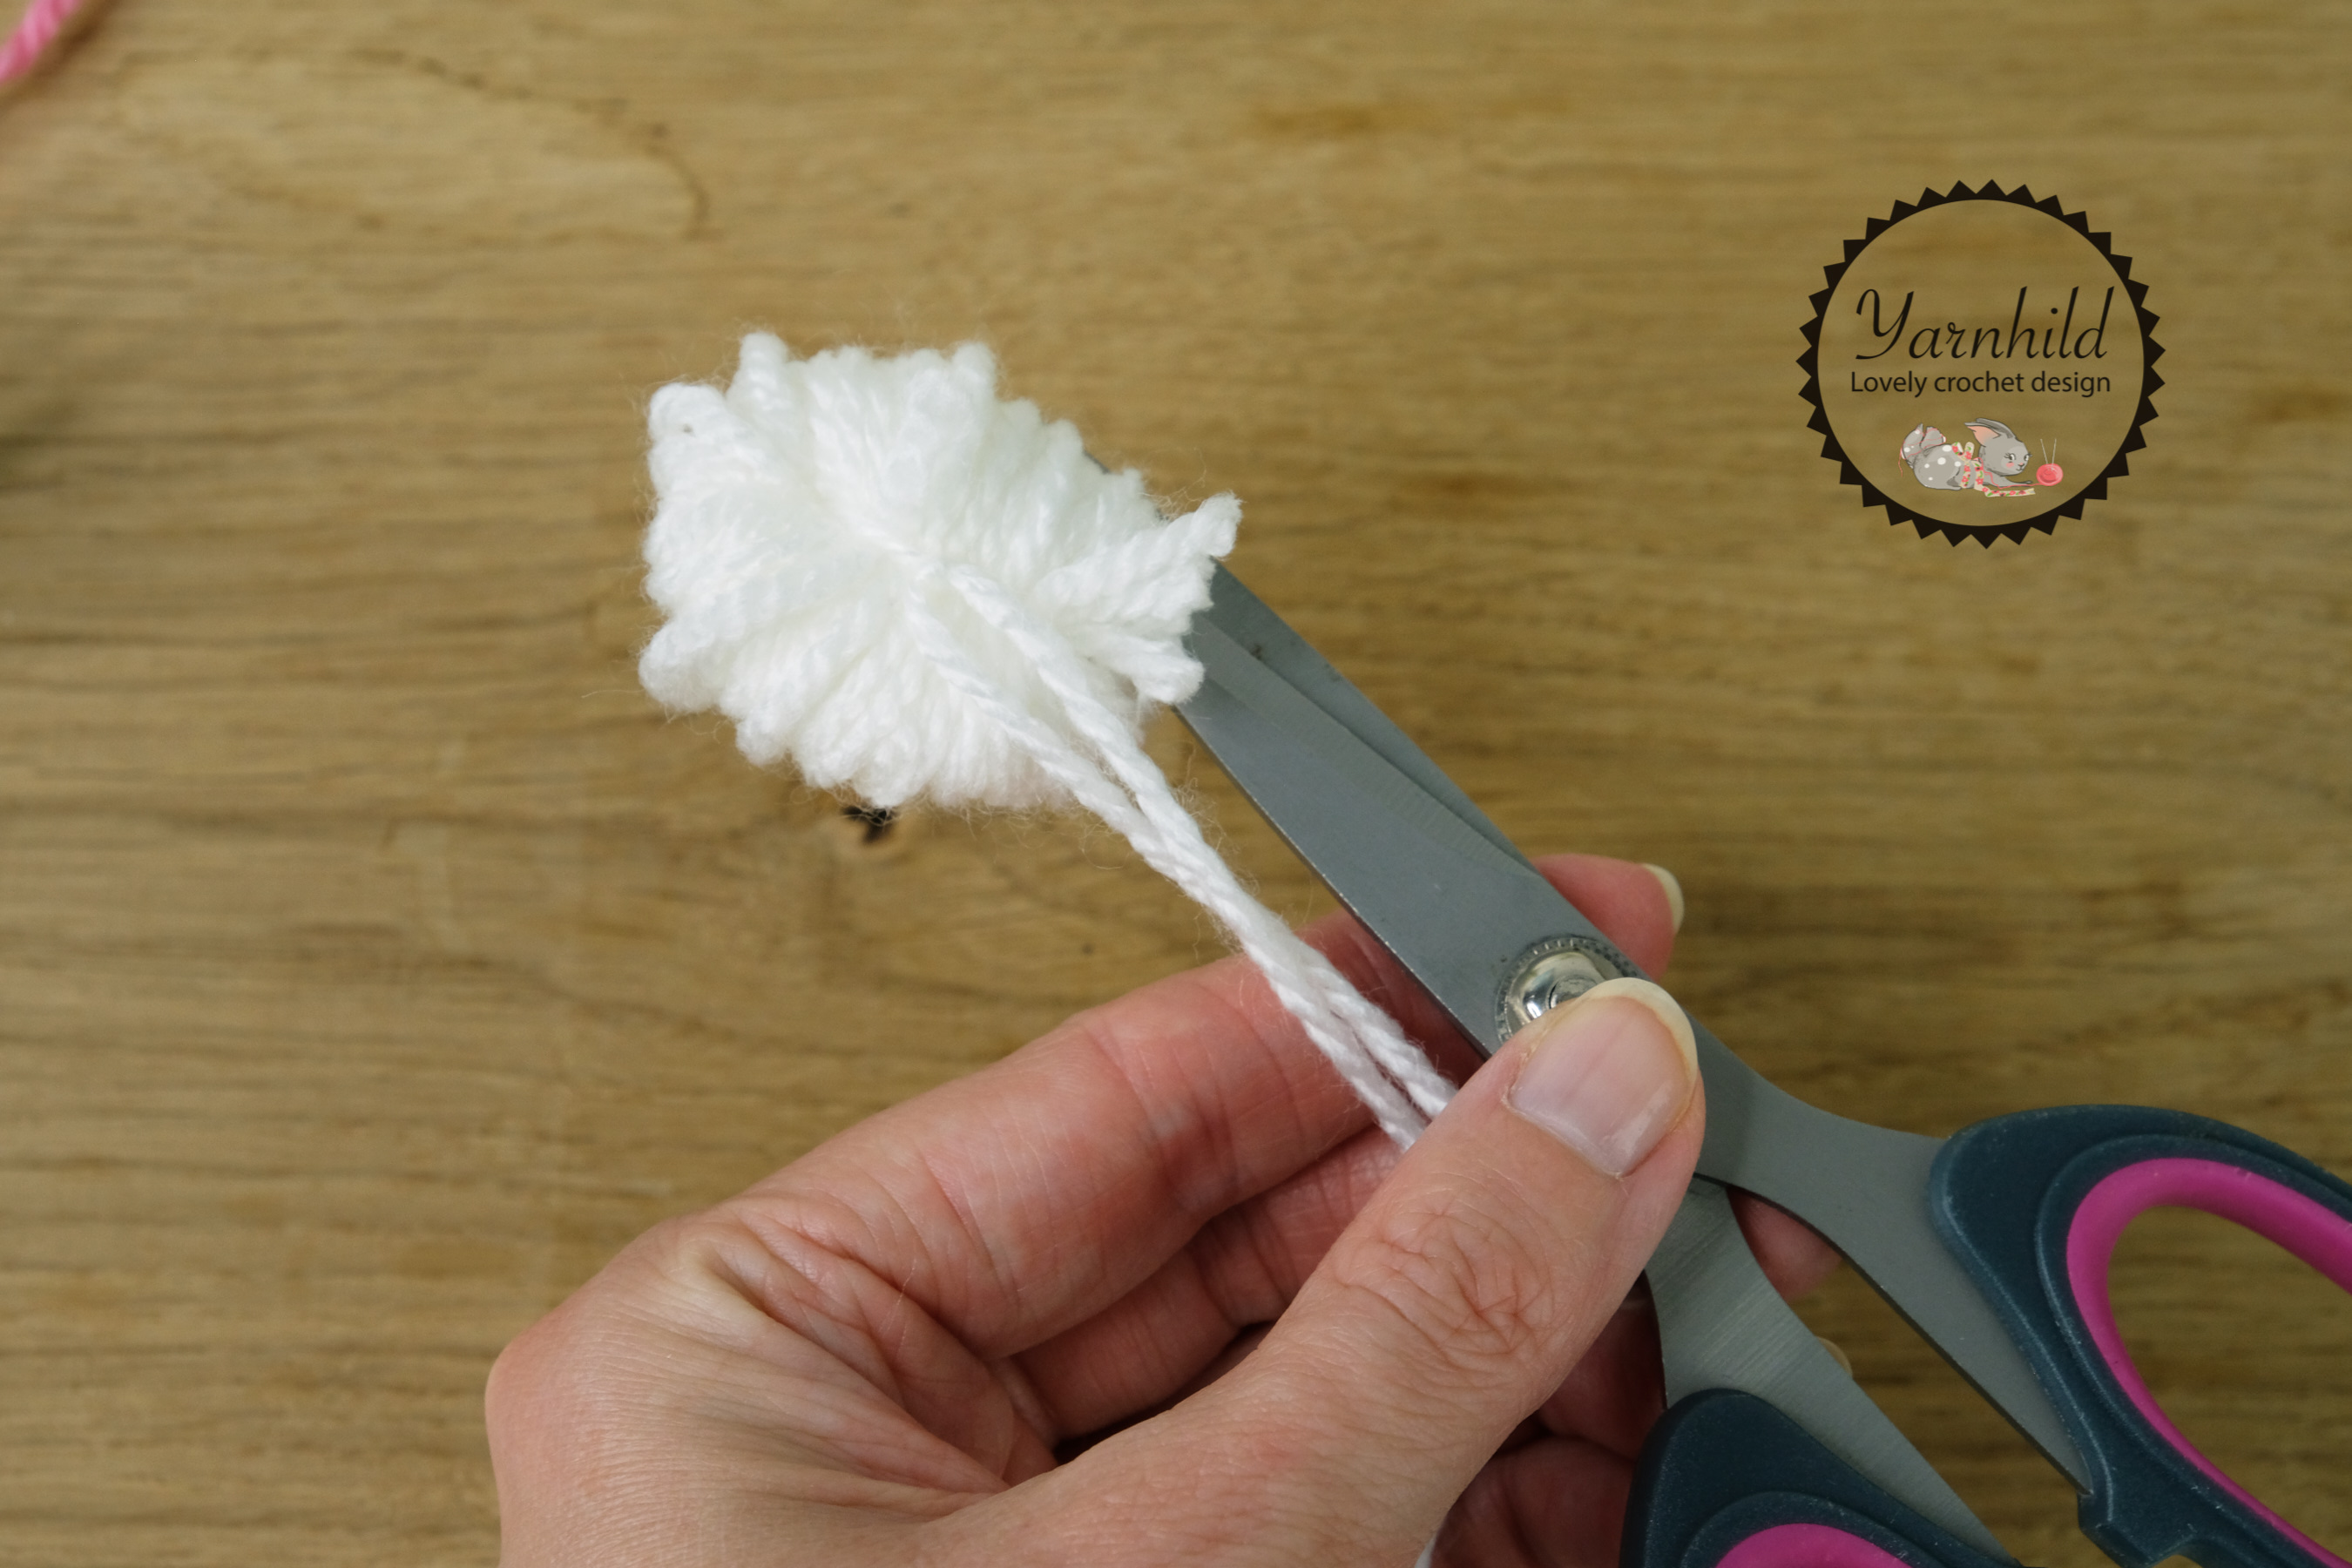
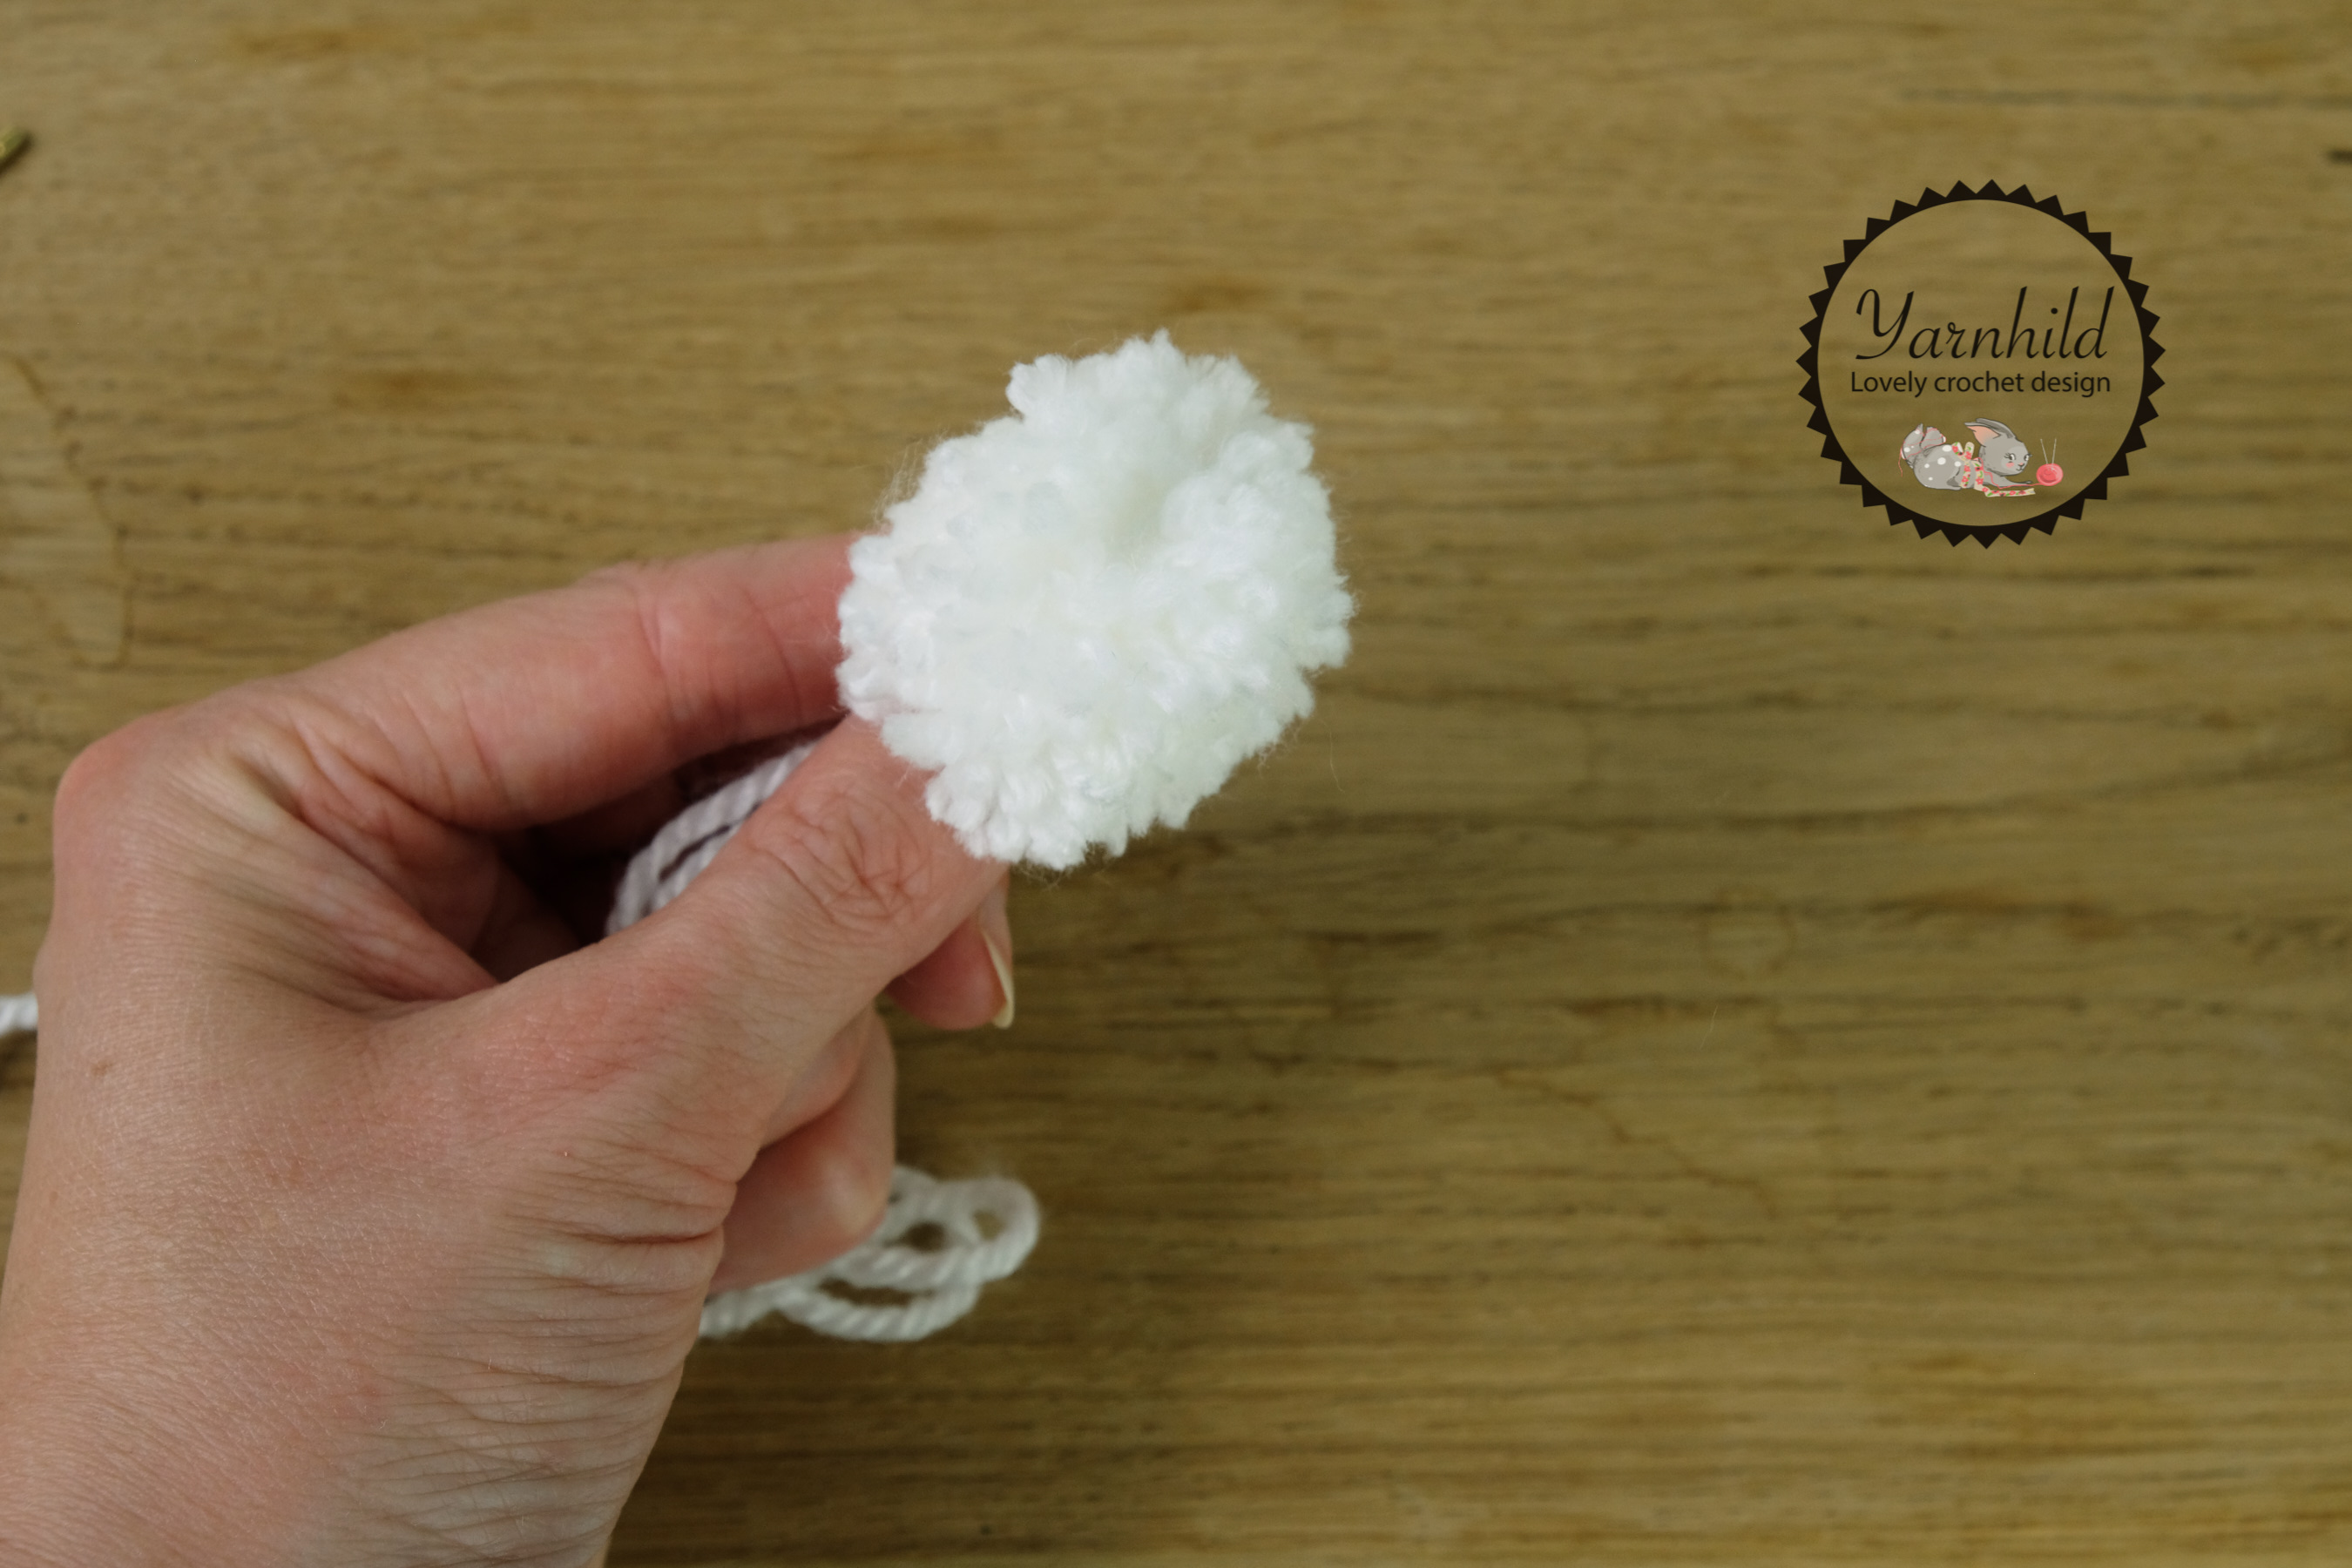
Make a pom-pom for the tail. Use a fork and wind some yarn around it.
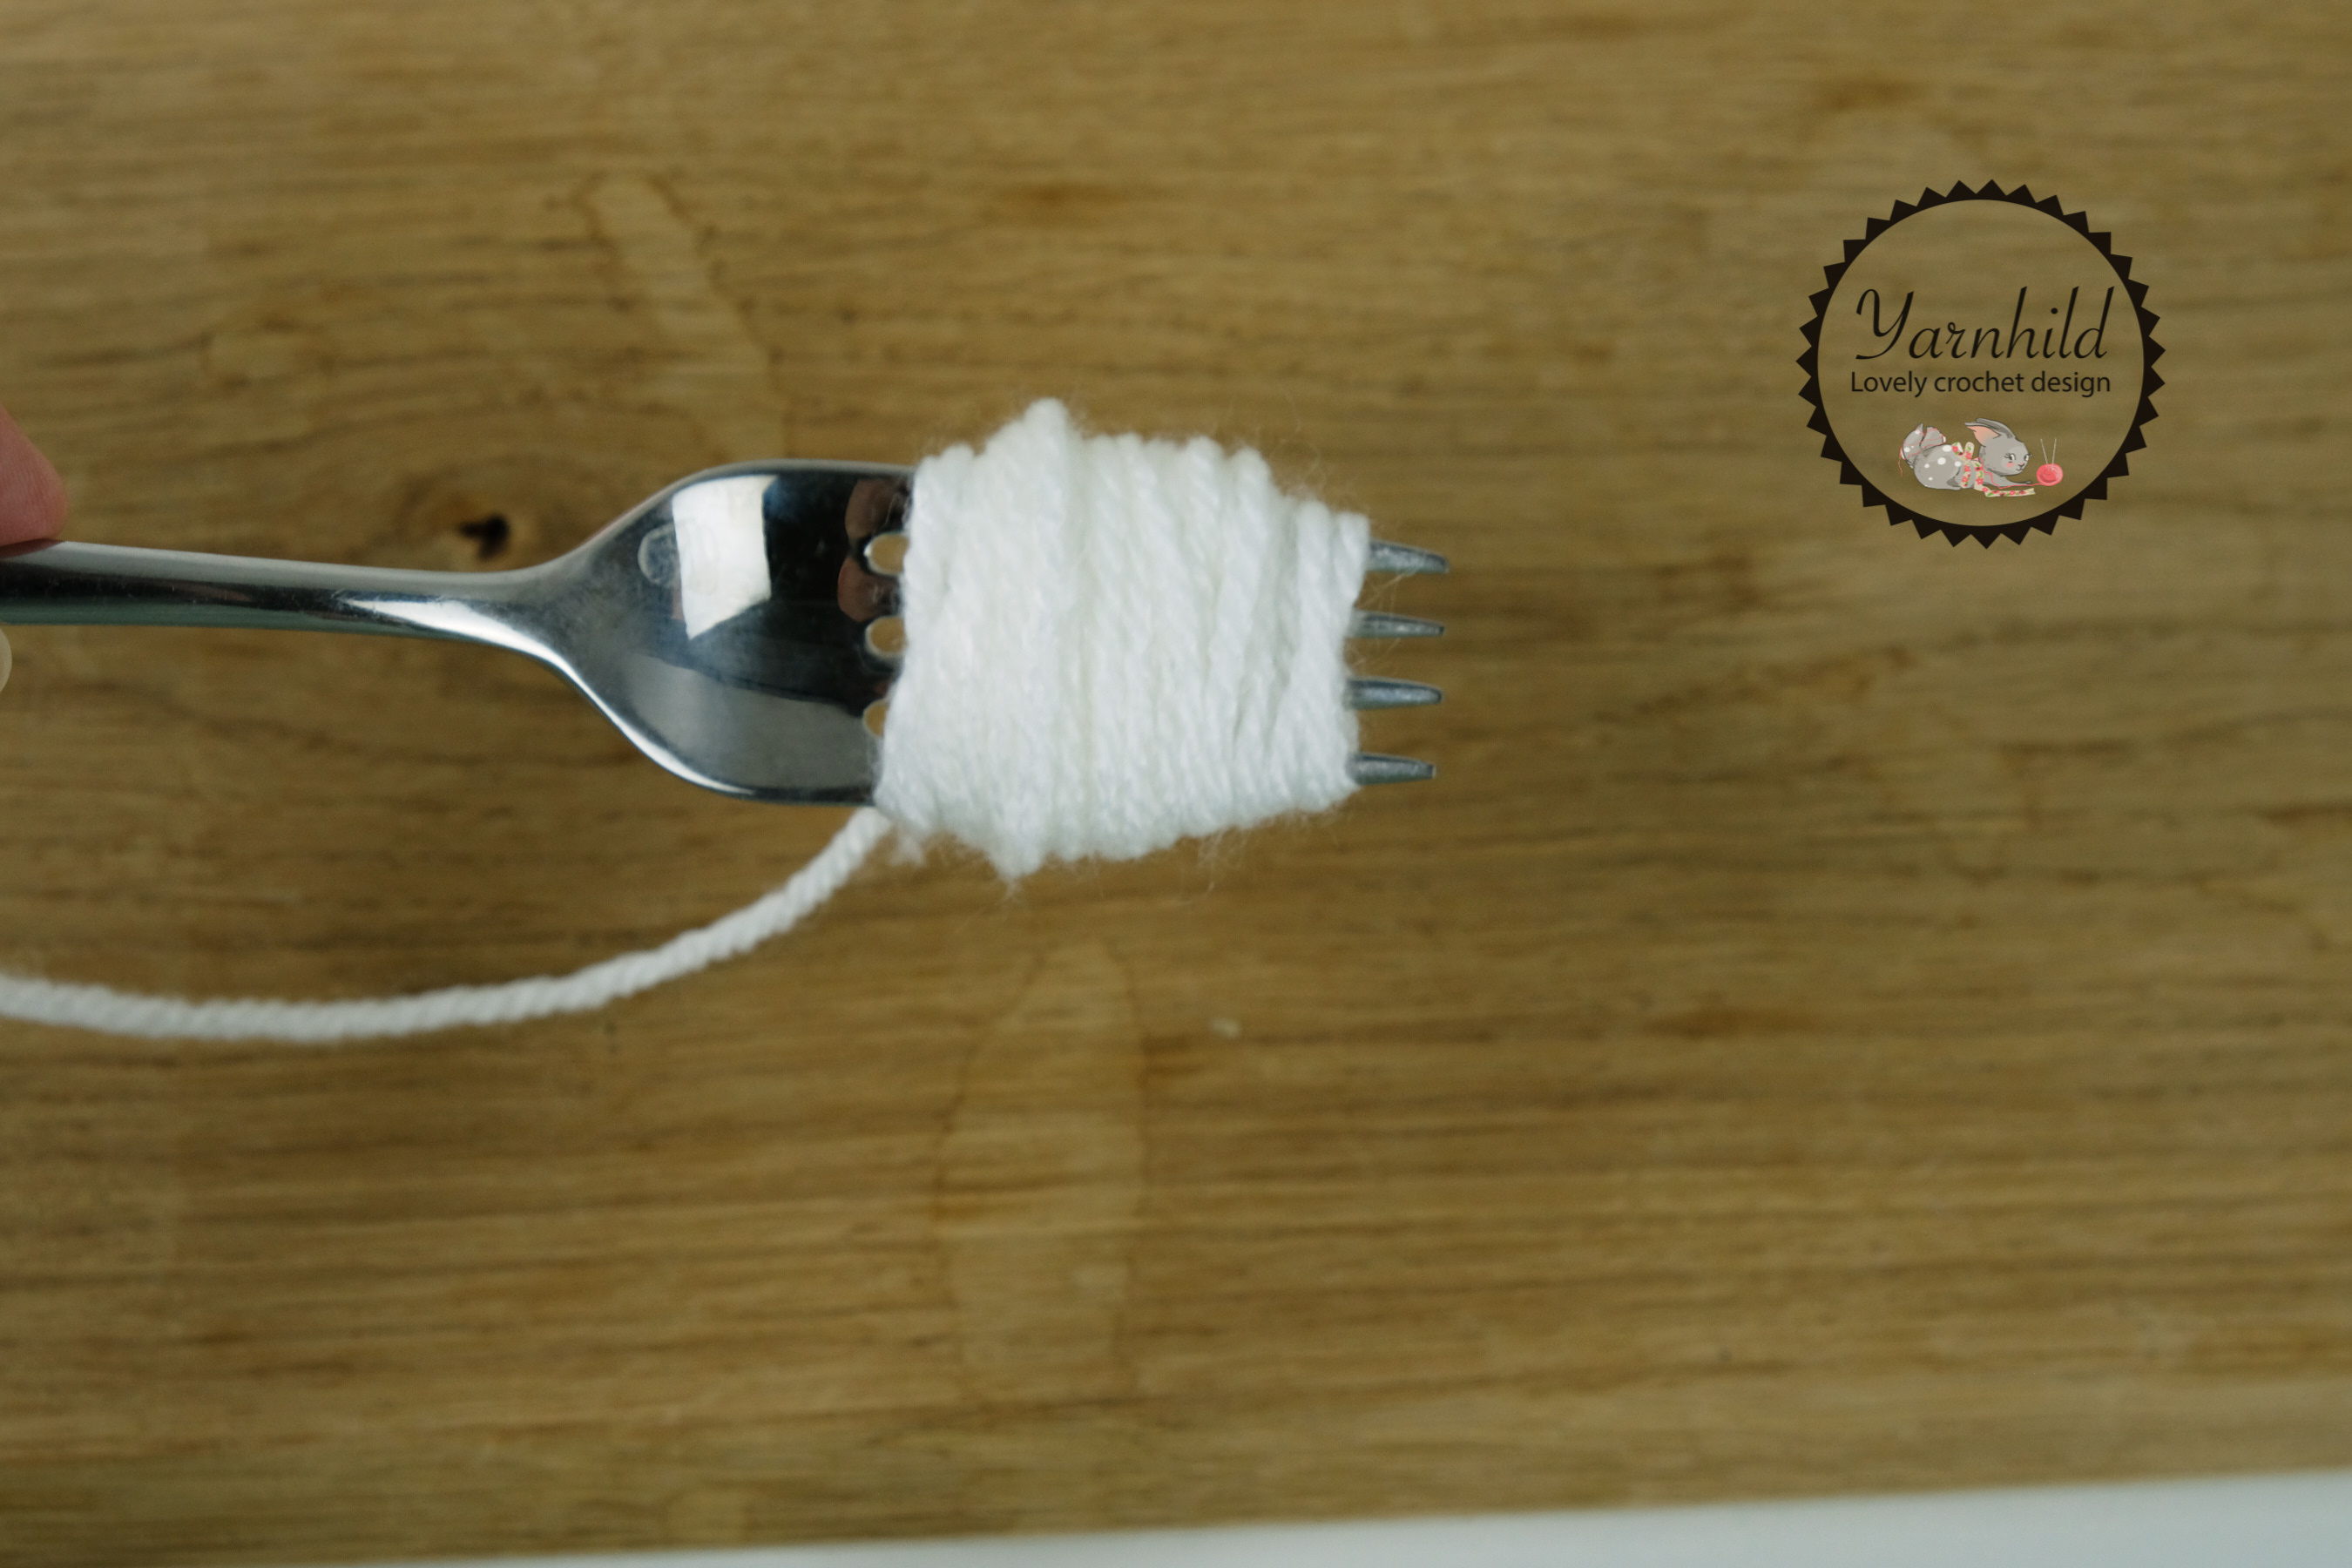
Make a knot and cut the loops. Trim the pom-pom.


One Comment
Comments are closed.